How to Draw a Cup of Tea
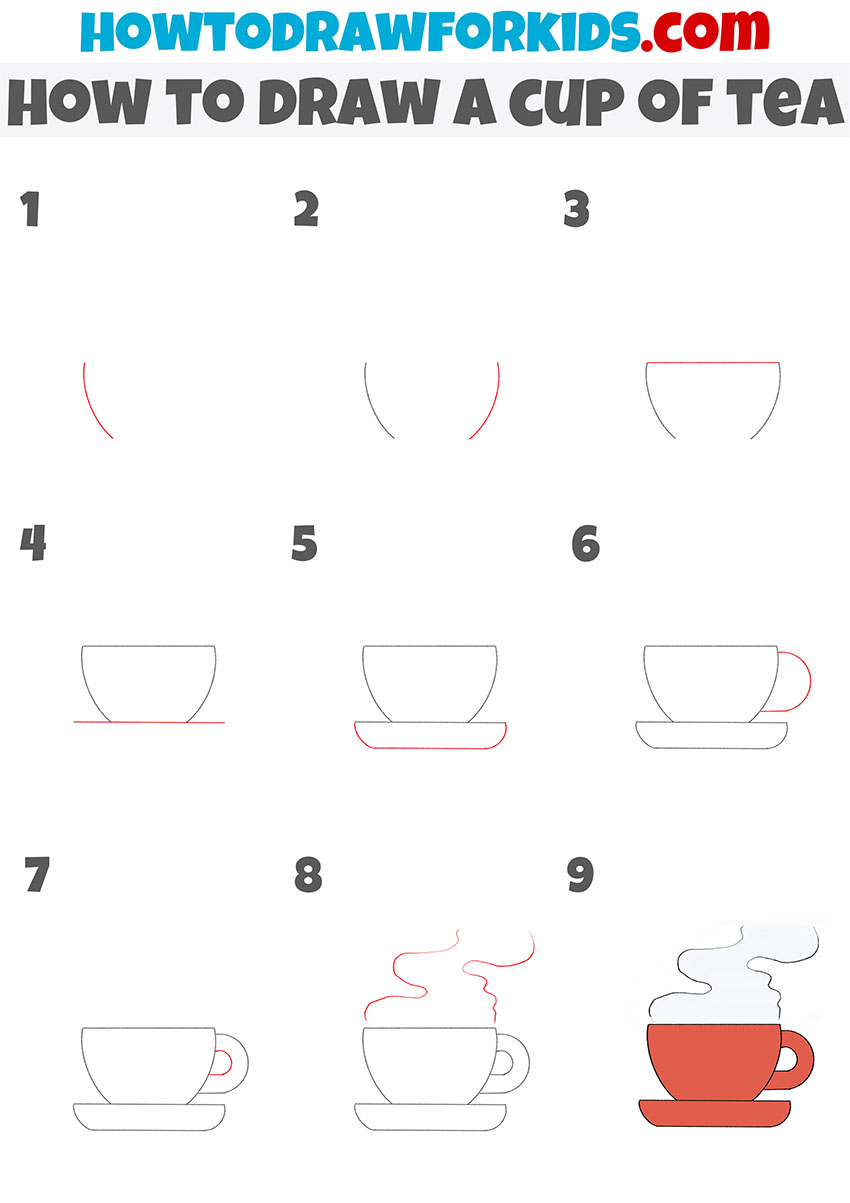
In this tutorial, you will learn how to draw a cup of tea in just nine easy steps. This guide is simple and helpful.
Now you will learn how to draw a cup of tea. This lesson is designed specifically for children and beginner artists, so you can easily complete the task.
This simple instruction shows in detail how to draw a cup of tea. This is a good object for drawing, and you will train your creative abilities once again.
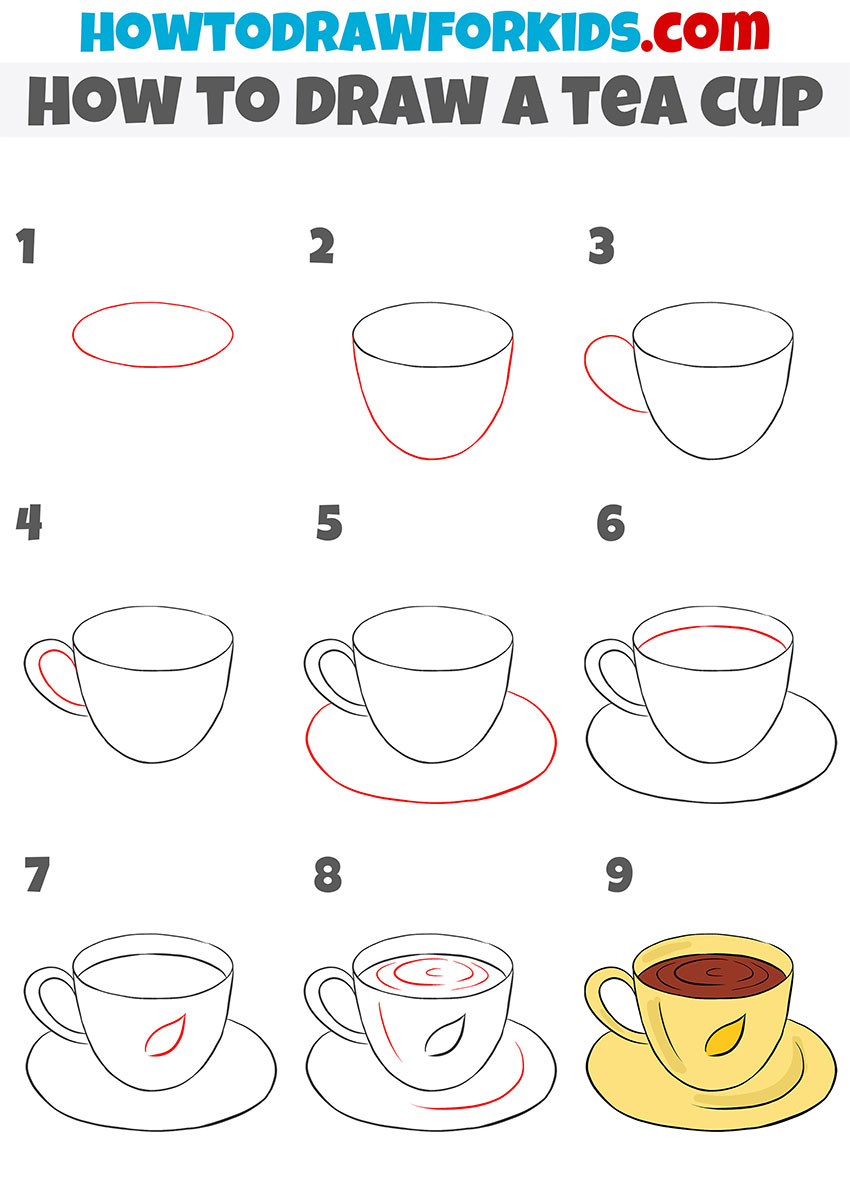
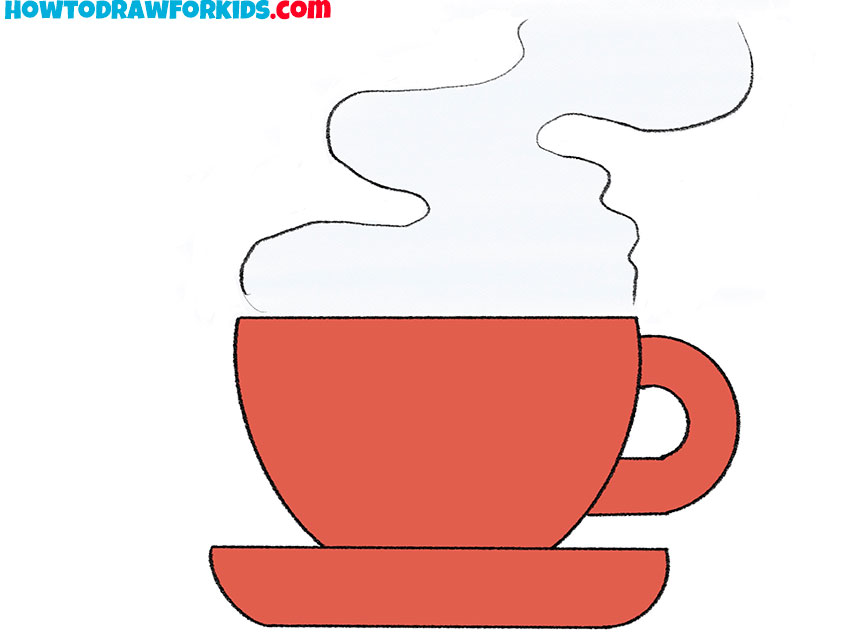
The cup has a standard shape. The bottom is narrower, and the upper part is wide, there is a convenient handle on the side. Below is a saucer. The tea is hot, so steam rises above the cup.
For coloring, you can use the same color as in the example, or you can choose any other color of your choice. You can also show your imagination and add an ornament to the cup or draw stripes.
Materials
- Pencil
- Paper
- Eraser
- Coloring supplies
Time needed: 25 minutes
How to Draw a Cup of Tea
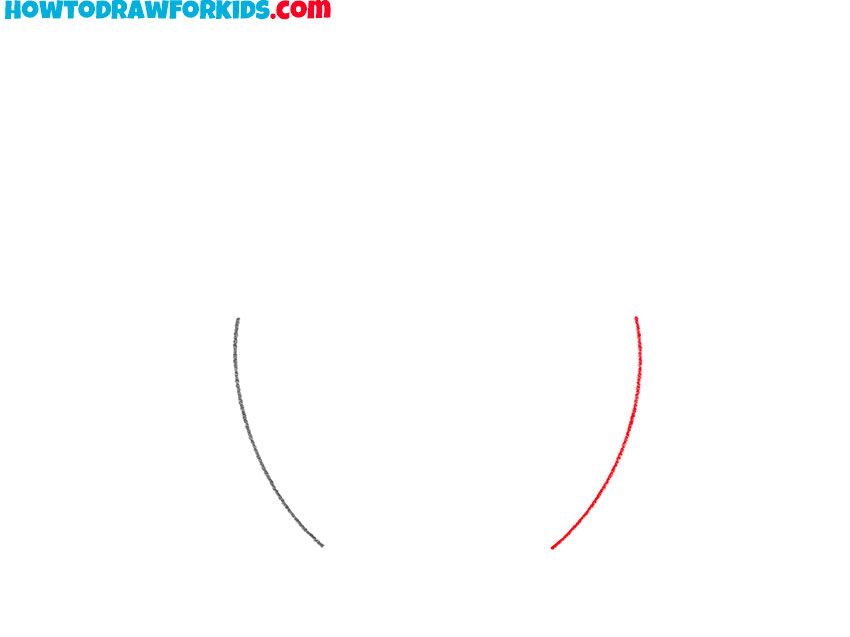
- Draw one side of the cup.
Depict a smooth curved line in the same position as shown in the example.

- Add the second side of the cup.
Sketch out a symmetrical line on the right side.
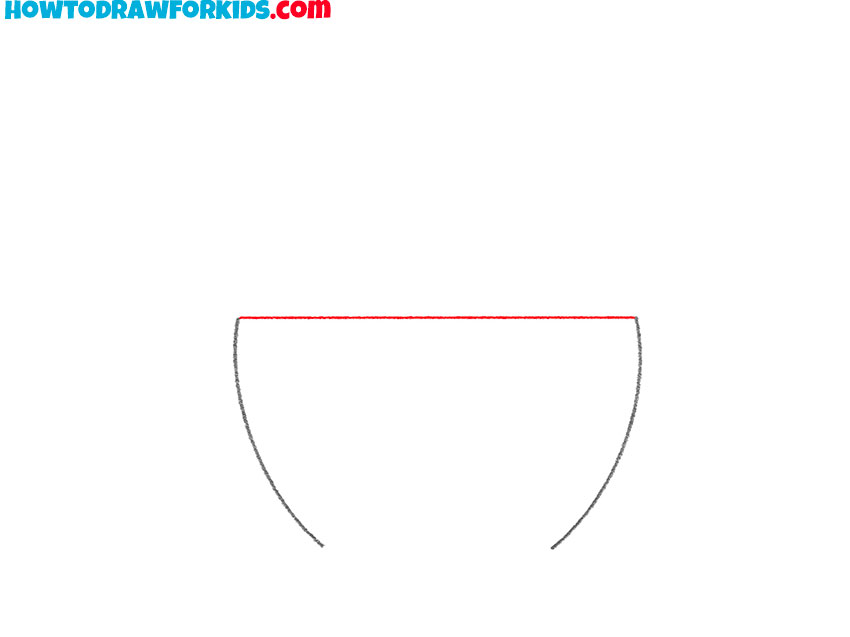
- Depict the top outline of the cup.
At this stage, draw a horizontal line at the top.
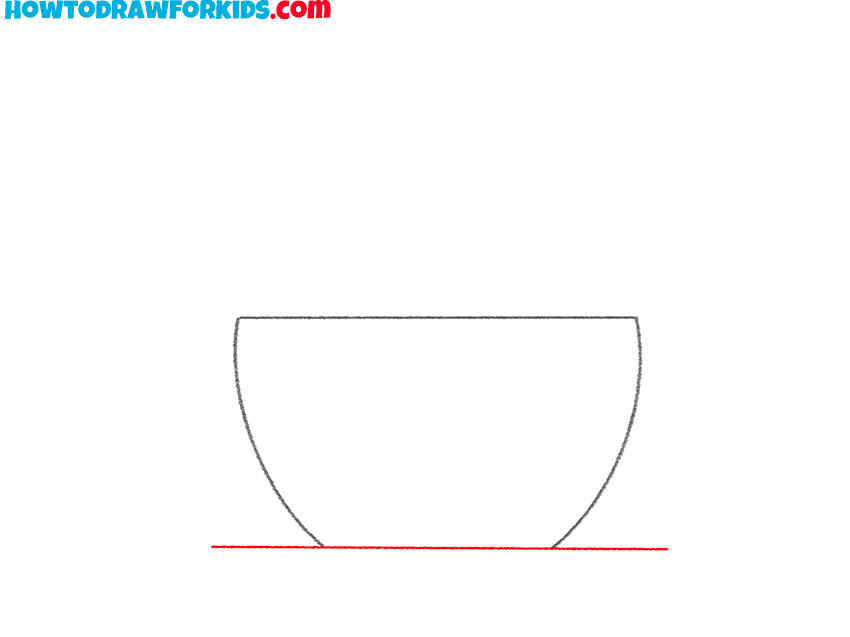
- Draw the top outline of the saucer.
Sketch out a straight horizontal line at the bottom.
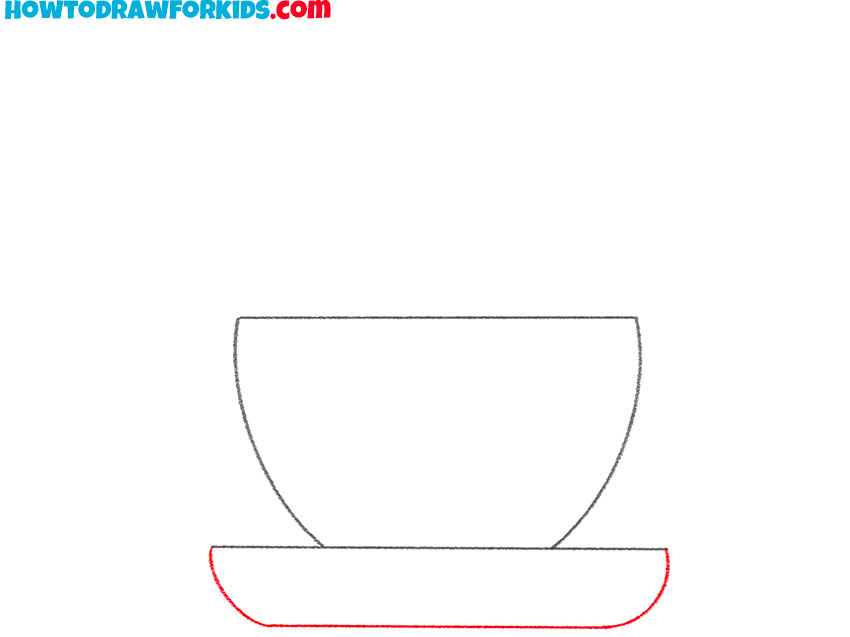
- Add the rest of the saucer.
Draw rounded lines on the sides and a horizontal line at the bottom to make a closed outline.
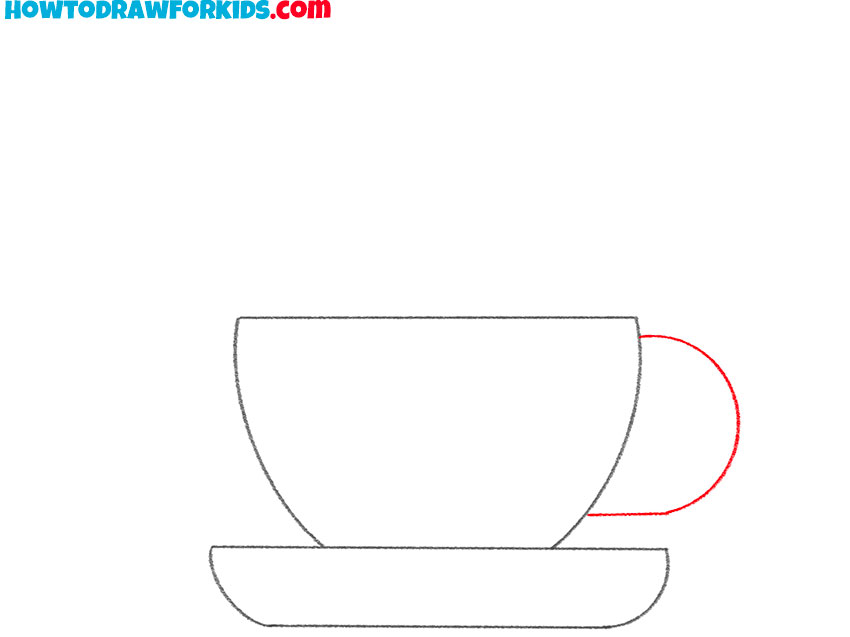
- Depict the outer outline of the handle.
On the right side, sketch out a rounded line.
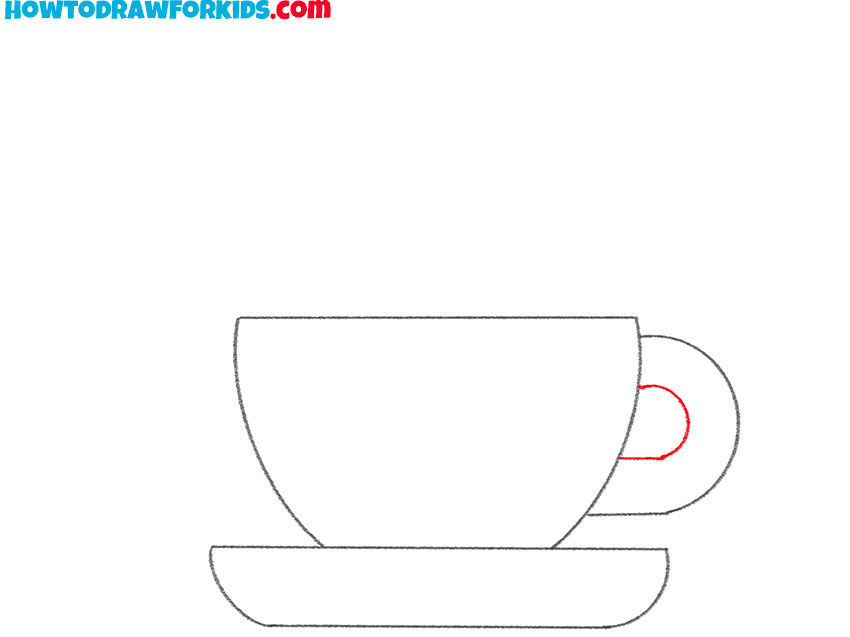
- Draw the inner outline of the handle.
Depict a small rounded line, this way you will depict the thickness of the handle.
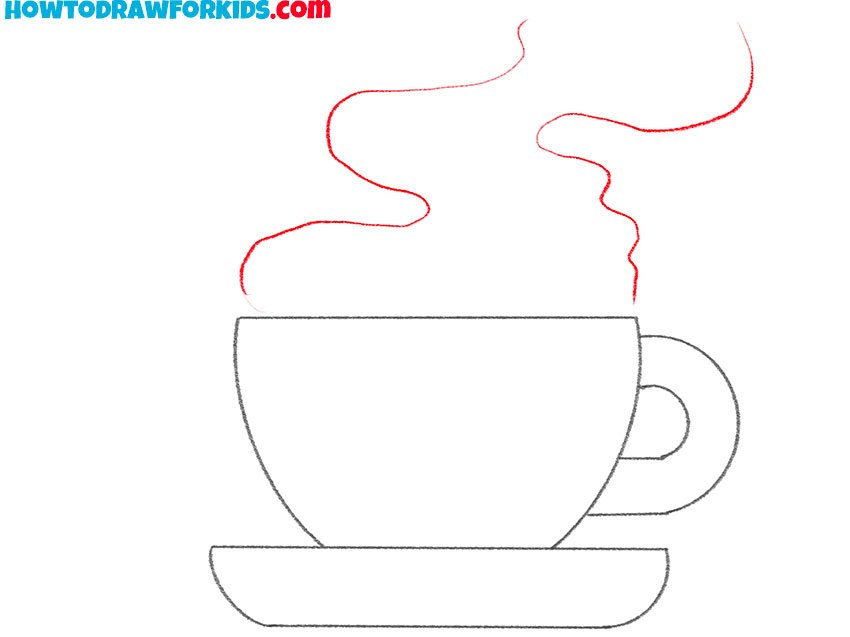
- Add the steam over the cup.
Draw two thin lines of arbitrary shape.
- Color the cup of tea.
Use red or any other color.
The cup of tea is ready! Hope you get a great drawing. You can use the acquired skills in the future, for example, you can draw a beautiful still life.
As usual, there is a link at the end of the lesson where you can download the short version of the lesson as a free PDF file. If you save this file, you can return to the lesson at any time.
How to Draw a Cup of Tea: Additional Method
I am sure that this tutorial will not be too difficult for you, since it is specially designed for children and aspiring artists. All the elements that you learn to draw in this lesson may come in handy for creating your future drawings. Follow the instructions carefully to draw a cup of tea step by step.