How to Draw a Teddy Bear
Calling all budding artists for a Teddy bear drawing extravaganza! I’ll walk you through five fabulous ways to draw a Teddy bear, each designed to help you create the fluffiest and most huggable bears. These easy steps will let you add your own creative flair, perfect for making a Teddy bear that’s as unique and special as you are!
How to Draw a Teddy Bear: Basic Information
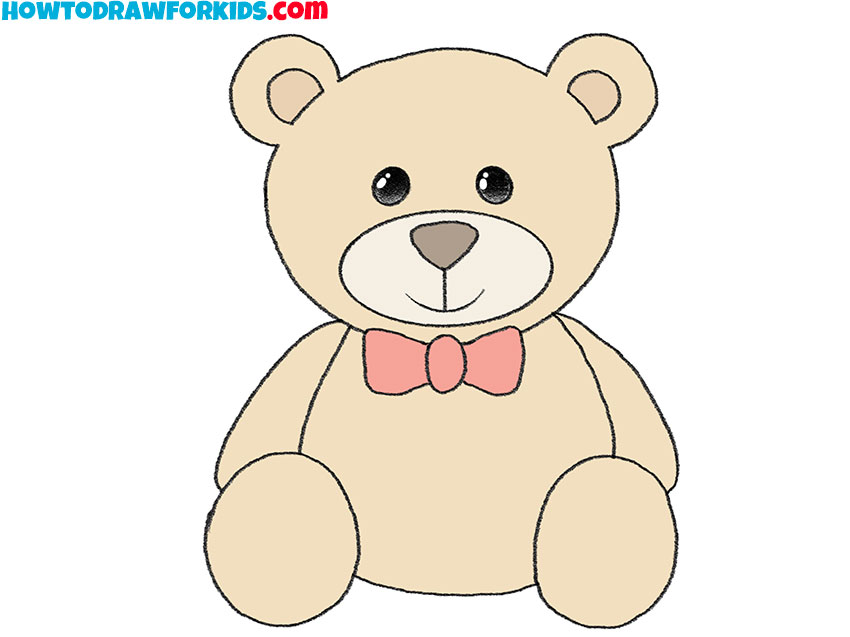
Warm greetings, young creatives! It’s time to embark on a delightful journey where we’ll learn how to draw a Teddy Bear, soft and lovable. This Teddy Bear will have a round tummy and a smile that feels like a warm hug. Follow my method, and you’ll see how simple lines can create something so cuddly and sweet.
We begin with gentle curves for the body, adding circles for the head and ears, just like we’re playing with toy blocks. Then, with easy strokes, we sketch the bear’s cozy arms and legs. It’s like piecing together your own plush toy with just a pencil!
Ready to draw a Teddy Bear that’s all yours? Let’s gather our colors and give life to this adorable bear. You’ll be amazed at how these simple shapes transform into a Teddy you’ll adore. Let’s make your Teddy Bear come alive on the page!
Teddy Bear Drawing Tutorial
Materials
- Pencil
- Paper
- Eraser
- Coloring supplies
Time needed: 30 minutes
How to Draw a Teddy Bear
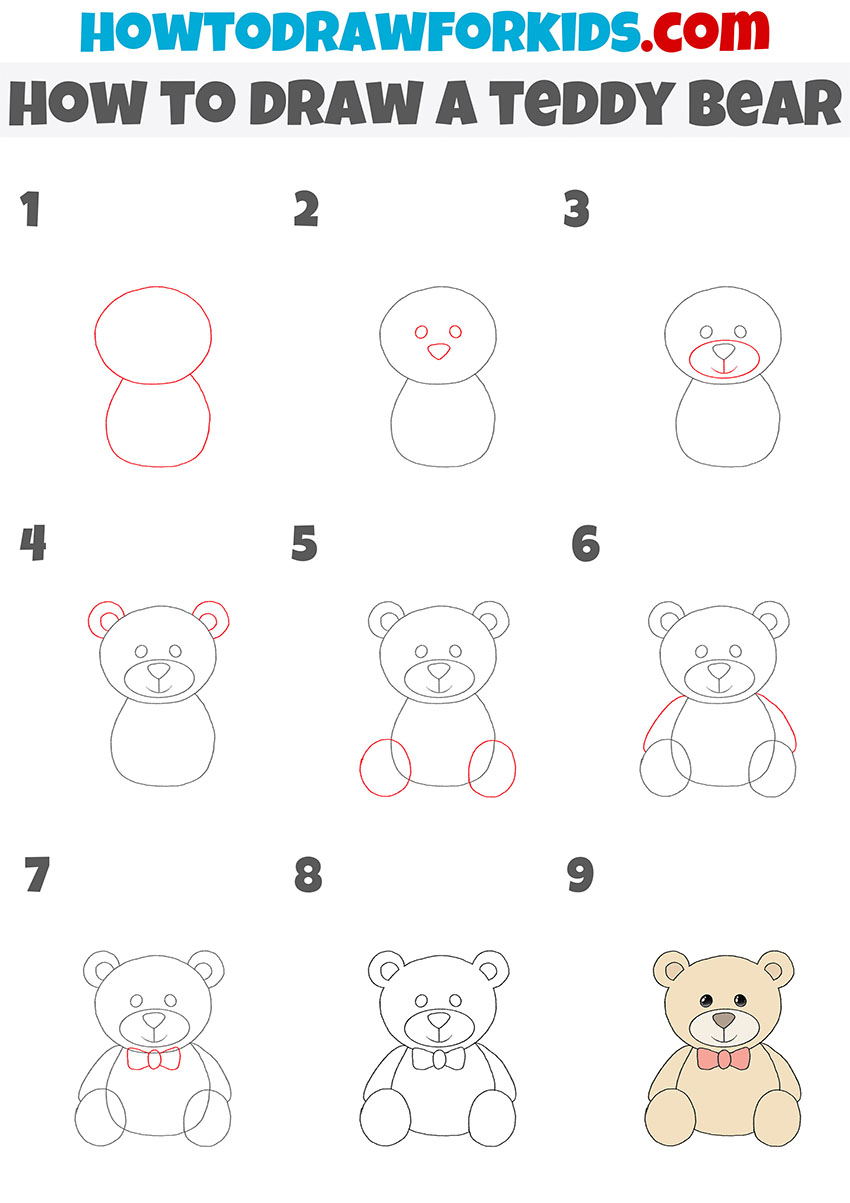
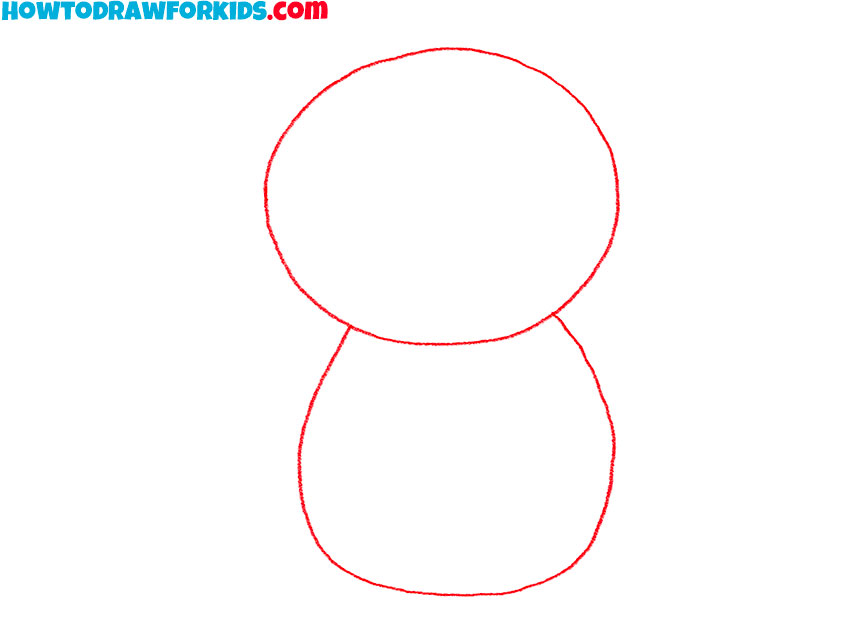
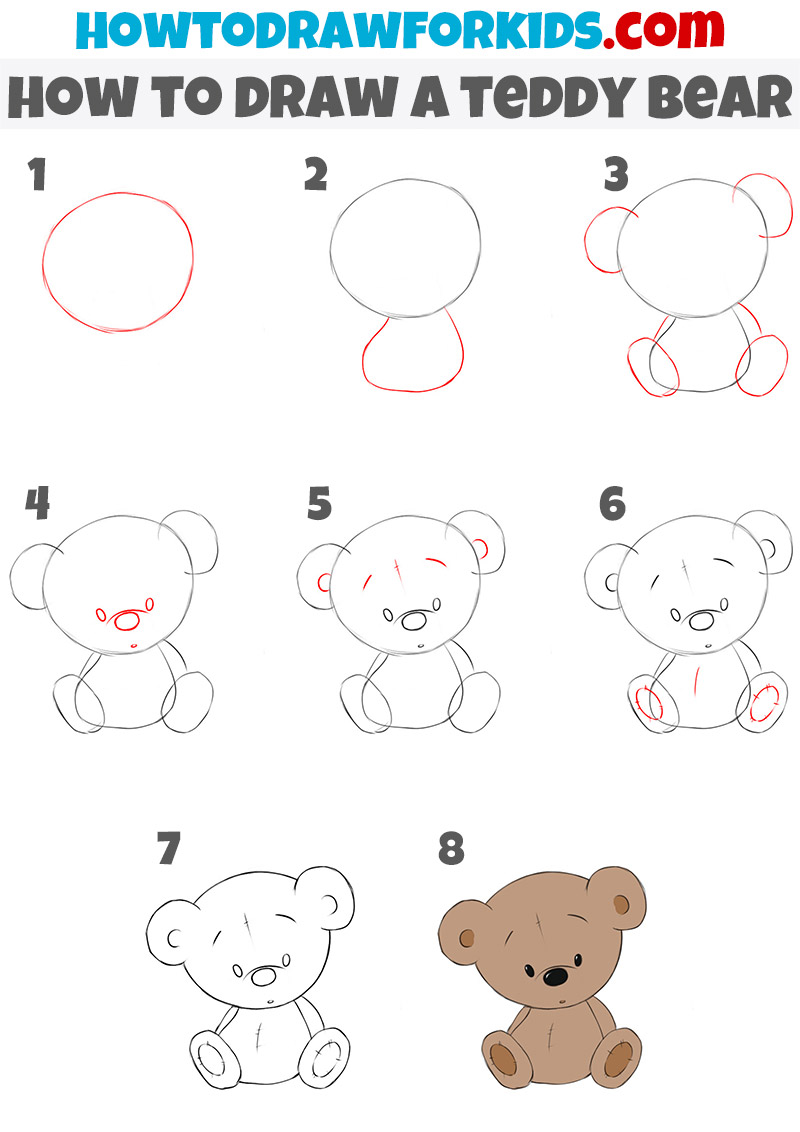
- Draw the head and torso.
So, the drawing begins with constructing the basic form of the teddy bear by drawing two overlapping shapes: a large circle for the head and a slightly smaller oval for the body.
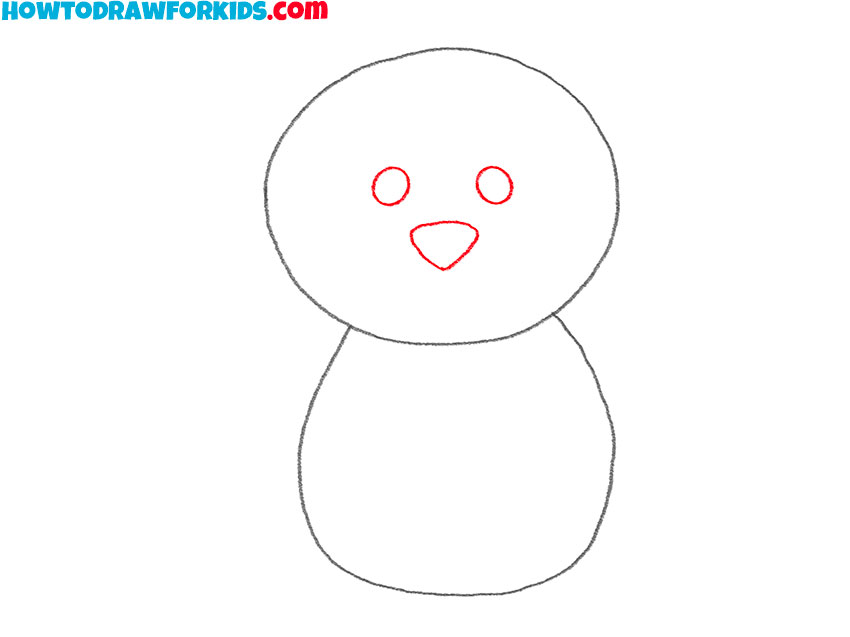
- Add the elements of the muzzle.
And here, we’ll add facial features to the teddy bear. Inside the head circle, draw two smaller circles for the eyes, ensuring they are placed symmetrically. Below the eyes, a tiny triangle serves as the nose.
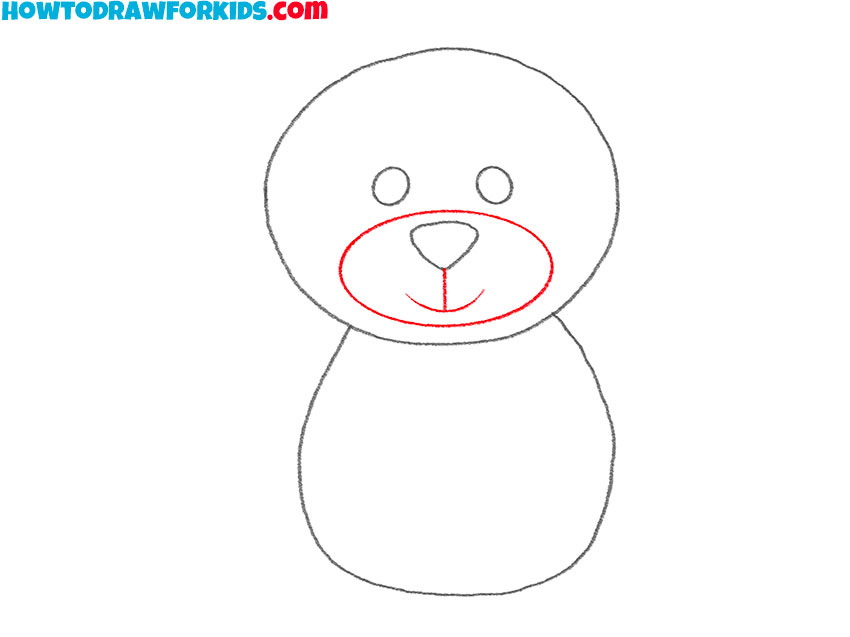
- Depict the remaining elements of the muzzle.
Add a couple of curved intersecting lines to represent the mouth. It looks weird when drawing, but you’ve probably seen it on your plush toys, right? Then, outline the mouth and nose with an oval.
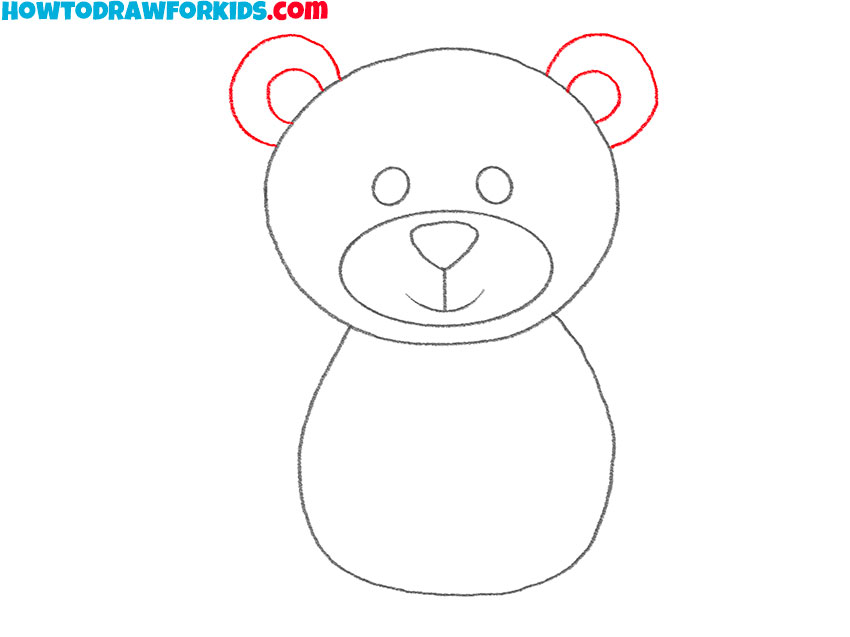
- Sketch out the ears.
On top of the head, draw two small semi-circles to represent the ears, ensuring they are aligned with the eyes for balance. Next, add the inner parts of the ears.
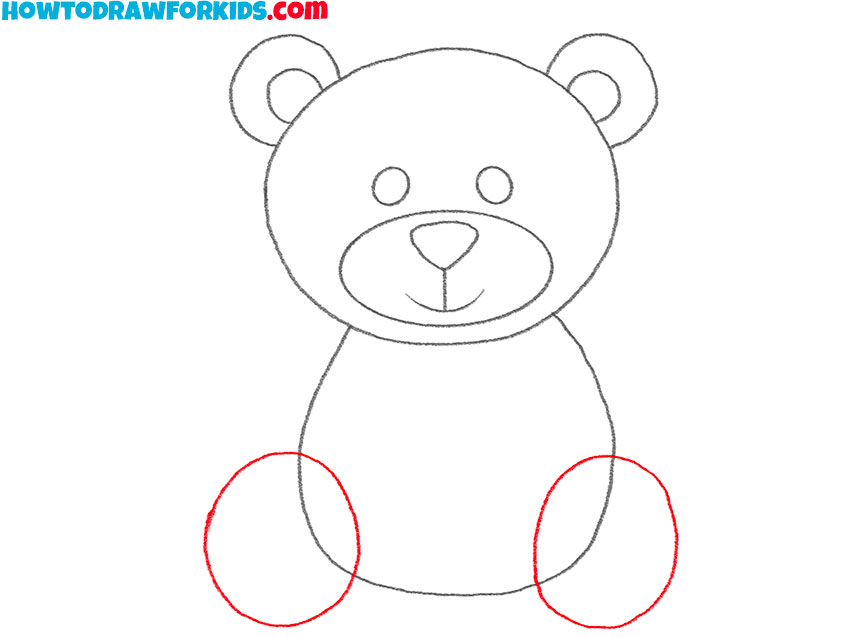
- Draw the lower paws.
The paws in this step look like two large ovals that intersect the contour of the body. This is a great way to depict a sitting pose as simply as possible.
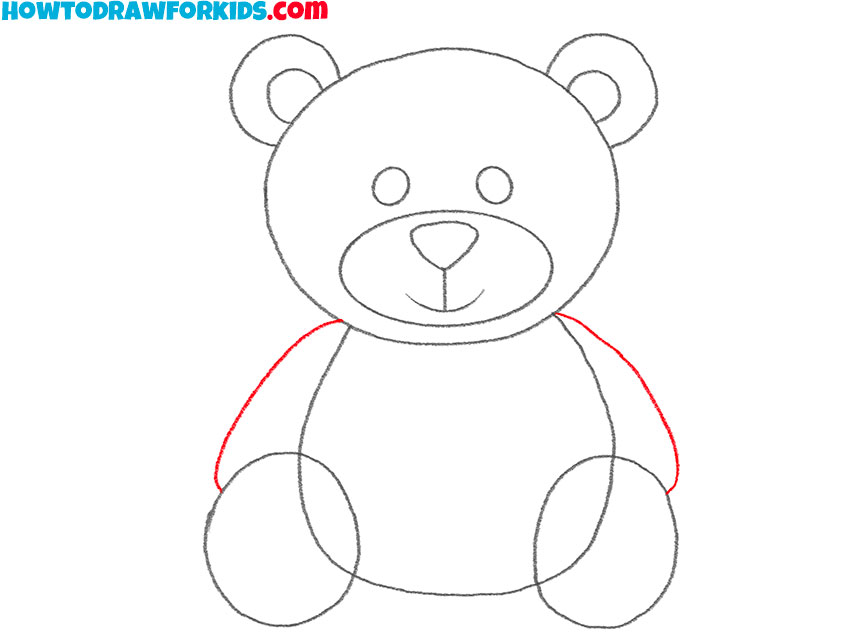
- Depict the upper paws.
Draw two slightly curved lines descending from the sides of the body to represent the teddy bear’s arms. If it looks a little asymmetrical, that’s ok.
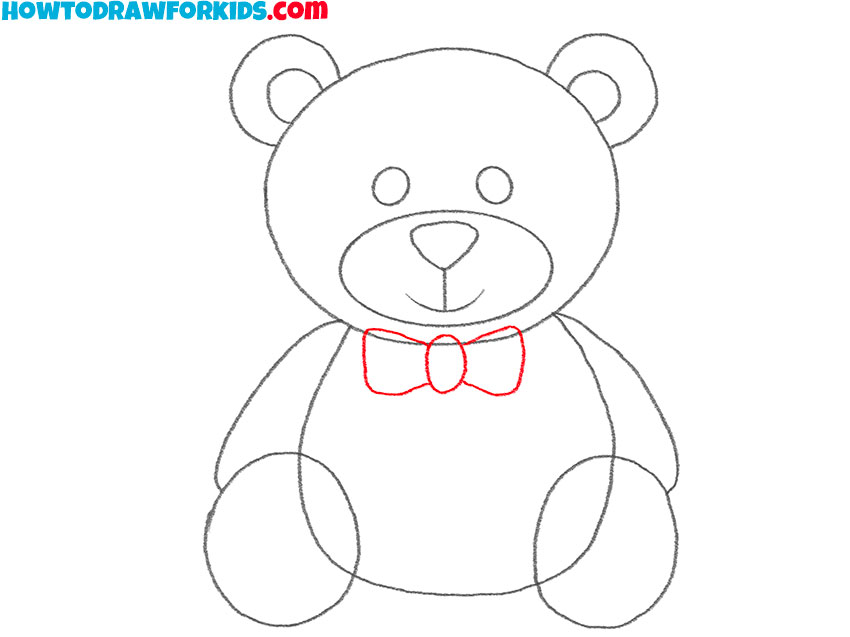
- Sketch out the bow.
Refine the Teddy Bear by adding a small bowtie at the neck. Draw a small circle for the knot and two triangles for the ends of the bowtie, adding a touch of charm to the character.
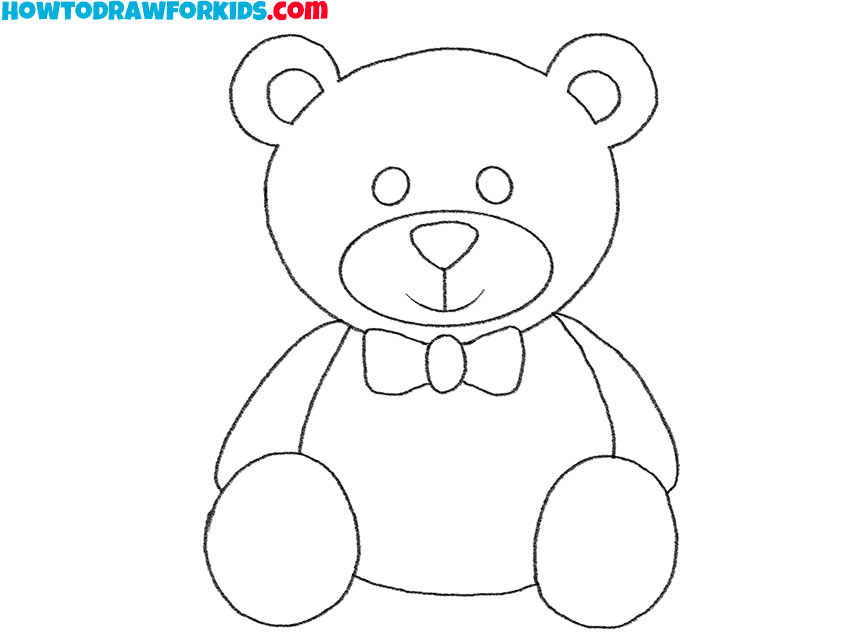
- Correct inaccuracies.
Compare your drawing of Teddy Beer with what you originally had in mind. Then check that the shapes from each step are correct. After that, erase the extra lines.
- Color the drawing.
Choose a warm shade of brown for the bear’s body, using a lighter shade for the snout, inner ears, and paws to create a sense of depth and softness. The eyes and nose may be filled in with a darker color.
Additional Content
And to help you keep creating wherever you go, I’ve compiled a free PDF file summarizing our Teddy bear drawing lesson. It’s the perfect little companion for those times when you’re away from the internet but still in the mood to draw.
This compact guide captures all the essential steps, making it super convenient to bring out whenever you feel like drawing. You can download it onto any device, print it out for your art folder, or even share it with friends during a drawing session. So why wait? Get your free PDF and keep honing those artistic skills anytime, anywhere!
Alternative Drawing Techniques
Knowing that practice is key to improving in art, I’ve created several unique drawing techniques for your Teddy bear project. Each method is designed to build upon what you’ve already learned, while introducing new skills.
Each technique is a stepping stone to becoming a more versatile artist, giving you the chance to practice a wide array of artistic expressions and hone your skills in a fun and engaging way.
How to Draw a Chibi Teddy Bear
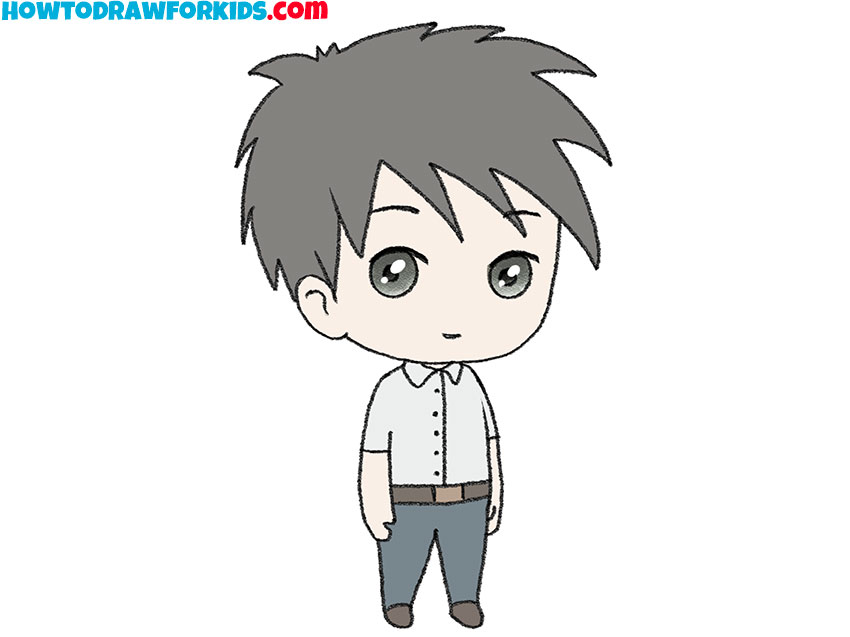
For the first alternative method in our Teddy bear drawing series, I’m thrilled to guide you through creating an adorable chibi Teddy bear! This style emphasizes cute, large heads and small bodies, making for an irresistibly cute character that you’ll love drawing over and over again.
The chibi Teddy bear is all about simplicity and exaggerated features, perfect for adding a touch of whimsy to your art skills. With this method, you’ll get to explore a playful and charming way to express your creativity while drawing one of the most beloved plush toys.
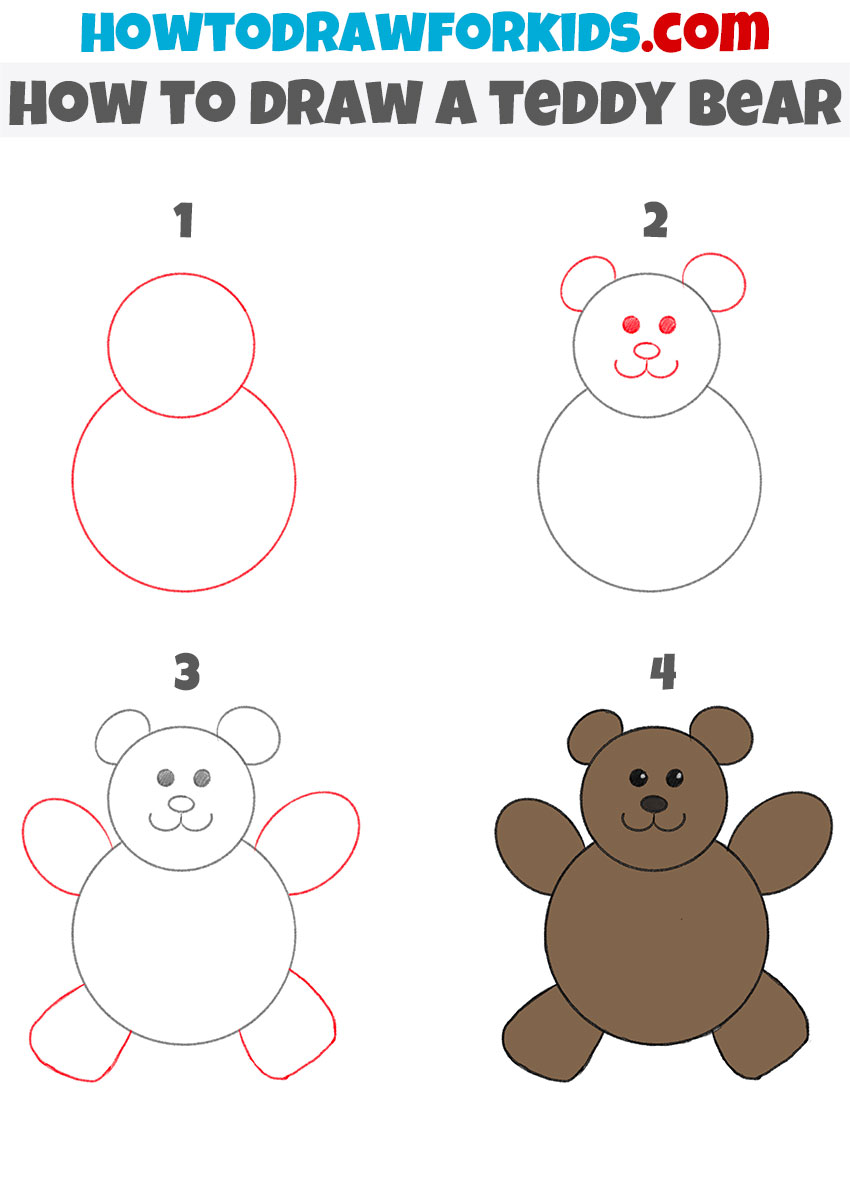
Teddy Bear Drawing for Kindergarten
This method is designed with the youngest of artists in mind, showcasing a super simple way to sketch a Teddy bear. We begin with basic circles to form the bear’s head and body, ensuring each child can easily follow along.
Then we add little ovals for ears, arms, and feet, transforming our basic shapes into a Teddy bear bursting with personality. This approach is not just about drawing; it’s about making each child feel like a true artist. With this technique, the delightful result is a friendly Teddy bear that any child would be proud to show off.
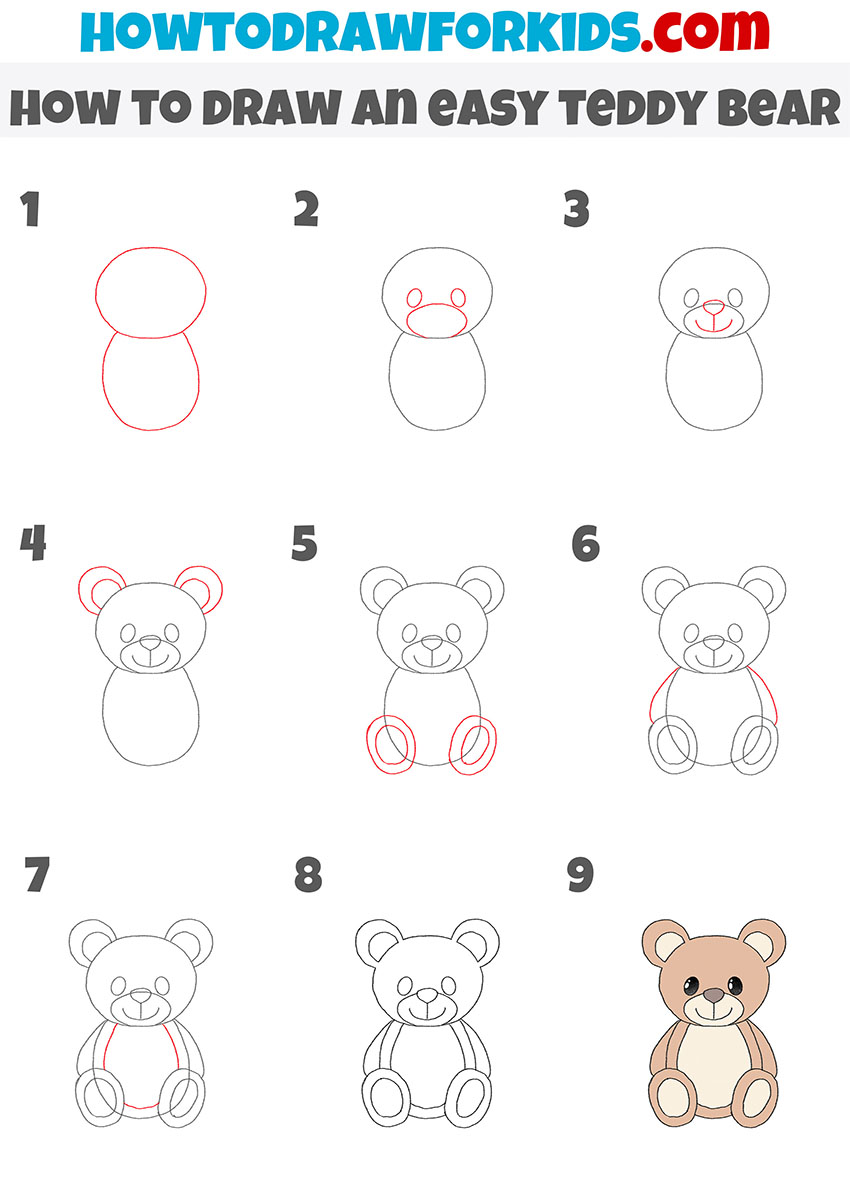
How to Draw an Easy Teddy Bear
This method presents an easy way to depict a Teddy bear, breaking down the process into simple, manageable parts that come together to create a charming character. We start with basic shapes to form the foundation of the bear. Then gently add in the details that give it personality—like the eyes, nose, and a contented smile.
The limbs are outlined with care, ensuring that each part maintains the Teddy bear’s overall round and soft appearance. It’s a straightforward approach that results in a Teddy bear that any child would be delighted to sketch and call their own creation.
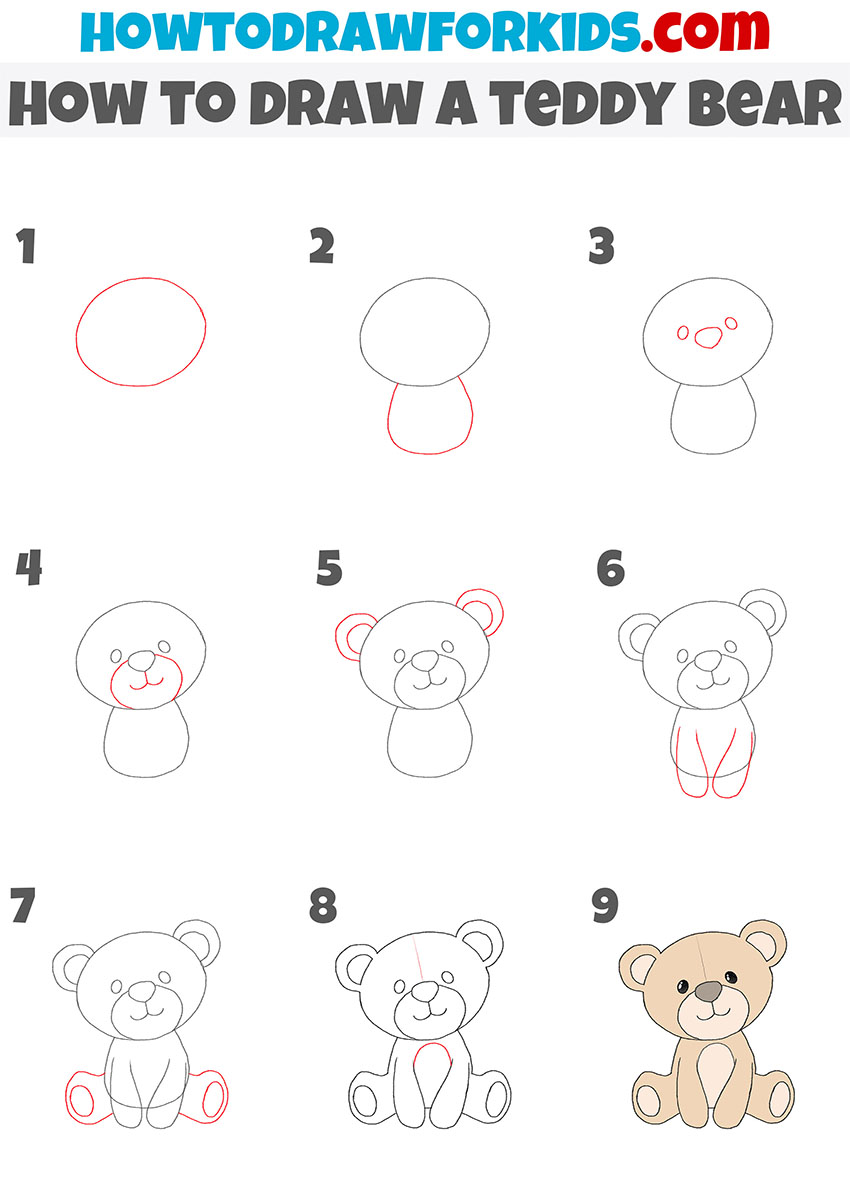
Cute Teddy Bear Drawing Guide
This final alternative method I’m going to show you is all about drawing a very adorable Teddy bear. We’ll focus on creating a character that exudes cuteness, with round cheeks and a soft, welcoming expression.
It’s a lovely way to finish our exploration of Teddy bear drawing, giving you a sweet and simple technique that results in a Teddy bear you’ll want to hug right off the page. So, let’s put our drawing skills to work and create the cutest Teddy bear yet!
Conclusion
You’ve done a bear-iffic job with your Teddy bear! There’s a whole bunch more to learn and draw, so why stop now? On my website, you can discover how to sketch the perfect blades of grass or design a cake for a party.
And there’s always something new coming up! Make sure to follow me on social media to catch all the exciting content that’s coming your way. Let’s keep drawing and creating together!