How to Draw a Tie
Follow this easy guide on how to draw a tie to complete a full drawing from the knot to the pointed end with simple and smooth outlines.
How to Draw a Tie: Introduction
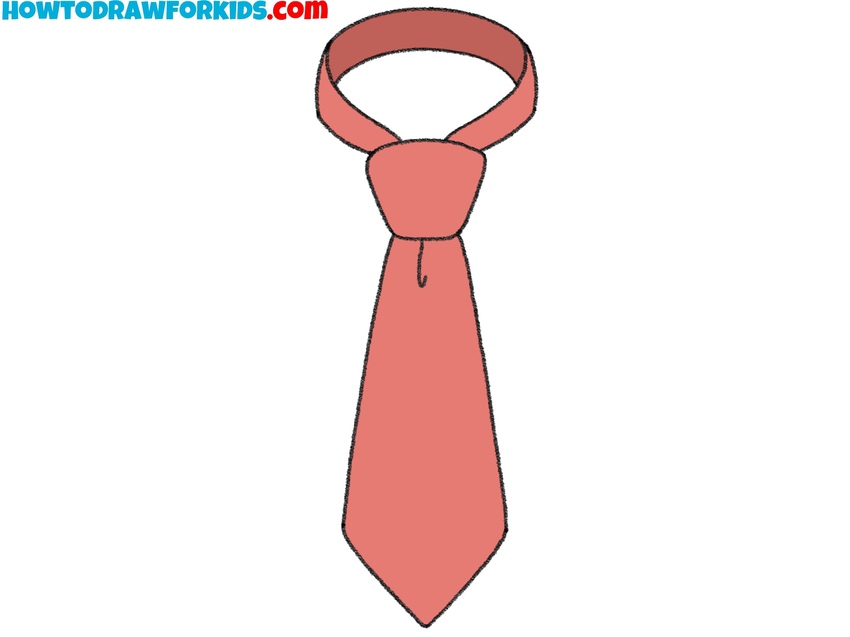
In this lesson on how to draw a tie, you’ll sketch a classic front-facing tie with a centered knot and a wrapped collar loop. The shape is simplified but still includes a clear knot and the wrapping collar for an authentic look. It’s a great subject for practicing symmetry and precision with very simple straight and curved lines.
While drawing this tie, pay attention to the overall proportions between the knot and other parts. The knot acts as the central part of the tie drawing, keep it compact and slightly wider at the top, to give your drawing more realistic look. Also, don’t forget about small details, as folds on the knot.
Keep both sides symmetrical. Use smooth, deliberate lines and check proportions before moving on. The tie’s pointed lower end should be symmetrical and centered under the knot.
As you go through the tutorial, remember that there are many different types and shapes of ties in the world. You can also draw a tie in a realistic manner or in a more stylized and cartoonish manner. Your tie can be short or long, wide or narrow, triangular or flat at the end. It all depends on your preferences, but the general sequence of steps and basic principles of drawing a tie remain the same.
Tie Drawing Tutorial
Materials
- Pencil
- Paper
- Eraser
- Coloring supplies
Time needed: 25 minutes
How to Draw a Tie
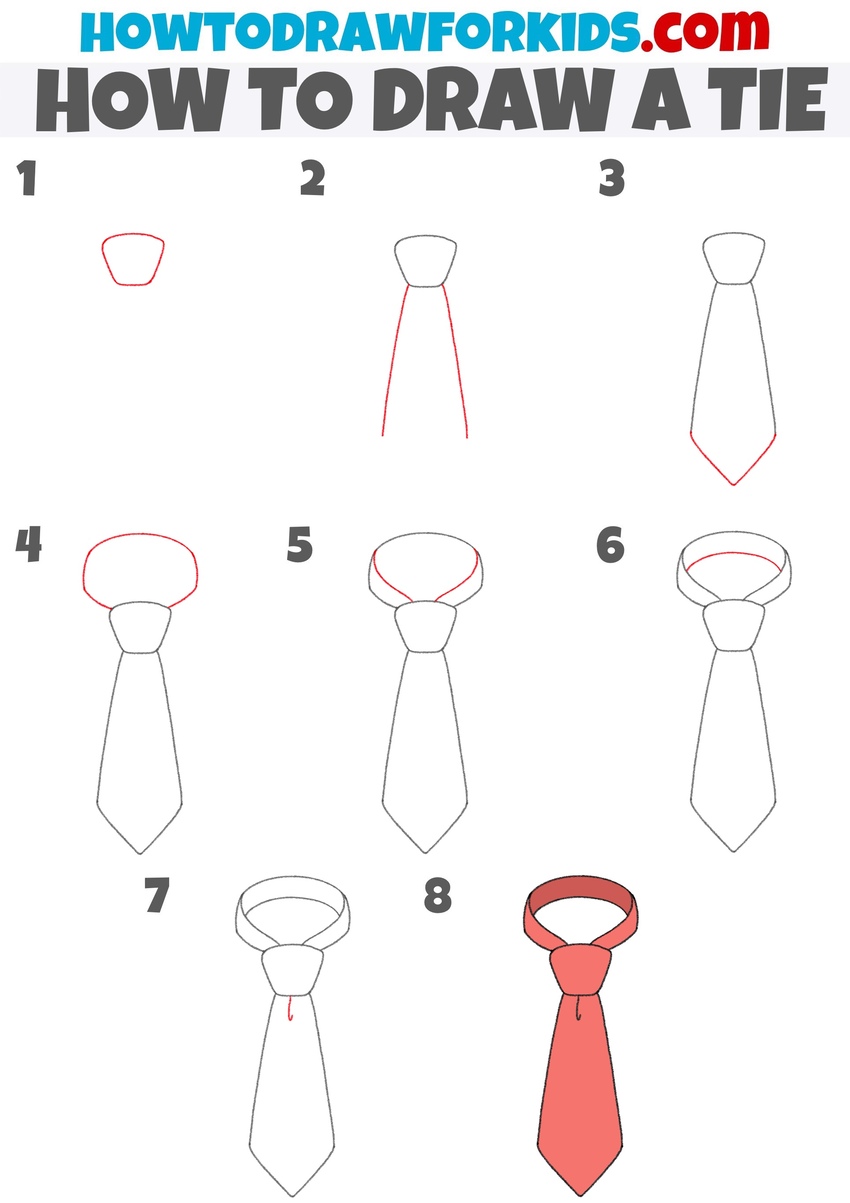
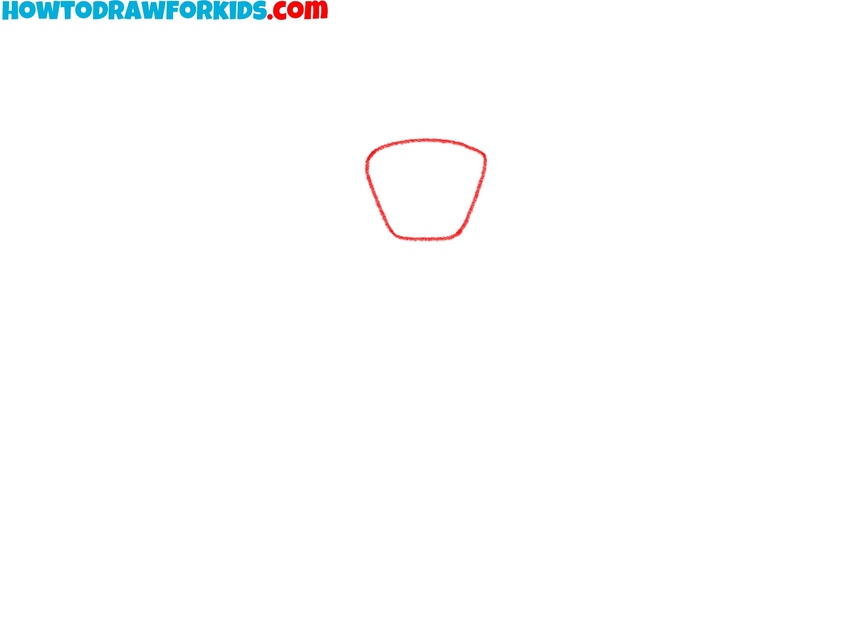
- Sketch the tie’s center knot.
First, sketch a small, tapered shape near the top center of your page. This will represent the knot of the tie. It should resemble a short, slightly rounded trapezoid with the top side wider than the bottom. Make sure the lines are symmetrical and the corners are soft and smooth.
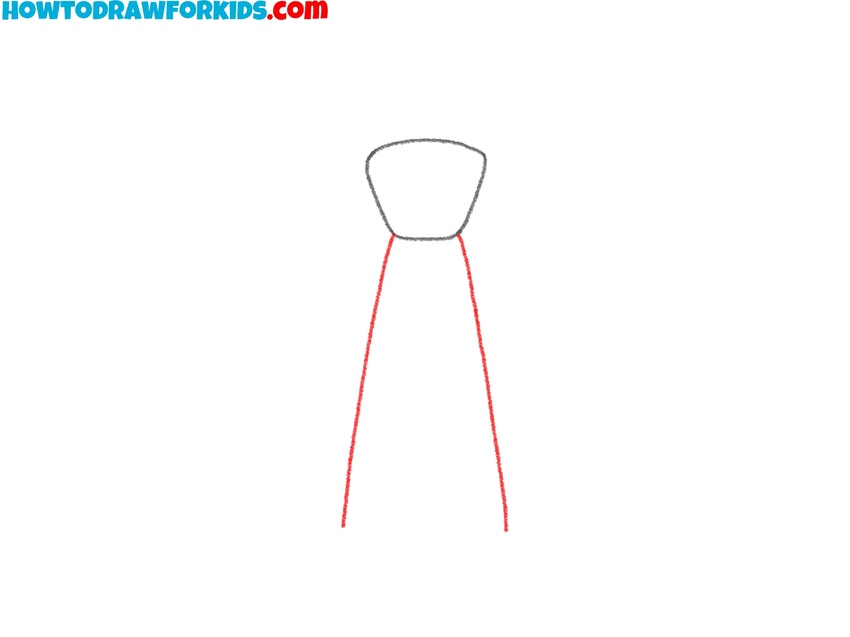
- Draw the side lines of the tie.
Now draw two long lines extending down from the knot. These lines form the sides of the main body of the tie. These edges should remain symmetrical and equal on both sides. You can adjust the length depending on how long you want the tie to be, but keep in mind that most standard ties fall to the belt.
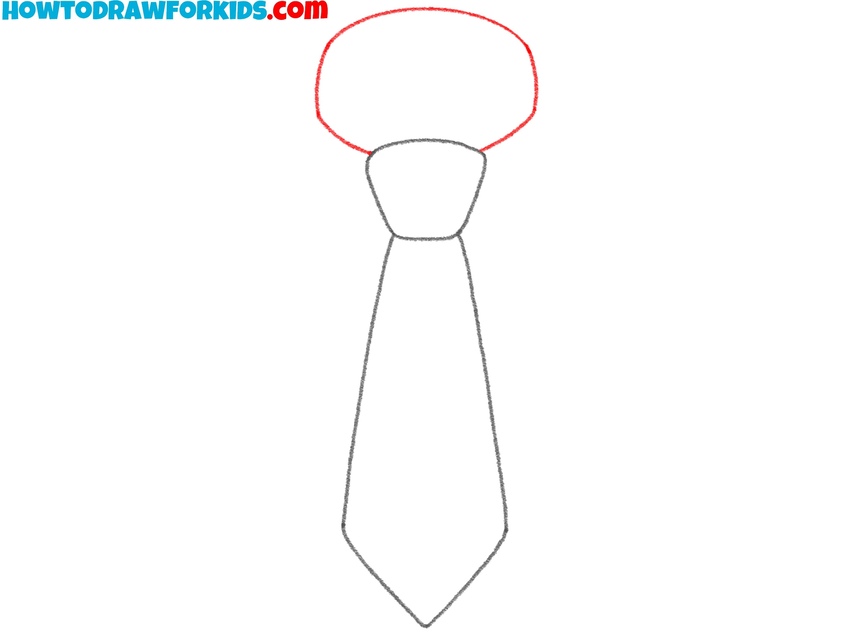
- Draw the tip of the tie.
Connect the two side lines at the bottom by drawing two angled lines that meet at a point. This completes the diamond-like shape of the hanging part of the tie. The tip should be symmetrical and sharp, forming a clean “V” at the base. If you want a more modern tie, you can flatten the bottom.

- Draw the neck loop above the knot.
Above the knot, draw a large oval-like shape to represent the tie band or neck loop. This shape should have soft lines and smooth shapes. The bottom edge of the collar should appear to rest just above the knot without overlapping it. You can give this part a bit more curved look.
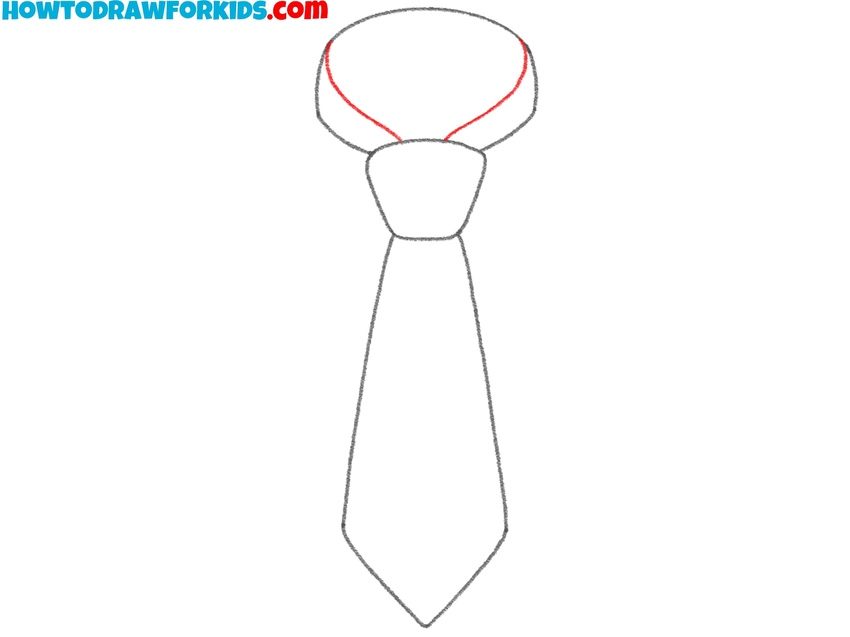
- Refine the neck band with curves.
Now detail the neck loop by adding two small curves that extend from each side of the loop down to the knot. These lines define how the tie wraps around the neck. They make the tie band appear more three-dimensional. You can experiment with more angular lines or softer curves.
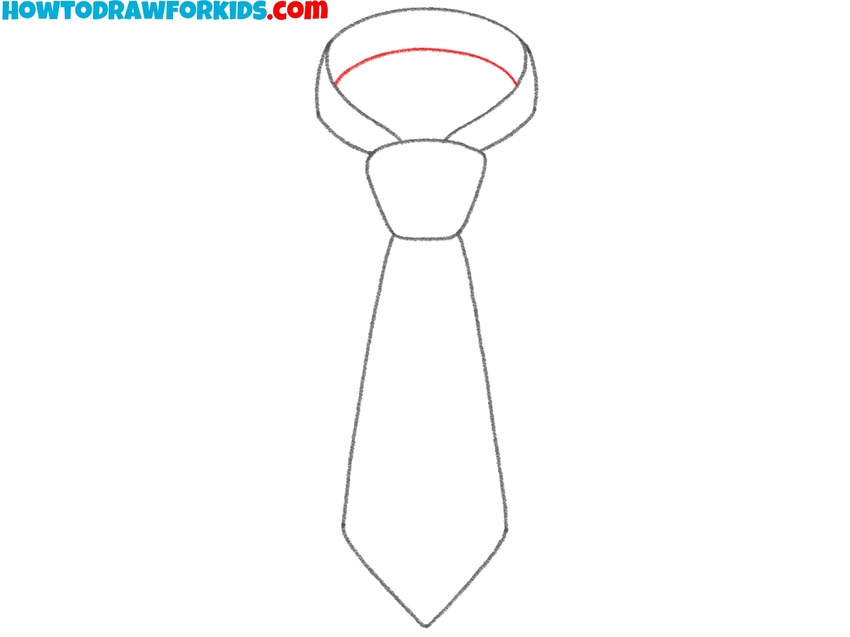
- Complete the inner line of the loop.
To finish the neck loop, draw a curved line connecting the two inner edges of the loop at the back. This line should sit just above the knot and follow the general curve of the neckline. This small curved line closes the tie band and completes the outline of the upper part of the drawing.
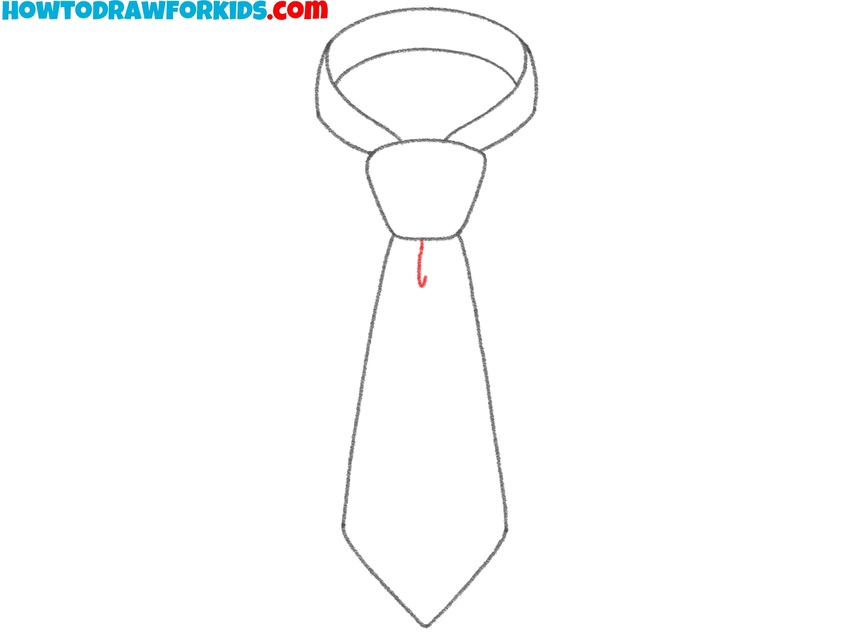
- Sketch a fold below the knot.
Below the knot of your tie, draw a short vertical line or crease to illustrate fabric gathering under the knot. This small line shows that the fabric is tightening and flowing downward from the knot. It also helps distinguish the knot from the long part of the tie.
- Finalize the tie with coloring.
To make your tie drawing look authentic, use a bold, solid color like red or blue. You can also add light shading under the neck loop or along one side of the tie to make your sketch look more realistic. For a more stylized look, try a striped or dotted pattern across the tie’s body.

Conclusion
This simple tie drawing tutorial demonstrates really basic principles: a small symmetrical knot, a simple elongated shape for the body, and a narrow loop wrapping around the neck. The style is intentionally simplified to make the form easy to replicate.
You can easily adjust the bottom point to make it flat instead of sharp, or change the width of the tie for a more modern or vintage look. Try drawing it loosely hanging or slightly tilted for a different versions.
Once you’ve practiced this version, take the next step by placing the tie on a full shirt. You can use my shirt drawing tutorial to practice how the tie sits under a proper collar.
For more complete compositions, visit the shoe drawing tutorial and combine it with pants drawing for a full outfit. These combinations will help you better understand how accessories like ties interact with clothing and character design.