How to Draw a Washing Machine
Today in this tutorial you will learn how to draw a washing machine in just nine easy steps with helpful tips.
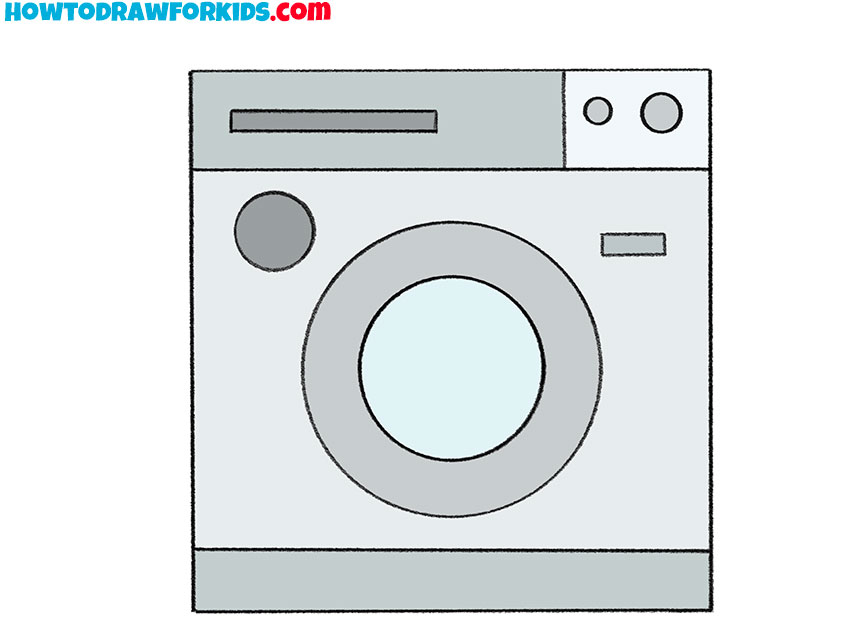
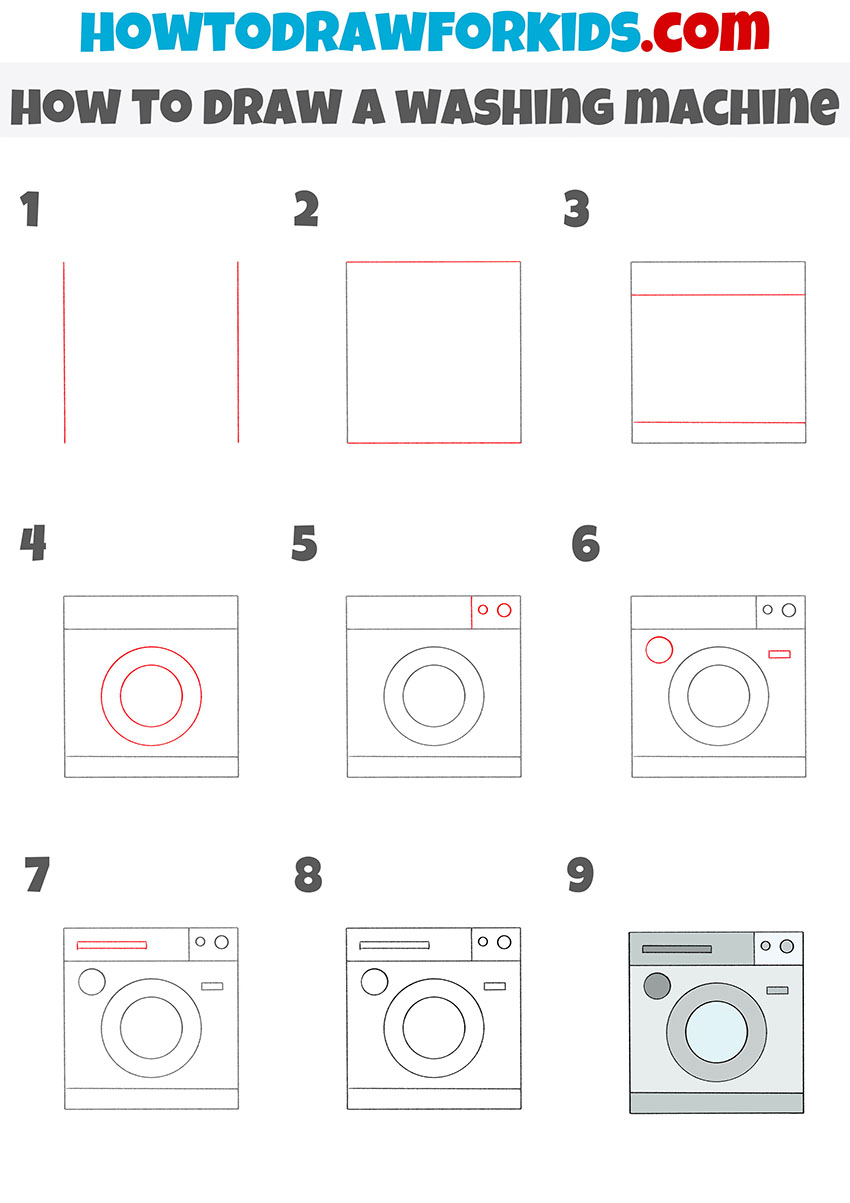
Now I want to present to you with another interesting lesson in which you will learn how to draw a washing machine. The lesson consists of nine simple steps that any aspiring artist can easily follow.
In this lesson, I will show in detail how to draw a washing machine. This automatic device is in every home. The washing machine helps keep clothes and other household items clean.
In order to depict a washing machine, you must correctly follow all the steps that are presented in this instruction. Each step is one simple action.
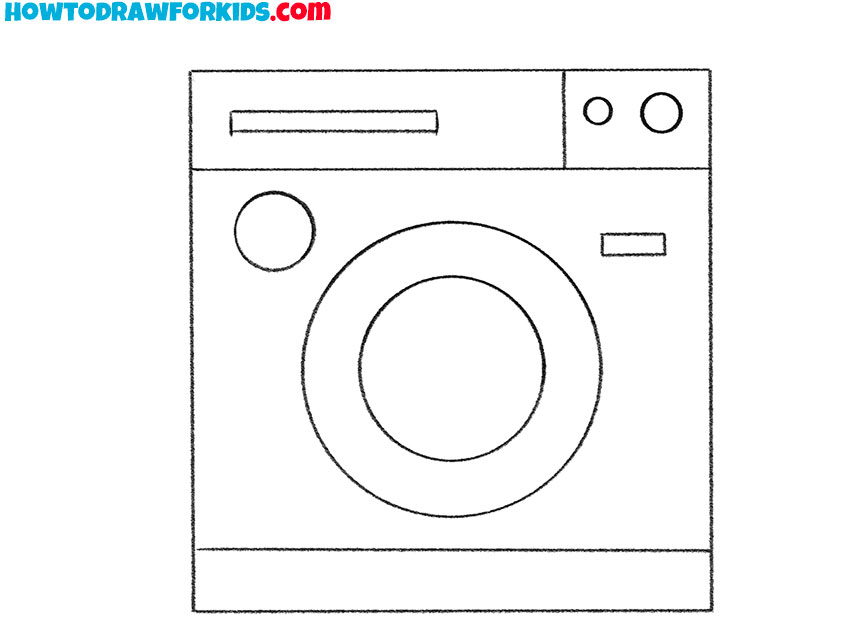
The washing machine has a rectangular shape, in front, there is a control panel and a round opening for loading laundry. This is the most common model of the washing machine.
Materials
- Pencil
- Paper
- Eraser
- Coloring supplies
Time needed: 30 minutes
How to Draw a Washing Machine
- Draw the sides.
Depict two straight vertical lines.

- Depict the bottom and top outline.
Draw two horizontal lines to make a rectangle.

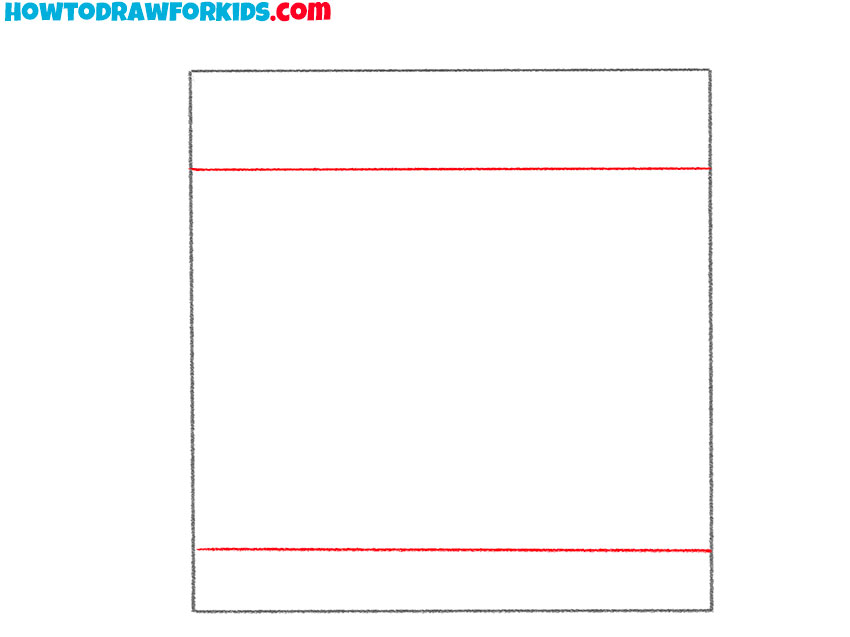
- Add additional structural elements.
Sketch out horizontal lines at the top and bottom.
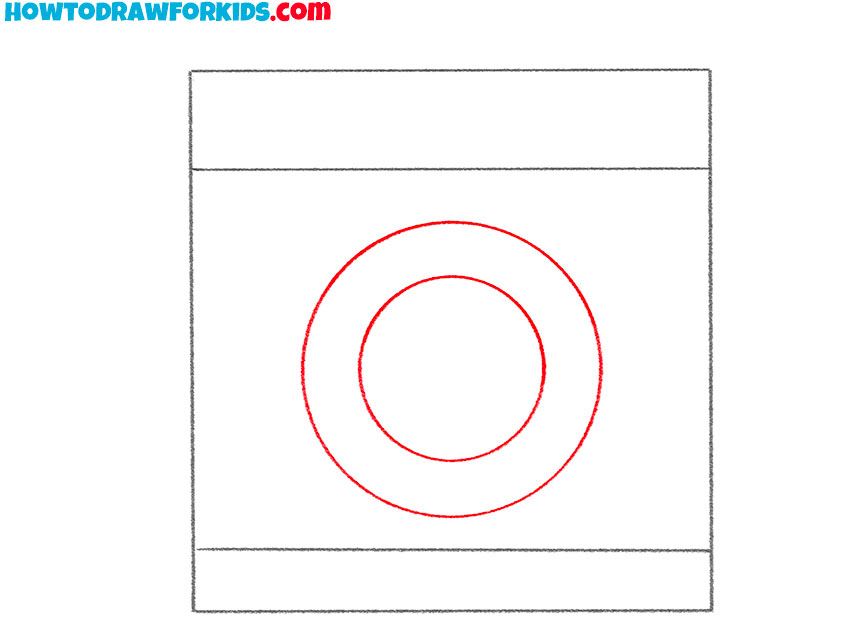
- Draw the side door.
In the middle of the washing machine, draw two circles of different diameters.
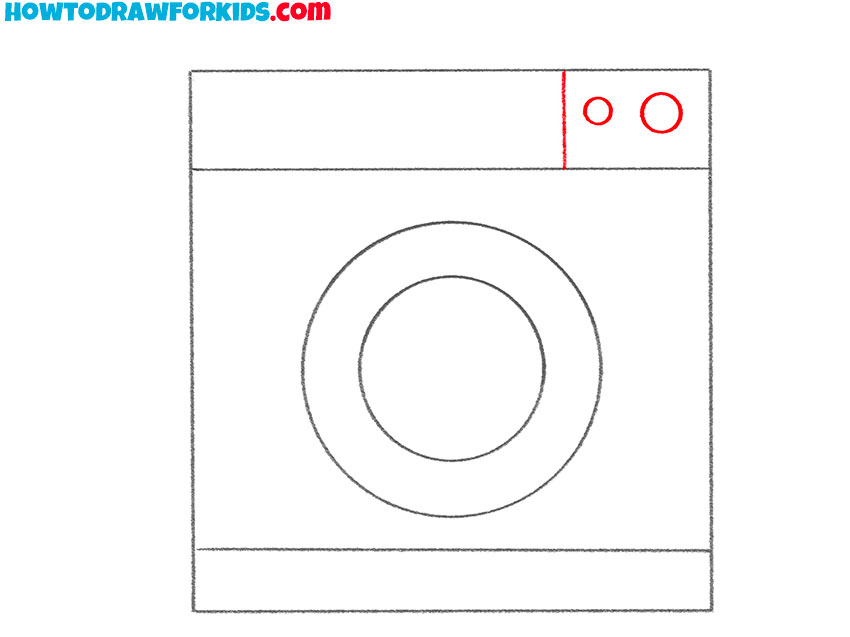
- Sketch out the buttons.
In the upper-right part, draw a vertical line and add two small circles.
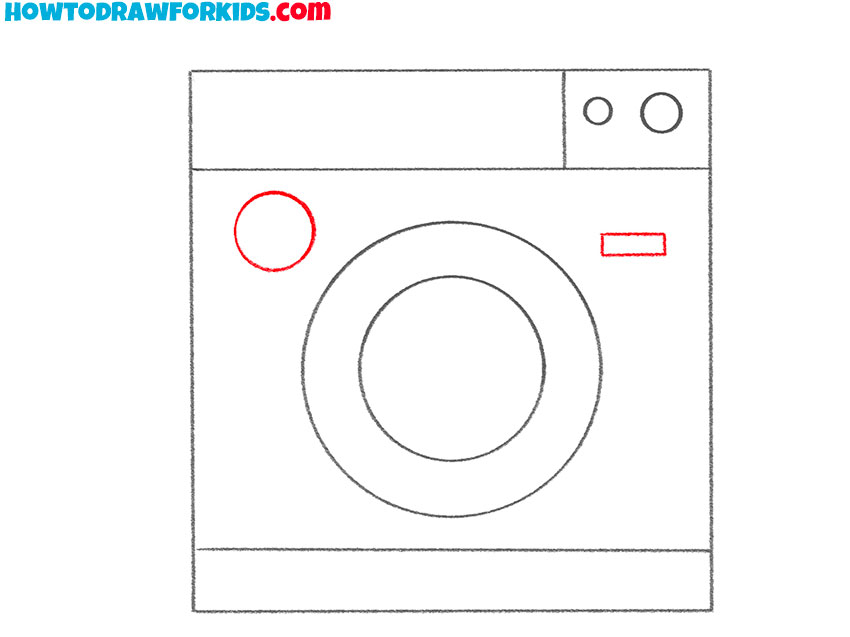
- Depict the rest of the elements.
Draw a small circle on one side and a rectangle on the other side.
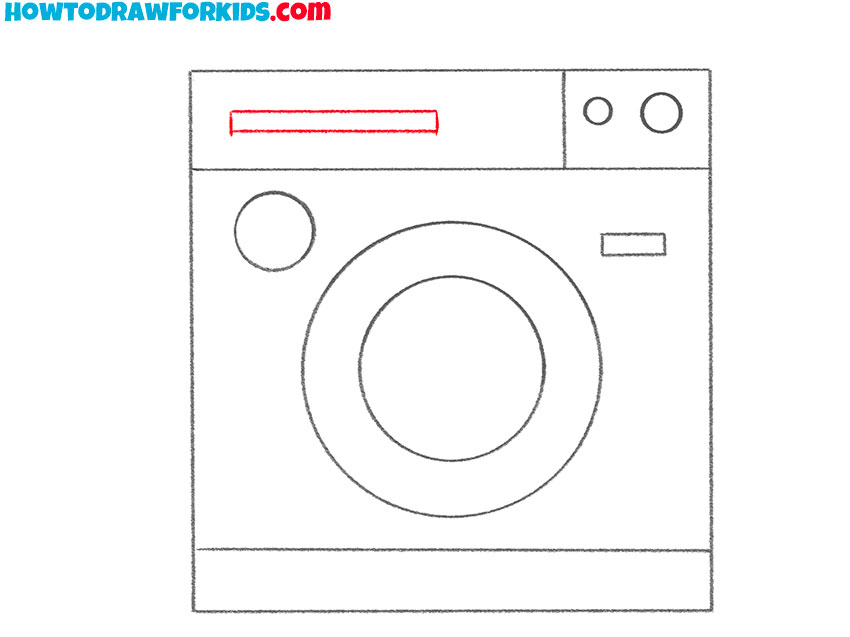
- Add details.
In the upper left corner, add a rectangle-shaped shape.
- Correct inaccuracies.
Use the eraser to remove all inaccuracies.
- Color the washing machine.
For coloring, use several shades of gray.

By tradition, I prepared a short version of the lesson in PDF format for you in advance. Download the file and do the drawing at any convenient time.

