How to Draw a Wave
Today, I invite you to join me in the artful pursuit of capturing the ocean’s waves. Drawing a wave is about more than illustrating water; it’s an exercise in bringing to paper the dance between the sea and the wind. In this tutorial, I present a straightforward technique that distills the wave’s essence into clear, manageable steps.

How to Draw a Wave: Basic Information
Capturing the ocean‘s spirit with pencil and paper can be a daunting task, yet with this guide on how to draw a wave, it becomes a joyous exploration. The waves we’re about to sketch are not just water in motion; they’re the embodiment of the ocean’s heartbeats, each one unique and full of life.
The technique I’ve honed for you begins with the wave’s gentle rise and concludes with its powerful crest. This lesson is designed to guide your hand in creating fluidity within the wave, emphasizing its organic and ever-changing form. By breaking down the complex shapes into basic elements, the process becomes accessible to all.
As you prepare to draw a wave, remember that every line contributes to the wave’s overall dynamism. With the skills you gain here, you’ll not only capture the wave’s physical form but also its fleeting, ephemeral beauty. So let’s ride the creative current together, and bring the ocean’s allure to the shore of our sketchbooks.
Wave Drawing Tutorial
Materials
- Pencil
- Paper
- Eraser
- Coloring supplies
Time needed: 30 minutes
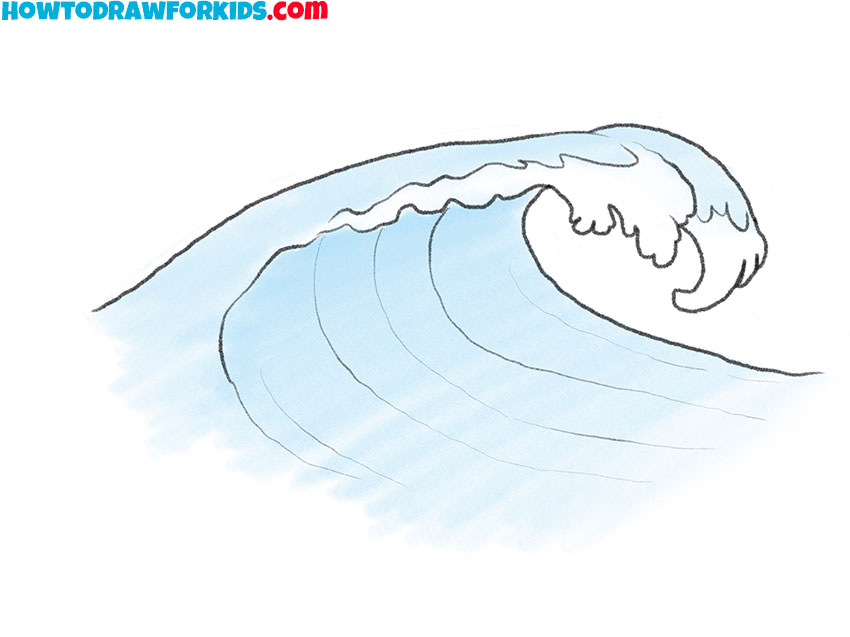
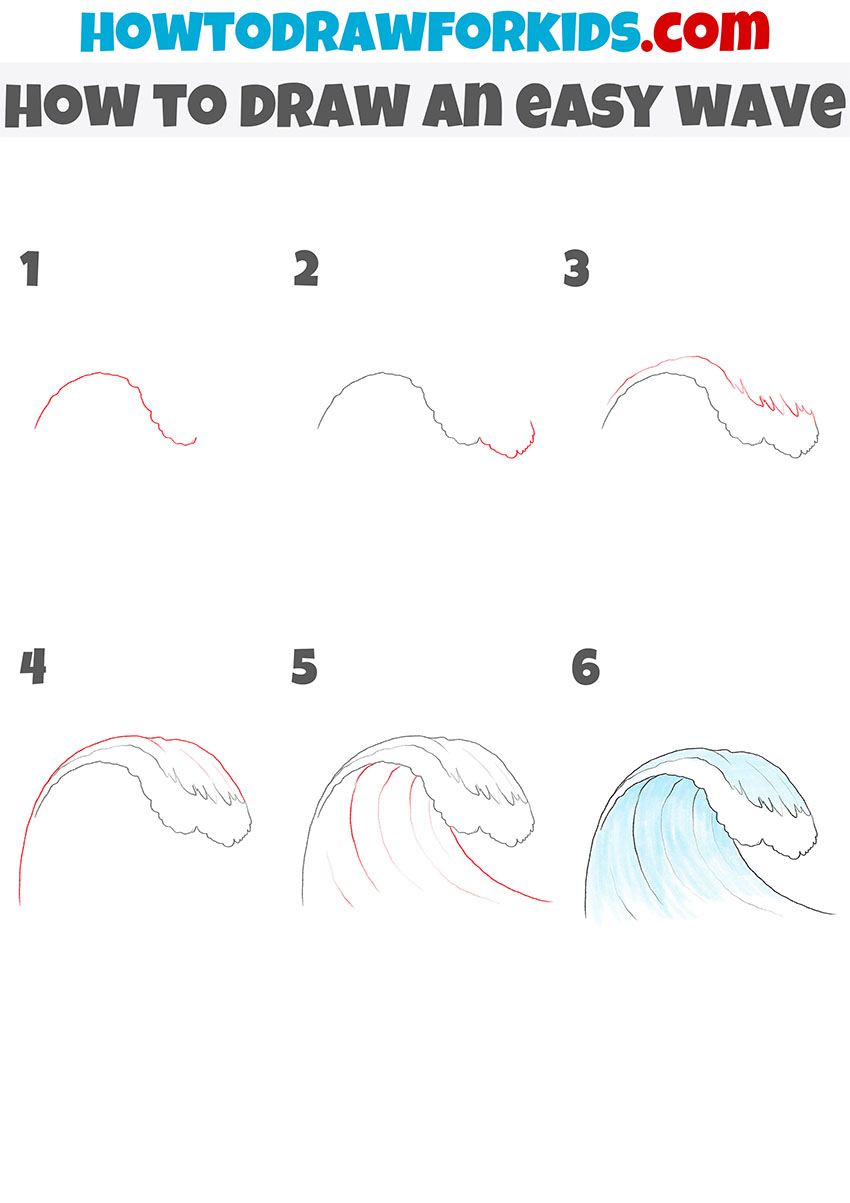
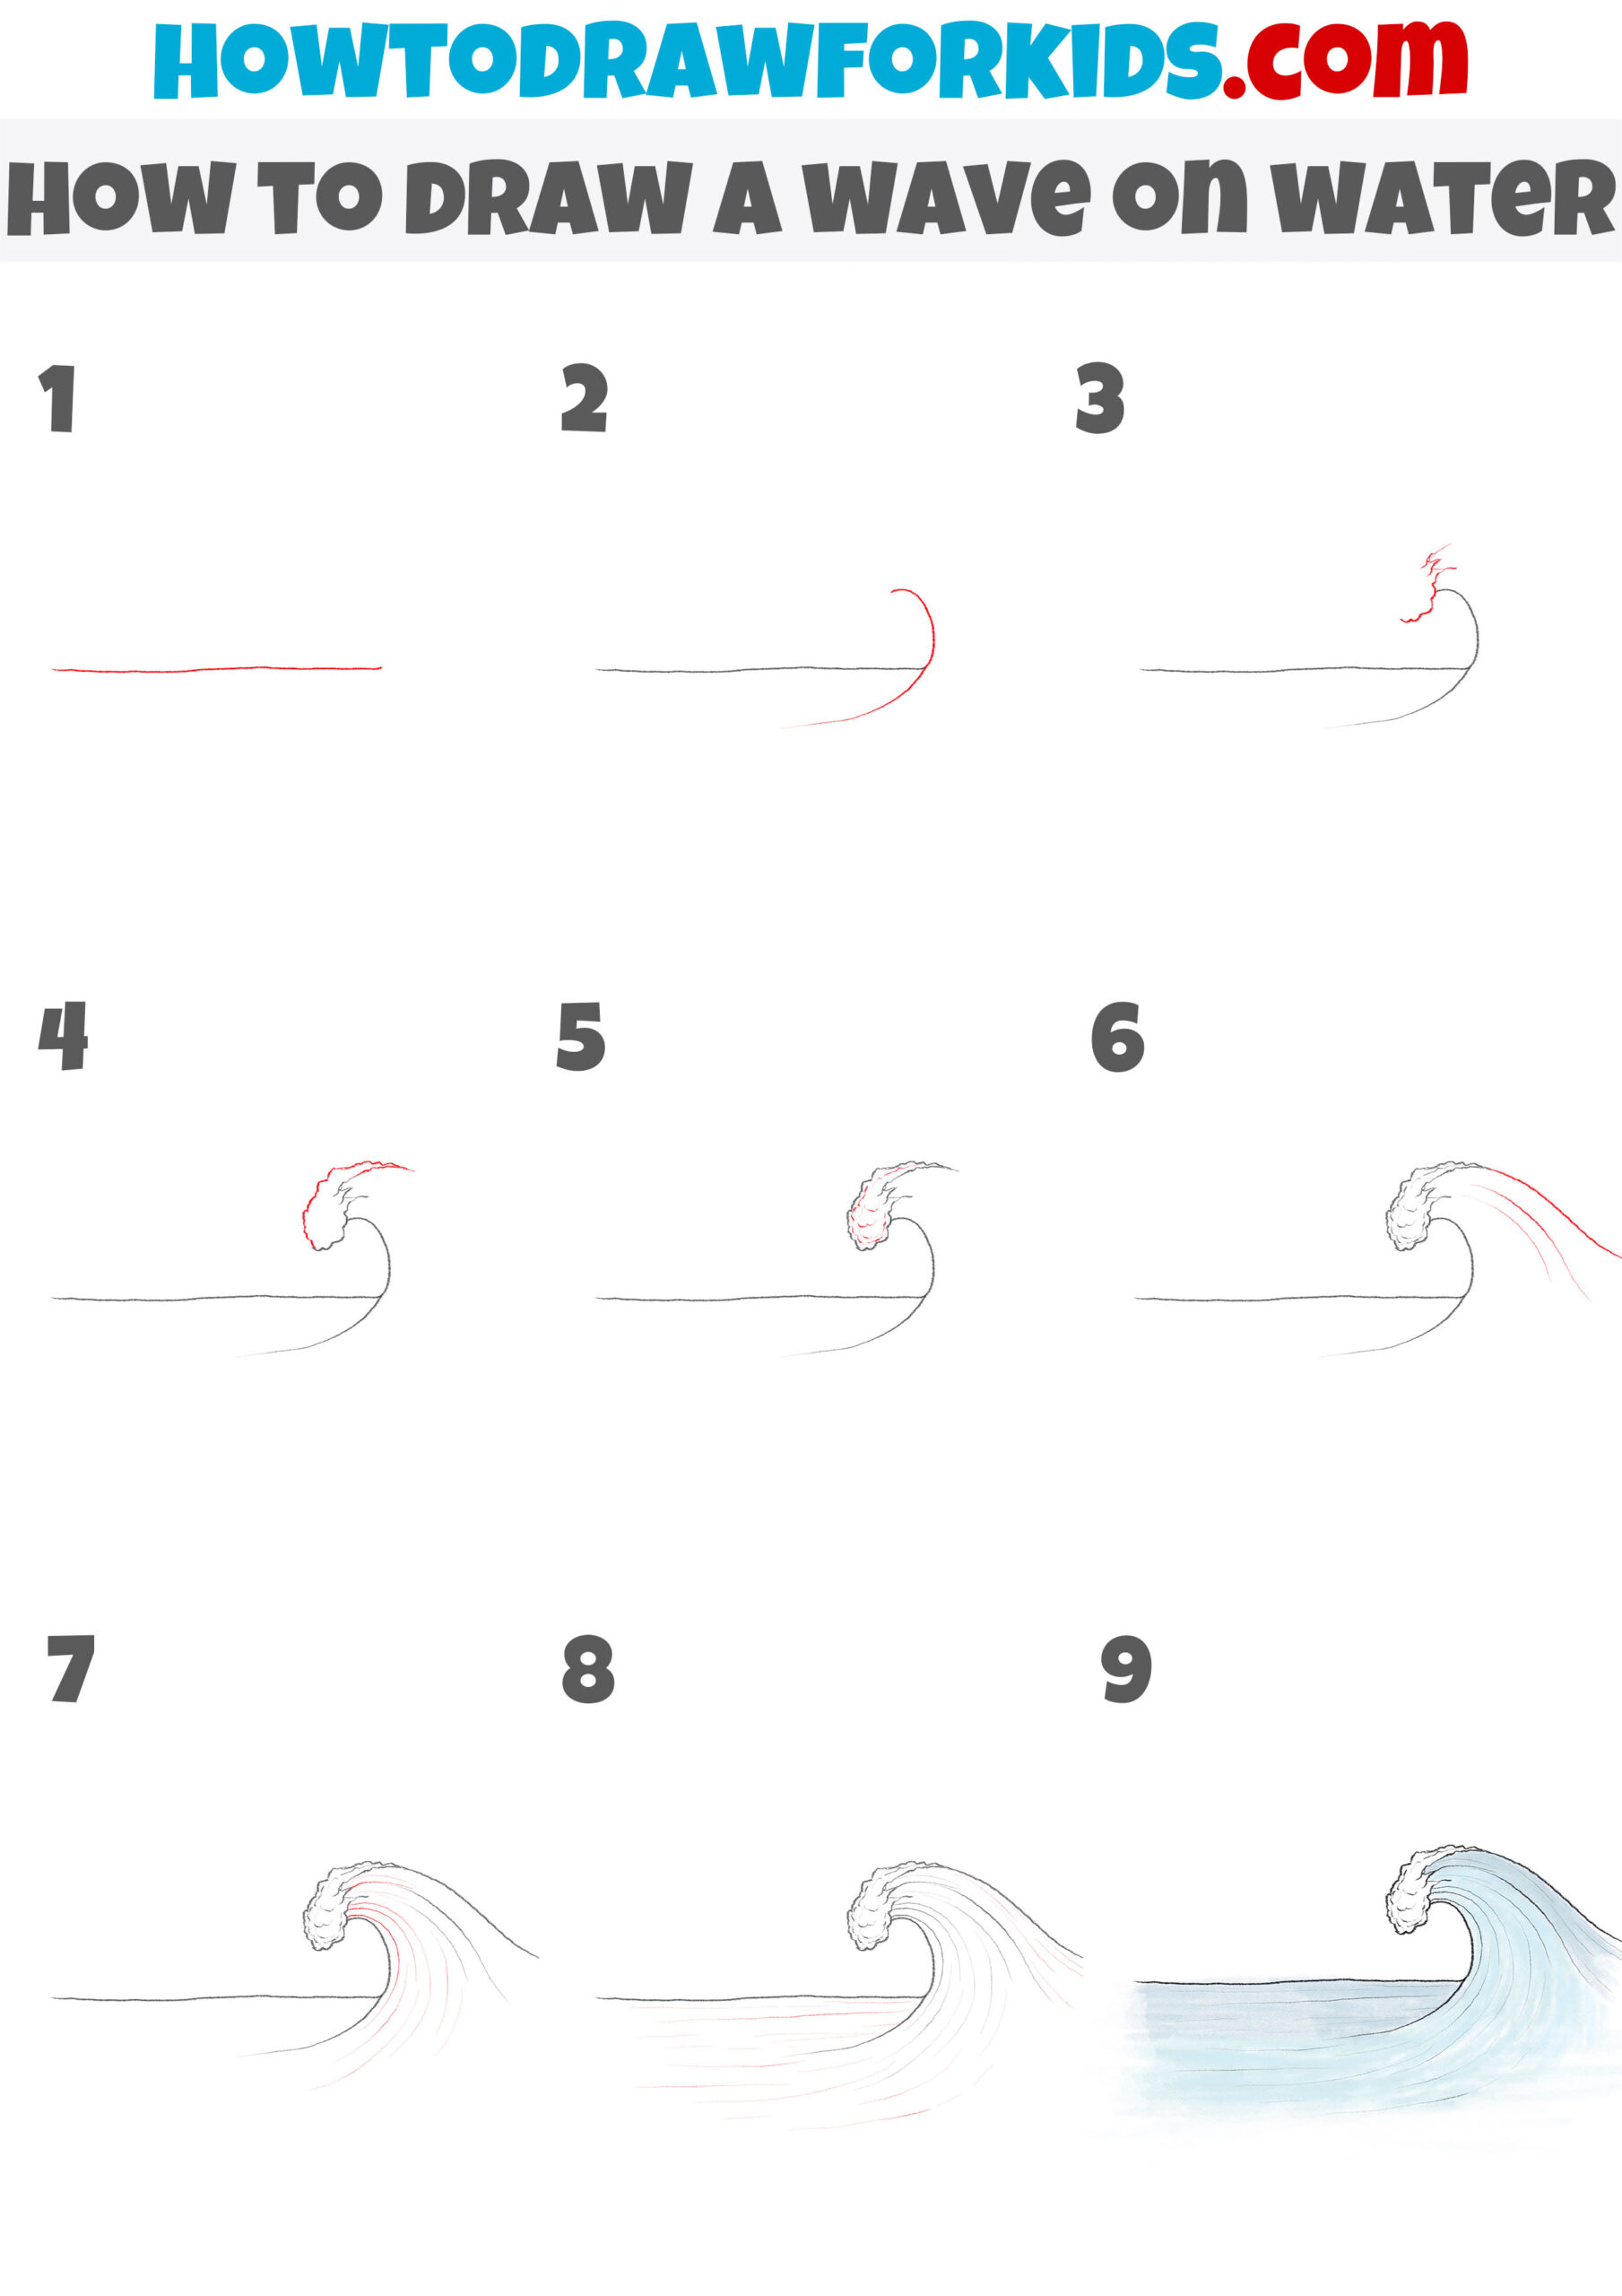
How to Draw a Wave
- Draw the edge of the crest of the wave.
Depict several curved lines of varying lengths to complete this step.

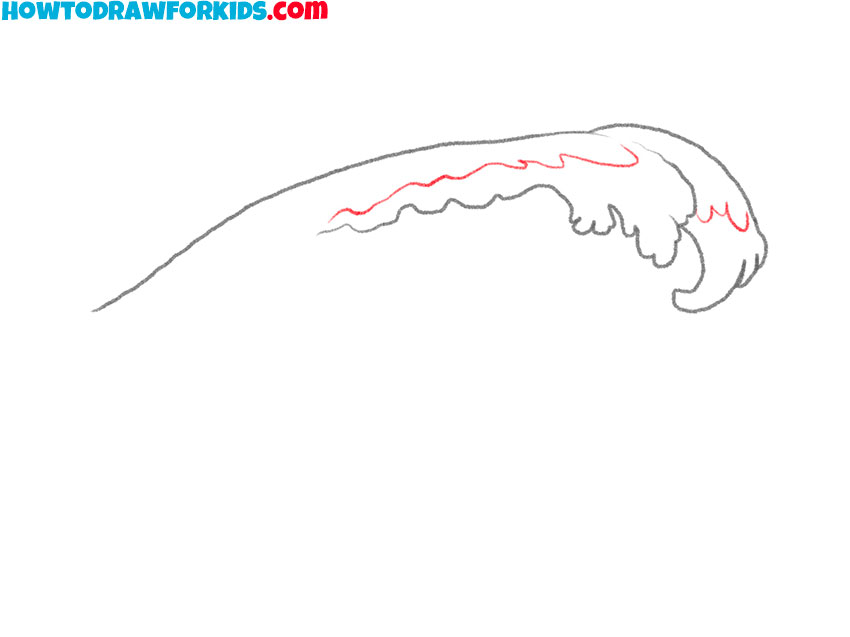
- Continue drawing the edge of the crest of the wave.
Next to the previously drawn element, add wavy curved lines.

- Add the top edge of the crest of the wave.
Above the previously drawn lines, add a long, curved line.

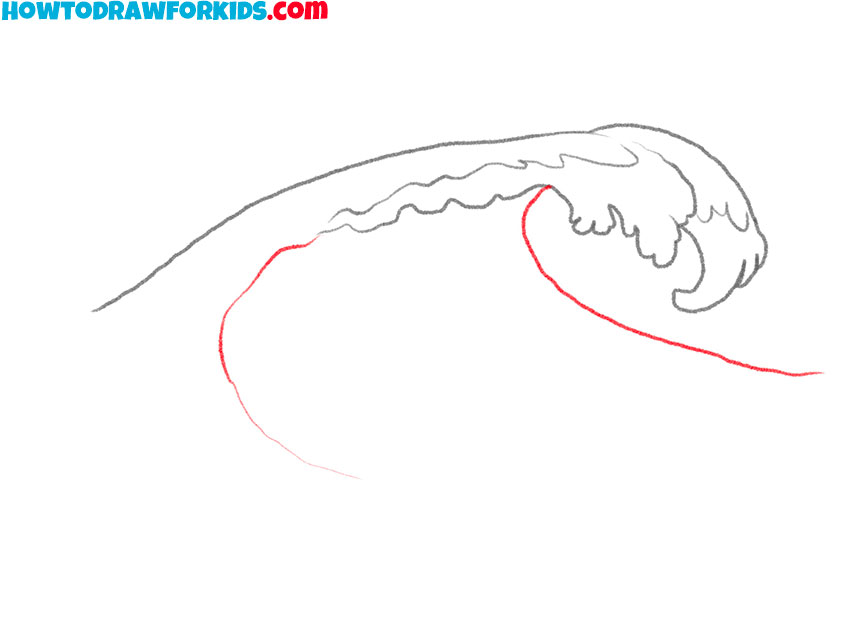
- Sketch out the inside of the wave.
Draw a few broken, curved lines near the edge of the crest of the wave.
- Depict the bottom of the wave.
Add two curved lines of different lengths as shown.
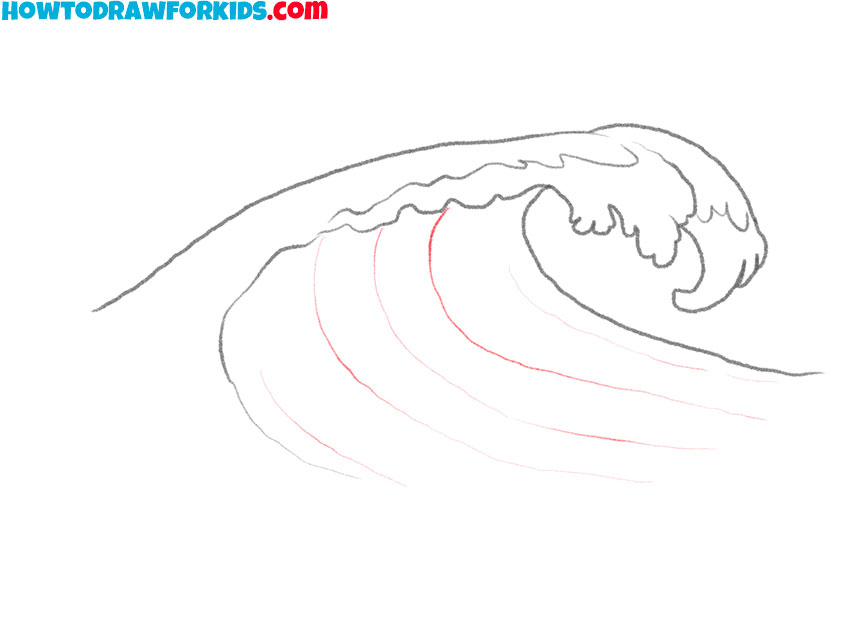
- Add details.
To make the wave appear voluminous, depict its inner part using thin dashed lines.
- Color the drawing.
To color the wave, use shades of blue.
Additional Content
To support your journey in capturing the ocean’s essence, I’ve prepared a streamlined PDF version of our wave drawing tutorial. It’s a free resource, meticulously distilled to the core principles of wave illustration, and available for you to download. You can practice with it anytime, anywhere – no internet connection required.
This portable guide is designed to complement your practice sessions, ensuring you can revisit the key steps of drawing a wave whenever inspiration strikes. Crafted for convenience, it’s a valuable tool for both spontaneous creativity and deliberate practice, encouraging continuous improvement in your artistic skills.
I encourage you to take advantage of this PDF, a concise companion in your artistic endeavors. It’s there to help you refine the motions of your pencil, turning simple sketches into waves that embody the rhythm of the sea. Download it today and have a piece of the ocean always at hand, ready to flow onto your paper.
Alternative Drawing Technique
Diving deeper into the art of capturing the sea, I’ve curated a series of alternative wave drawing techniques for you. Each method is meticulously designed to sharpen your skills and enrich your artistic expression, allowing for a more nuanced portrayal of this aquatic element.
You’ll learn to imbue your sketches with the wave’s inherent energy and motion, capturing not just its form but also its soul. These exercises are crafted to push the boundaries of your creativity, ensuring that every wave you draw resonates with the powerful grace of the ocean’s endless dance.
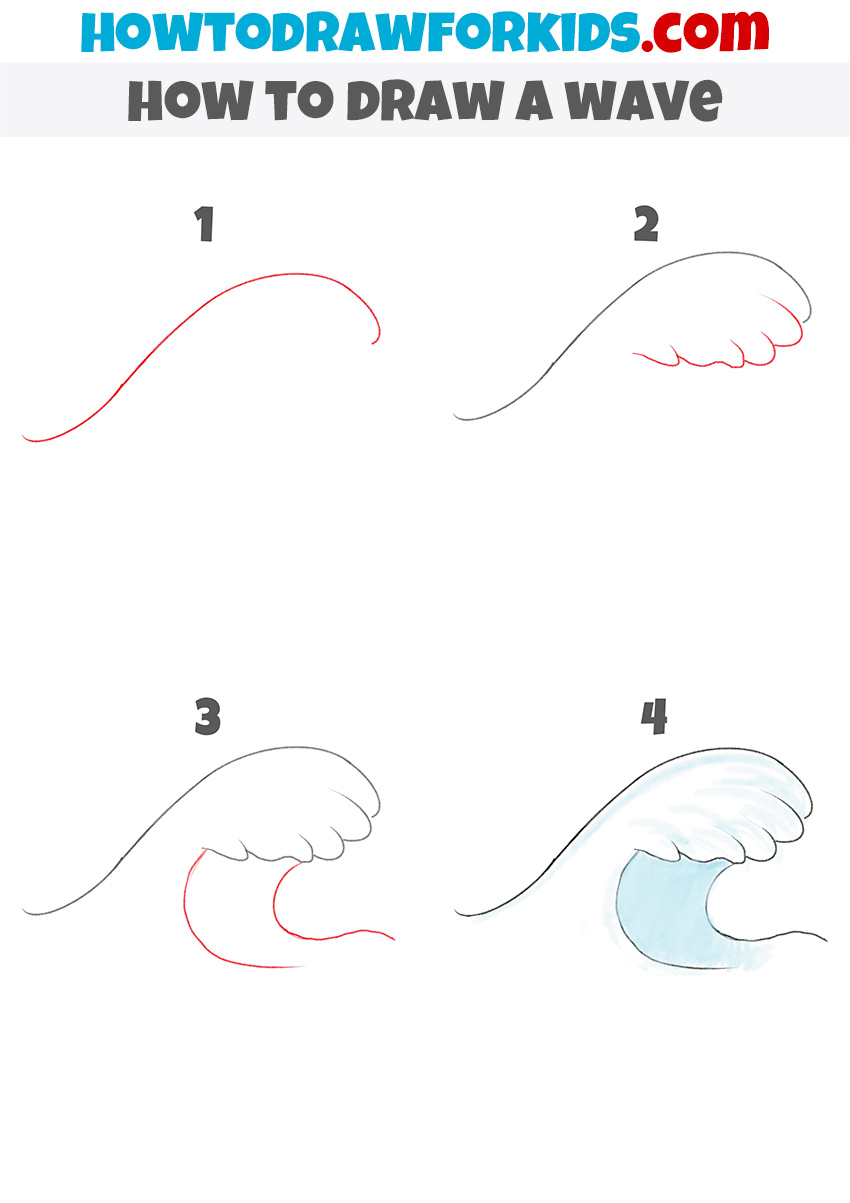
How to Draw a Wave: More Practice
This alternative wave drawing approach starts with the essence of simplicity. The initial stroke captures the wave’s peak, setting the stage for the fluid motion that follows. This method emphasizes the graceful arc of the wave, inviting you to consider the balance between movement and stillness in the water.
Progressing through the steps, we add texture and depth, suggesting the wave’s churning energy. Here, the focus shifts to the interplay of light and shadow, giving the wave a tangible presence. The lines begin to mimic the ocean’s rhythm, each one contributing to the wave’s overall dynamism.
By the final touches, our wave has transformed from a simple curve to a vivid depiction of the sea’s power. The application of color enhances its volume and vitality, inviting the viewer to feel the cool spray and hear the roar of the water. Through this method, the wave’s transient beauty is captured in a moment of artistic clarity.
Wave Drawing Tutorial: Adding Some Volume
Embarking on this drawing method, we begin with a single, gentle stroke, setting the foundation for our wave. This initial line is the horizon from which our wave will rise, a promise of the form to come. With each subsequent mark, we define the wave’s graceful arc, preparing to infuse it with depth and dimension.
As the shape of the wave becomes clear, we delve into the details that grant it realism. Adding shadows beneath the curl, we create weight, suggesting the power lurking within the wave’s crest. Highlights along the wave’s edge catch the imaginary sunlight, offering contrast and enhancing the sense of a moment captured in time.
Now, our wave is not just an outline but a living entity with shadows that dance and highlights that gleam. These final touches of light and dark bring the scene to life, providing a snapshot of the ocean’s ever-moving surface. The result is a wave that looks as though it could crash beyond the bounds of the paper.
How to Draw a Wave for Kindergarten
This drawing method, crafted for the imaginative minds of kindergarteners, begins with a single, flowing line. This first stroke is the genesis of our wave, inviting the child to embrace the fluidity of water. With minimal complexity, the method cultivates the young artist’s intuition for the ocean’s rhythm.
The subsequent steps gently guide the child to add form to the wave, illustrating its crest and trough with broad, sweeping strokes. Each addition is a building block, a simple yet effective way to depict the natural elegance of the sea. The approach remains engaging, ensuring that the process is as enjoyable as the result.
In the final stage, the wave comes to life, with the semblance of foam and the essence of movement, all achieved with just a few purposeful lines. This method is a celebration of simplicity, proving that even with a handful of steps, a child can capture the spirit of the sea in a drawing that they can proudly claim as their own.
Conclusion
Completing this wave drawing lesson is just the beginning. I warmly invite you to delve into the diverse array of drawing tutorials on my site, ranging from the robust lines of a tractor to the delightful details of Squirtle. Don’t miss out on our artistic explorations – follow my social media for new and exciting content every week.
And if there’s a particular lesson you’re yearning for, please leave a comment under the lesson. Your feedback shapes our future tutorials, and together, we’ll continue to make art that excites and inspires.