How to Draw a White-Tailed Deer
Now will learn how to draw a white-tailed deer. With the help of this lesson, you will once again train your creative abilities.
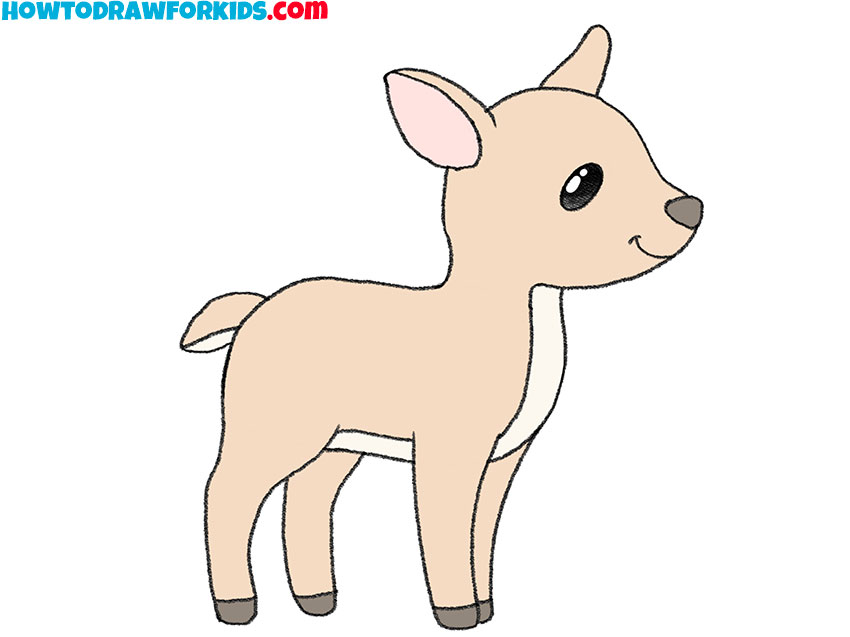
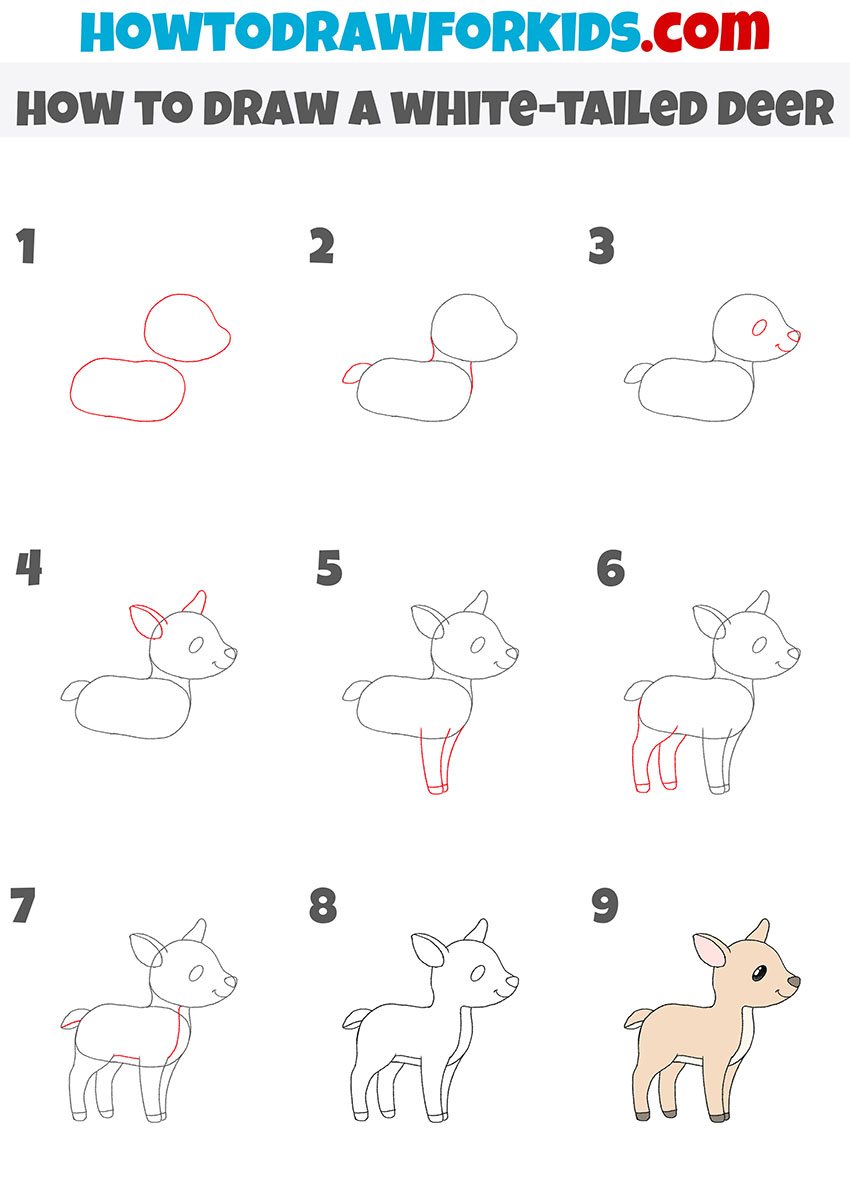
Surely you will like the simple instruction on how to draw a white-tailed deer step by step. I tried to make this lesson as clear and accessible as possible so that you get a good result right away.
The white-tailed deer is the most common member of the deer family that lives in North America. It got its name from the interesting coloration of the tail, in which the top is brown, and the bottom is white. In the picture, the white-tailed deer is presented in a cartoon form and looks very cute and funny. This is a small deer whose antlers have not grown yet.
If you master this lesson, you will acquire useful skills that will be useful to you when drawing other deer. Surely you want to start drawing as soon as possible. If all the art supplies are already at the ready, then you can start an exciting creative work.
White-Tailed Deer Drawing Tutorial
Materials
- Pencil
- Paper
- Eraser
- Coloring supplies
Time needed: 30 minutes
How to Draw a White-Tailed Deer
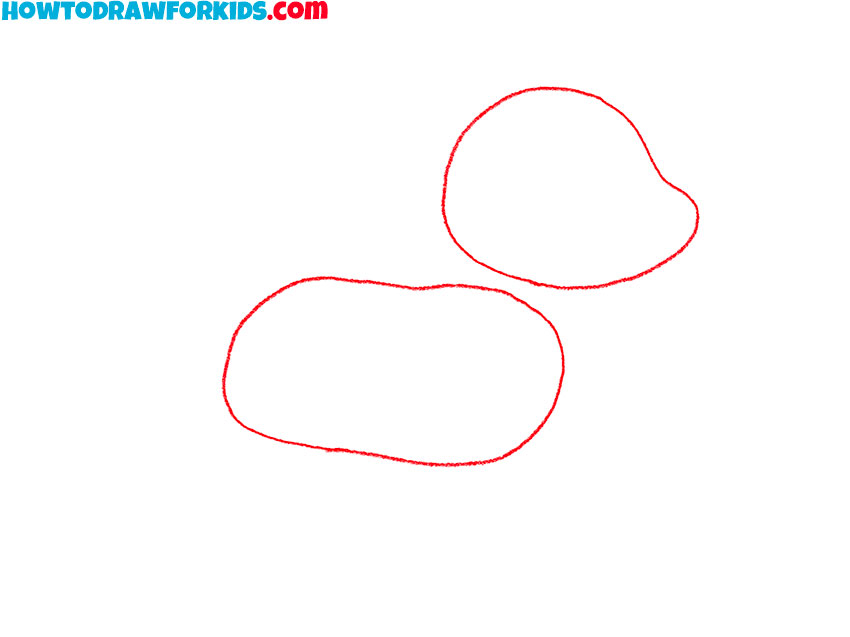
- Draw the head and torso.
Depict two figures of different shapes at some distance from each other.
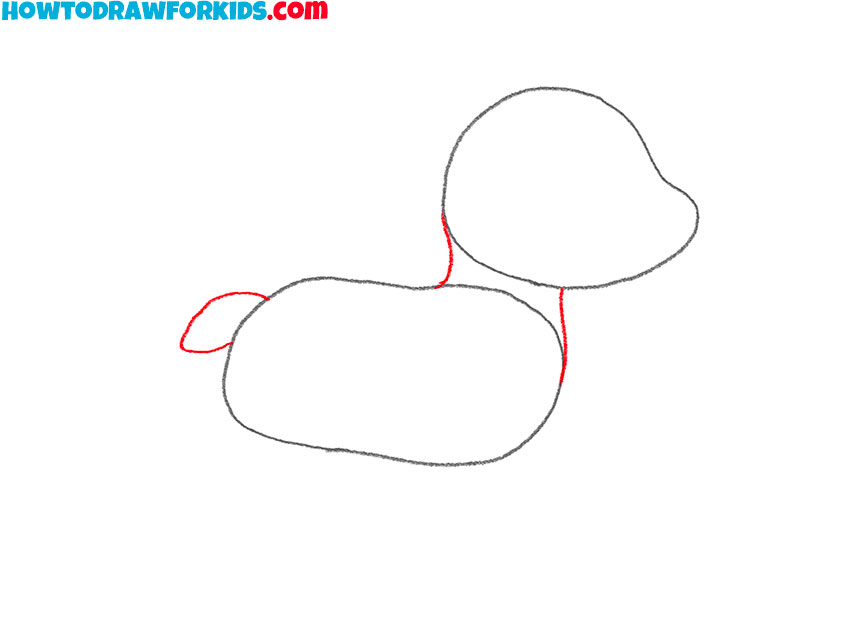
- Add the neck of the tail.
Draw connecting lines between the head and torso, add the short tail.
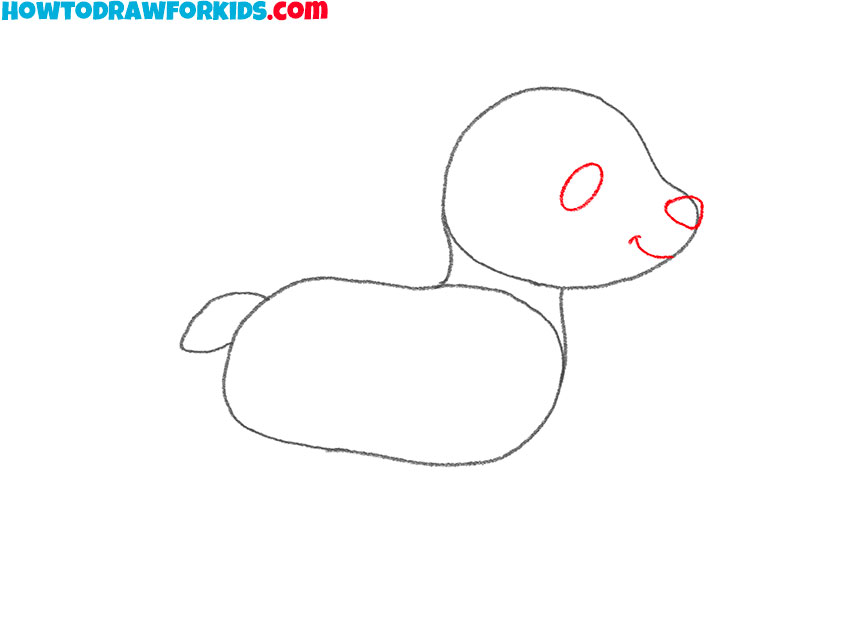
- Depict the elements of the muzzle.
Sketch out the oval eye, and add the nose and mouth.
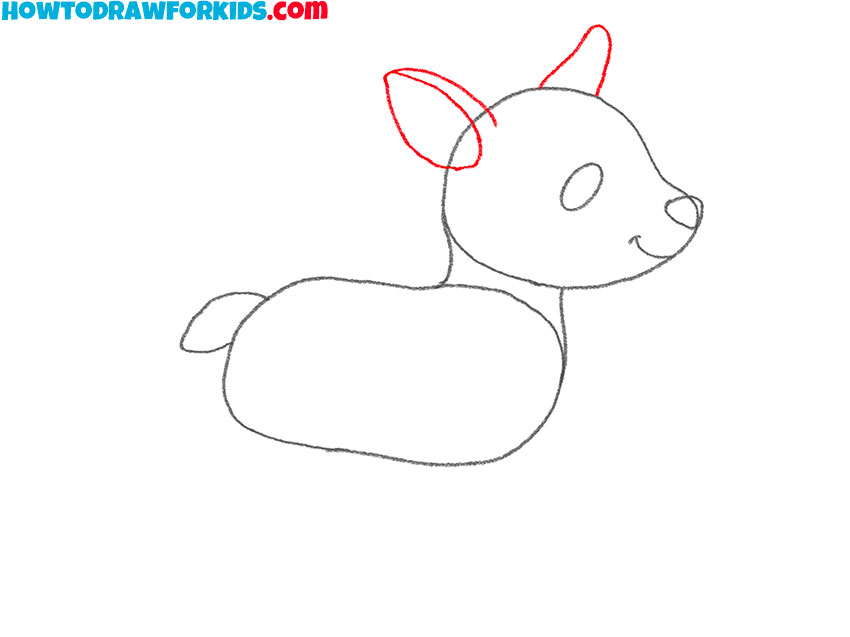
- Sketch out the ears.
Draw two ears of the same shape as in my example.
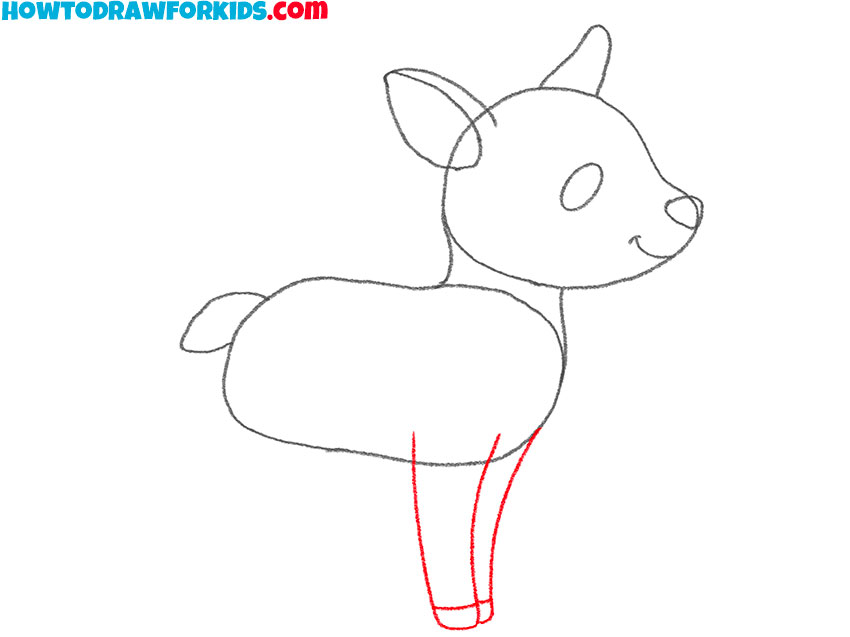
- Draw the front legs.
With smooth lines, draw the front legs, which are located nearby. Add the hooves at the bottom.
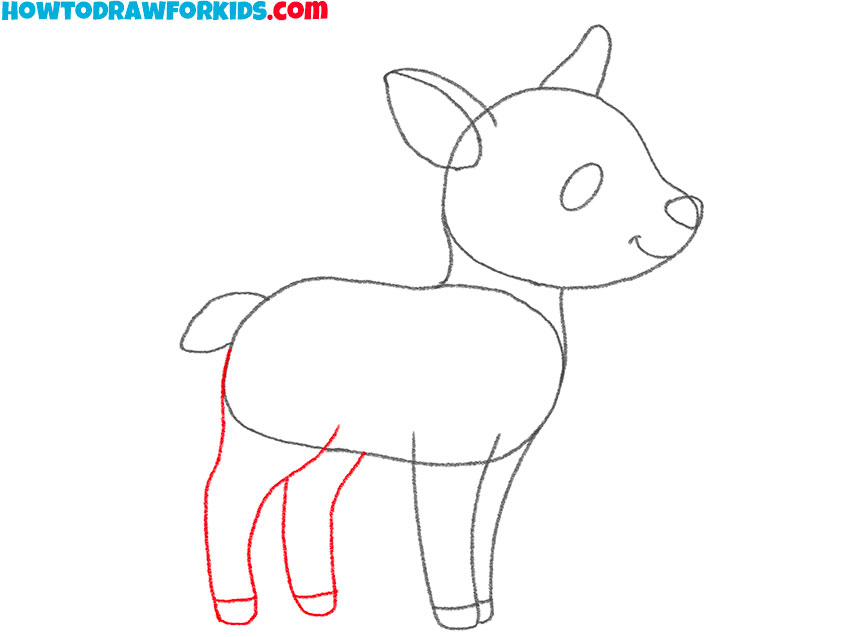
- Depict the hind legs.
Draw two hind legs that have a wide base and taper towards the bottom. Add the hooves.
- Detail the color.
With smooth lines, mark the outline where the color of the fur will differ.
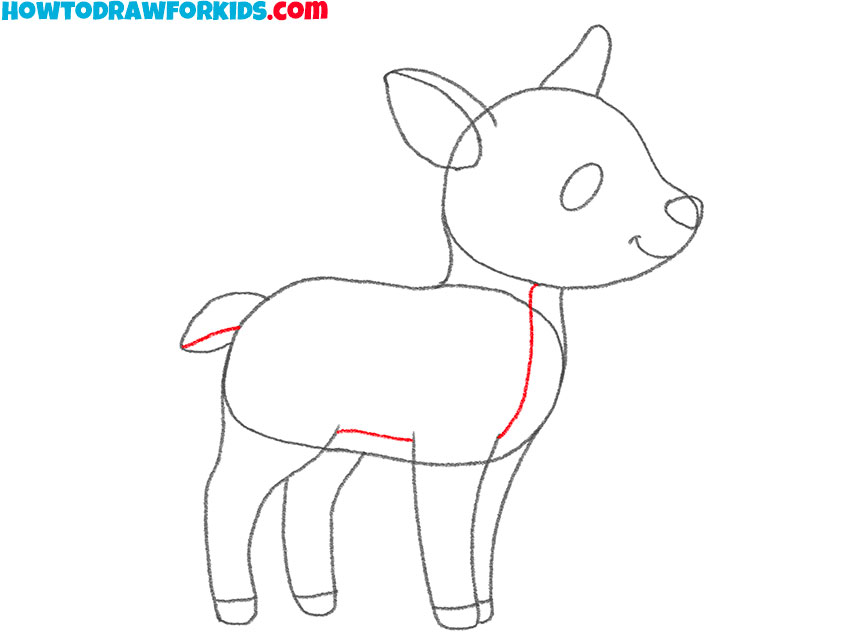
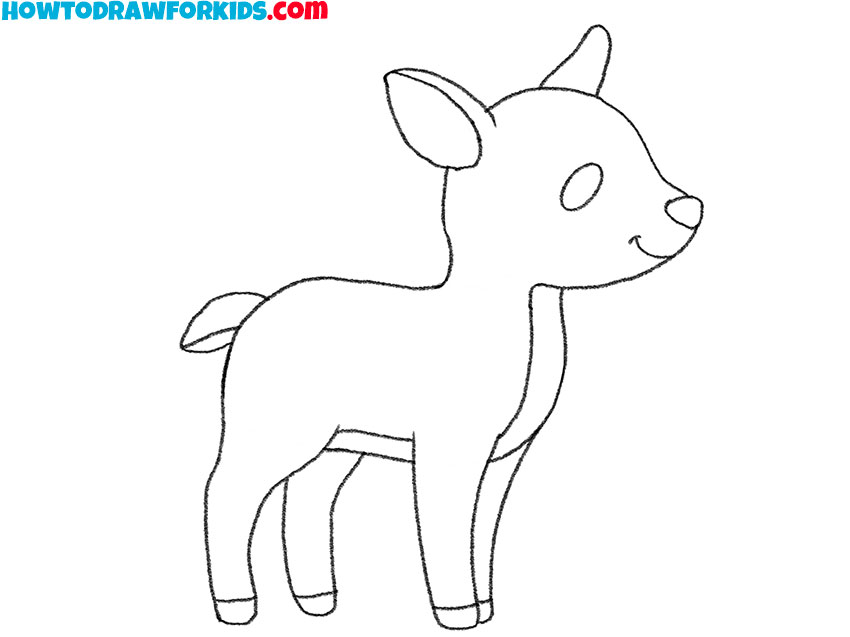
- Correct inaccuracies.
Take the eraser and carefully remove all the extra lines in your drawing.
- Color the drawing.
You will need beige, brown, pink, and black.
The white-tailed deer is ready! I would be interested to know your opinion about this tutorial, and I will ask you to leave a little feedback in the comments. By tradition, I have prepared a PDF file for you, in which you will find all the useful information about this lesson. Download the file and draw at any convenient time, regardless of the presence of Internet connections.