How to Draw a Wigwam
In this drawing lesson you will learn how to draw a wigwam. This instruction consists of eight simple steps with a detailed description.
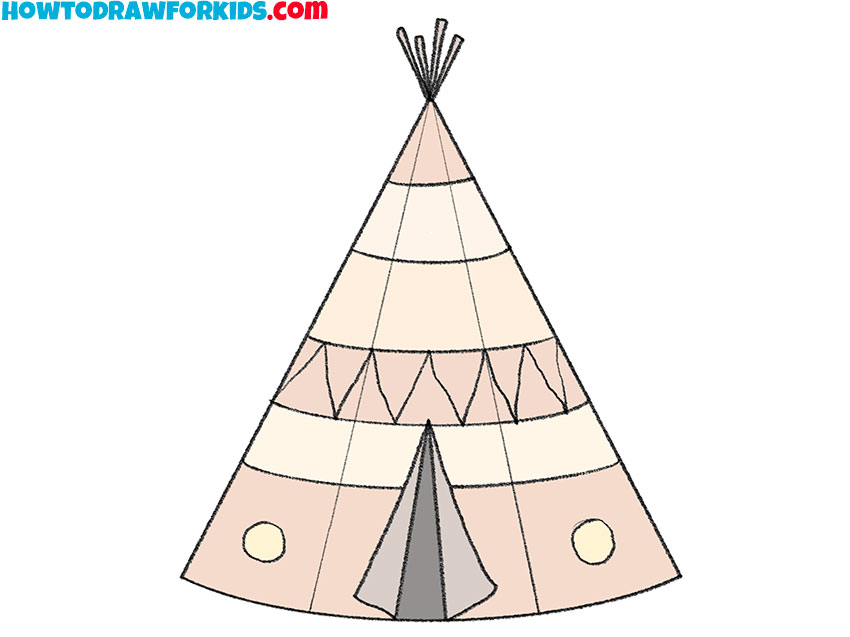
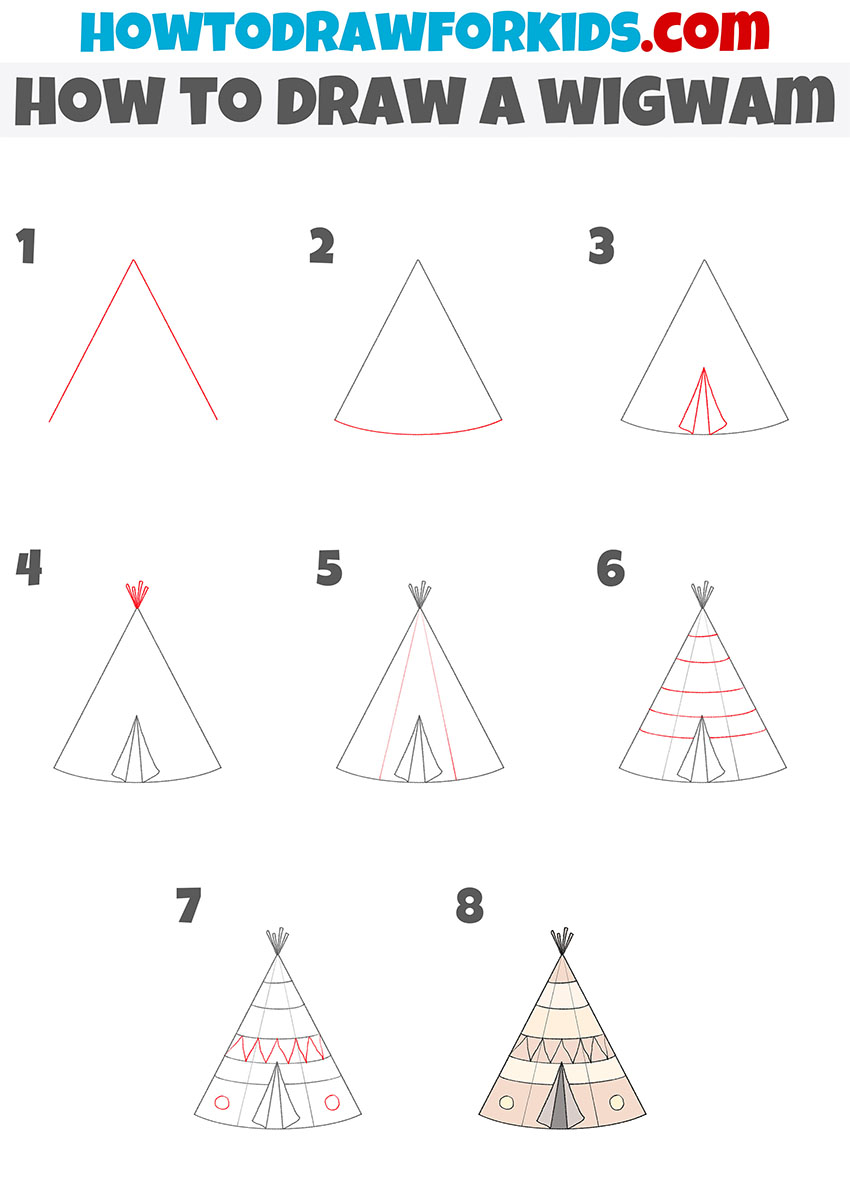
I bring to your attention a fascinating drawing lesson in which you will learn how to draw a wigwam step by step. Surely you have ever seen a wigwam on TV, on the Internet or in real life.
The wigwam is a portable and stationary dwelling of the forest Indians of the north and northeast of North America. More often it is a small dome-shaped or cone-shaped hut.
If you are ready to start drawing, then you can prepare the necessary art supplies right now and start drawing a wigwam step by step with the help of this lesson.
Wigwam Drawing Tutorial
Materials
- Pencil
- Paper
- Eraser
- Coloring supplies
Time needed: 30 minutes
How to Draw a Wigwam
- Draw the outline of the top of the wigwam.
You need to depict a cone-like shape without a bottom using two straight lines.

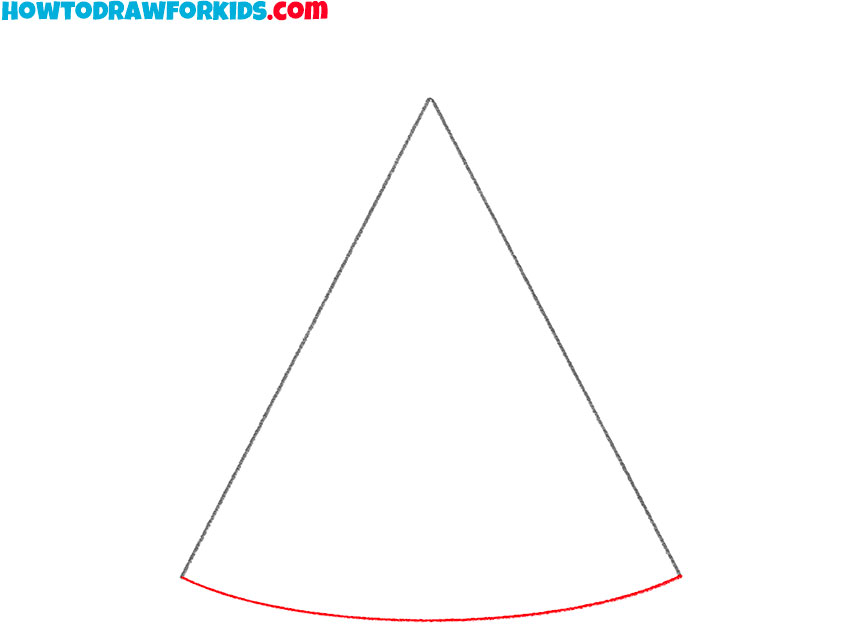
- Add the outline to the bottom of the wigwam.
Connect the lower ends of the two drawn straight lines using one arc for this, as shown.
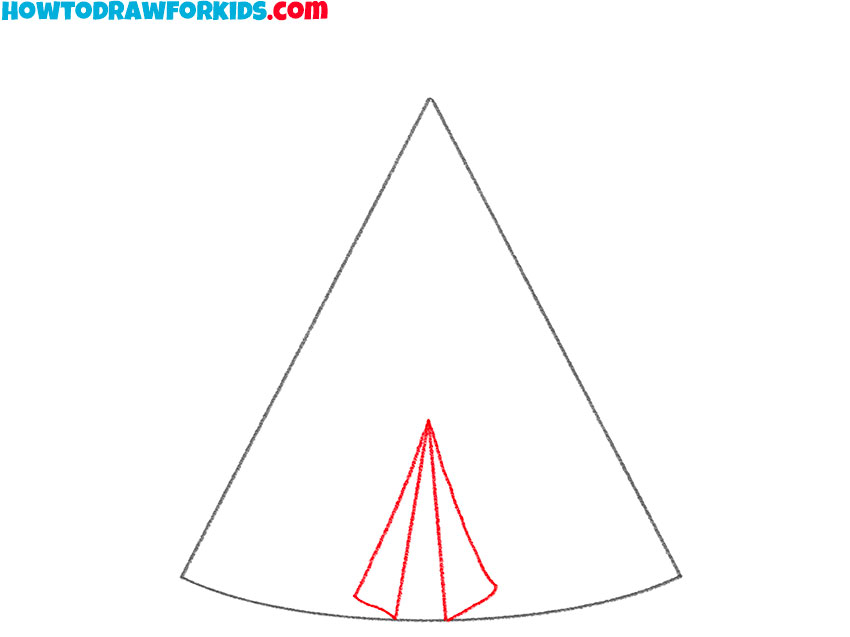
- Deepict the entrance to the wigwam.
To add this element, draw some straight lines, as well as some curved lines of different lengths.
- Add the decorative element to the top of the wigwam.
At the top point of the shape drawn in the first step, add some elements.
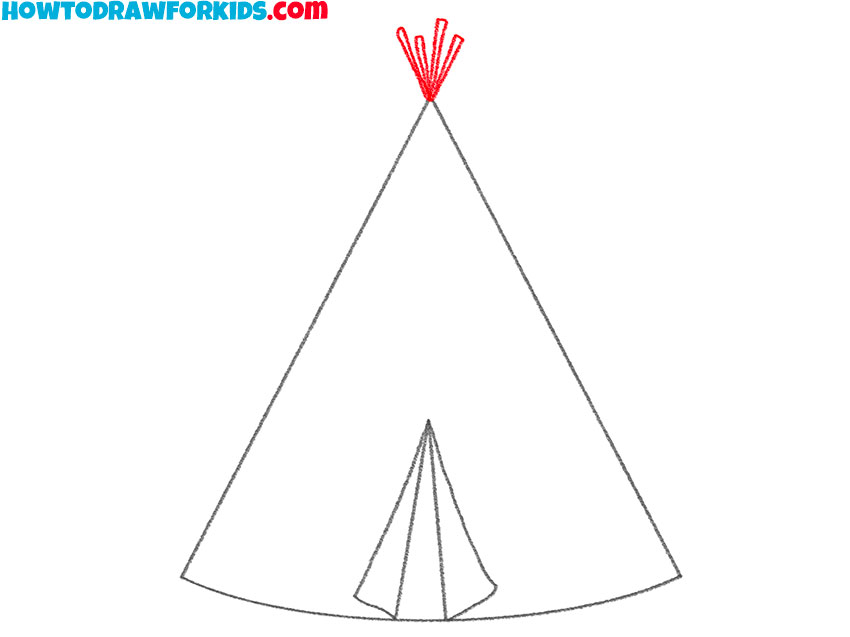
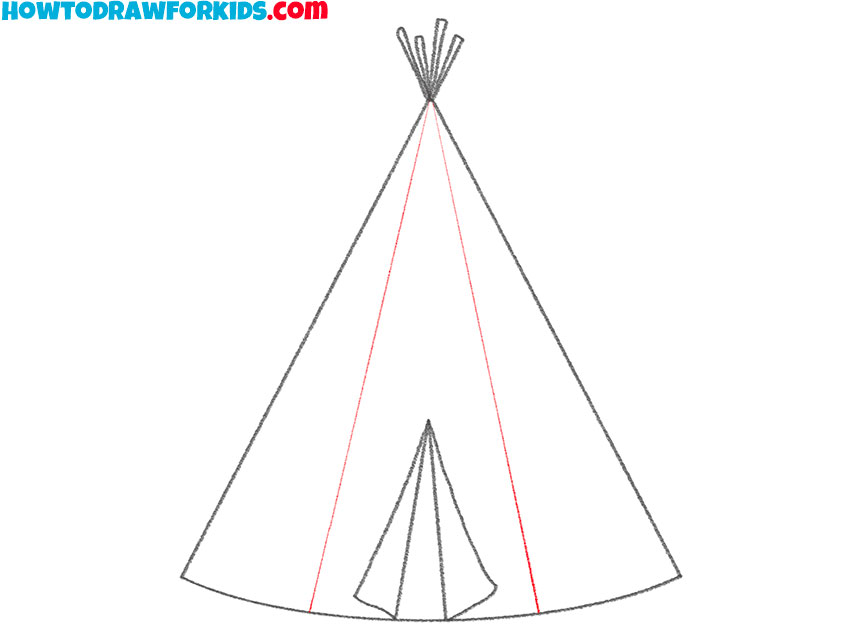
- Sketch out the wigwam in volume.
Inside the wigwam, draw two straight lines of the same length to depict its sides.
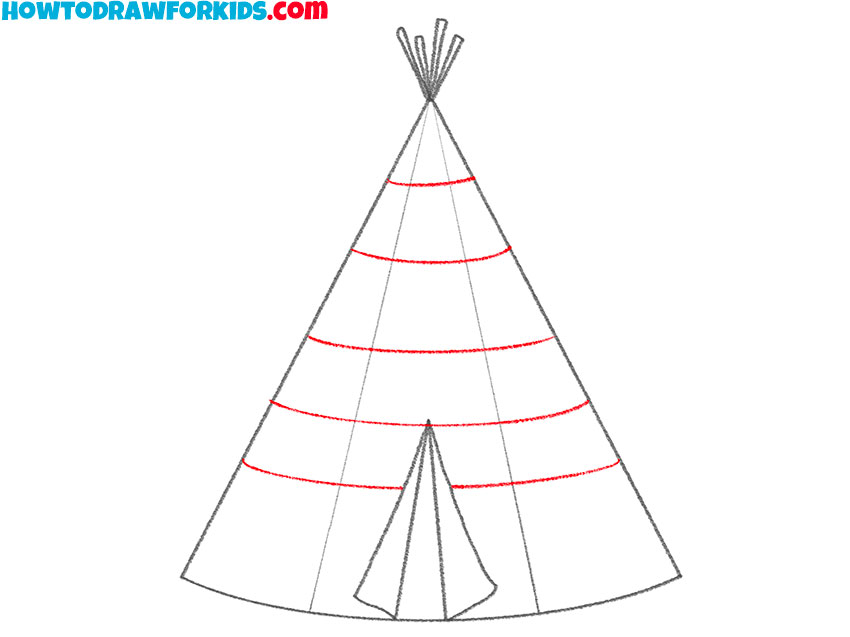
- Start drawing decorative elements.
On the surface of the wigwam, draw many slightly curved friends of different lengths.
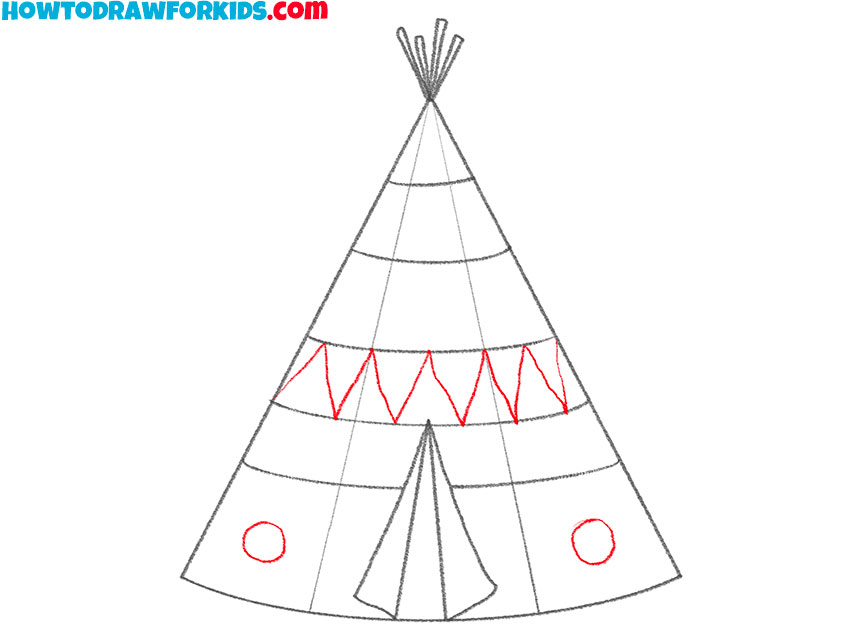
- Continue drawing decorative elements.
Between two of the drawn arcs, draw a zigzag line, and also add two identical circles.
- Color the drawing.
Use different shades of brown, yellow, and shades of beige.
This ended the drawing lesson in which you learned how to draw a wigwam. Finally, I suggest you download a PDF file in which you will find a brief instruction and additional training materials.