How to Draw a Village
In this lesson, I will show you how to draw a village. This step-by-step guide is specially designed for kids and budding artists.
So, before you is a simple instruction on how to draw a village step by step. Many famous artists painted beautiful countryside landscapes. Now you have to complete a simple creative task and draw a village yourself. Start with simple lessons and in the future you will be able to draw wonderful rural landscapes.
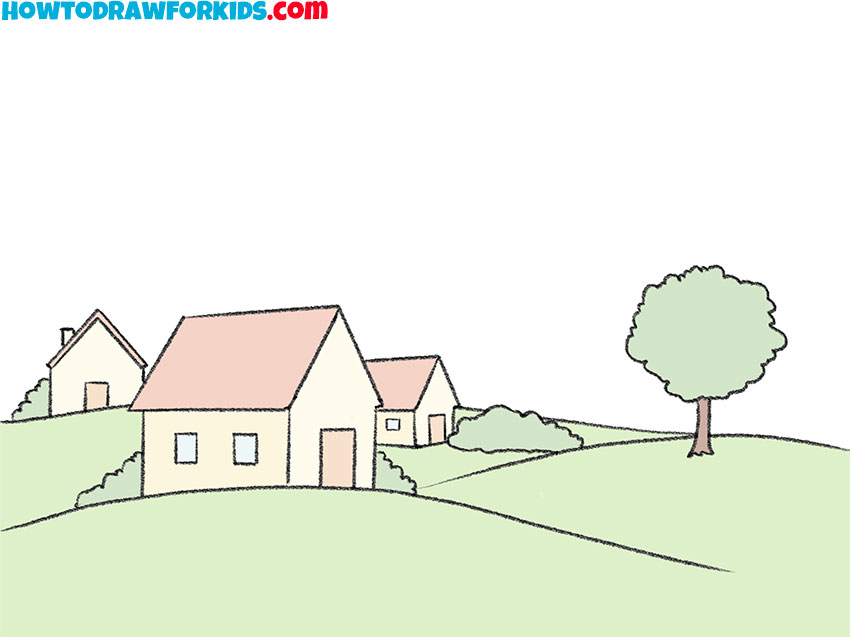
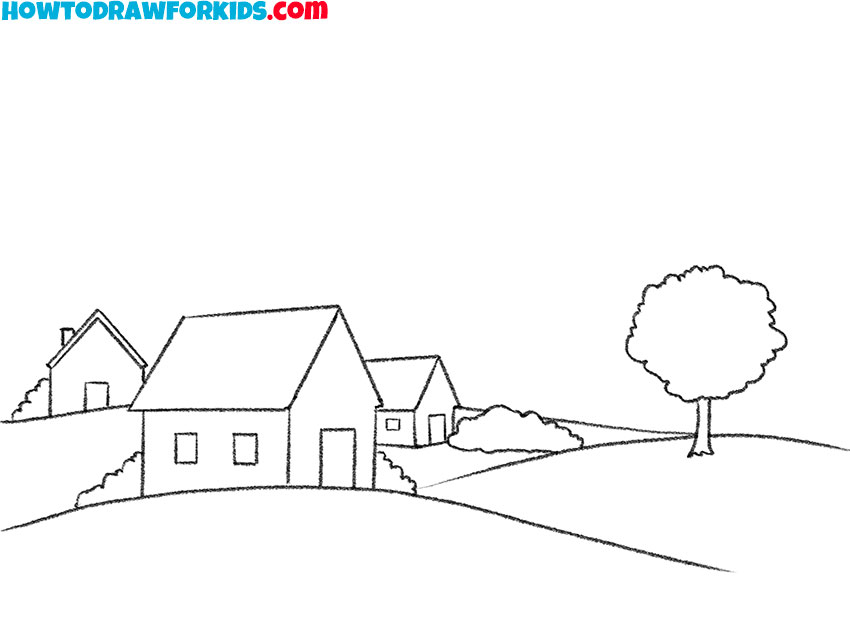
In this drawing, you see a relief landscape, a tree, and several houses. Perhaps you drew these objects separately, and now you have to combine them in one drawing. I am sure that this lesson will be useful for you, and you will be able to use the acquired skills in the future when you want to draw any rural landscape. Remember all the drawing steps, try to carefully draw the lines that are marked in red.
So, prepare your art supplies and get to work, and I wish you creative success.
Village Drawing Tutorial
Materials
- Pencil
- Paper
- Eraser
- Coloring supplies
Time needed: 30 minutes
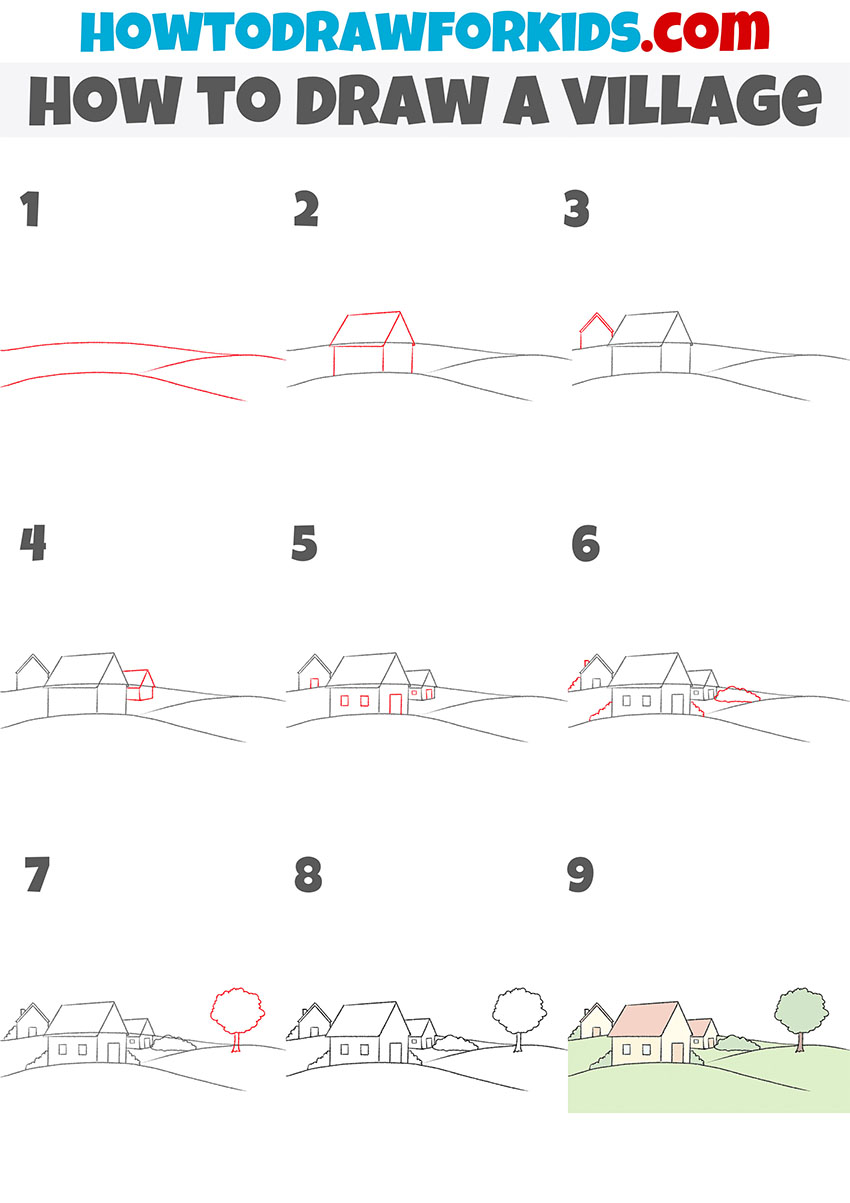
How to Draw a Village
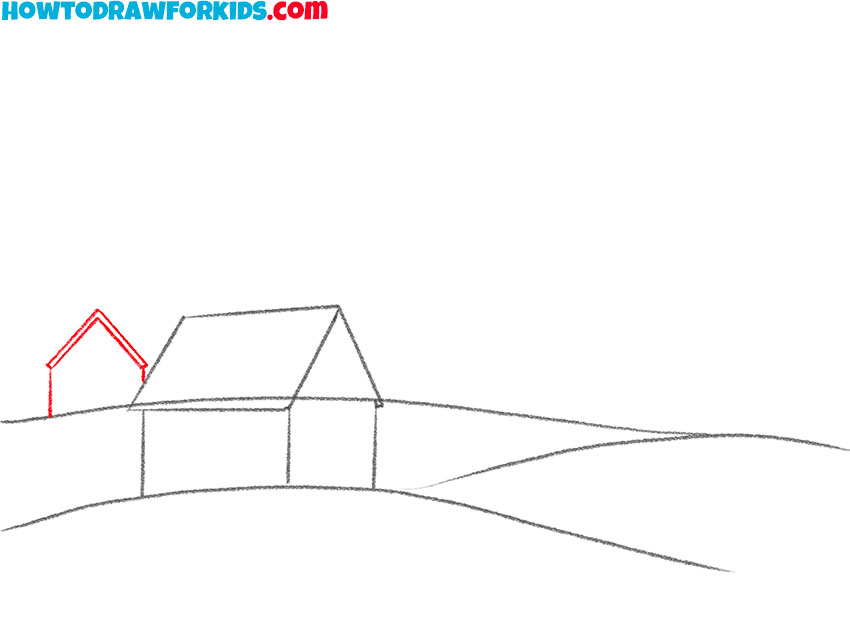
- Start drawing the relief.
Depict several smooth curved lines that are horizontal.

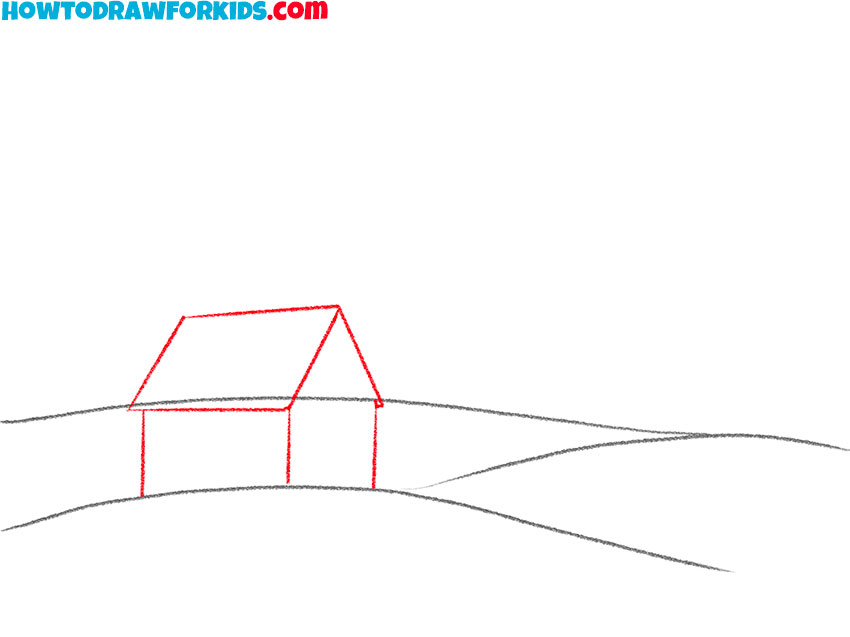
- Add several smooth curved lines that are horizontal.
Use straight lines to draw the walls and roof of the house.
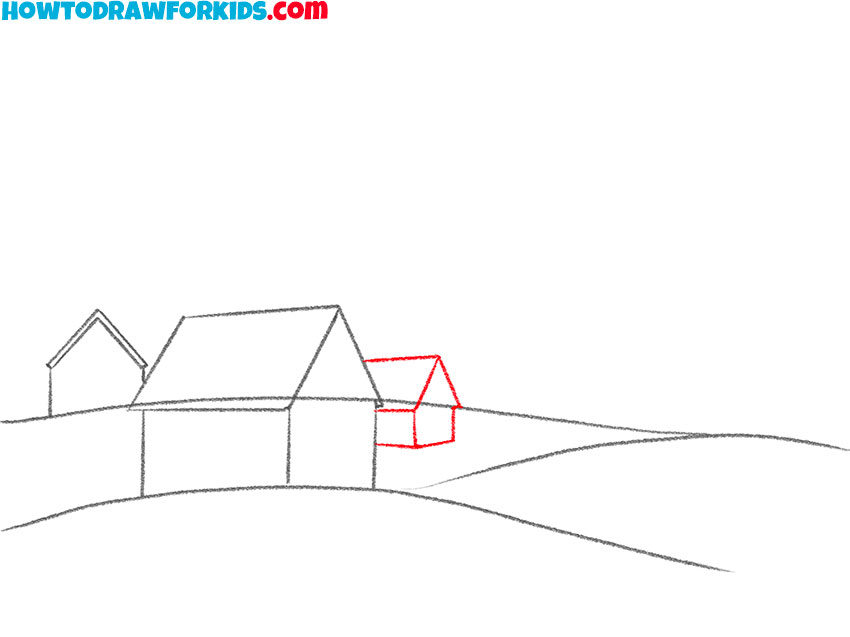
- Depict the second house.
In the background, draw another house, but a little smaller.
- Sketch out the third house.
With the help of straight lines, depict the visible part of the third house.
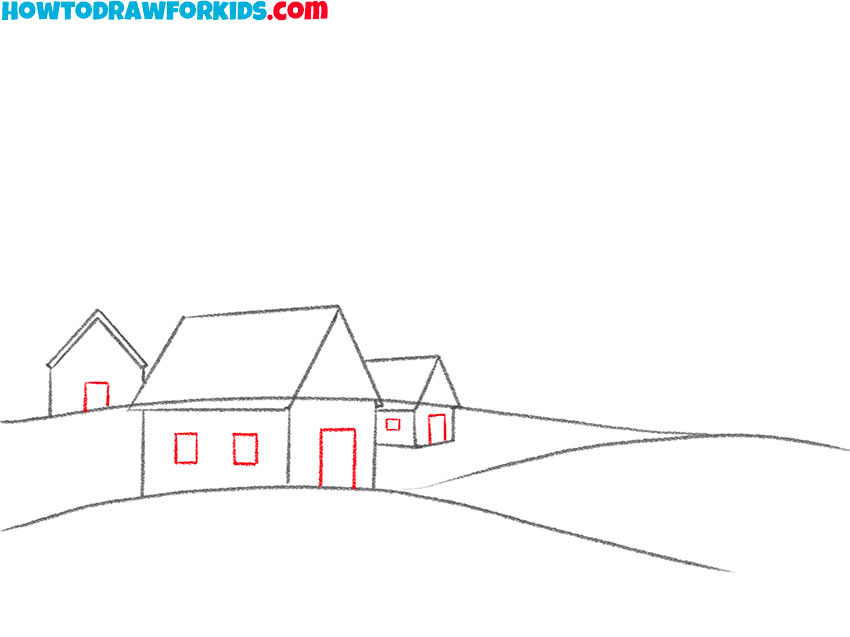
- Add the doors and windows.
In each house, draw the doors and windows in the form of rectangles.
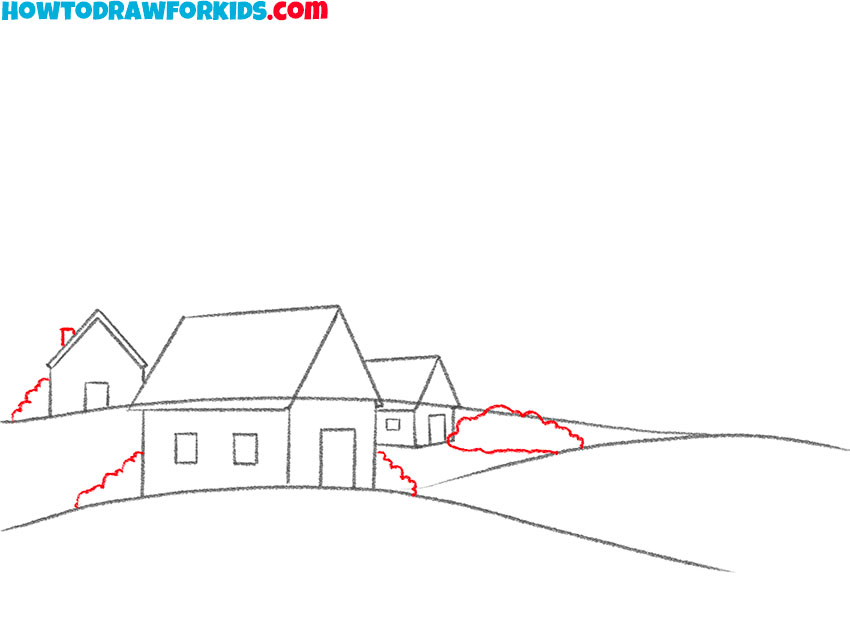
- Draw the plants and the pipe.
Depict several bushes with uneven wavy lines. Draw the pipe on the roof of the house.
- Depict the tree.
On the right side of the picture, draw the tree that has the thin trunk and the lush crown.

- Correct inaccuracies.
Take the eraser and carefully remove all the extra lines.
- Color the drawing.
For coloring, use different shades of green, beige, and brown.
Now you have completed all the drawing steps, and you know how to draw a village step by step. Share your impressions about this lesson in the comments. I’m always interested in your opinion. Especially for your convenience, I have prepared a PDF file with a short version of the lesson in advance. In this file you will find simplified instructions and useful training materials.