How to Draw a Witch’s Broom
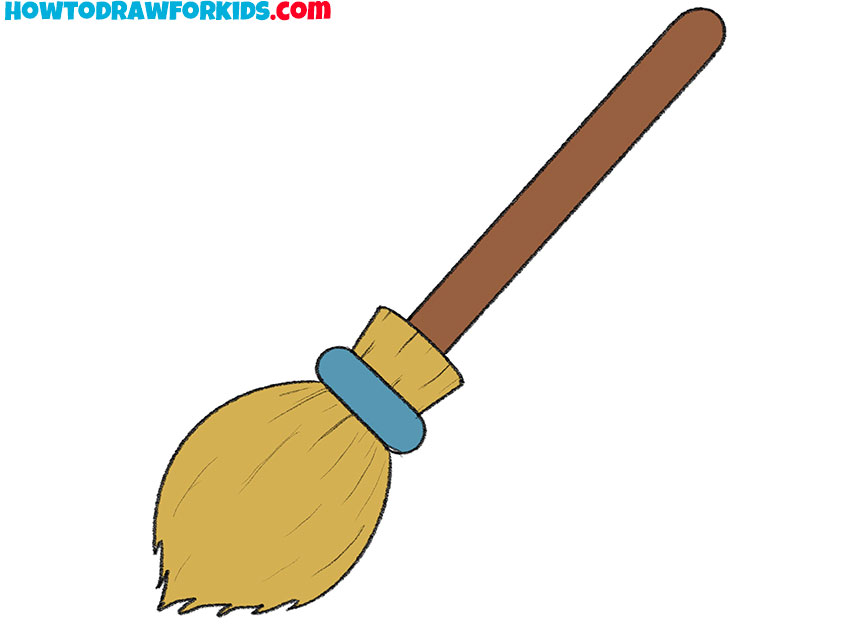
In this lesson, I’ll show you how to draw a witch’s broom, one of the most recognizable mythical flying objects found in folklore and fairy tales.
In this drawing tutorial, you will learn how to draw a very simple witch’s broom step by step for kids. This lesson is very basic and consists of just eight easy and clear steps.
You have probably seen this object in various cartoons, movies, or books. A witch’s broom is a magical object used by witches as a means of transportation. The witch gets on top of the broom and can fly on it.
In this drawing guide, you will first sketch a witch’s broom handle, then the bottom part of the broom, and then you can color the finished drawing.
This lesson is specially created for children and beginner artists who want to sketch a broom and learn how to draw a witch with this simple and unusual vehicle.
Materials
- Pencil
- Paper
- Eraser
- Coloring supplies
Time needed: 20 minutes
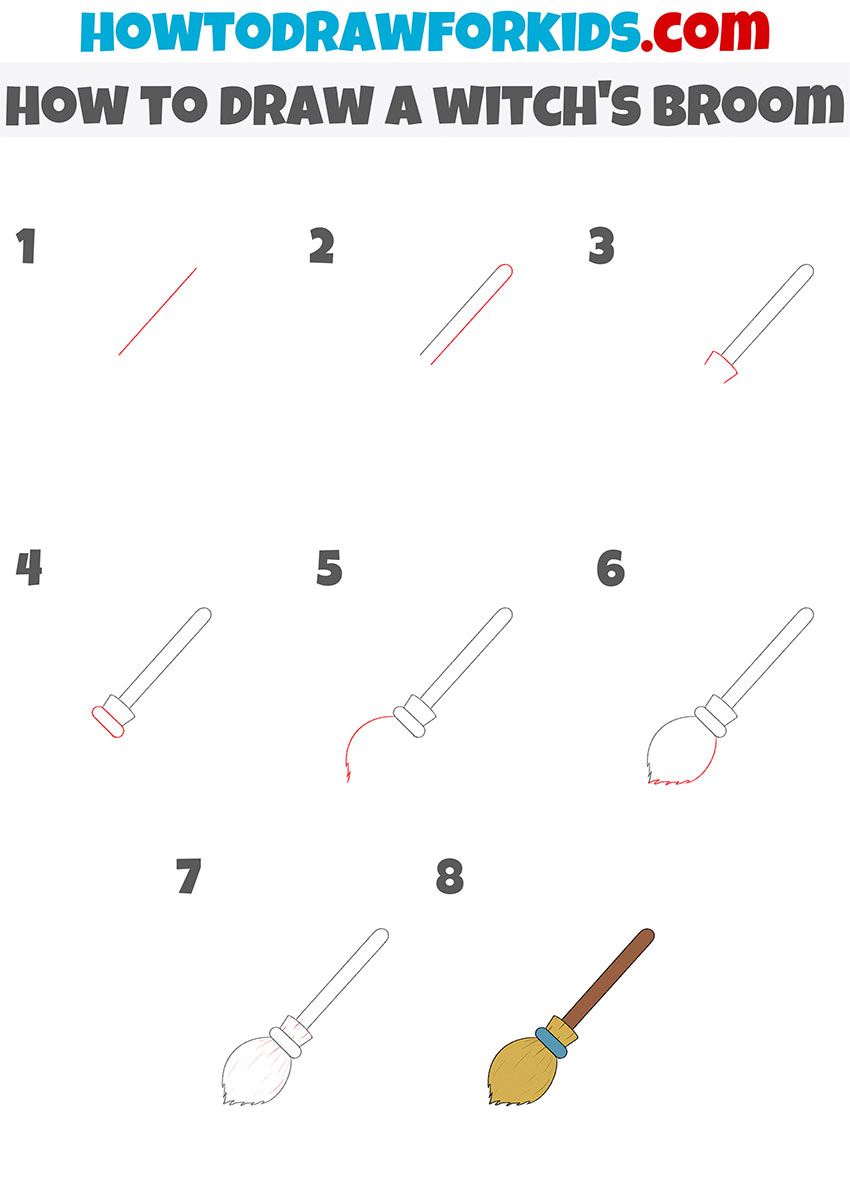
How to draw a witch broom step by step
- Sketch the first handle edge.
Beginning with a simple guideline gives you a base for the broomstick before adding details later. Sketch a long line that sets the direction of the wooden handle. It’s better to make this line long, because the broomstick should feel longer than the brush at the bottom.

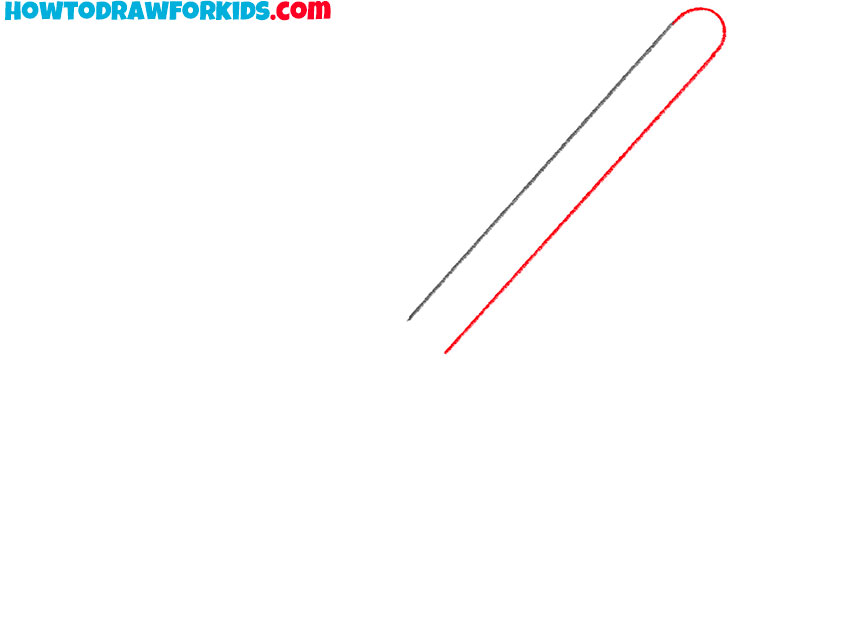
- Add the second edge of the handle.
Draw a parallel line beside the first one to create the second side of the broomstick, then round off the top with a small curved line to form the tip. Make the spacing between the two long lines consistent from top to bottom. Try to avoid tapering unless you want a specific stylized look.
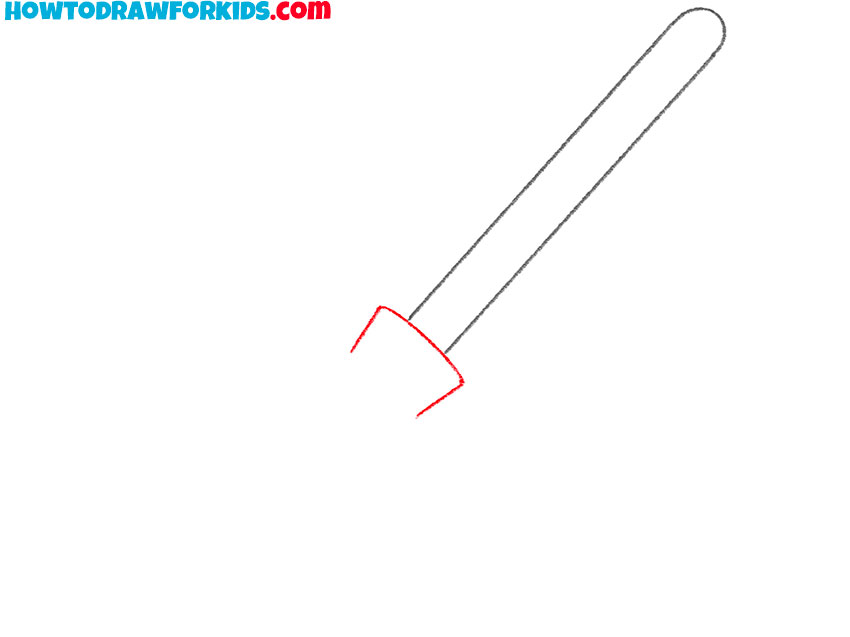
- Draw the top of the witch’s broom bristles.
The lower part of the broom is tied to the shaft with rope or another material, which creates a narrowing at the binding point and a wider shape above and below it. Draw the upper section of the bristles above the wrapping as a simple cylindrical form that sits directly beneath the handle outline you created in the previous steps.
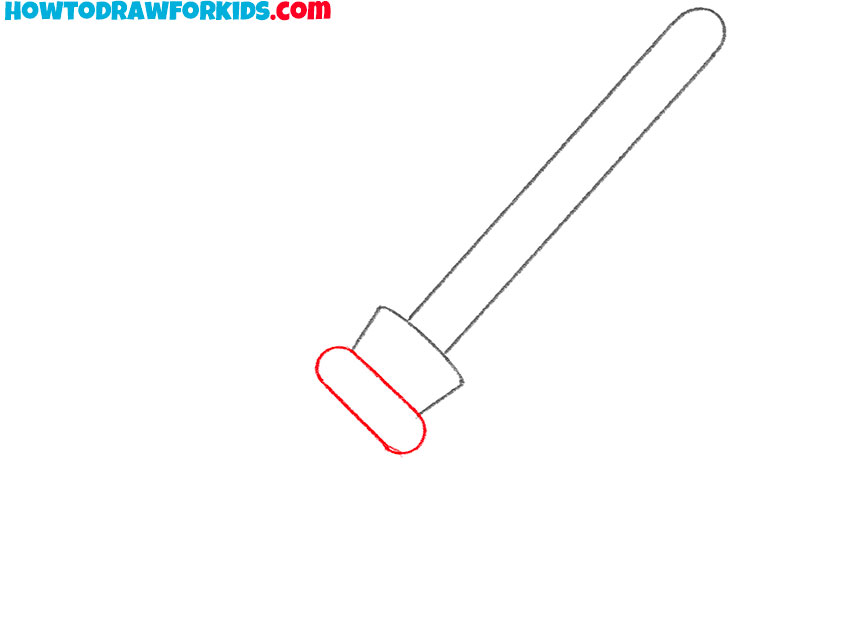
- Draw the binding band of the witch’s broom.
Now move on to the binding area. Using a rounded rectangle, depict the general shape of the rope or other material that holds the broom bristles together. This section should appear noticeably narrower than the form you drew in the previous step, yet still slightly wider than the broom handle.
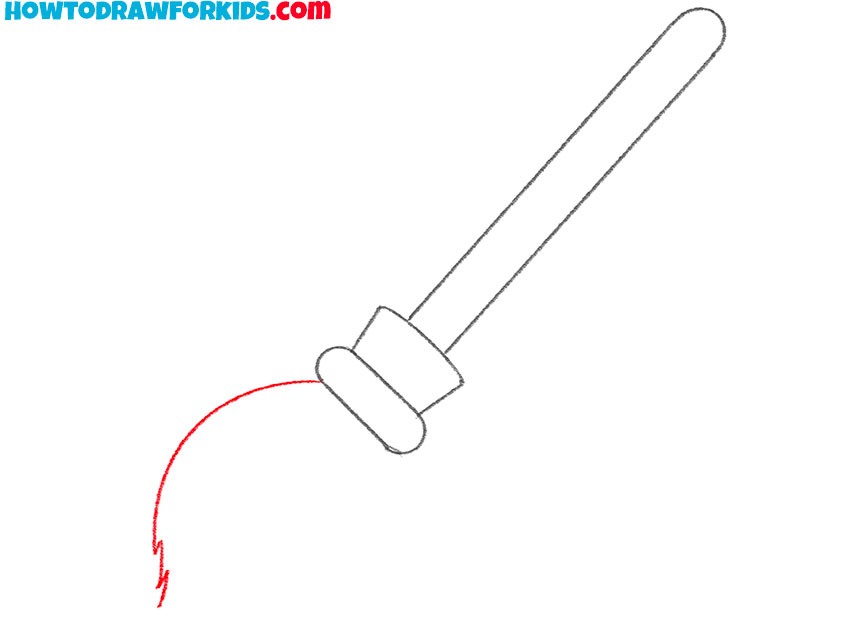
- Start sketching the bristles.
The broom’s brush needs organic lines. Draw a large curved arc starting from one side of the attachment block. Make the curve uneven so the broom looks hand-made. Draw the bottom edge of the brush eleven and jagged.
- Complete the shape of the bristles.
Now give the brush its full form by completing the curved outline and adding a jagged outline at the opposite side. The broom brush should be narrow at the very top and gradually widen towards the middle part and then taper at the very bottom.

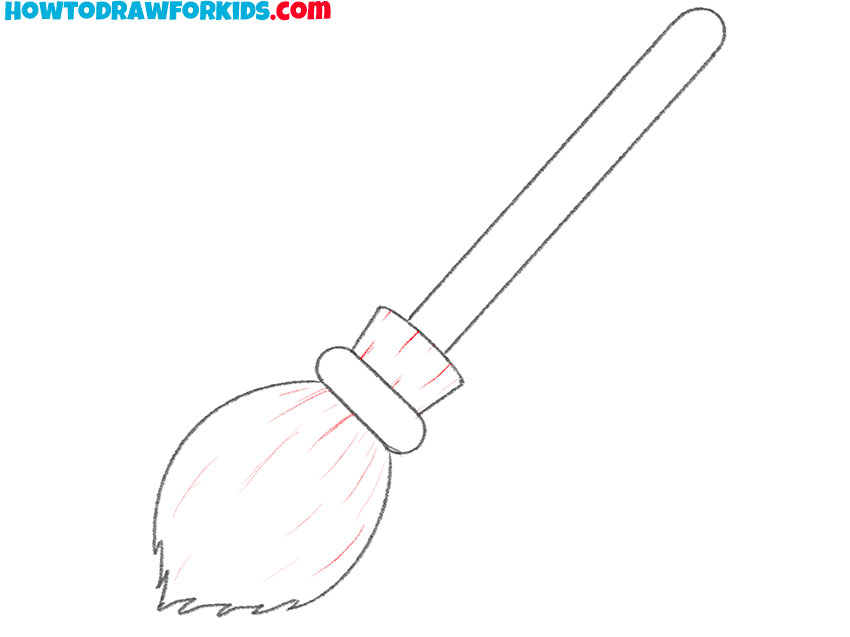
- Draw bristle texture lines.
Before finishing the outline, add gentle interior strokes to represent grouped straw. Lightly sketch short vertical lines within the bristle area. These lines should follow the curve of the brush and taper at the bottom. Avoid adding too many – just enough to convey texture. If any construction lines still show inside the brush or the handle, erase them now so the witch’s broom drawing stays clean.
- Color the handle, band, and bristles.
Simple, flat colors work best for this type of drawing, so fill the broomstick with a warm brown to represent wood, and choose a slightly darker tone or blue for the band. Color the bristles with a muted yellow or straw shade.

This drawing lesson has come to an end. If you liked this guide, you can leave your feedback in the comments. You now have the opportunity to download a PDF file that contains a short version of this lesson.
Download it so you can return to it at any time, even without an internet connection.