How to Draw Naruto
This tutorial will teach you how to draw Naruto, the most iconic character from the anime of the same name, using four different methods.

How to Draw Naruto: Basic Information
This tutorial on drawing Naruto is a great entry point for young artists learning to draw anime characters. The simplified approach will help kids understand the basic principles of drawing anime.
Through this simplified step-by-step process, artists get familiar with anime proportions, the large anime eyes, and simplified facial features, which are hallmarks of anime design. It’s a starting point that can evolve as they practice and try more advanced styles.
Naruto is one of the most iconic anime characters, and drawing him helps artists understand what makes a character visually recognisable. By practicing with such a well-known character, young artists learn how to create their own characters with recognizable features.
While Naruto’s body in this tutorial is stylized and simplified, it still adheres to basic human anatomy principles. Artists learn to apply proportions to limbs, head placement, and body shape, even in a chibi style. This simplified anatomy practice helps artists understand how to depict believable bodies without needing to add detailed musculature or complex bone structure, making it easier to transition to more realistic drawings later on.
Naruto Drawing Tutorial
Materials
- Pencil
- Paper
- Eraser
- Coloring supplies
Time needed: 45 minutes
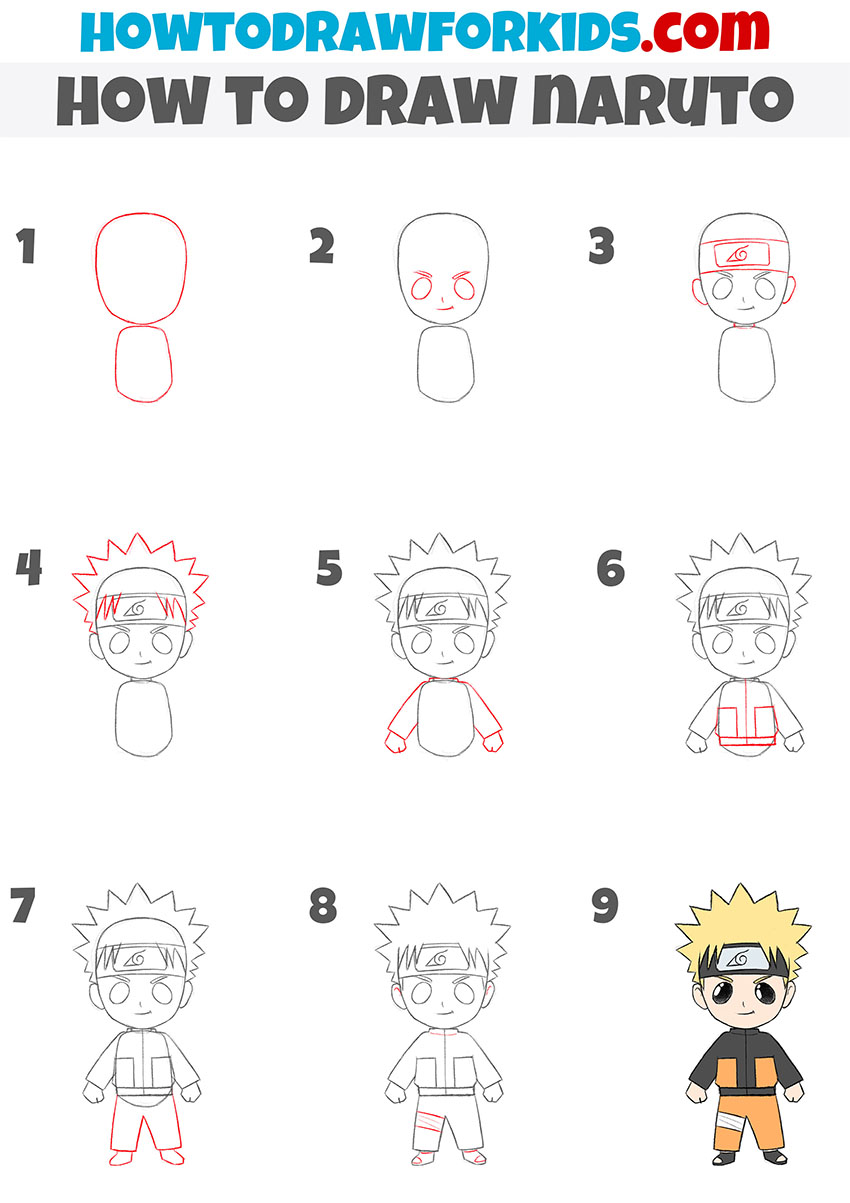
How to Draw Naruto
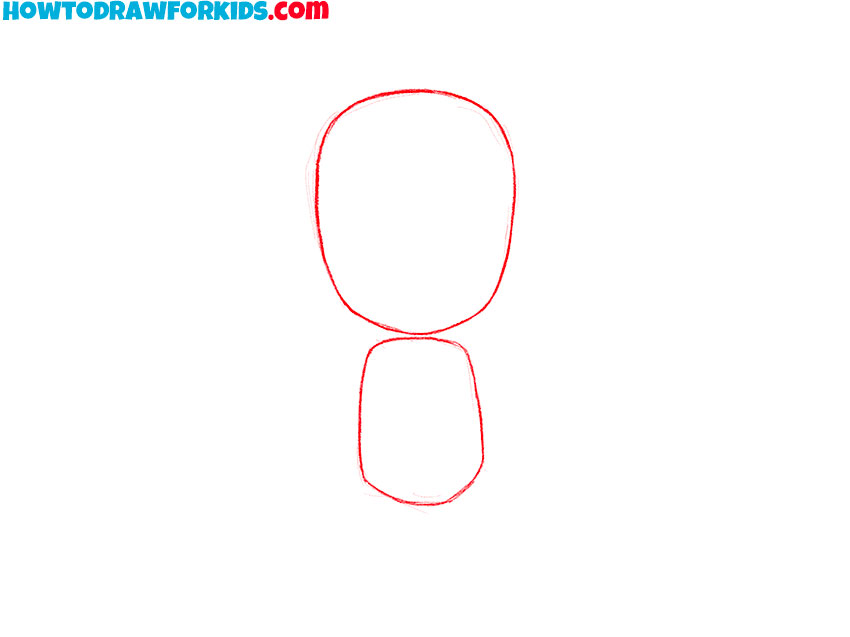
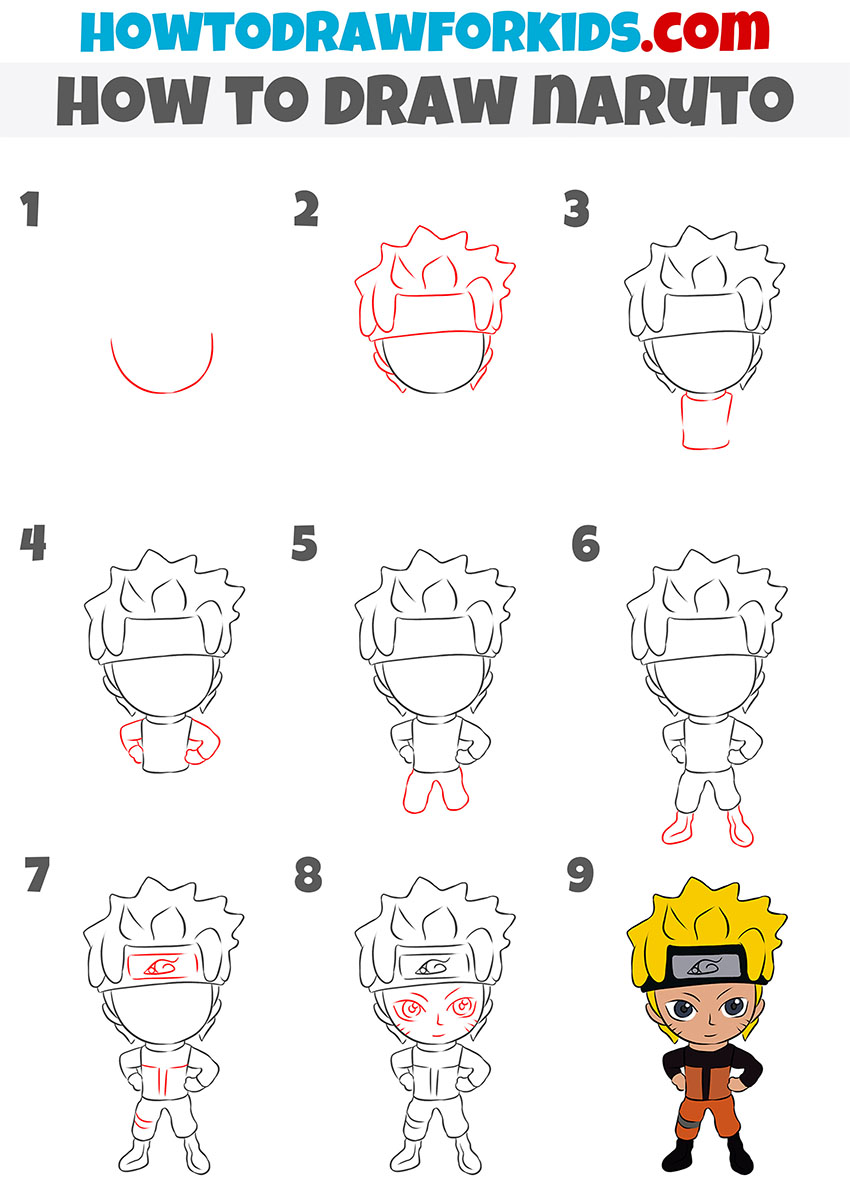
- Sketch the head and torso of Naruto.
Begin drawing Naruto with a large, rounded oval shape for the head, keeping it proportionally larger as Naruto has a chibi-like appearance in this tutorial. Below the head, draw a simple, slightly elongated oval shape for the body. This will serve as the guideline for Naruto’s basic proportions.
- Add the facial features.
Next, sketch two large round eyes, typical for Naruto’s chibi style. Further, draw the eyebrows above the eyes. Add a small dot for the nose and a simple mouth. After that, you can add Naruto’s signature whisker marks on both sides of his cheeks.

- Add the headband and ears.
Start by drawing a curved rectangle that sits on the top portion of the head. Add the symbol of the Hidden Leaf Village in the center of the headband using a few simple lines. After that, draw the ears on either side of his head, aligning them with the eyes. Keep the shapes simple and rounded.

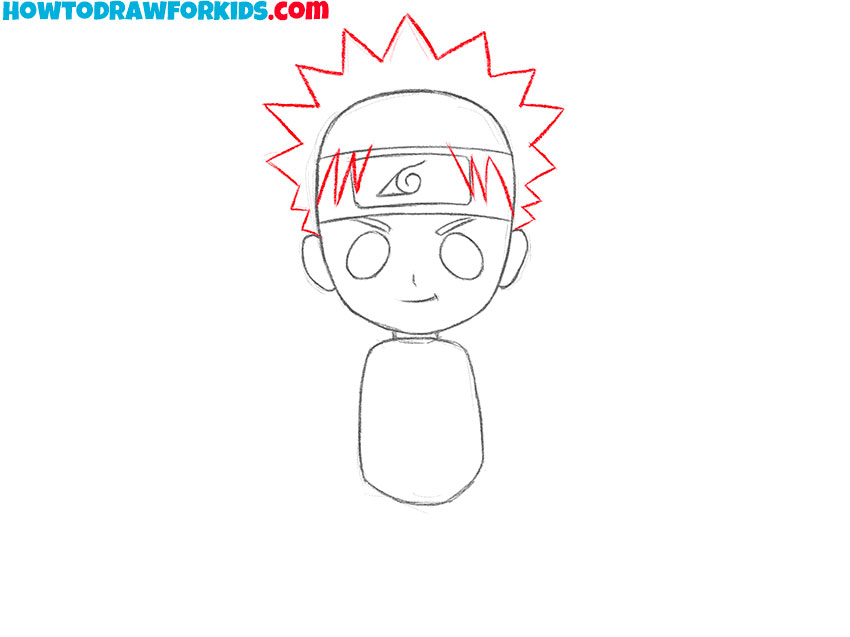
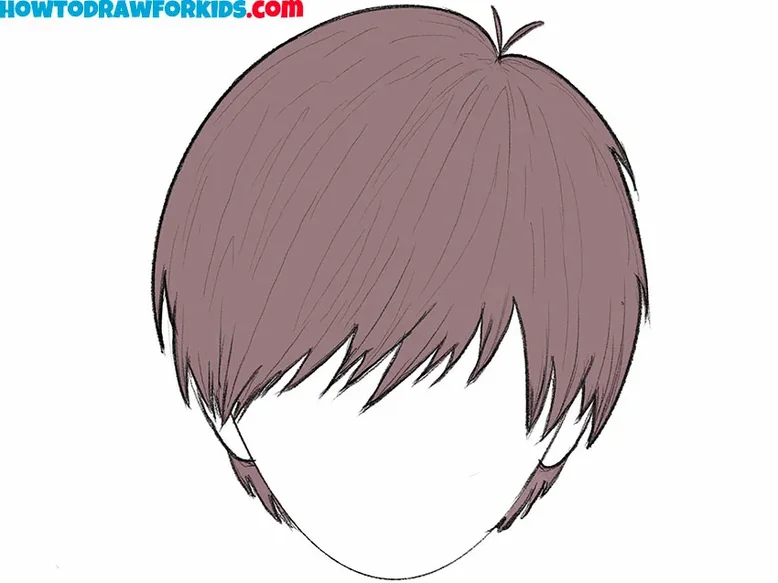
- illustrate the iconic spiky hairstyle.
To create the iconic hairstyle of Naruto, sketch large, sharp spikes all around the top of his head, giving them an uneven shape. Make sure the hair extends slightly over the headband and looks full. Since the head is finished, let’s more to the body.
- Draw the arms of Naruto.
Draw simple lines extending from the body to form the arms of Naruto. In this tutorial, the arms are kept short and simple to match the chibi style. Once the arms are in place, move on to drawing the hands, keeping them clenched into small fists using basic geometric shapes.

- Detail the iconic jacket.
Start by detailing the front of the jacket, focusing on the zip line down the middle. Then, add the pouch-like pockets on each side of the jacket by drawing two rectangles near the bottom. These rectangles should be small but noticeable.

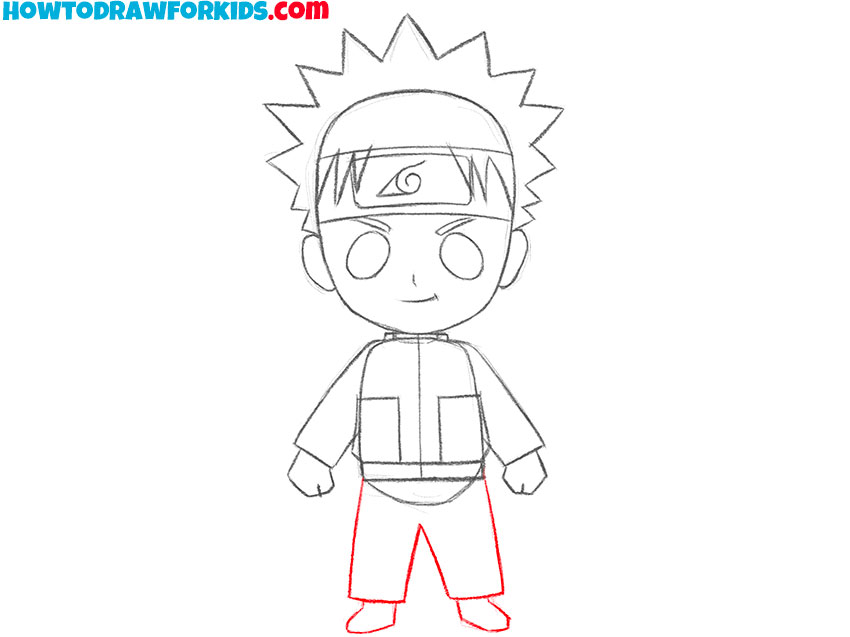
- Illustrate the lower body of the anime character.
Sketch two short, wide pant legs extending from the bottom of Naruto’s jacket. After the pants, draw the shoes. Naruto’s shoes have an open-toed design, so be sure to leave the toes visible. The shoes should be simple, with a flat base and minimal details, as seen in the reference.
- Finalize the Naruto sketch and add finishing touches.
Start by erasing the construction lines that were used to shape the head, body, and limbs. Once those are cleared, begin adding finer details such as the inner lines of Naruto’s ears to give them more structure. Next, draw the collar line around the base of the neck. Also, include the band on Naruto’s leg.

- Color your Naruto drawing.
First, fill in Naruto’s hair with a bright yellow. His headband should be gray or metallic. Color his jacket in bright orange, with black detailing along the shoulders and sides. His pants should be orange, and the shoes can be colored black. For the skin tone, use a light peach or tan color.

How to Draw Naruto: Video Tutorial
Additional Content
At the end of this tutorial, you will find a PDF file that complements the steps covered in drawing Naruto. This file includes a detailed illustration of each step in the tutorial, along with additional materials like a coloring page, a tracing worksheet, and a grid drawing worksheet.
These resources are created to provide further opportunities to practice at your own pace. You can download the PDF to have a reference readily available for offline use. These worksheets offer practical ways to reinforce your skills, ensuring you can continue refining your drawing abilities beyond the main tutorial.
How to Draw Naruto: Alternative Methods
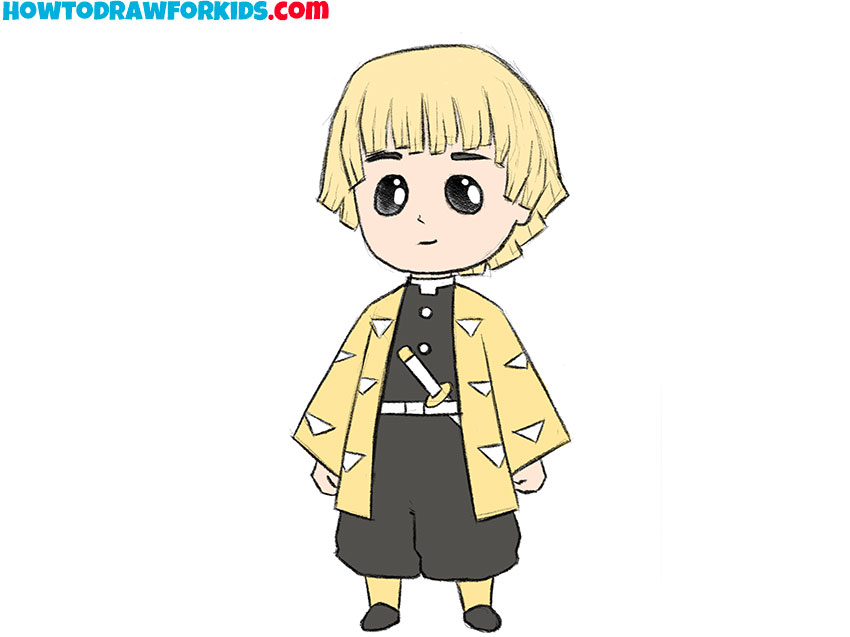
In addition to the main Naruto drawing tutorial, there are alternative techniques for drawing this iconic anime character. Each method provides more opportunities to practice, helping to build a stronger foundation in drawing varied elements of his appearance.
Alternative Naruto Drawing Method
This instruction serves as an additional drawing guide for creating Naruto, offering a simpler alternative to the first tutorial. Compared to the first tutorial, in this version you will see a more simple process, with fewer details and a different step sequence, making it especially suitable for younger or less experienced artists.
Begin by drawing a half-circle to form Naruto’s face, then add his spiky hair and headband. Proceed to sketch his body, with his arms resting on his hips for a confident pose. Use basic shapes to create the arms, torso, and legs.
Add Naruto’s facial features, the Hidden Leaf Village symbol on his headband, and his whisker marks. Finish by coloring his bright yellow hair and orange outfit to complete the look.
Chibi Naruto Drawing Tutorial
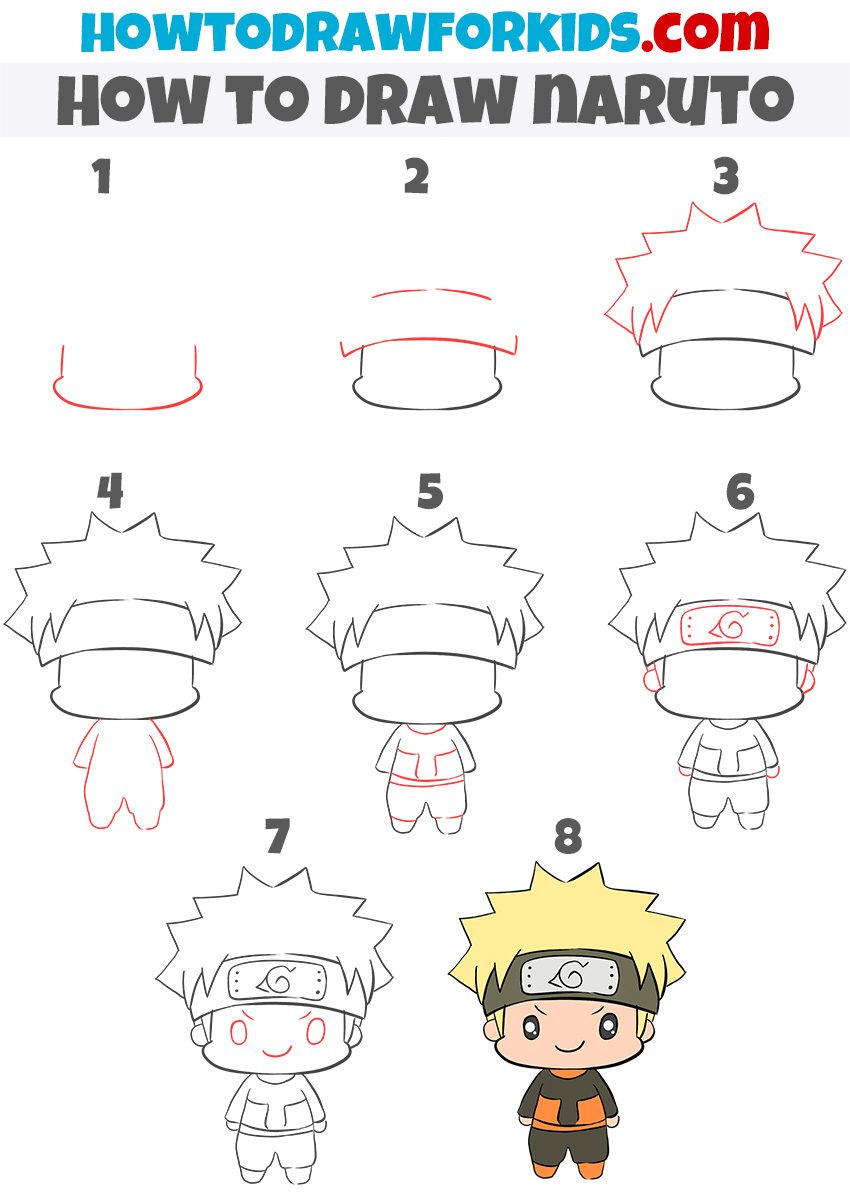
This version of the Naruto drawing tutorial focuses on a more simplified, chibi-style design compared to the main tutorial. With fewer details and a more compact form, this method is ideal for beginners or younger artists who want to draw Naruto in a much easier style.
Begin by drawing the outline of Naruto’s head using a wide U-shape for the face. Then, add the headband, placing it across the top of the head. Draw the spiky hair above the headband, keeping the tips sharp.
Next, move on to sketch the body by adding a simple, rounded shape for his torso and two short legs beneath it. Draw the arms on either side, keeping them small and simple. Add details to Naruto’s clothing by sketching his jacket with a zipper in the middle and pockets on both sides. Afterward, draw his headband symbol, ensuring the Hidden Leaf Village emblem is centered.
Finally, draw the facial features, giving Naruto his large, round eyes and small mouth. Complete the drawing by coloring his hair yellow, his outfit orange and black, and the headband gray with the symbol in red.
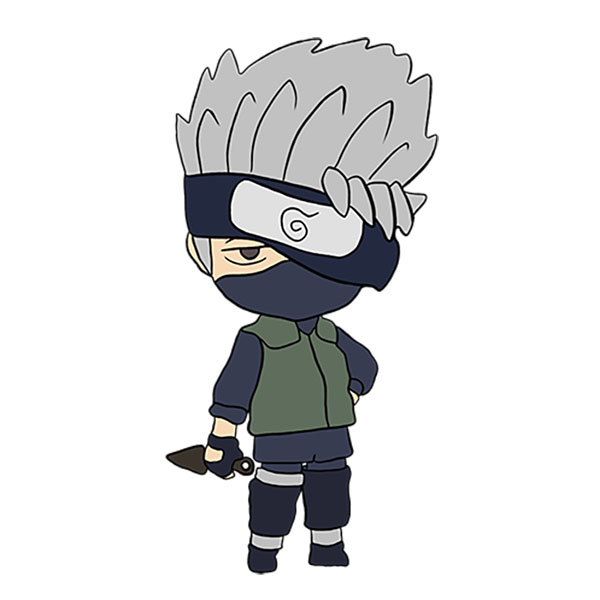
Drawing Naruto in a Dynamic Pose
In this alternative drawing method, you will draw Naruto in a dynamic stance, with one foot forward and a hand extended. Unlike the first tutorial, you won’t begin with basic guidelines and gradually add details. Instead, you will draw Naruto’s details line by line from the start.
Begin by drawing a curved line to form Naruto’s face shape. Then, sketch the headband across the upper part of the head, adding his ears below the band. Draw spiky hair extending from the top of the head, giving it a recognisable shape.
Move on to drawing Naruto’s upper body by adding a simple shirt with one arm extended to the side, while the other arm remains bent at the elbow. Next, draw his pants and shoes, keeping the shapes simple. Once the body is done, add details like Naruto’s facial features, including his wink and smile. Include the Hidden Leaf Village symbol on his headband.
Finally, complete the drawing by coloring Naruto’s hair yellow, his headband blue, and his outfit in the characteristic orange and blue combination.

Conclusion
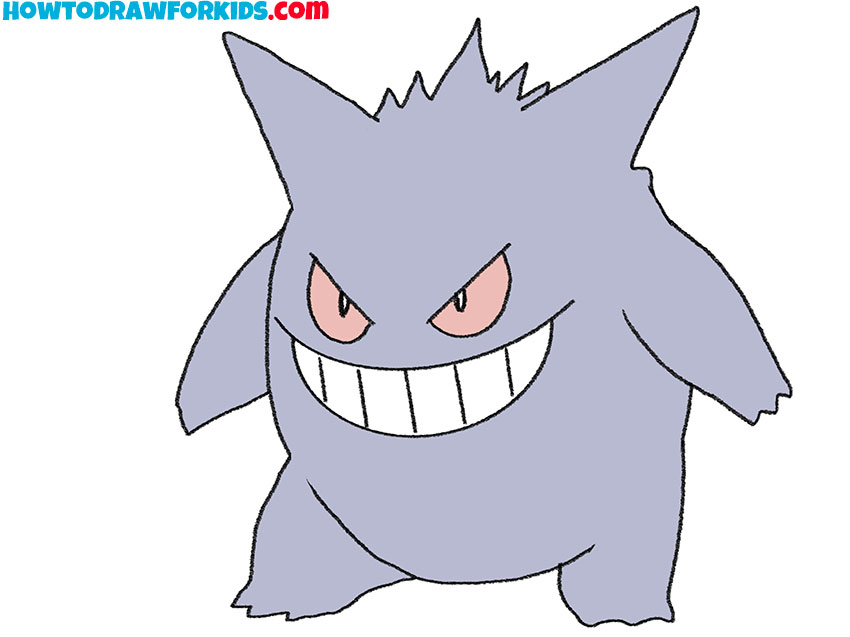
This tutorial on drawing Naruto has come to an end, but there are many more drawing guides and colorong pages available for you. If you found this tutorial interesting and informative, you will likely enjoy my tutorial on how to draw Pikachu.
For more drawing lessons, feel free to visit my site often. You can also subscribe to my YouTube channel for video versions of my tutorials and follow me on Pinterest for regular updates and new guides.
Love this
Thank you, Matt.
THIS WAS SO MUCH FUN!!!!!!!!!!!!!!!!!!!!!!!!!!!!!!!!!!!!!
This is such a good website
i lek it