How to Draw a Wizard Hat
This simple step-by-step tutorial will show you how to draw a wizard hat with its classic conical shape, wide brim, and a surface covered with stars.
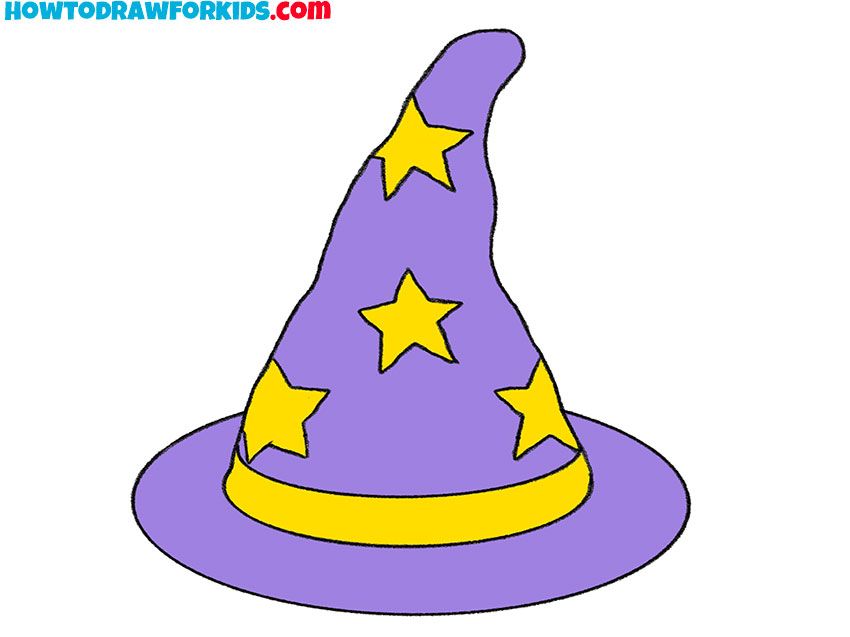
In this very easy drawing lesson, I would like to explain and show you how to draw a simple and authentic wizard hat. This guide will be very useful if you want to draw a wizard, sorcerer, or any other magic character.
This hat is usually used by magicians and wizards. This hat is often used for demonstrating various tricks by pulling various objects out of it.
The feature that distinguishes the wizard hat is its unusual shape because the main part of the wizard hat looks like a cone. With this step-by-step tutorial, you will be able to draw a wizard hat in just nine easy steps, which any child or beginner artist can do.
In this fascinating lesson, you will first draw the outline of the hat, then add decorative elements to it, and then you can color the finished drawing. Now get to work on this guide and enjoy drawing!
Materials
- Pencil
- Paper
- Eraser
- Coloring supplies
Time needed: 20 minutes
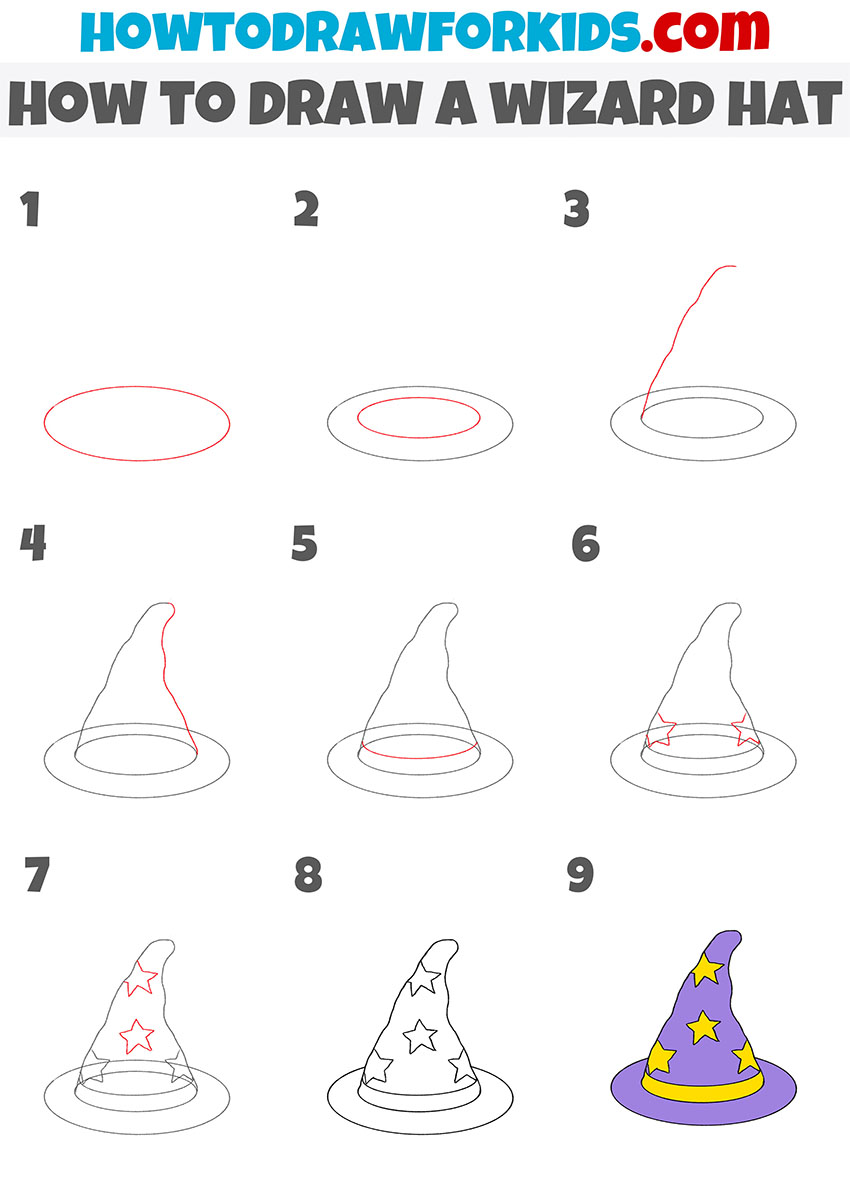
How to draw a wizard hat step by step
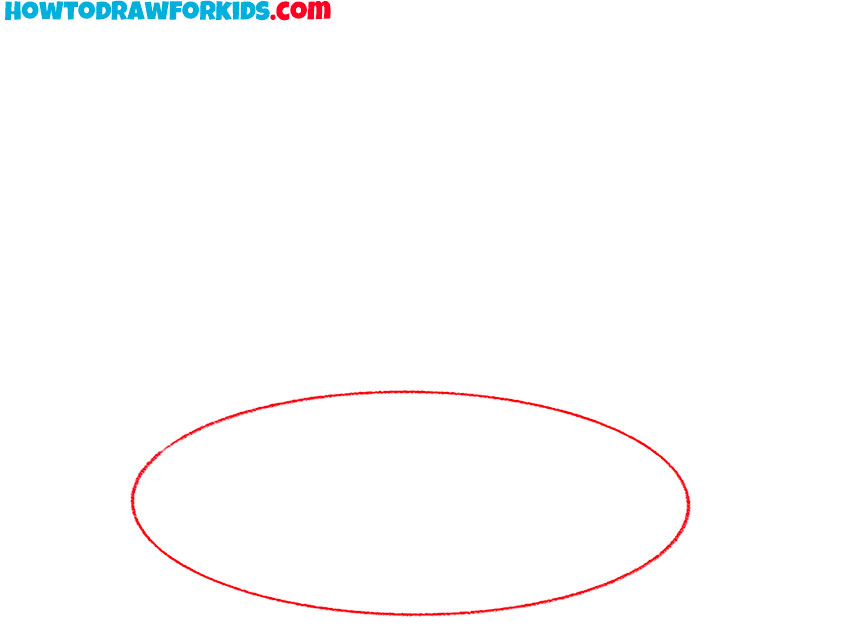
- Sketch the basic brim shape.
Starting with the brim helps you define the overall size of the wizard hat before adding the tall, curved upper section. Sketch a large, flat oval in the center of your page. Keep your strokes light so the shape stays adjustable. You don’t need to make this part perfectly symmetrical or smooth.
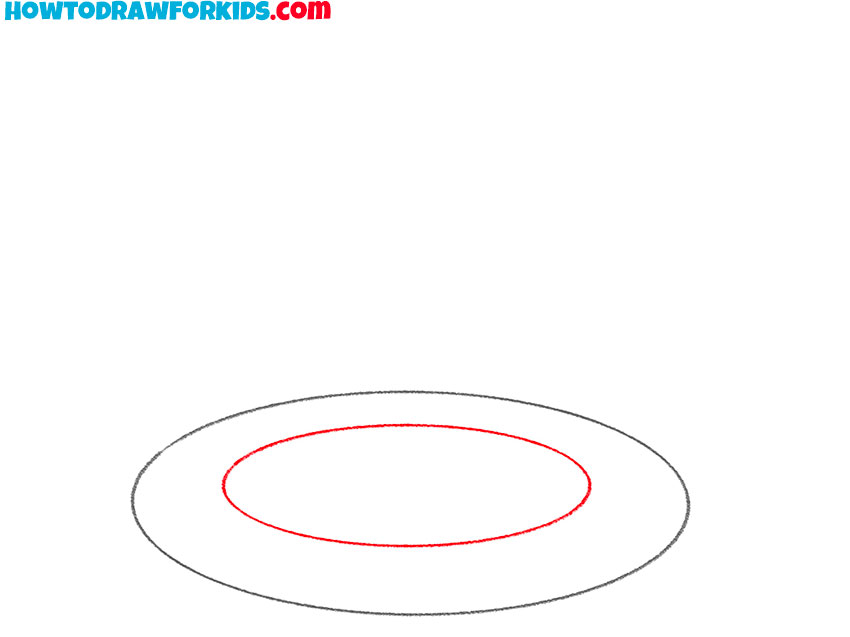
- Sketch the base of the cone.
The brim needs a simple base so the tall cone of the hat has a place to sit. Draw a smaller, similar oval inside the large one. To convey volume and perspective, place this ring slightly closer to the far edge of the oval from the previous step, allowing the front part of the hat’s brim to appear larger.
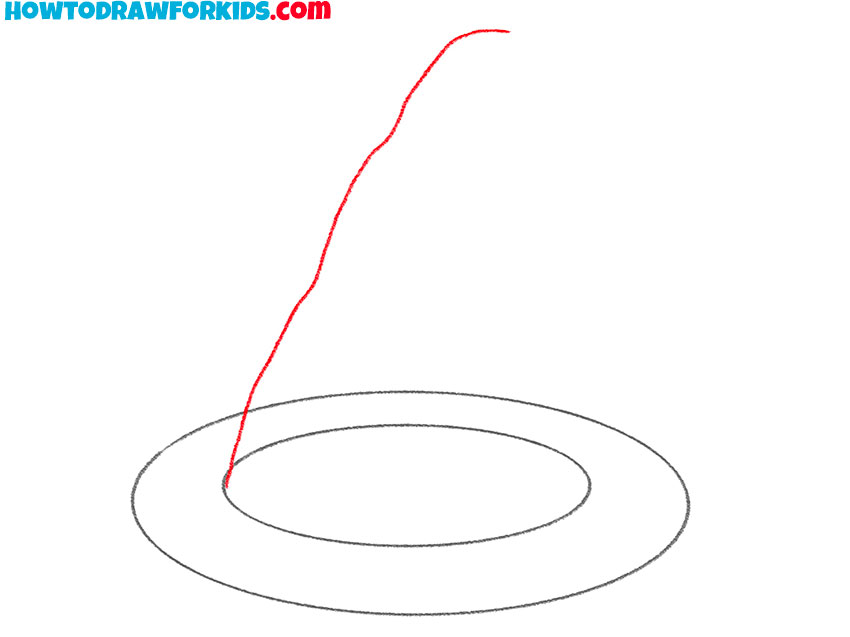
- Begin the cone silhouette.
One of the most recognizable features of a wizard hat is its long, cone-shaped upper section, so sketch this part using smooth, slightly uneven lines. Sketch one long, curved line rising from the inner oval. Let it bend to one side – the iconic look of a wizard hat comes from its uneven silhouette.
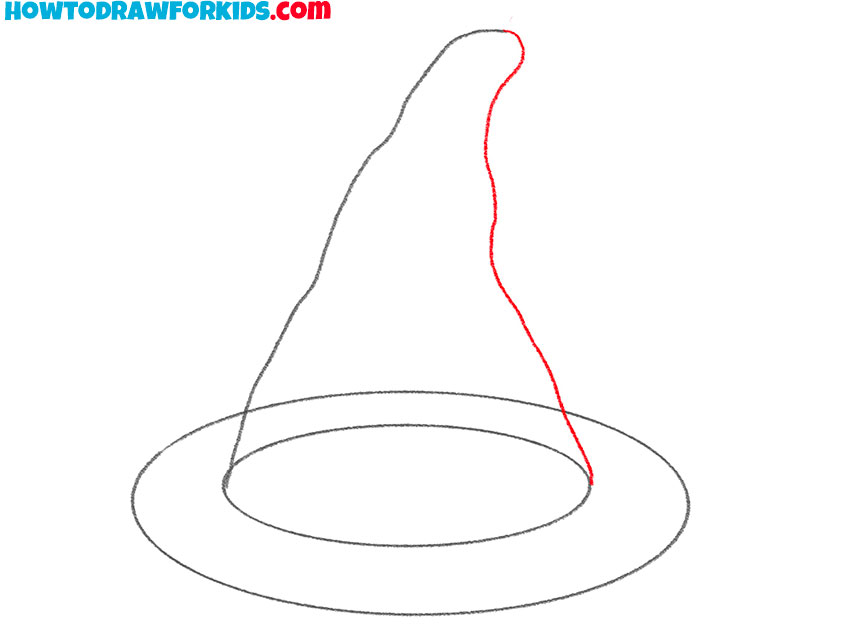
- Draw the second edge of the wizard hat cone.
With one side already set, you can now match it by sketching the opposite side of the cone. Start at the inner oval again and draw a second long, curved line that meets the previous one at the top. The two sides don’t need to be perfectly symmetrical – slight differences create a more natural fabric look.
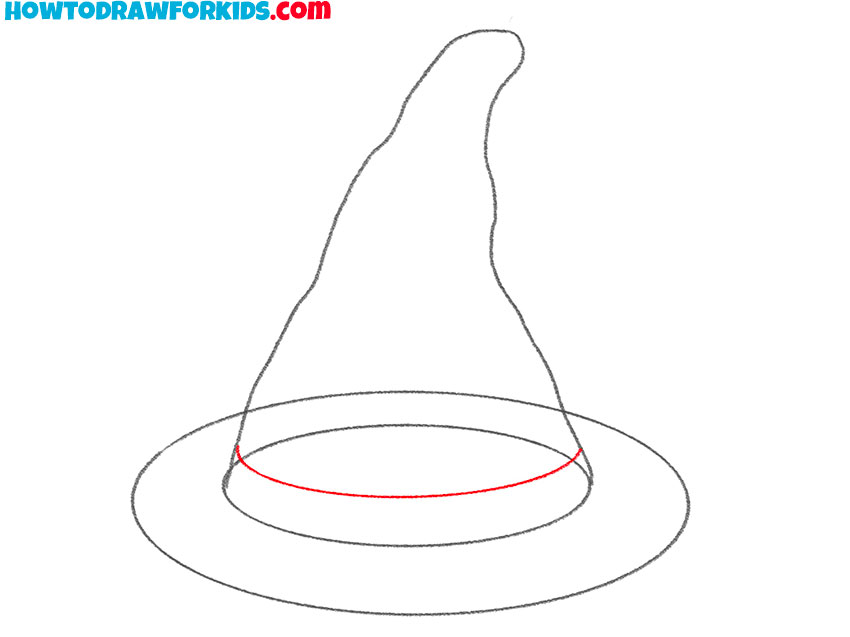
- Draw the wizard hat’s band.
Simple details on the cone and the brim will make the hat look believable. Draw a curved line along the bottom of the cone, matching the curve of the inner oval. This line represents the band of the hat resting above the brim.
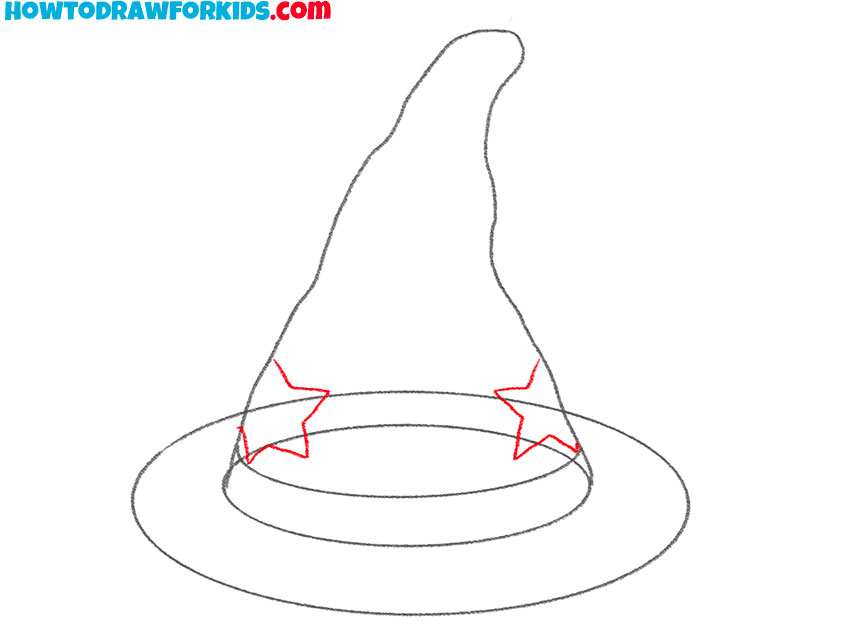
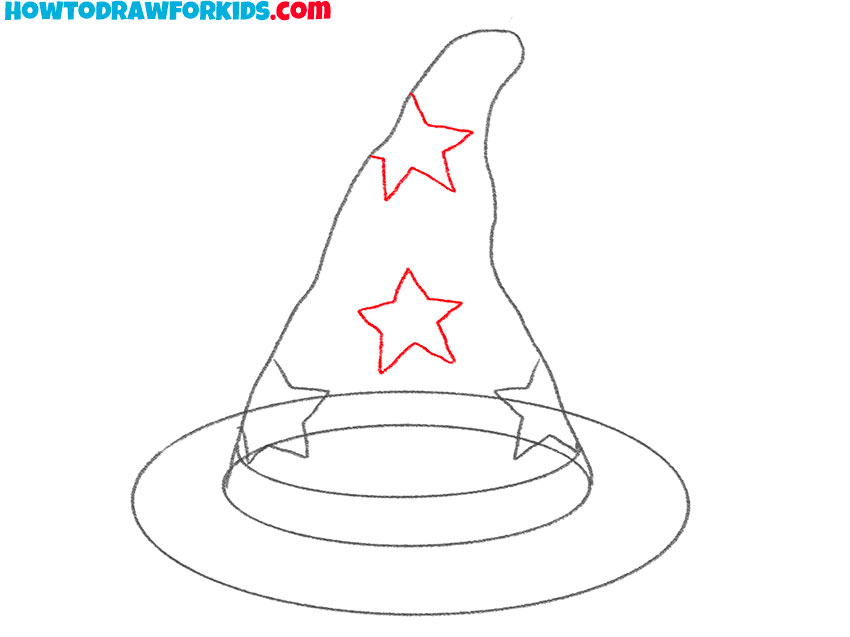
- Start adding patterns to the cone.
Wizard hats in different stories can vary widely in appearance, ranging from simple gray tones to more complex, colorful designs. The pattern can also differ – stars, moons, or any other shapes. To add a bit of texture to your hat, you can draw stars on the cone of the hat.
- Compete the patterns and details.
Continue drawing stars, making them varied in size and location. You can tilt some stars slightly and arrange them in different positions. Fabric hats often gather slightly around the brim, so you can also add folds to give the drawing more texture.
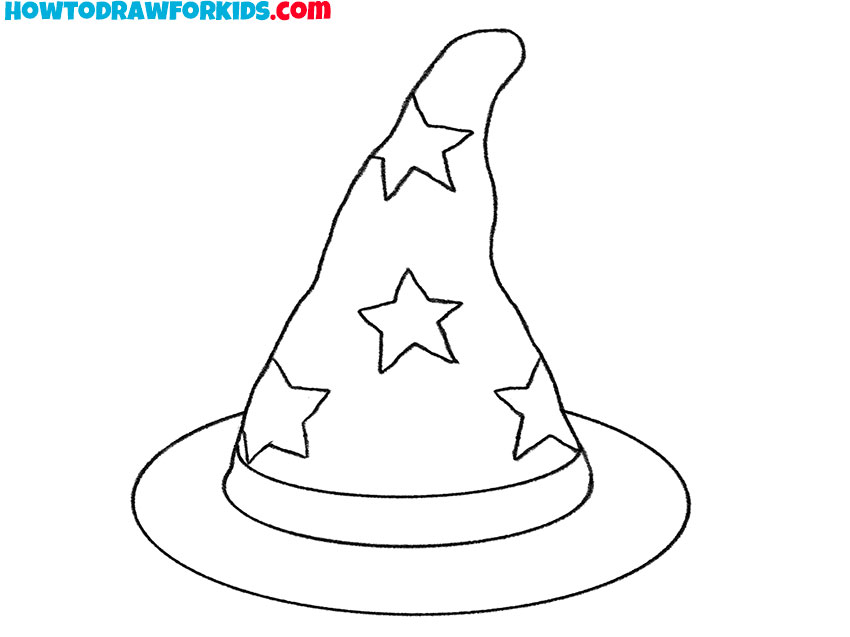
- Clarify the contours of the hat.
Before coloring, clean up the wizard hat drawing so all lines look polished and complete. Carefully erase any leftover construction marks, such as overlapping lines inside the brim, extra curves from shaping the cone, or parts of the first draft that peek outside the main outline.
- Add purple and yellow tones to the hat.
Choose colors that match classic wizard hats – purple, blue, or deep indigo. You can fill the brim with a slightly darker shade, or use the same color as in the cone. Color the stars bright yellow. If you want a bit of dimension, lightly shade the left or right side of the cone to convey a curve.

Now you know how to draw this beautiful wizard hat step by step. I have prepared for you a PDF file with a short version of this drawing lesson. Download this file to return to this lesson whenever it is convenient for you.