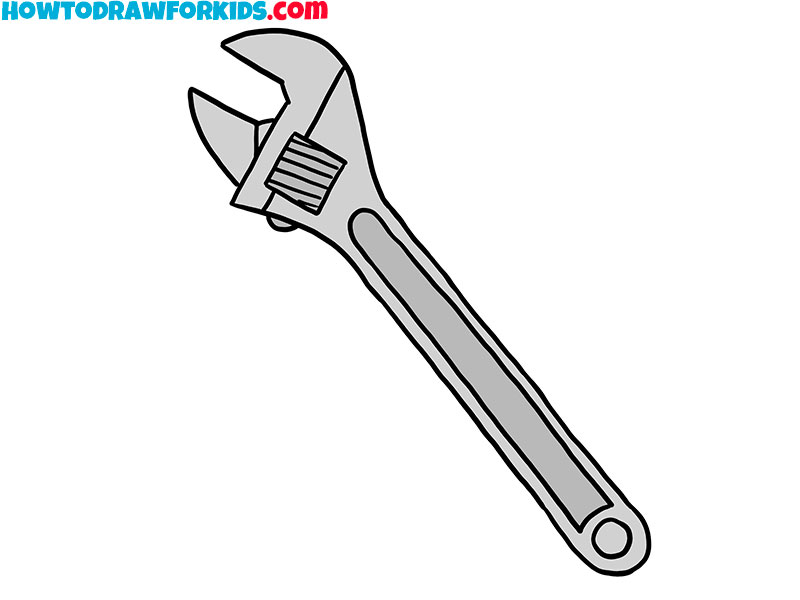
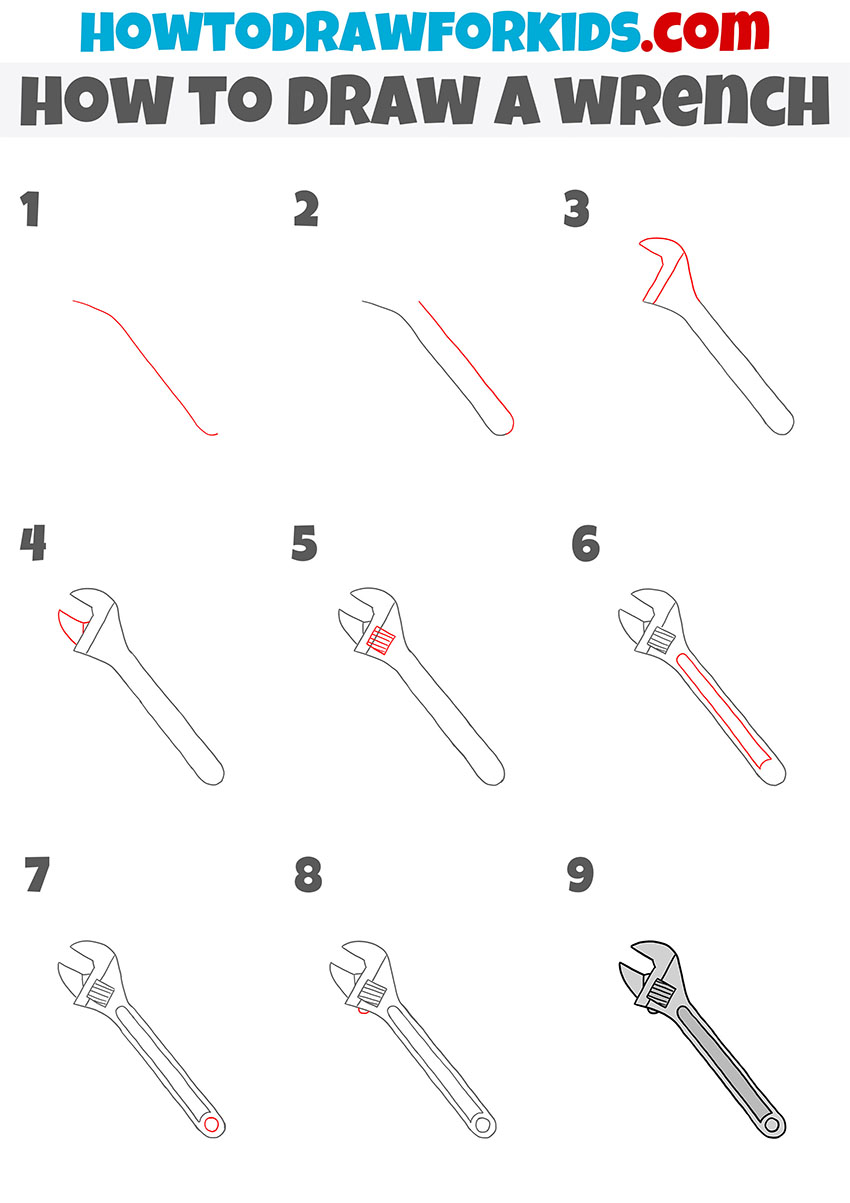
How to Draw a Wrench
Today, you will learn how to draw a wrench step by step. This simple lesson consists of nine steps with a detailed description.
So, I have prepared for you a great and very simple drawing lesson in which I will tell and show you how to draw a wrench step by step. This lesson will help you to practice drawing various geometric shapes. To make your wrench look more beautiful and realistic, you can use a ruler to draw straight lines. However, if you want to practice drawing straight lines on your own, you can not use auxiliary objects and, if necessary, repeat this lesson several times.
A wrench is a tool that is in every home and in every workshop. You can’t do without it if you need to make repairs of any complexity. It will also be required when repairing a car, in plumbing work, and assembling a furniture set. The wrench you draw with this tutorial is considered to be a wrench.
The main advantage of this type of wrench is the ability to grab fasteners of various sizes, even non-standard ones. To ensure that the edges of the fasteners are not damaged, the tool should be used carefully, controlling the applied force.
If you already want to quickly learn how to draw a wrench step by step, then you can prepare art supplies right now, and then carefully follow my instructions and enjoy the creative process. I am sure that this lesson will not cause you any difficulties, and you will be satisfied with the result of your work.
Wrench Drawing Tutorial
Materials
- Pencil
- Paper
- Eraser
- Coloring supplies
Time needed: 30 minutes
How to Draw a Wrench
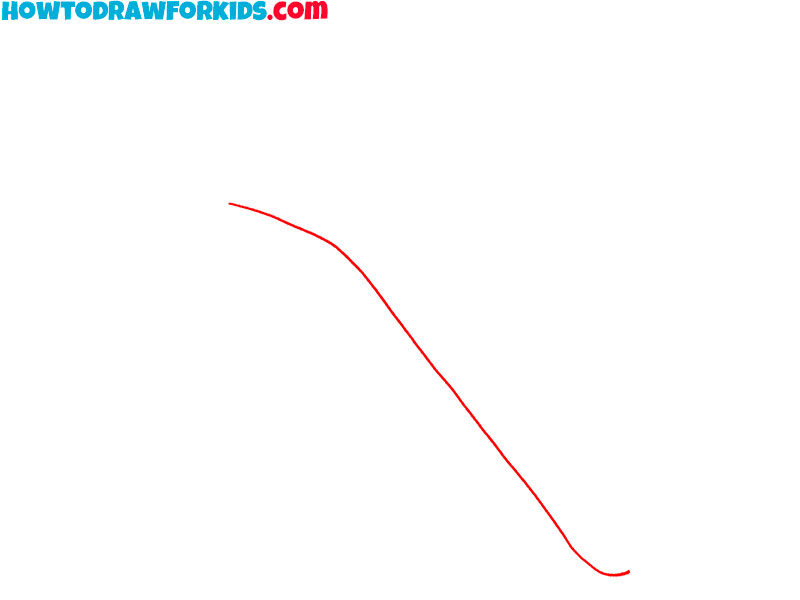
- Start drawing the handle of the wrench.
To complete this simple step, you need to draw one curved line, as shown in the picture.
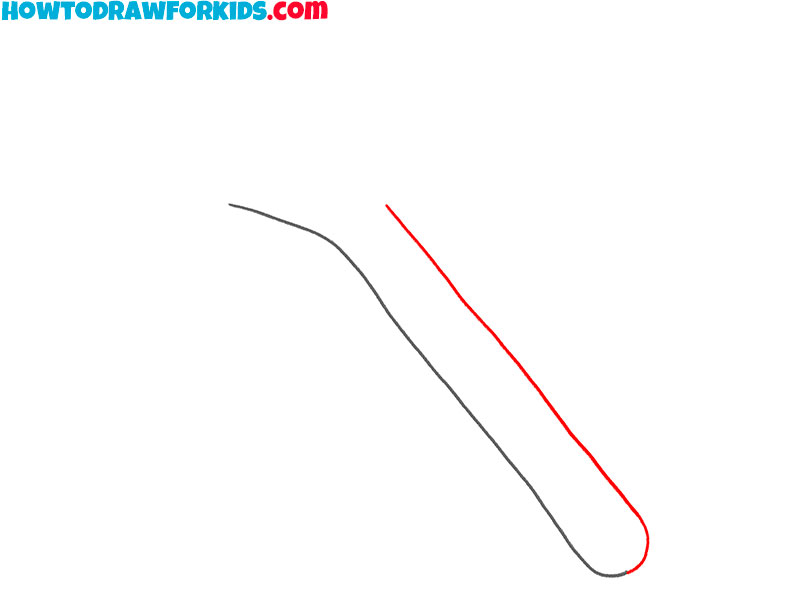
- Continue drawing the wrench handle.
From the lower end of the previously drawn line, draw a straight line, rounded at the bottom.
- Draw the part of the wrench on top.
Add one curved line as well as several straight lines of varying lengths.
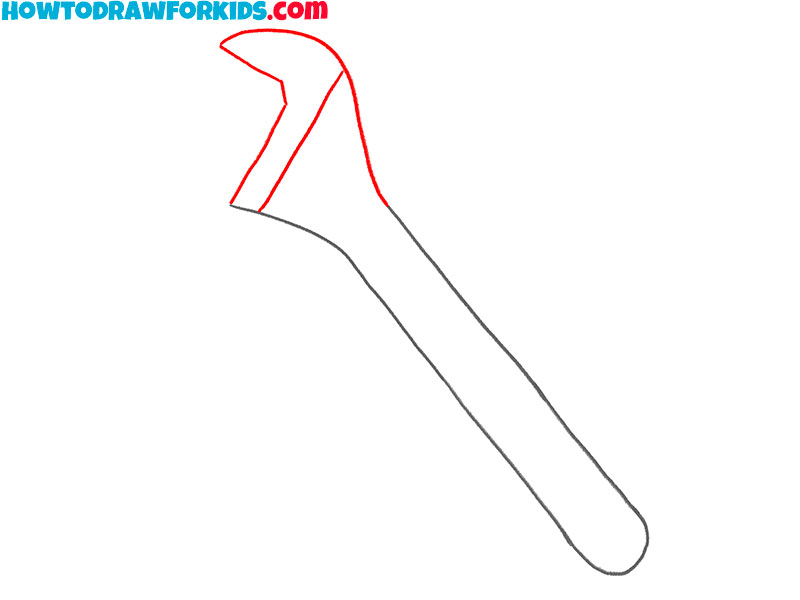
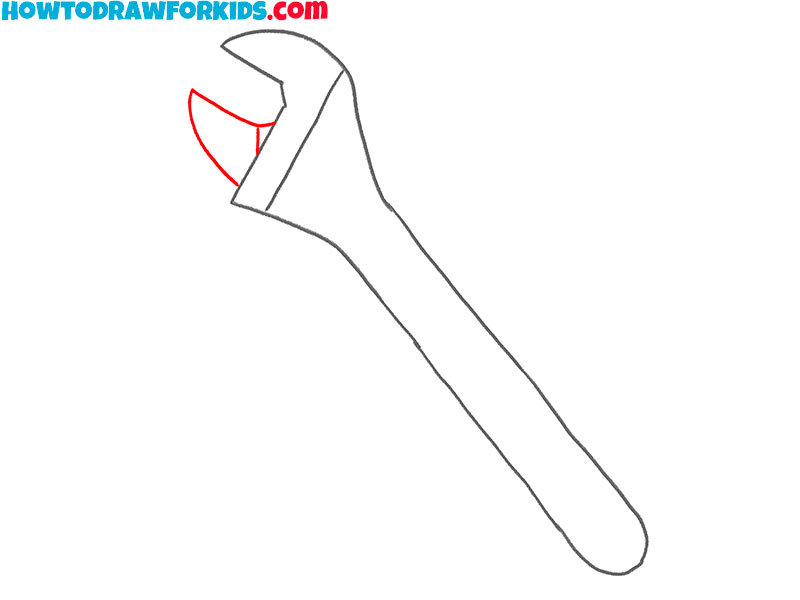
- Add another element to the top of the wrench.
Beside the previously drawn lines, add another curved line and some straight lines.
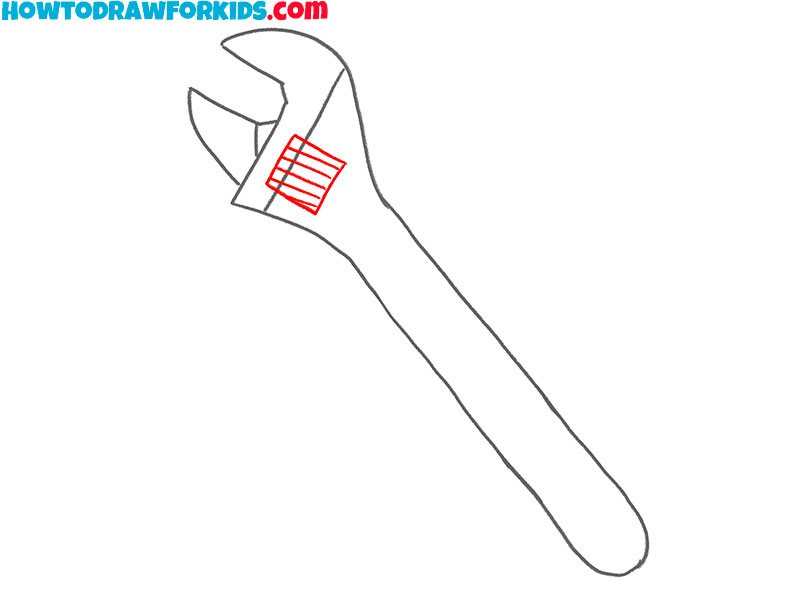
- Depict an element that adjusts the size of the wrench.
At the top of the wrench you’ve drawn, add a rectangle and some lines inside it.
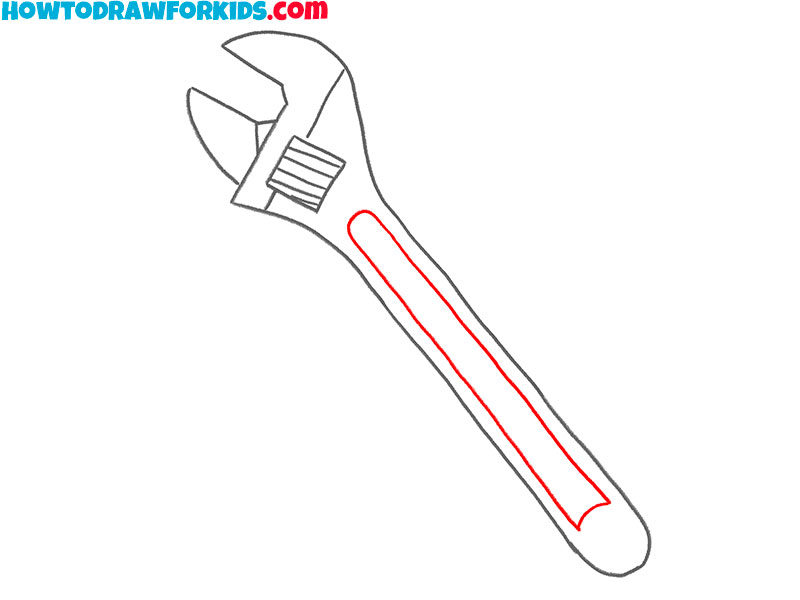
- Remove extra lines and add an element on the wrench handle.
Use the eraser to remove extra lines and add straight lines and arcs.
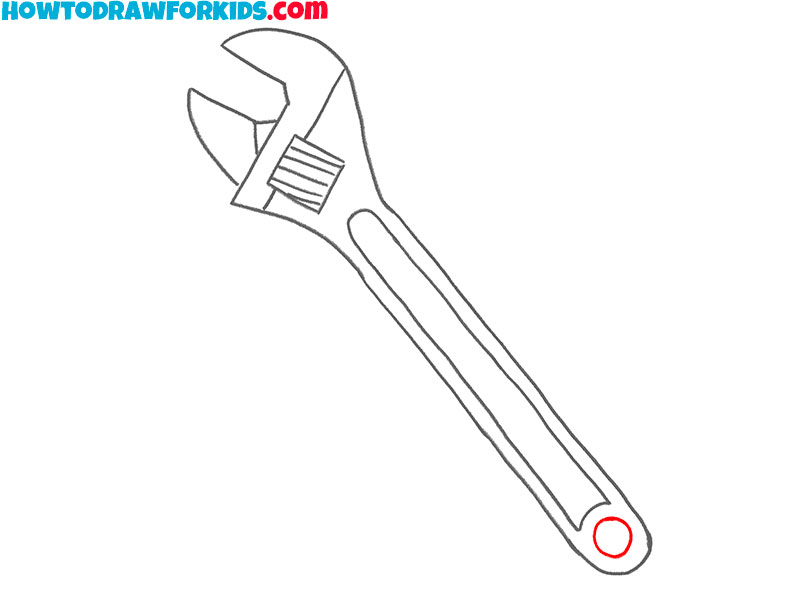
- Depict the hole on the wrench handle.
At the bottom of the wrench handle, draw one circle as shown.
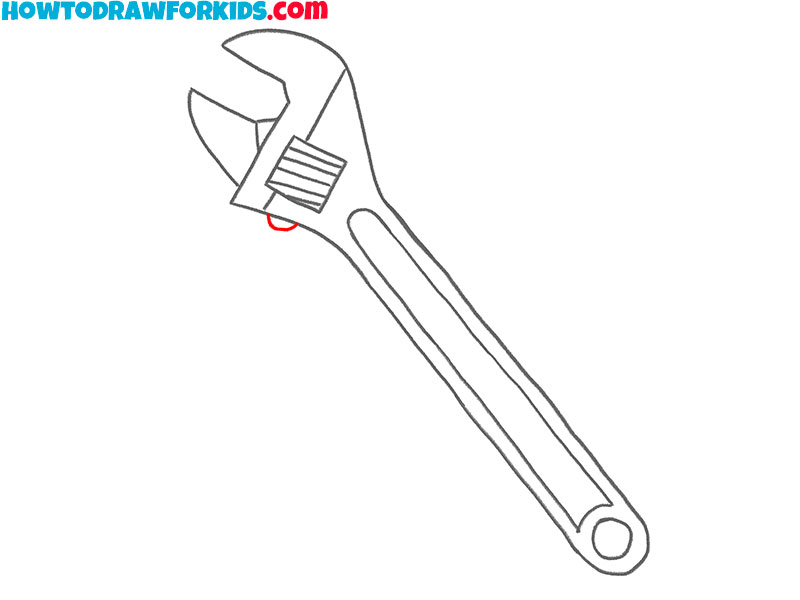
- Add another element to the wrench.
At the top of the wrench, draw one small arc.
- Color the drawing.
To color the wrench, use different shades of gray.
Now you can download the PDF file that I have prepared for your convenience. This file contains all the necessary useful materials for this lesson so that you can not lose this lesson in the absence of an Internet connection, and also return to it at any time convenient for you.