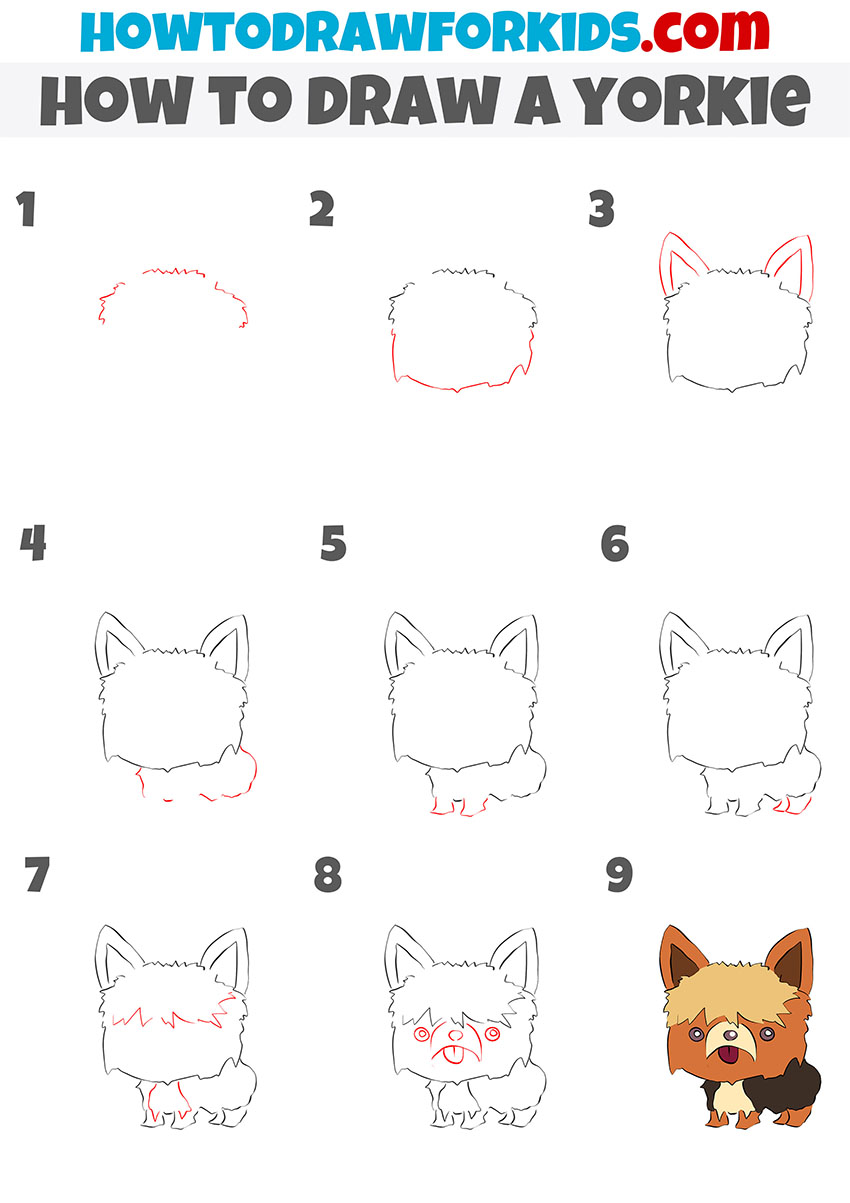
How to Draw a Yorkie
Popular in both homes and dog shows, the Yorkie is instantly recognizable, and this guide explains how to draw a Yorkie very easy.
How to Draw a Yorkie: Introduction
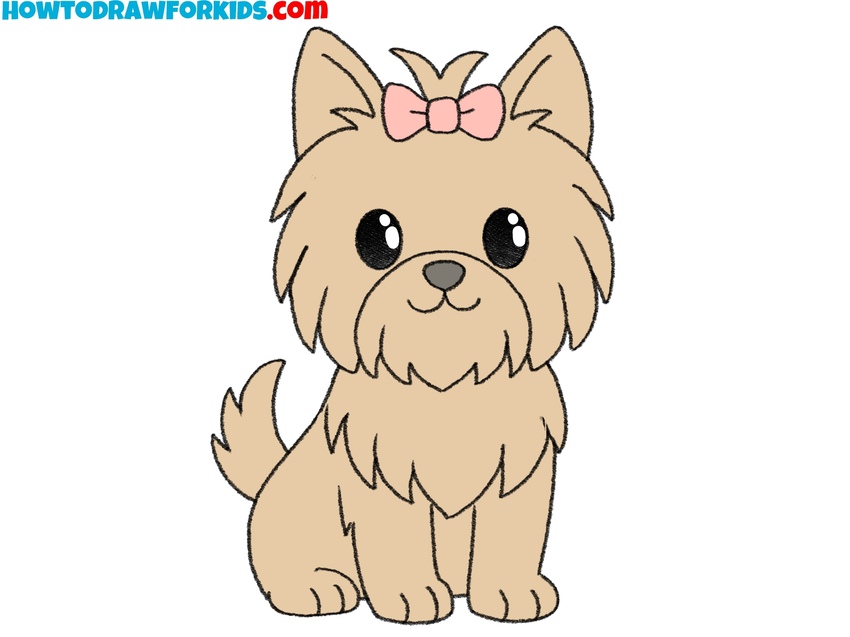
Now you will learn how to draw a Yorkie. The Yorkshire Terrier is a popular breed of decorative dog. The size of the dog is really very small and such a dog looks very cute, so many people are happy to keep such a cute pet at home. Such a dog is an excellent companion for adults and a loyal friend for children.
Yorkie has a soft silky coat. The coat can be very long, so much a dog is sheared or put on small hairpins, elastic bands, or bows. In the picture, you can see a little Yorkie with a haircut. The head is much larger than the body, the legs are very short. These proportions give the dog a funny cartoonish look.
This tutorial is adapted for children and aspiring artists and therefore contains simple elements at every step. You can easily follow this tutorial.
Yorkie Drawing Tutorial
Materials
- Pencil
- Paper
- Eraser
- Coloring supplies
Time needed: 35 minutes
How to Draw a Yorkie
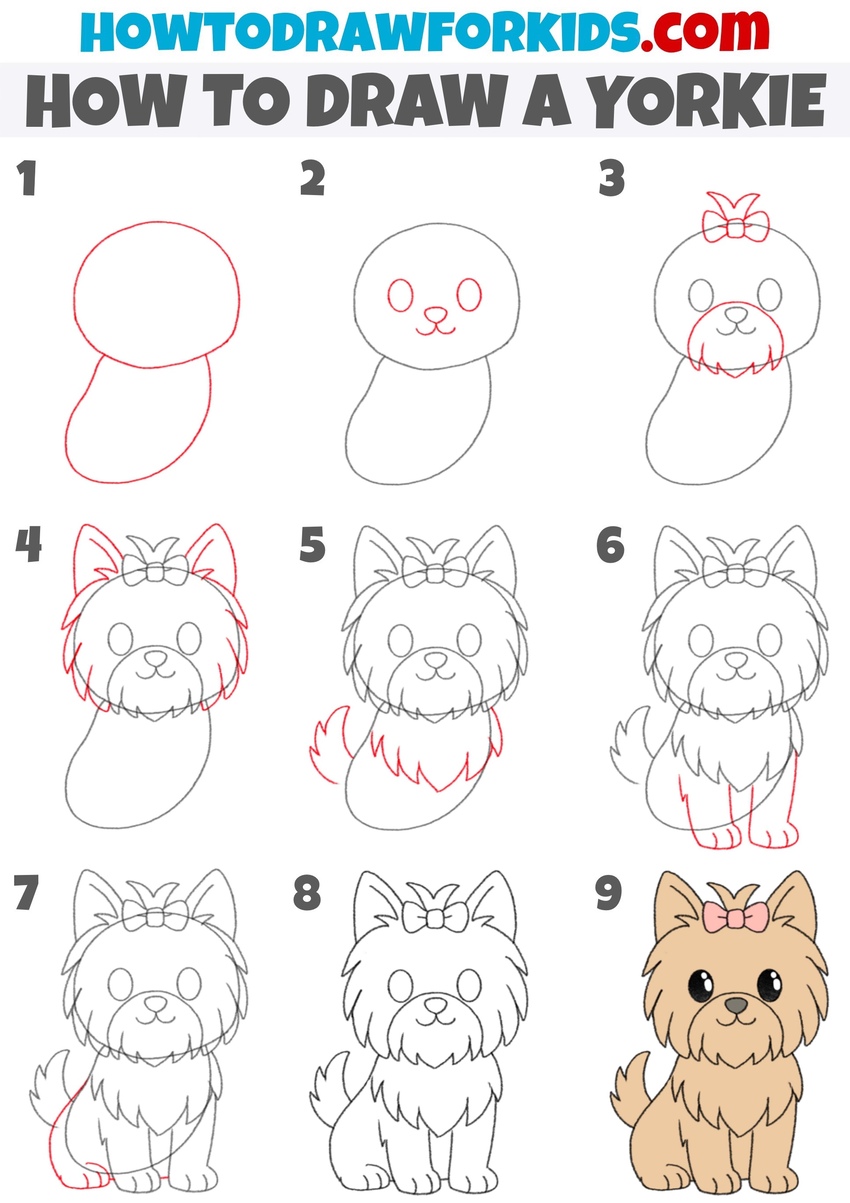
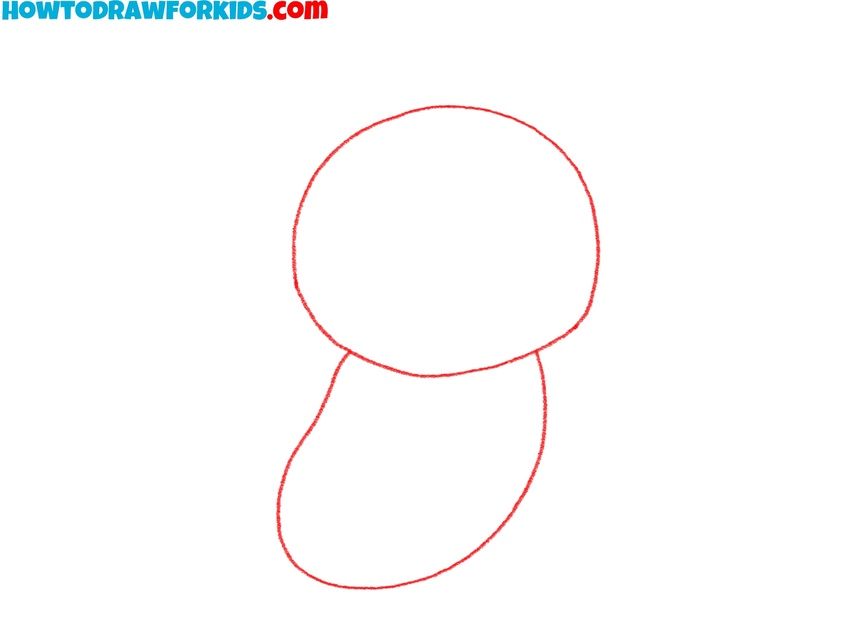
- Sketch the dog’s body shapes.
A good way to begin this drawing is by establishing the overall body shape of the Yorkie. Sketch a large rounded oval for the head, then connect it to a longer oval underneath for the body. Try to give your yorkie drawing a toy look.
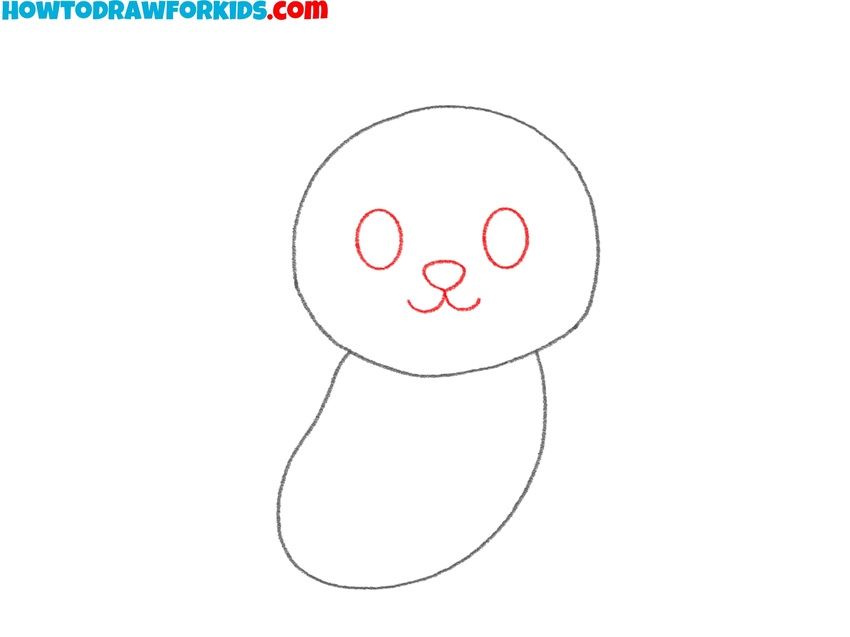
- Sketch the eyes, nose, and mouth.
So, it’s time to draw the dog’s face and mark the main features. Inside the head oval, sketch two round eyes. Then add a small rounded triangle in the center for the nose and a couple of short curved line to a simple mouth. Keep these features relatively low on the head.
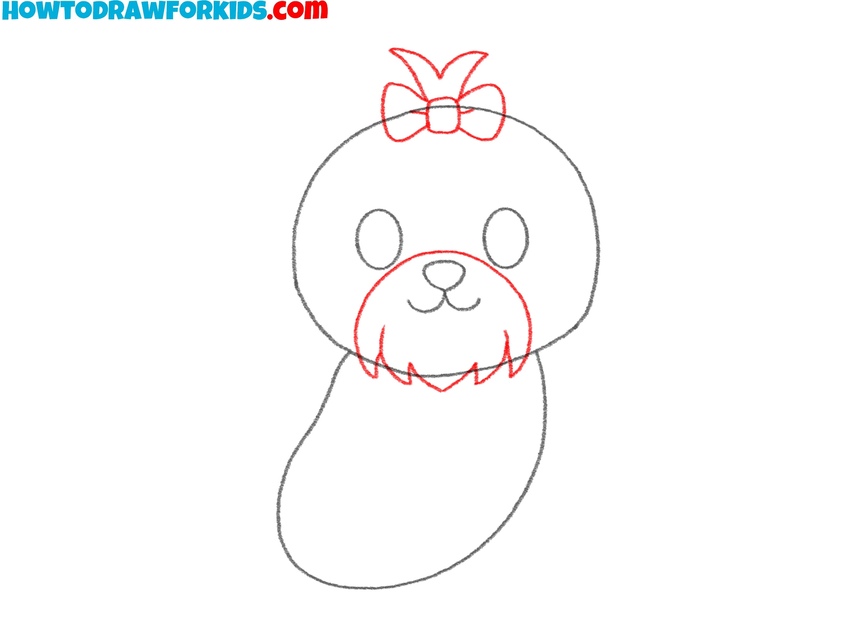
- Add the bow and muzzle.
Yorkies are often drawn with a little bow on top of their head, which makes them more recognizable. So start drawing a bow above the eyes using a circle and curved triangles and add the hair above this bow. Next, illustrate the outline of the muzzle area by drawing a jagged line around the nose and mouth.
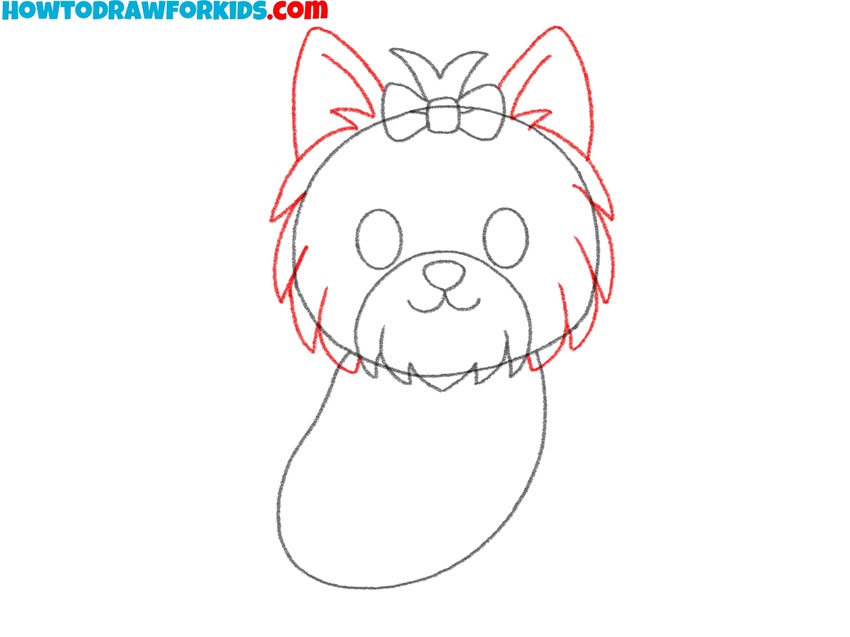
- Sketch the ears and fur around the face.
To give the Yorkie its recognizable look, add two large pointed ears at the top of the head. Each ear should be triangular, but with rounded tips. Next, begin sketching the fur around the cheeks and sides of the head using short zigzag strokes.
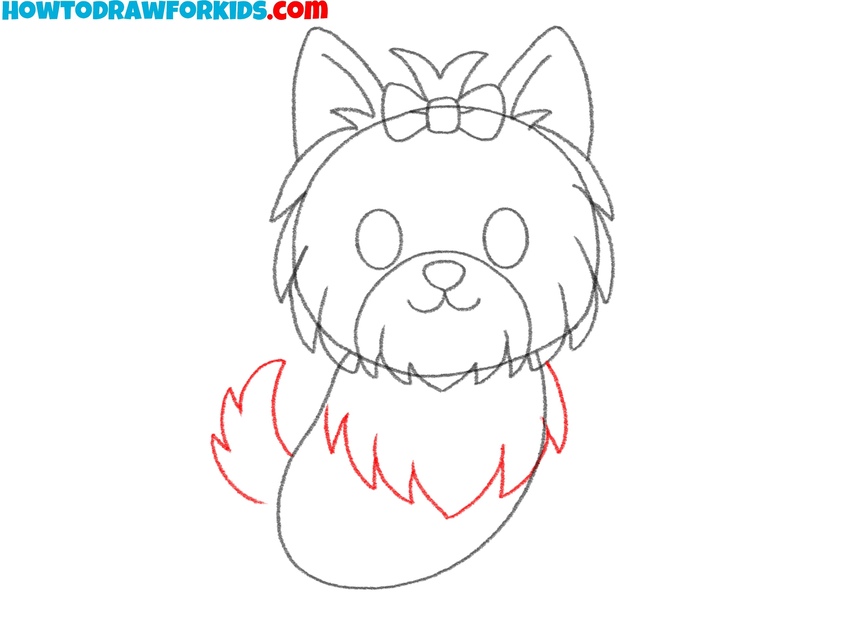
- Draw the Yorkie’s tail and chest fur.
Now move down to the body, sketching a small tail at the back. Sketch it with short curved lines, making it fluffy but simple. Then draw jagged lines at the chest area to illustrate the Yorkie’s long hair flowing down. Vary the length of the strokes to make it look more realistic.
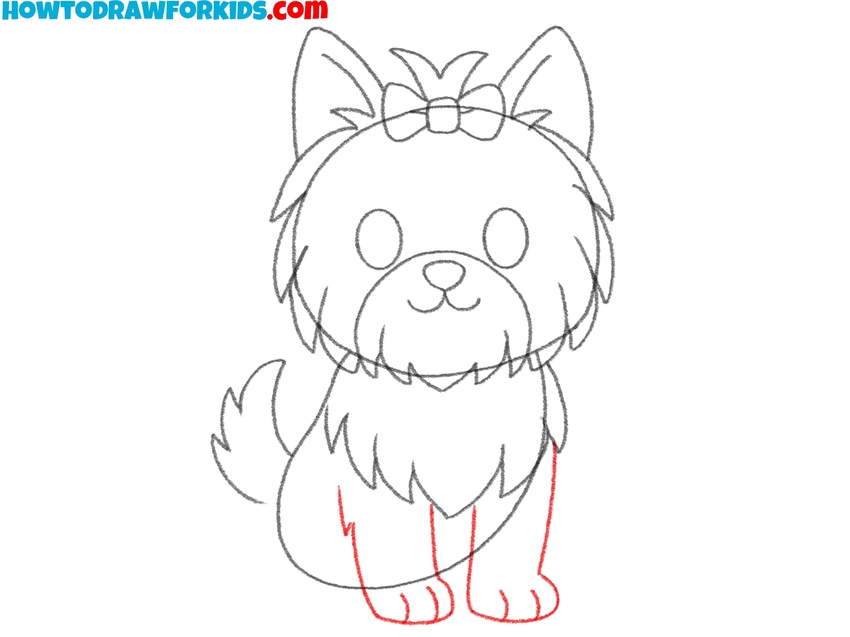
- Sketch the front legs and paws.
Each leg should be drawn with straight sides that taper into small rounded paws. Add small curved lines at the bottom to illustrate toes. To make this park look more realistic, you can add a couple of hair strands. Also, you can draw one leg raised, to make your Yorkie drawing look more unique.
- Add the back legs and paws.
Draw smooth and curved lines on the back part of the body, finishing with a rounded paw. As with the front paw, add a couple of short curved lines to represent the toes. The other leg is not visible in this pose, as it is hidden behind the dog’s torso.

- Erase extra sketch lines.
Before moving to color, refine the Yorkie drawing by cleaning up unnecessary lines. Erase any construction marks left from the ovals. Try to make the lines smooth and finished. Also, take a moment to check proportions. You can also add some hair texture or other small details.

- Color the small Yorkie.
Adding color is what truly completes the Yorkie drawing, since without it the dog will look more like a sketch than a finished picture. Shade the fur with light brown. The nose should be dark, and the eyes filled with black or deep brown, leaving a small white highlights.

Easy Yorkie Drawing Tutorial
Outline the top of the head using jagged lines to represent the fur. Extend the shape downward and close the outline to complete the body form. Add the pointed ears on top, using double lines. Sketch the body details, including the small legs and the rounded tail.
Draw short strokes along the edges for the fur texture, but avoid overloading the drawing with too many lines. Add the facial hair fringe across the forehead, then mark the eyes, nose, and mouth. Use light strokes for construction and erase extra lines once the main forms are in place.
Add small details like the paws and adjust any uneven parts of the outline. For coloring, use shades of brown, black, and tan to match the typical Yorkie coat pattern.
Conclusion
Now you have learned how to draw this cute dog breed. I hope you like the result. Write your feedback about this lesson in the comments. I would be grateful for your feedback.
To learn more about drawing animals, visit my dog drawing tutorial, that shows different types of this beautiful animal. If you want to sketch even more cute version of this animal, check out the cute dog drawing tutorial, that turns the cuteness to the maximum.