How to Draw an Air Conditioner
To teach you how to draw common everyday electronics around us, I’ll show you how to draw an air conditioner step by step.

In this tutorial, you will learn how to sketch an air conditioner and train your room drawing skills. You probably have this object in your home and have seen it many times. An air conditioner is a device for cooling the air in a room.
The air conditioner can both cool and heat the air. It is a very useful device without which it is difficult to stay indoors during hot or cold weather.
This lesson will be simple enough for you because each of its steps involves quite simple elements. By doing this lesson you will first outline the air conditioner, then draw its exterior details, and then you will learn how to color it.
I think it’s time for you to prepare the materials you need to draw and start completing this tutorial.
Materials:
- Pencil
- Paper
- Eraser
- Coloring supplies
Time needed: 15 minutes
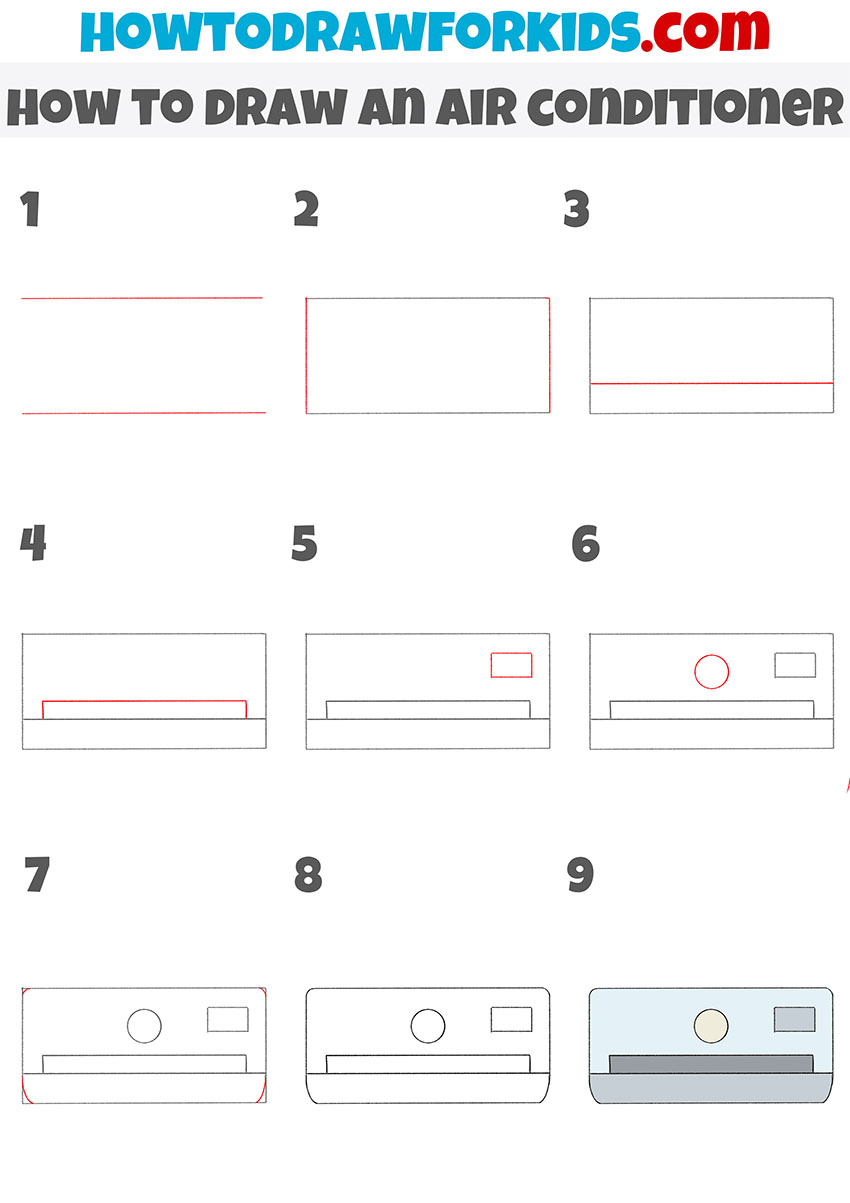
How to draw an air conditioner step by step
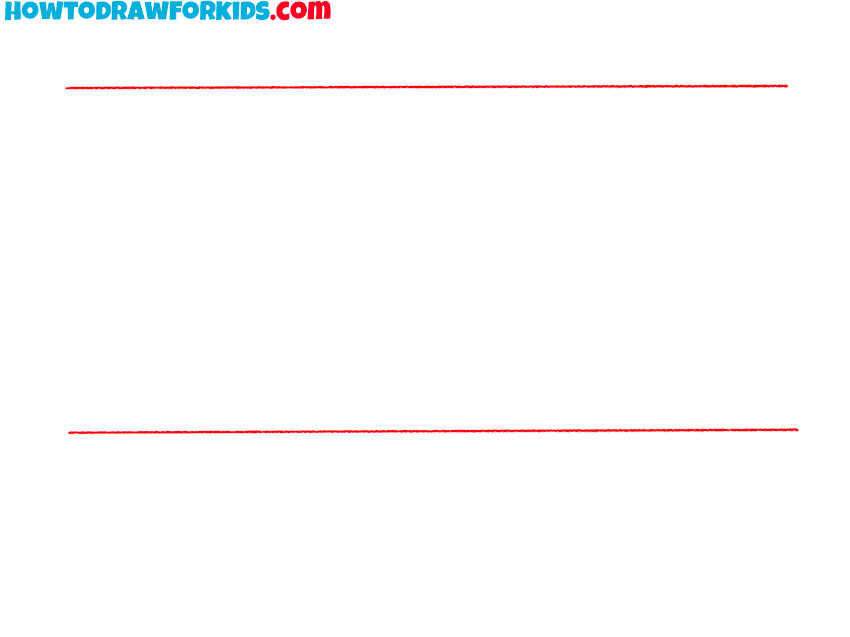
- Sketch the top and bottom edges.
Start by sketching two long, parallel lines that will define the top and bottom edges of the air conditioner. Keep them straight and equal in length. Use very light pencil strokes so they can be adjusted easily if needed. Check that the lines are perfectly horizontal.
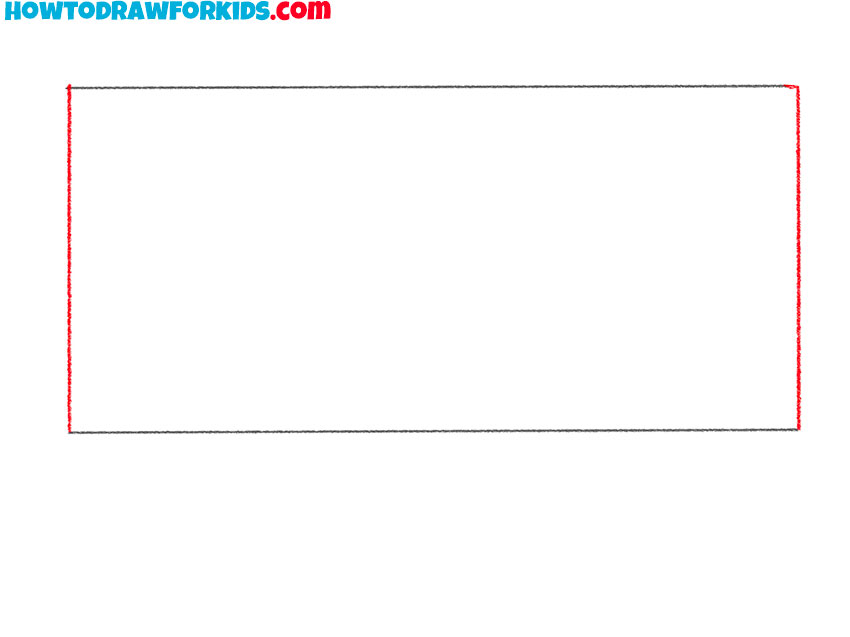
- Connect the edges into a full shape.
Connect the two lines with short vertical edges on both sides to complete a long, narrow rectangle. This shape will serve as the outer body of the air conditioner. You can lightly compare the width-to-height ratio to typical air conditioner proportions: it should look wider than tall.
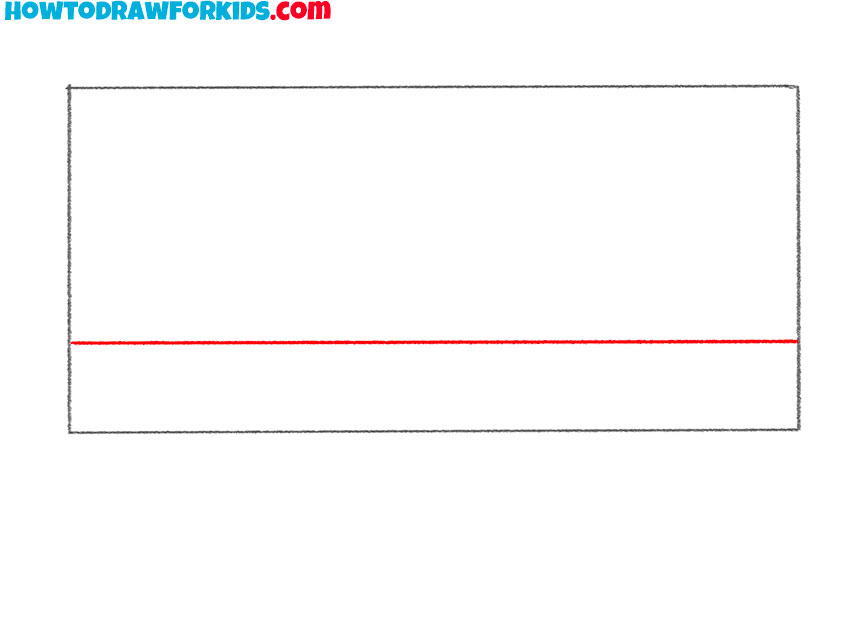
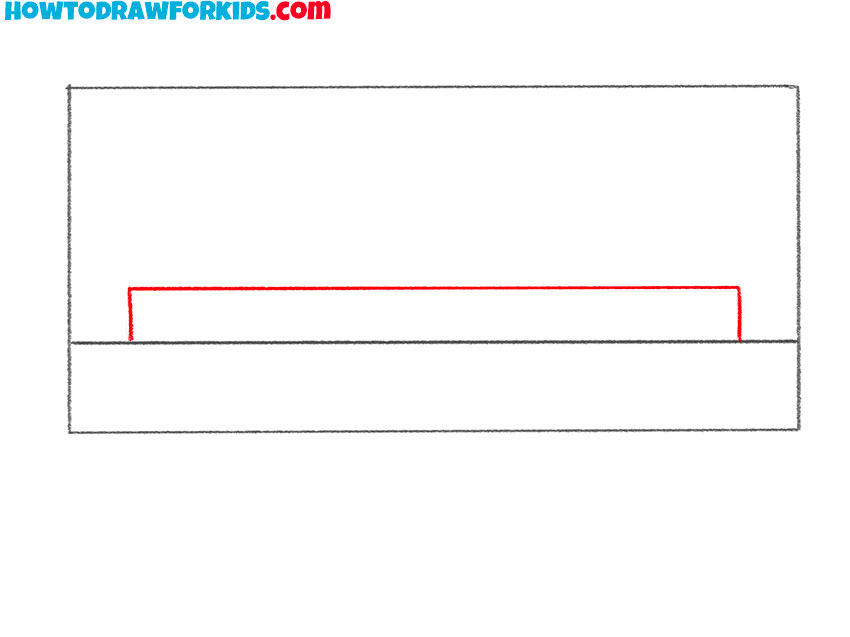
- Separate the front panel.
Inside the rectangle, draw a straight horizontal line closer to the bottom edge. This separates the front cover from the air outlet section. Make sure the spacing looks consistent on both sides. Try not to press too hard with your pencil at this point since you might refine the line later.
- Draw the vent opening of the air conditioner.
Now outline a smaller, narrower rectangle inside the upper section you created. This represents the air outlet vent. Keep the top edge parallel to the main body lines. If your previous structure was clean, this step will fit in naturally.
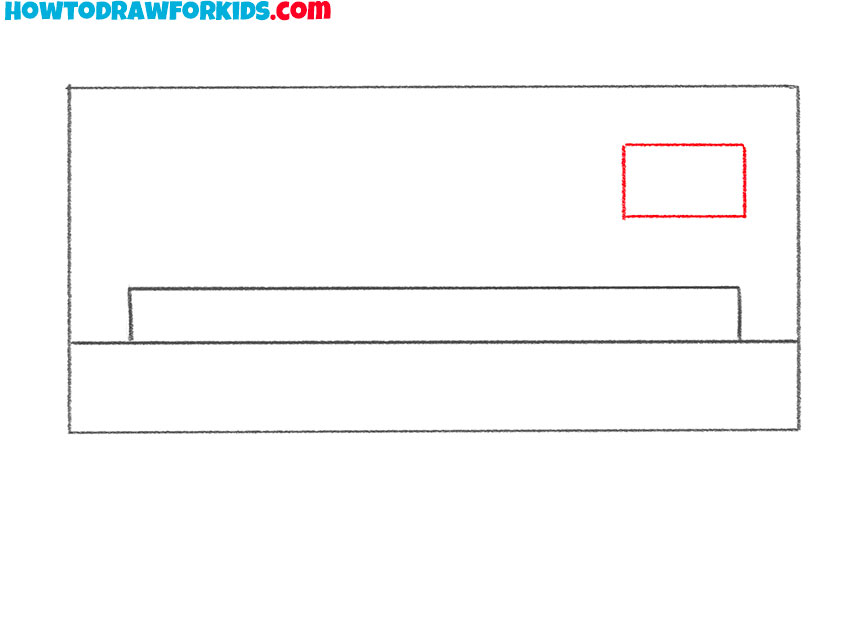
- Sketch the control display.
On the right side of the top section, sketch a small rectangle – this is the control or display area. It should be very small and positioned neatly near the corner. Many air conditioners have small control panels or indicators, so observe their common placements when refining your drawing. If you want a more realistic effect, slightly round the rectangle’s corners.
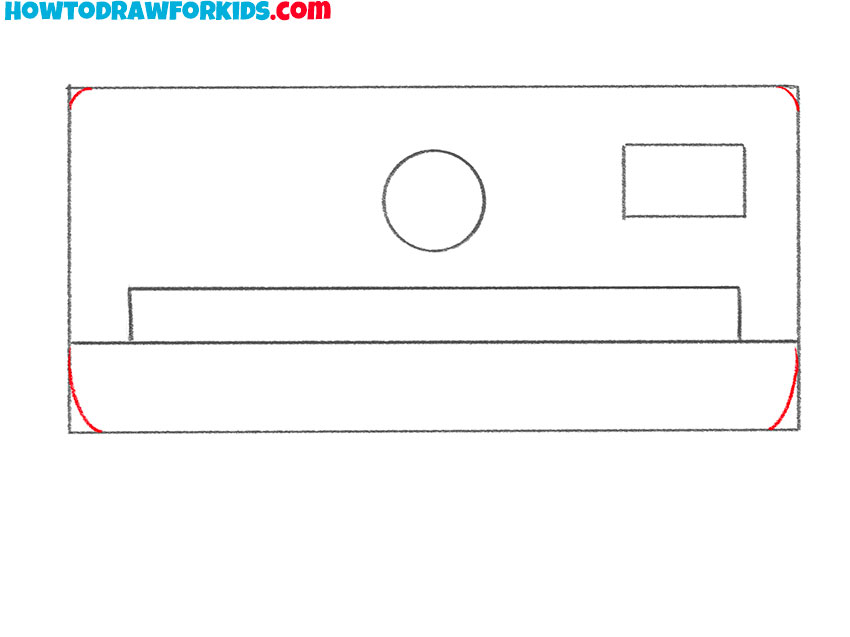
- Illustrate the main round button.
Next to the display, illustrate a circle – this will represent a sensor or indicator light. Align it carefully with the rectangular panel so both appear on the same visual line. You can use a drawing compass or trace a small round object if you want a perfect shape.

- Refine the corners and edges.
To give the air conditioner drawing a smoother look, round the corners slightly. You can also add subtle diagonal lines near the lower vent to show its details. This step helps the unit look more three-dimensional and less flat. This is a good moment to review your proportions – check if both sides mirror each other and the shapes look smooth.
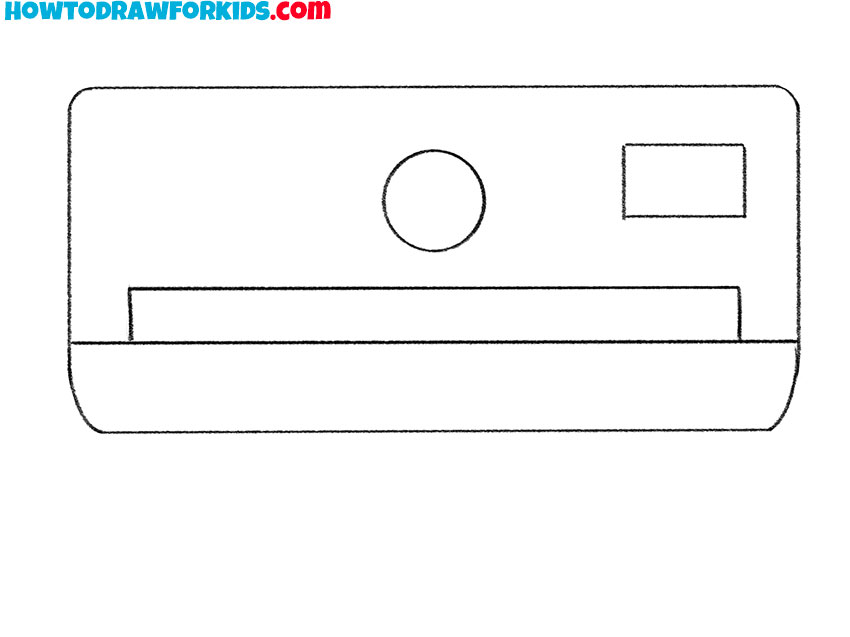
- Erase the extra corners.
Use a soft eraser to remove any unnecessary construction lines from your sketch and leave only smooth contours. Clean up around the edges of the main rectangle to make your air conditioner drawing look crisp. Be careful not to smudge the paper.
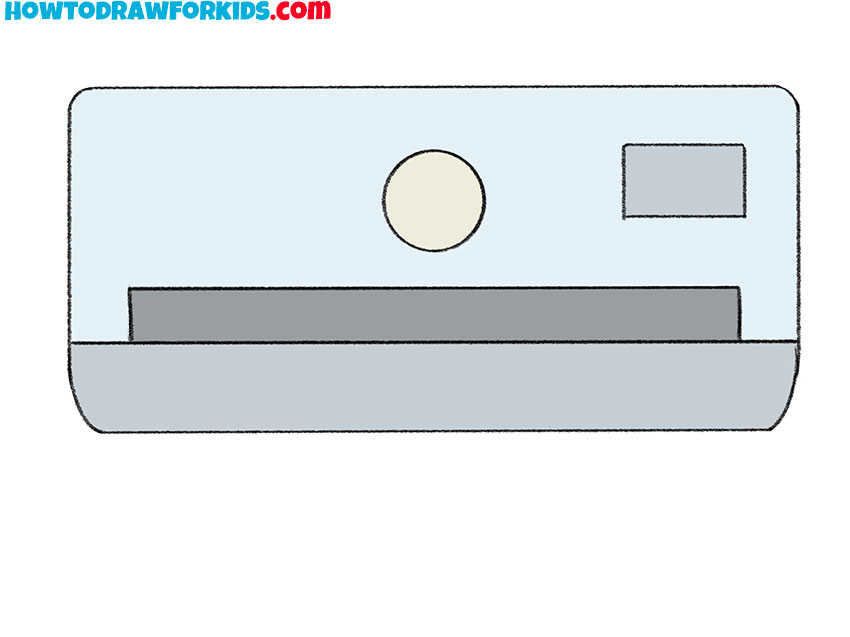
- Color the air conditioner parts.
Use light gray or pale blue for the main body, darker gray for the vent area, and a softer tone for the display and sensor. The contrast between these shades helps define each element clearly. Avoid strong or dark colors – air conditioners usually have neutral tones.
I hope you enjoyed this lesson! Don’t forget to subscribe to us on social media and save the PDF file that I prepared for your convenience. This file contains a short version of this lesson and additional useful materials.