How to Draw a Fan
Now you will learn how to draw a fan. With the help of this lesson, you will greatly improve your artistic abilities.
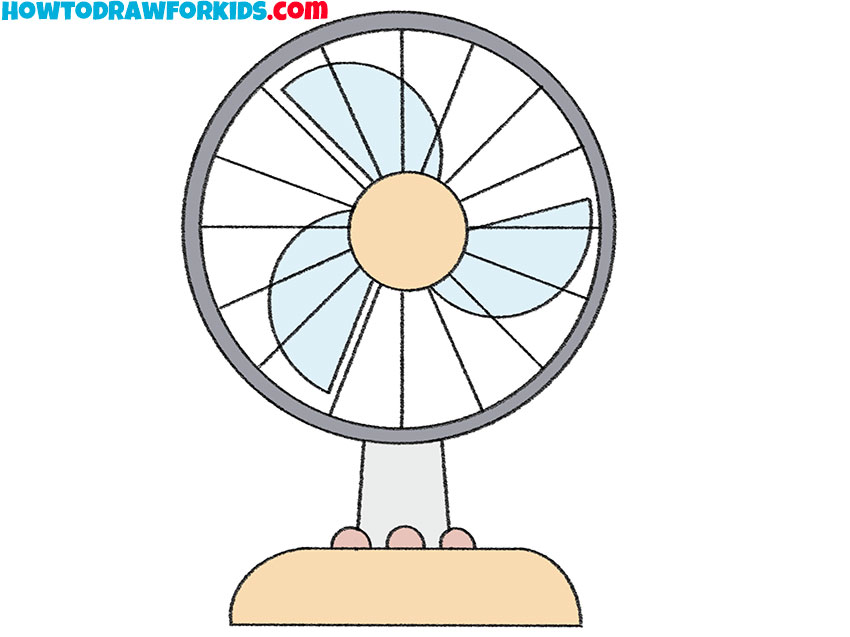
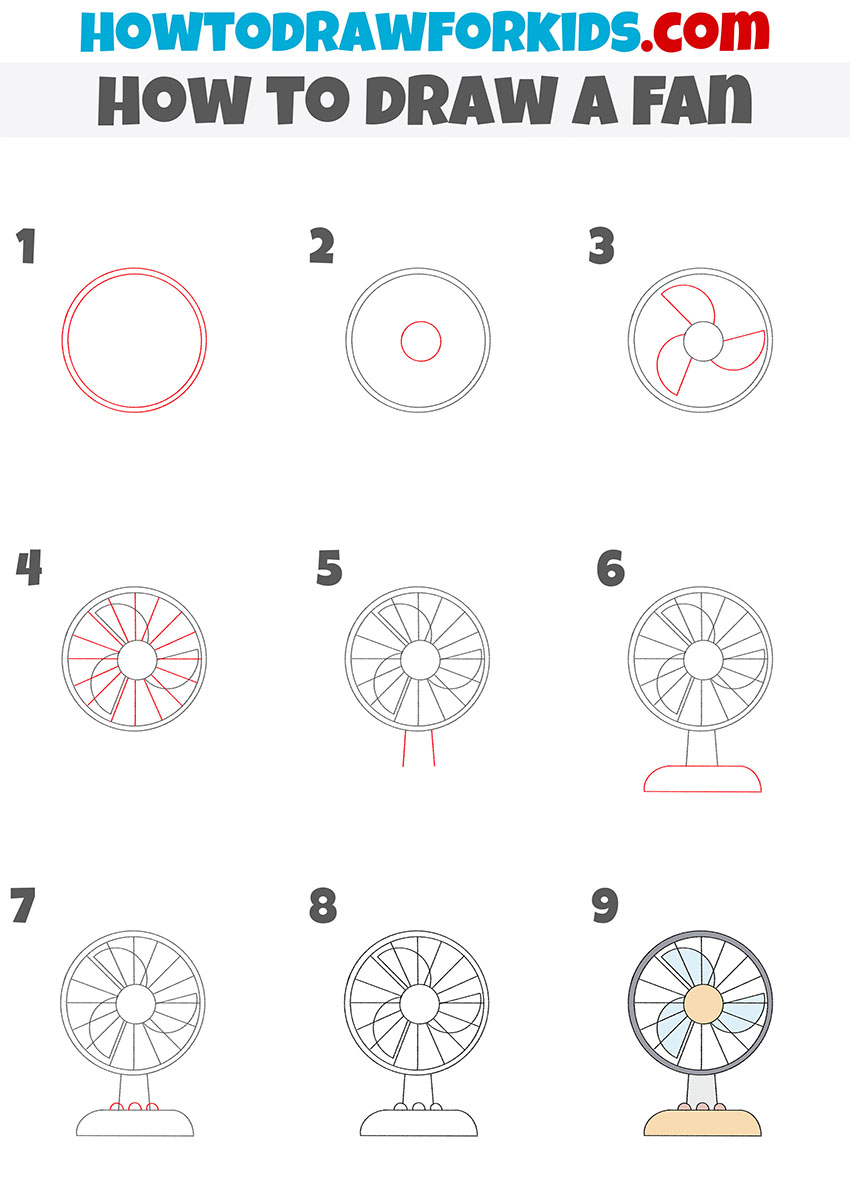
So, before you is an accessible and understandable instruction on how to draw a fan step by step. This is a great drawing object and doing the tutorial will be a great workout for you. This will require your ability to draw simple geometric shapes and draw straight lines.
The fan is a device for creating air flow in a room. Fans can have a different configuration and size, in this lesson you will draw a regular household fan.
Here the fan has a round protective grid. The air flow is moved by the blades in the form of semicircles. The fan control device is located at the bottom. Take your art supplies and start drawing all the elements of the fan in sequence.
Fan Drawing Tutorial
Materials
- Pencil
- Paper
- Eraser
- Coloring supplies
Time needed: 30 minutes
How to Draw a Fan
- Draw the outer outline of the grid.
Determine the size of your drawing and draw two even circles of different diameters.

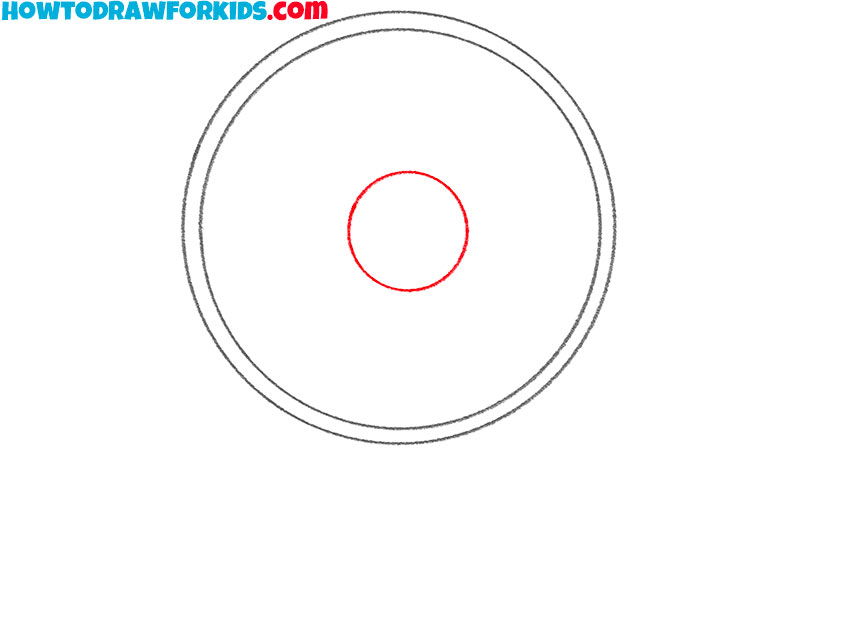
- Add the central part of the fan.
In the center, add a small even circle, as shown in the example.
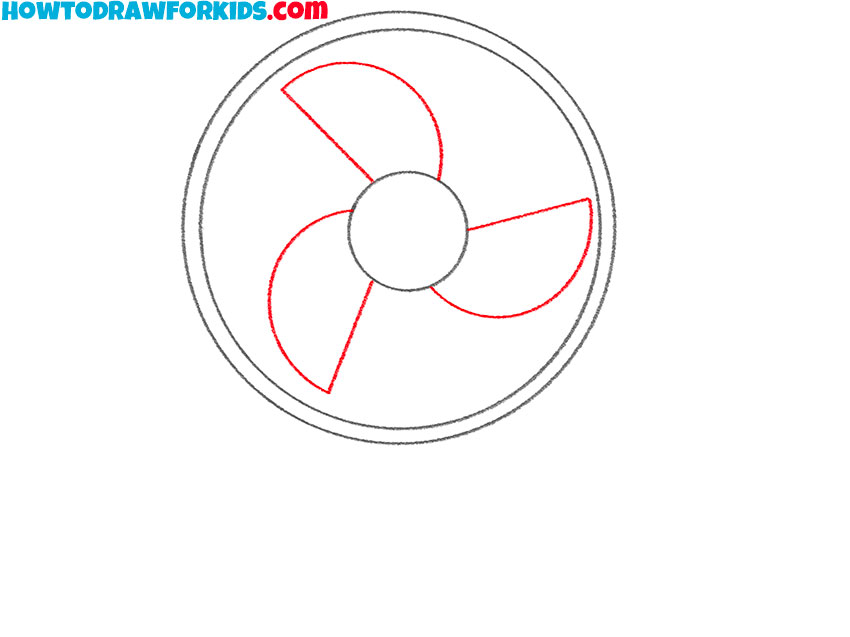
- Sketch out the blades.
Consistently draw three identical blades that are shaped like semicircles.
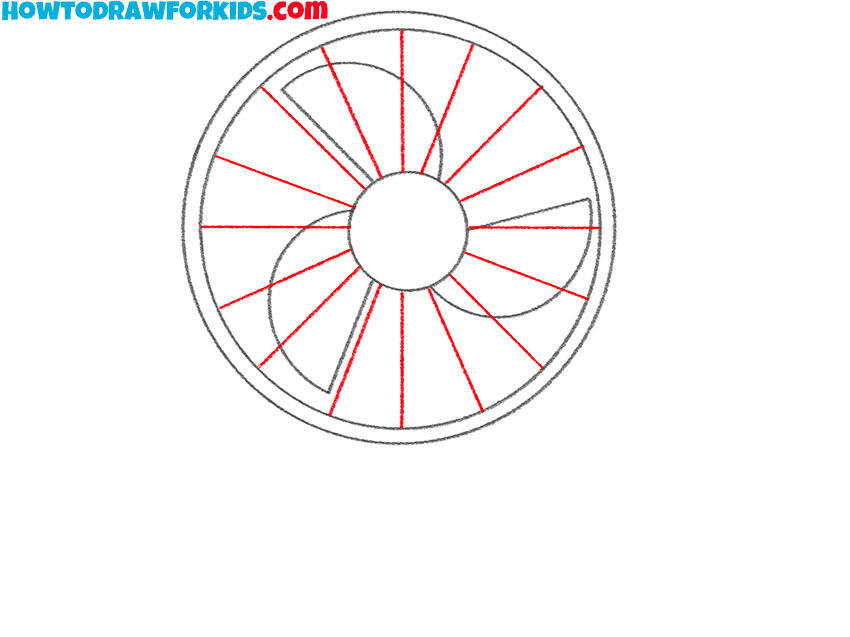
- Add the lattices on the grid.
Draw even, straight lines from the center of the fan to the outer edge of the grid.
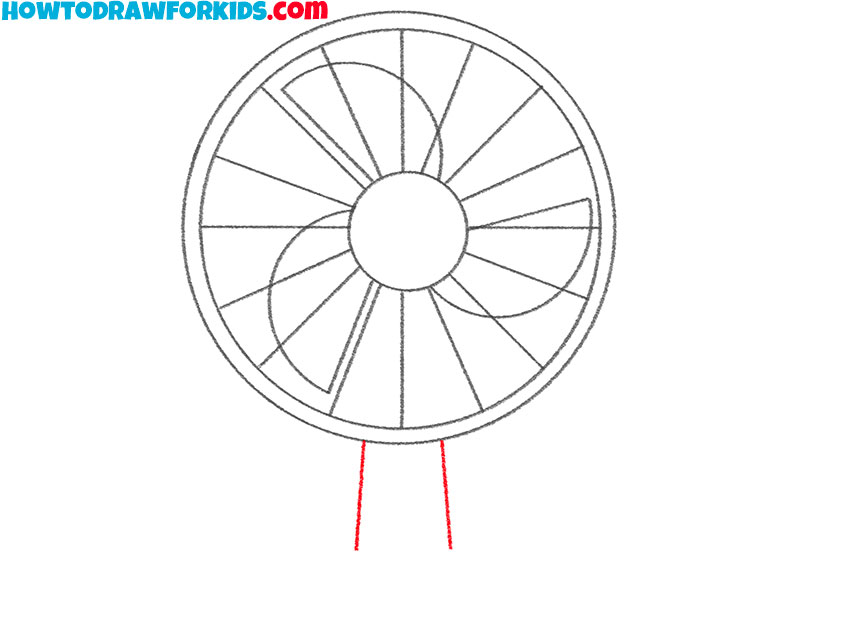
- Depict the stand.
Draw two straight lines at the bottom of the drawing.
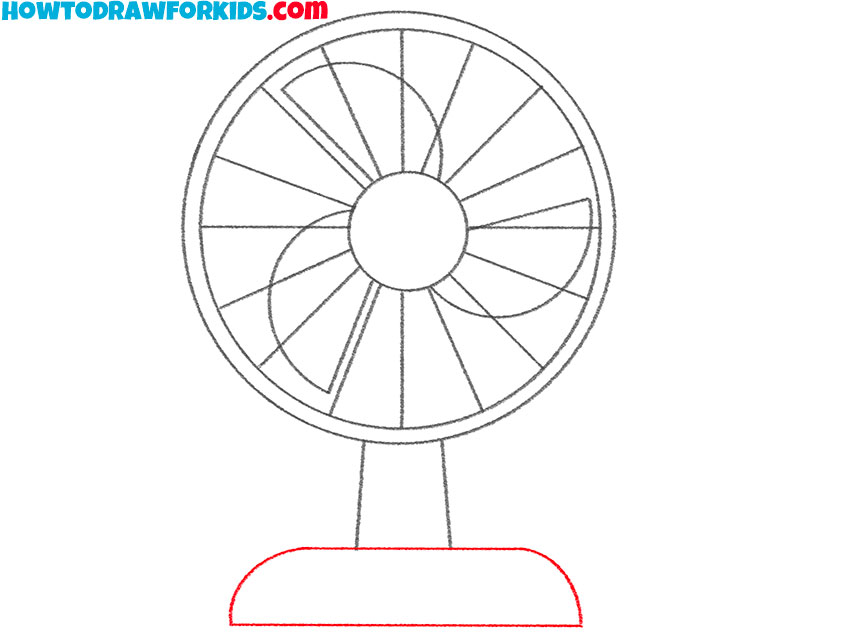
- Draw the base of the fan.
Depict straight horizontal lines and add curved lines on the sides.
- Sketch out the buttons.
On the base of the fan, draw three identical buttons in the form of semicircles.
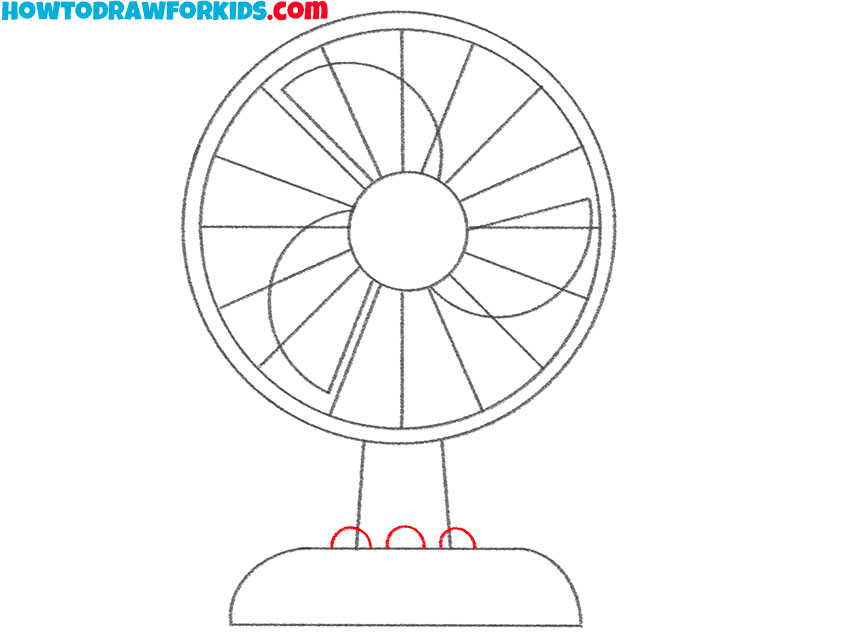
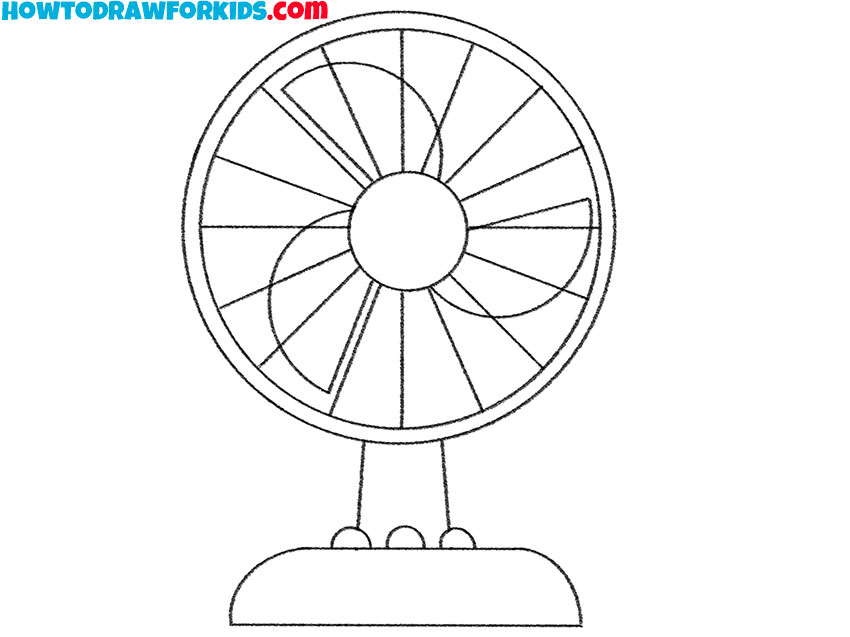
- Correct inaccuracies.
Take the eraser and carefully erase the extra lines on your drawing. Correct the mistakes.
- Color the drawing.
For coloring, you will need beige, blue, and gray.
Don’t forget to download the PDF file that contains the short version of this tutorial, so you can review it whenever you want, regardless of the internet.