How to Draw an Anime Dress
In this tutorial I will show you how to draw an anime dress. The skills you learn in this lesson are sure to come in handy in the future.
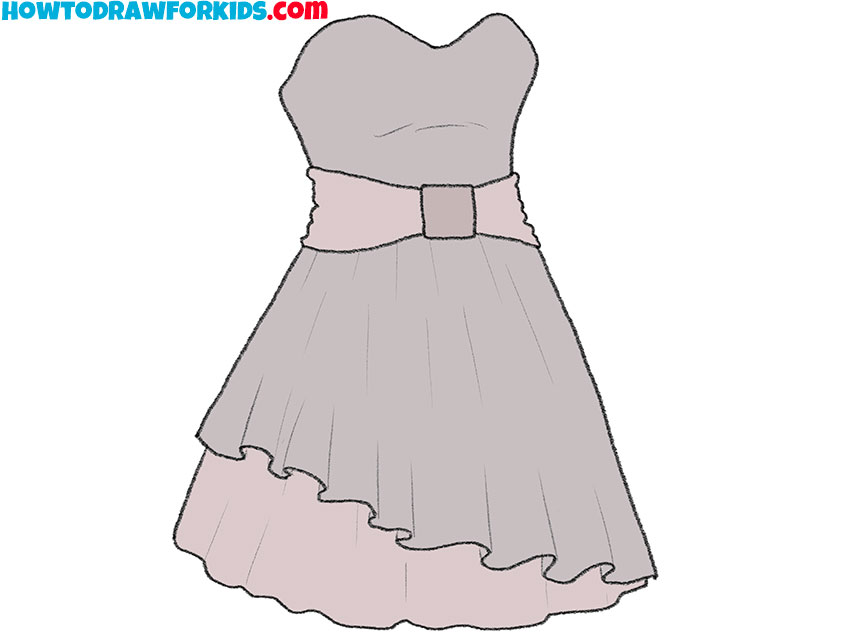
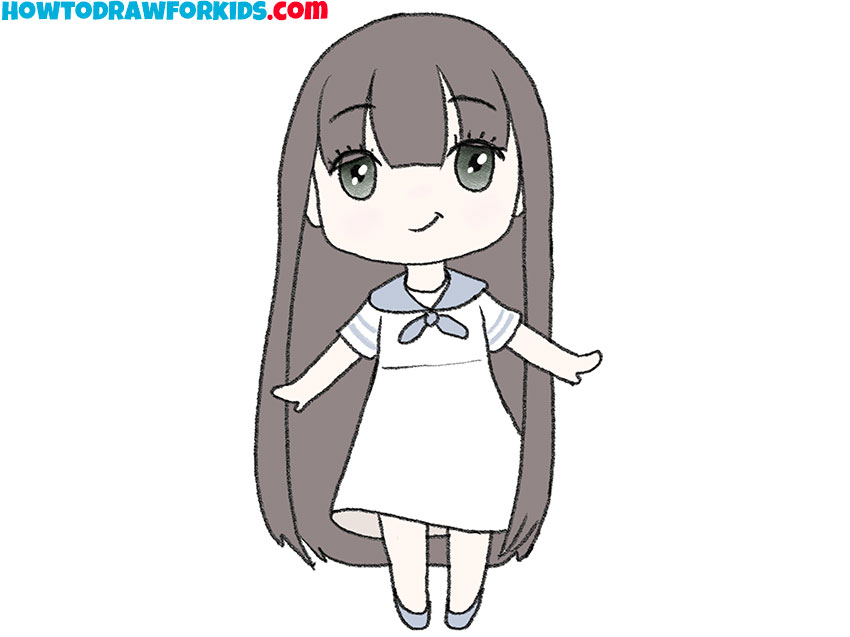
For children and beginners, I have prepared a fascinating lesson on how to draw an anime dress. Here are the clothes that the characters of Japanese animation are wearing. Any other character can wear the same dress, so the acquired skills will be useful to you both for drawing anime characters and for drawing any other characters.
In the picture you see an elegant dress, which has a tight-fitting bodice, a wide belt at the waist, and the lower part of the dress consists of two layers of fabric. Such clothes look stylish and festive.
To color the dress, you can use the same colors that are suggested in my instructions, or you can color the dress as you like.
Anime Dress Drawing Tutorial
Materials
- Pencil
- Paper
- Eraser
- Coloring supplies
Time needed: 30 minutes
How to Draw an Anime Dress
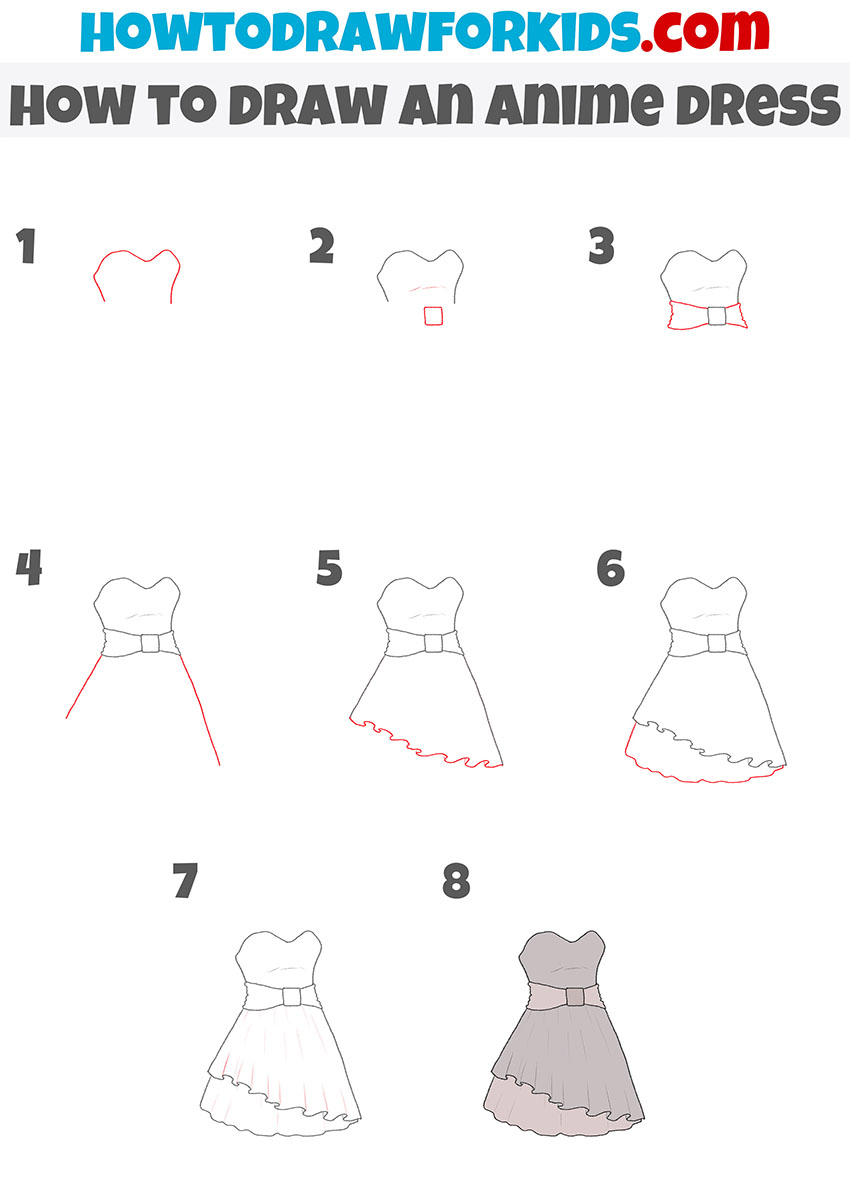
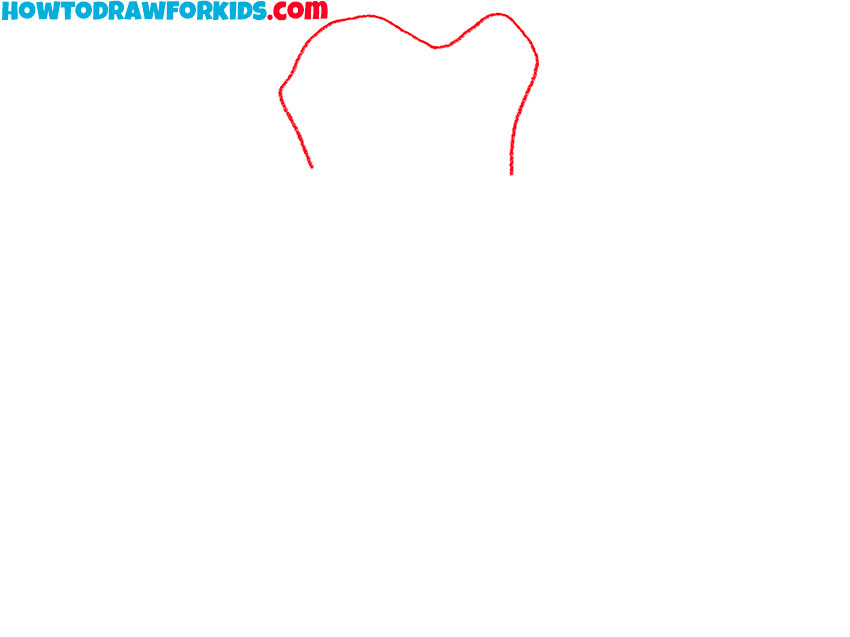
- Draw the top of the dress.
With the help of several curved lines depict the bodice.
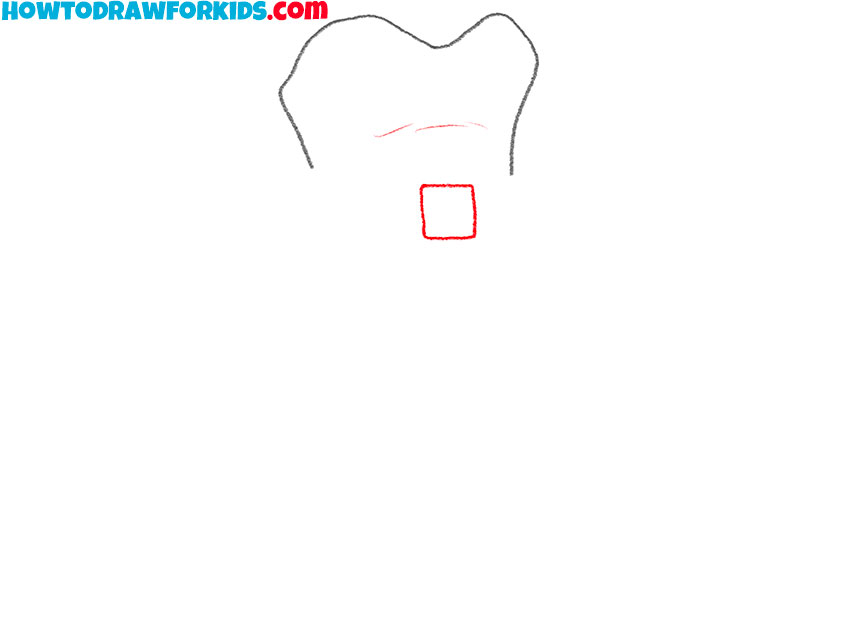
- Add the buckle on the belt.
At this stage, draw a small square just below.
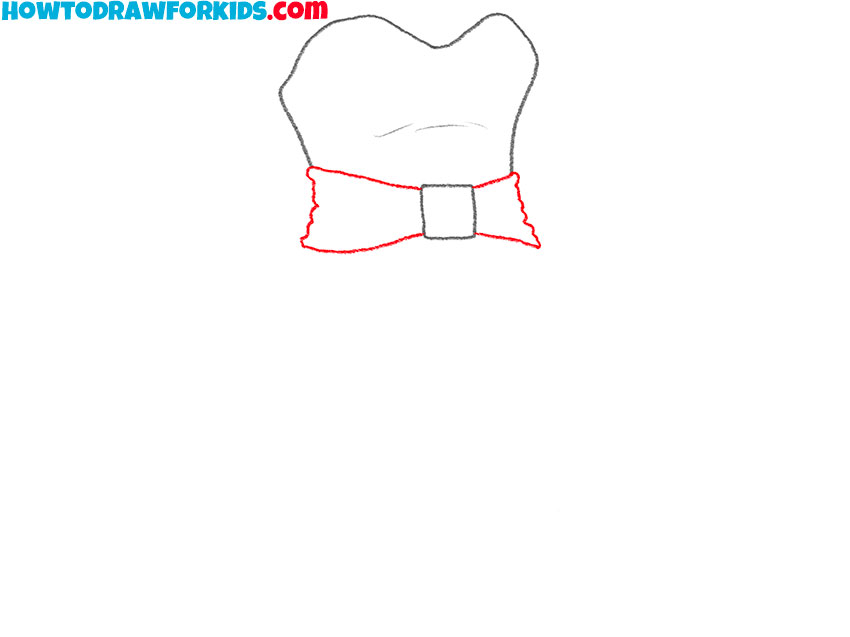
- Depict the rest of the details of the belt.
Draw smooth lines from the buckle to the sides and mark the side contours of the belt.
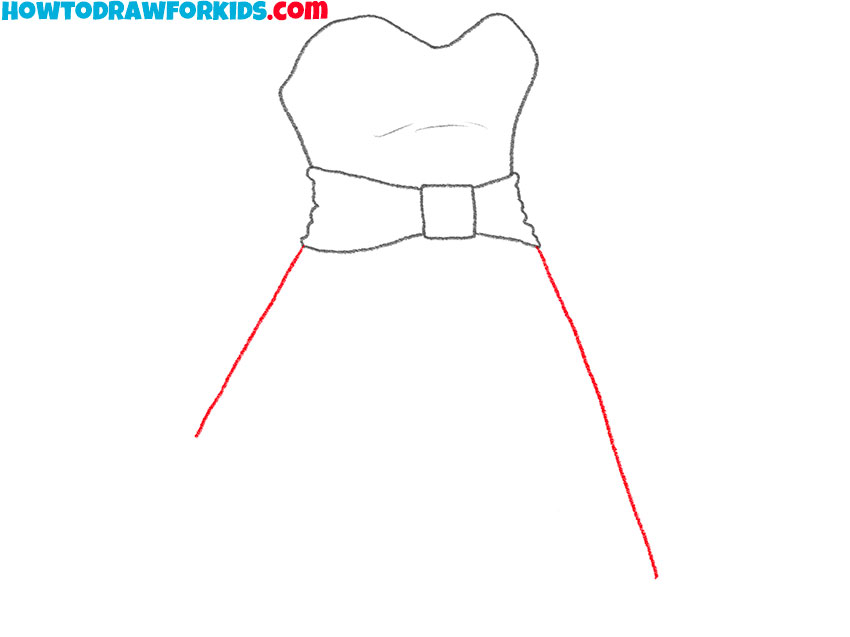
- Sketch out the bottom of the dress.
From the belt, draw down smooth lines located diagonally.
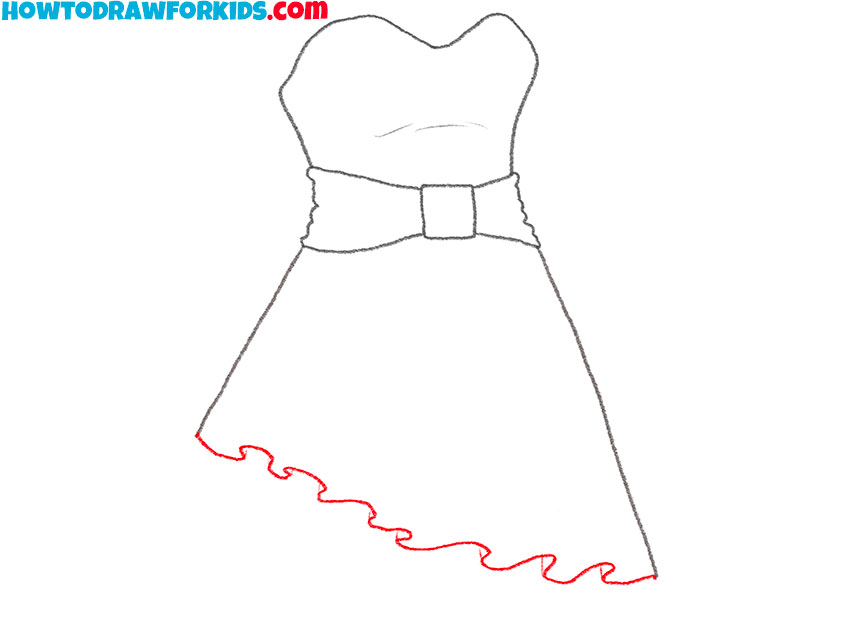
- Draw the bottom outline.
Depict an uneven wavy line, as shown in the example.
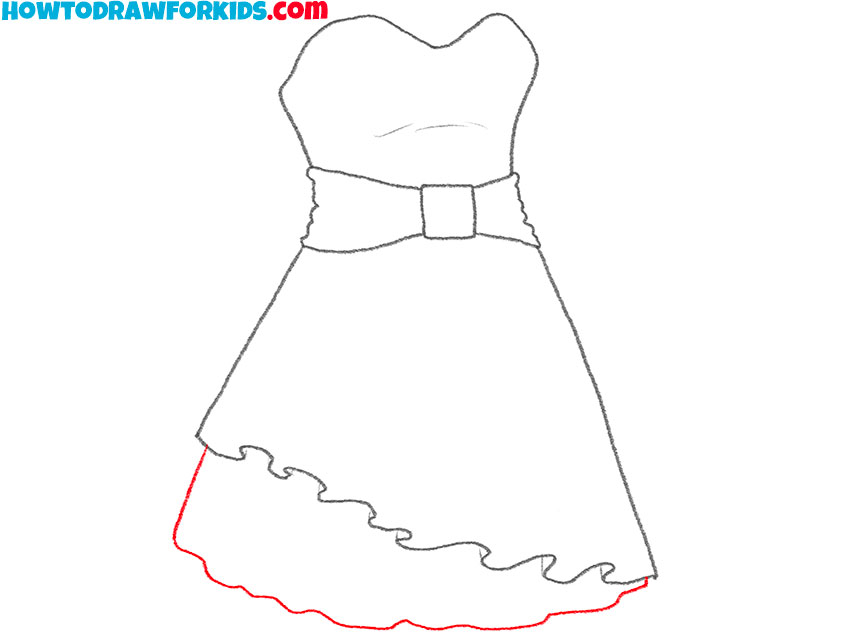
- Add the bottom layer of the dress.
At the very bottom, add another layer of the fabric using jagged lines.
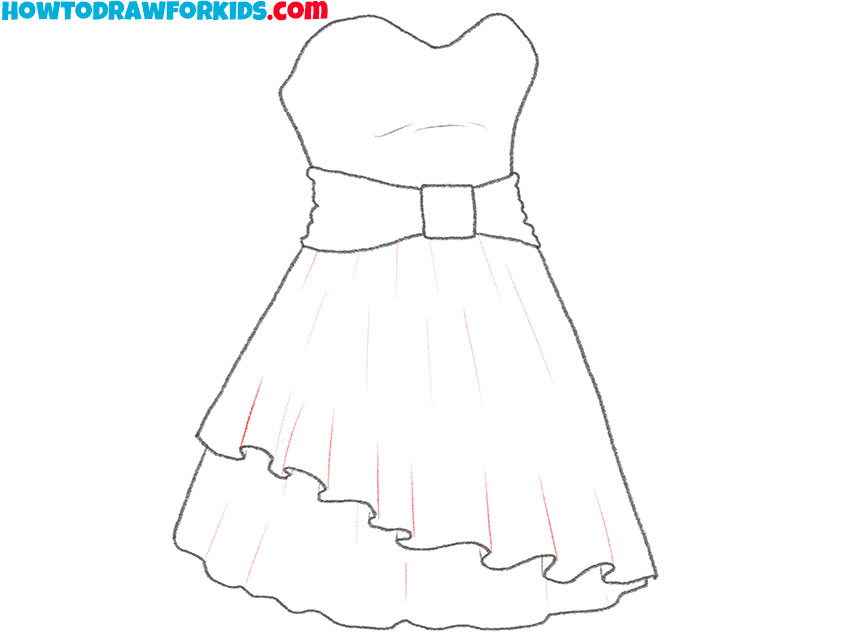
- Sketch out the folds.
Draw thin short strokes along the bottom contour.
- Color the drawing.
For coloring, use any shades of purple.
For your convenience, I have prepared a PDF file that contains a short version of this tutorial. Rather, download the file so that the lesson is available to you at any convenient time.