How to Draw an Eight-Ball
Learn how to draw an eight-ball in four simple steps. This tutorial helps kids practice drawing circular objects in a really easy way.
How to Draw an Eight-Ball: Introduction
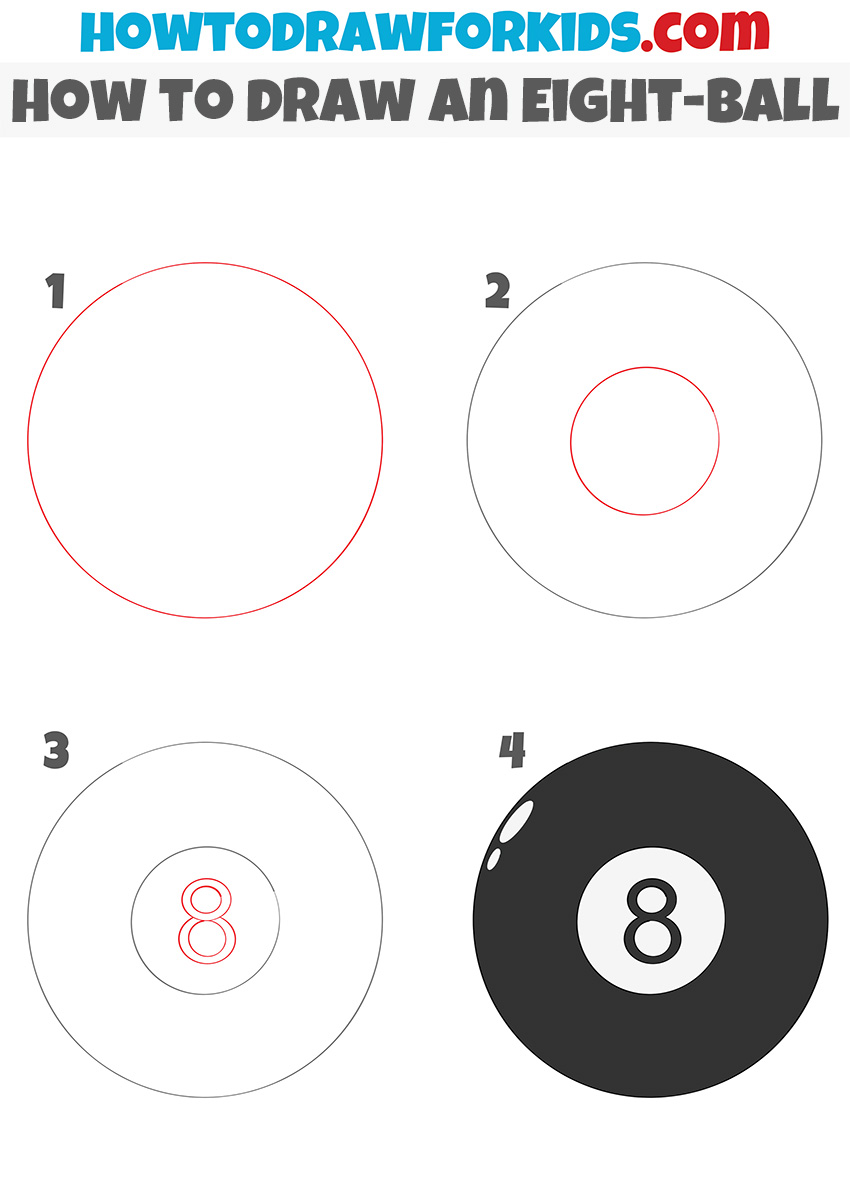
This tutorial on how to draw an eight-ball is created to be very simple to follow, with only four main stages. You can use a compass for more precision when drawing the circles, but if you don’t have one or prefer freehand drawing, you can try to manage without it as well.
This tutorial is especially helpful for young or novice artists looking to improve their skills in drawing circles and round objects, which are fundamental to many forms of art.
By practicing with circles, particularly by layering them within one another, the artist also learns how to maintain proper spacing and proportion between different elements of a drawing. This skill can be transferred to drawing other round objects or geometric shapes in more complex artworks.
One important tip to keep in mind while working on this tutorial is to ensure the details of the eight-ball are correctly aligned. You can achieve this by occasionally checking your drawing’s accuracy using a mirror. Viewing your drawing from a reversed perspective can help you spot any distortions or irregularities that you might not notice when looking directly at the paper.
Eight-Ball Drawing Tutorial
Materials
- Pencil
- Paper
- Eraser
- Coloring supplies
Time needed: 25 minutes
How to Draw an Eight-Ball
- Sketch the basic outline.
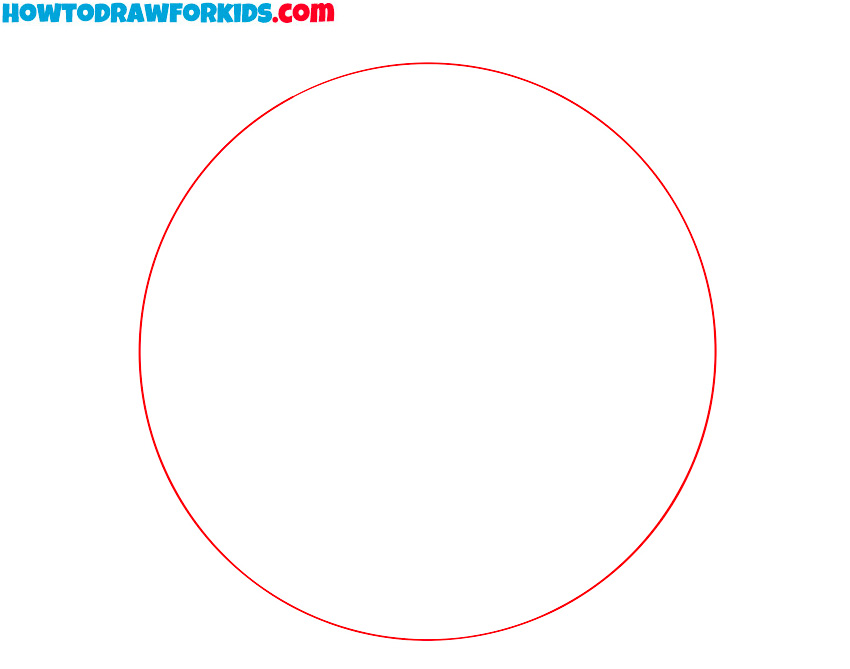
In this step, begin by drawing a large, perfect circle in the middle of your paper. This circle will serve as the outline of the eight-ball. Use a compass or carefully freehand a round shape to ensure that the circle is smooth and evenly proportioned. Try to make it as round as possible.
- Add the inner circle.
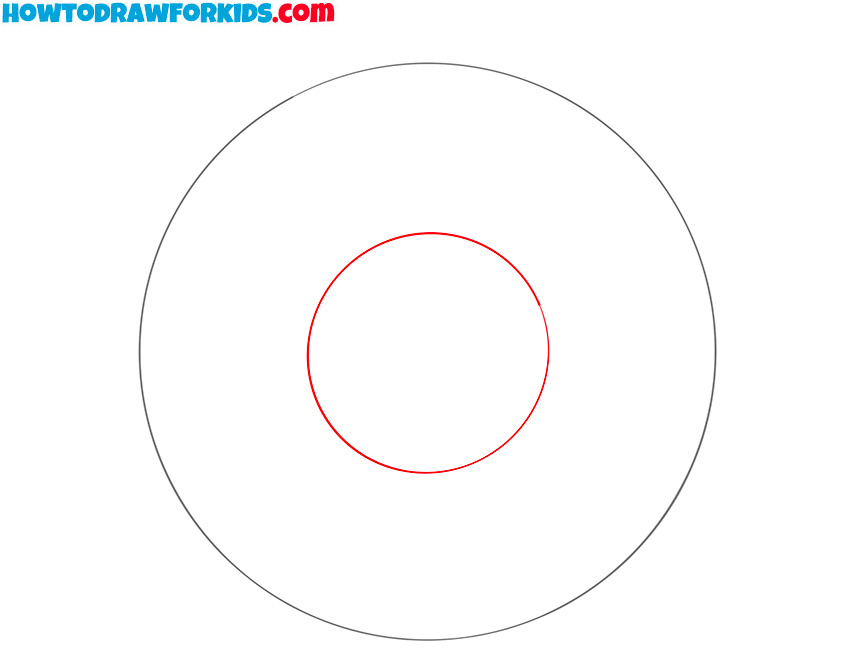
Next, inside the large circle, draw a smaller circle in the center. This smaller circle represents the white area where the number eight will be placed. Make sure to position this smaller circle precisely in the middle of the large circle.
- Draw the number eight.
Now, it’s time to add the number inside the smaller circle. Draw two circles, one on top of the other, inside the inner circle you created earlier. Once the two circles are in place, you can lightly sketch in the connecting line in the middle to complete the shape of the number eight.

- Color the eight-ball.
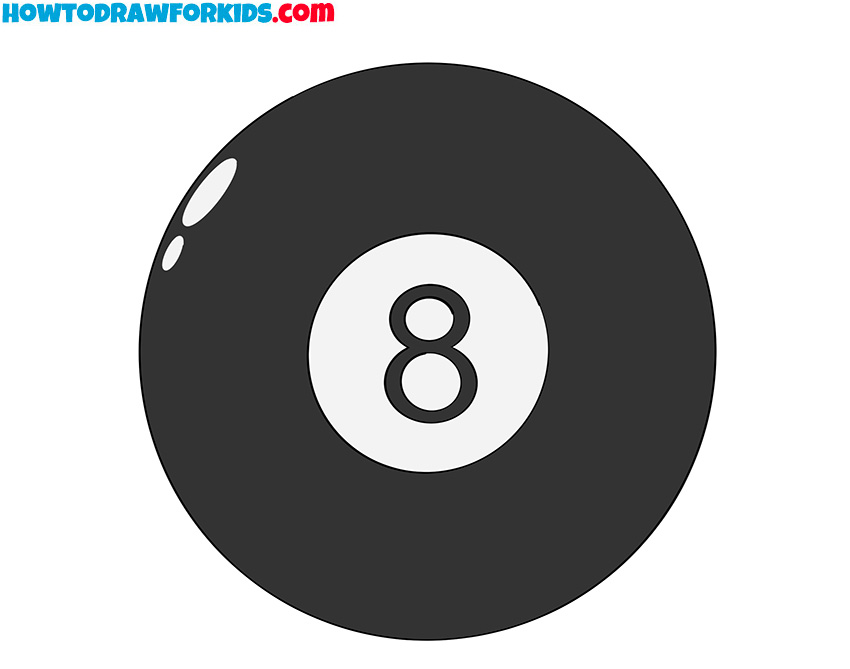
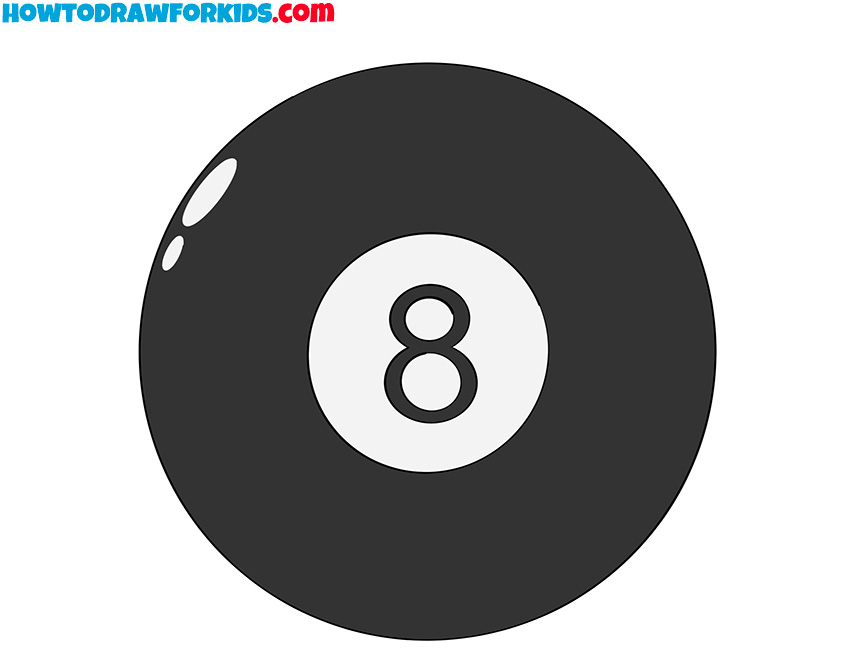
The large outer circle should be filled in with a solid black color, leaving the inner circle white. The number eight should be black to stand out against the white circle. For added detail, you can draw two small, reflective spots in the upper part of the eight-ball to represent the light reflecting off the ball’s shiny surface.
Additional Materials
The eight-ball drawing tutorial has reached its conclusion, and this is a good opportunity to remind you about the PDF version of the instructions. The PDF is available for download or printing, giving you access to the steps of the lesson offline. This is particularly helpful if you want to follow along without needing an internet connection.
The PDF contains all the steps that have been shown in this tutorial, allowing you to refer back to them at any time. Additionally, there are several bonus features included in the download. These extras include a coloring page, a worksheet that you can trace over to practice your drawing, and a grid drawing worksheet to help you with proportions and accuracy.

