How to Draw an Open Hand
In this lesson, I want to show you in detail how to draw an open hand. This lesson will be very useful for each of you.
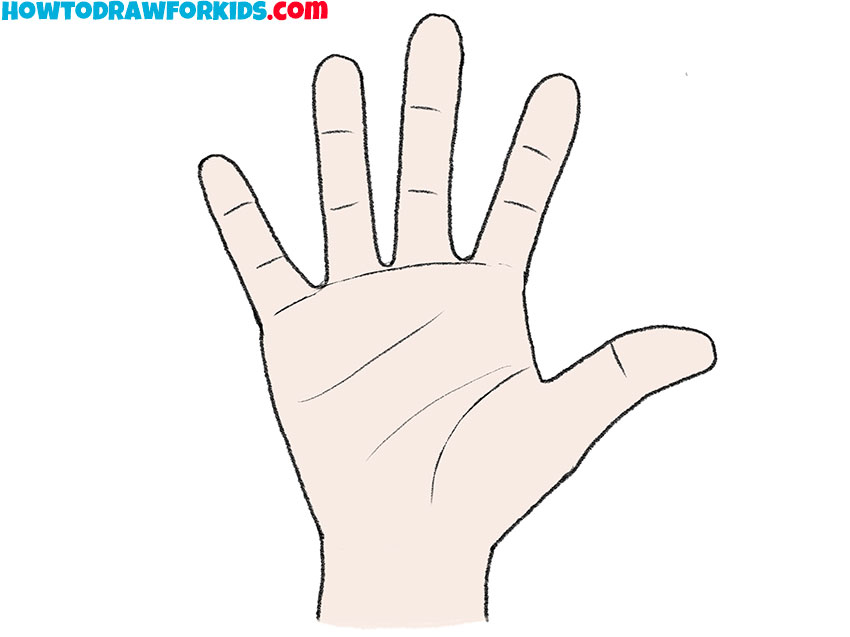
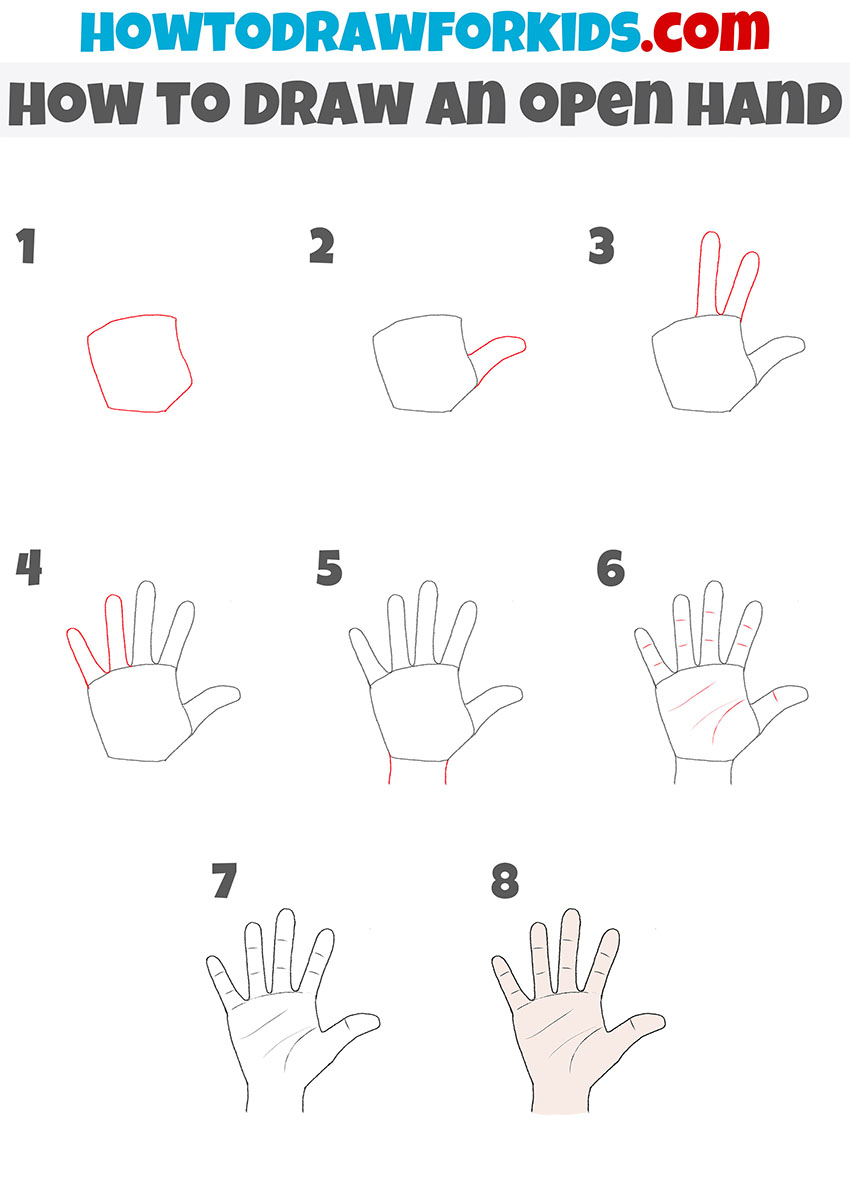
If you want to learn how to draw different parts of the human body, then I recommend that you follow this lesson in which I will show you how to draw an open hand. Here is a very simple way to draw, which even a beginner can easily master.
During the lesson, be careful and try to carefully draw all the lines that are marked in red. Observe all proportions so that in the end your drawing is as similar as possible to my example, and the hand looks realistic.
So grab all the art supplies you need to complete this tutorial and get down to some fun creative work. I wish you creative success!
Materials
- Pencil
- Paper
- Eraser
- Coloring supplies
Time needed: 15 minutes
How to Draw an Open Hand
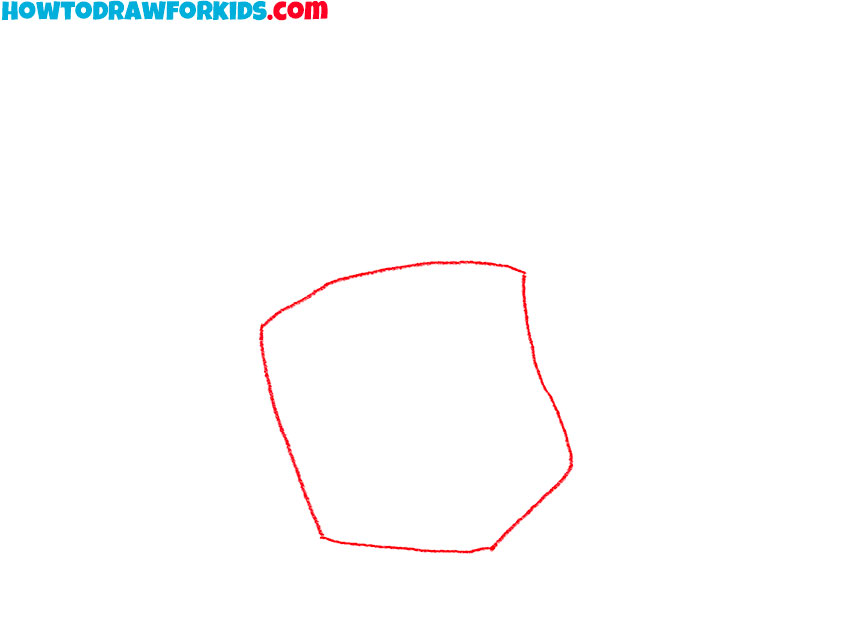
- Draw the main part of the hand.
Depict the irregular polygon shape to represent the palm.
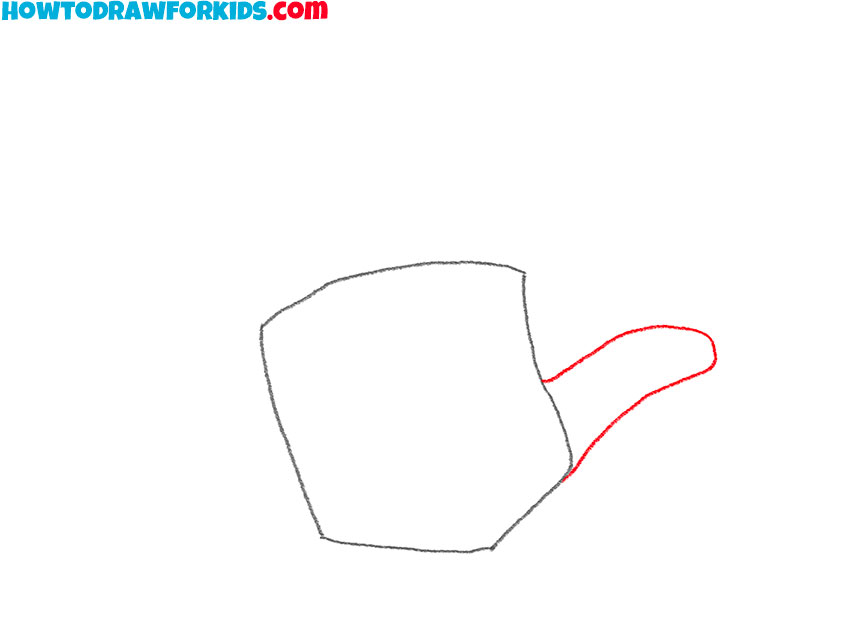
- Depict the thumb.
On the right side, draw the thumb using smooth lines.
- Add the index and middle fingers.
At the top of the palm, add two fingers of different sizes at some distance from each other.
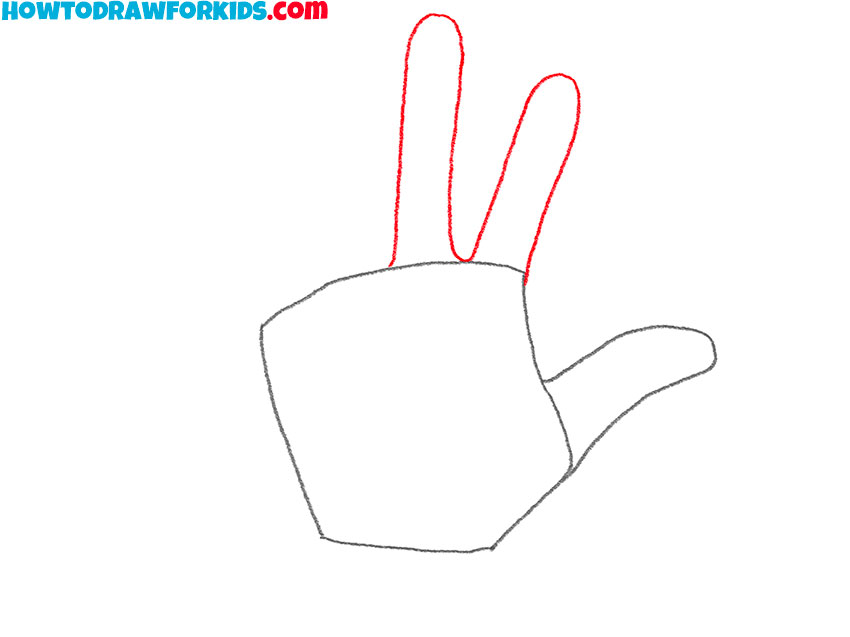
- Sketch out the rest of the fingers.
In this step, depict the ring finger and little finger, while observing all proportions.
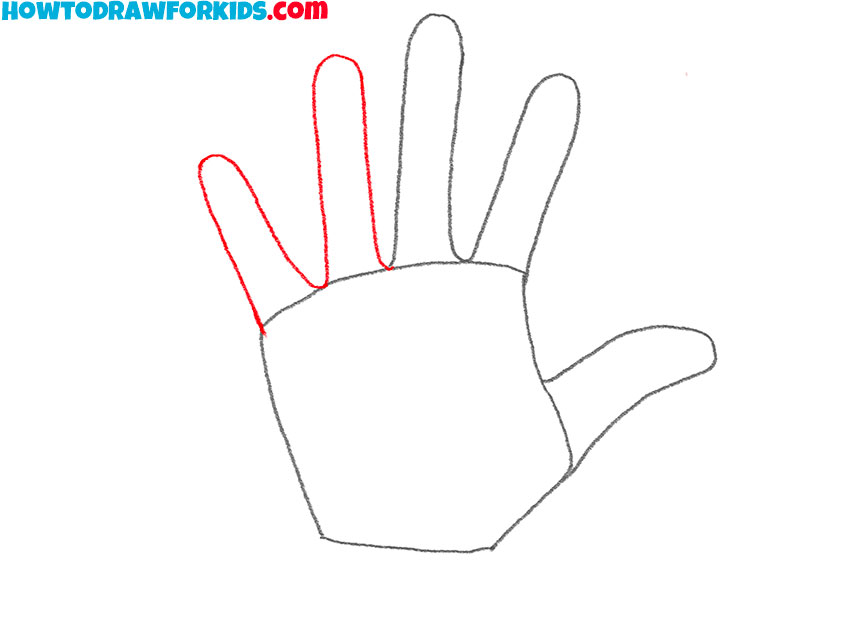
- Draw the wrist.
At the bottom of the palm, draw two short vertical lines to represent the wrist.
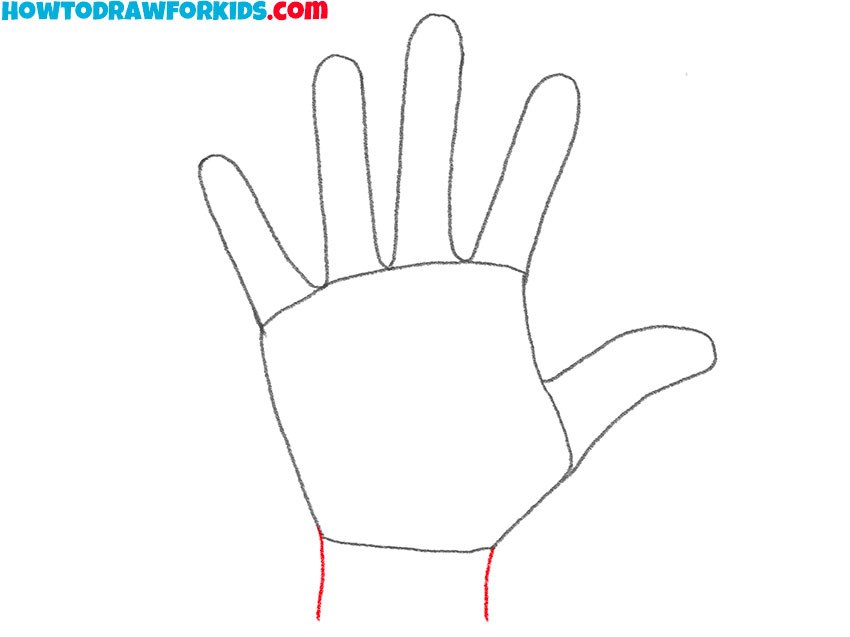
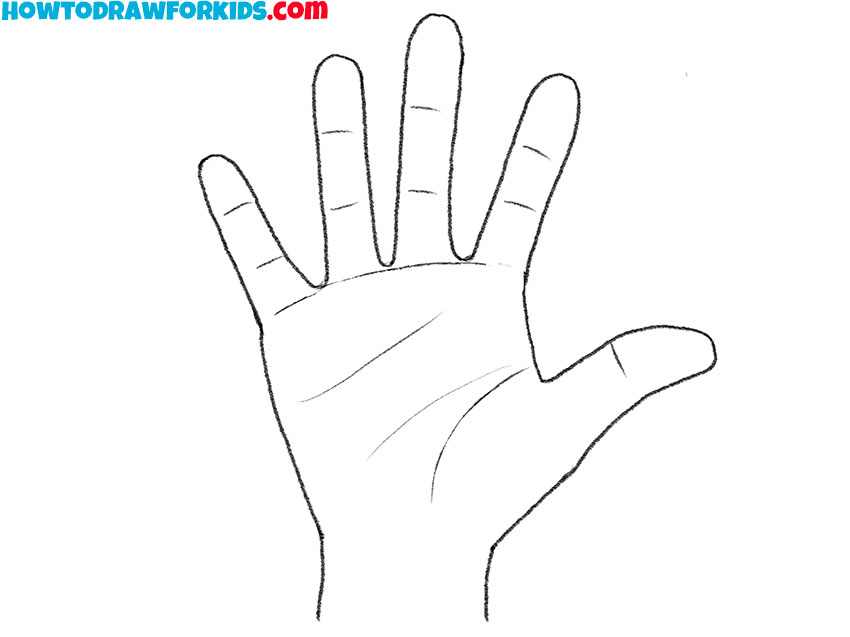
- Add the skin folds.
Using thin lines, depict the small folds of skin on the palm and on the folds of the fingers.
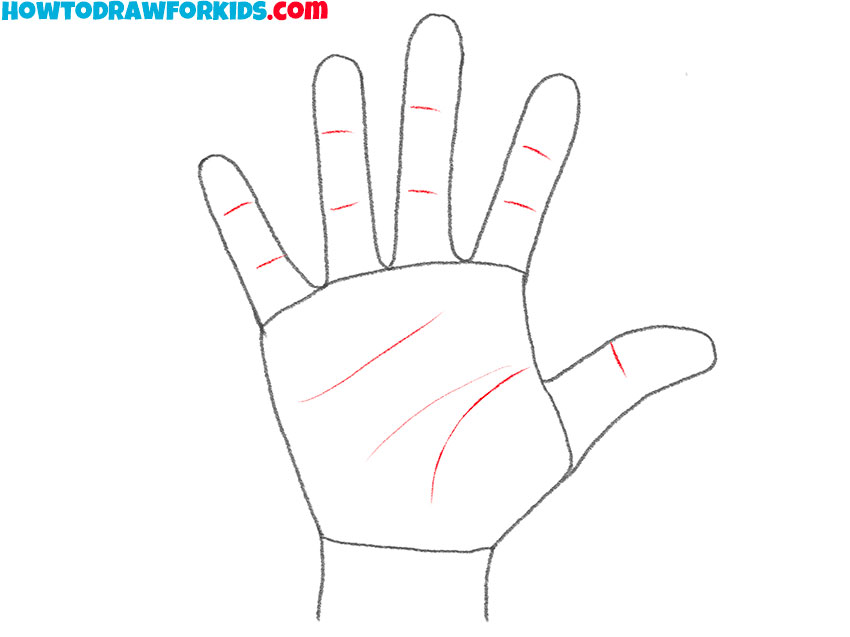
- Correct inaccuracies.
Correct the mistakes if necessary and carefully remove all unnecessary lines in your drawing.
- Color the drawing.
For coloring the skin, you can use any natural shades.

The next lesson is over, and now you can evaluate the result of your work. If you have correctly completed each step of the drawing, then you should get a great drawing. Finally, I recommend that you download the file that I have prepared specifically for your convenience. In this file you will find a brief instruction and additional training materials necessary to complete the lesson at any time.

