How to Draw an Otter
This lesson is about how to draw an otter. Learn to draw this animal in just nine very easy steps.
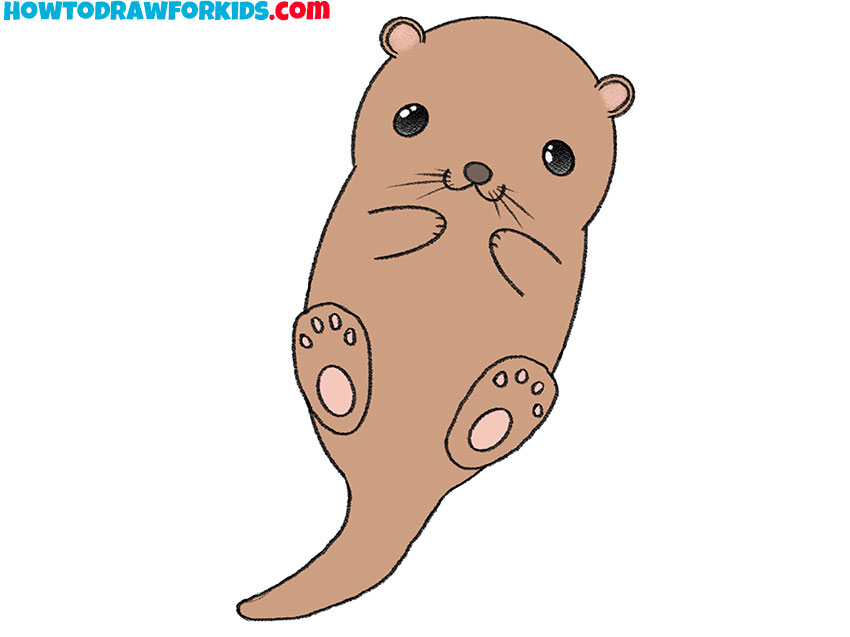
I have prepared an interesting lesson for you on how to draw an otter. This tutorial is great for kids and beginners, as it contains simple enough elements to draw, and there is a detailed explanation of each step.
Otters are carnivorous mammals. All extant otter species are semi-aquatic, aquatic, or marine. Otters are noted for their playful behavior. The otter has a lithe and slender body with short legs, a strong neck, and a long flattened tail that helps propel the animal gracefully through the water. Otters feed on fish and invertebrates.
With this step-by-step instruction, you will learn to draw a very cute otter and be able to apply these skills in the future. So, if you already want to start doing this step-by-step tutorial and have all the necessary materials ready to draw, then you can get to work.
Otter Drawing Tutorial
Materials
- Pencil
- Paper
- Eraser
- Coloring supplies
Time needed: 20 minutes
How to Draw an Otter
- Draw the outline of the head of the otter.
To do this simple step you need to draw one incomplete circle at the top of the picture.

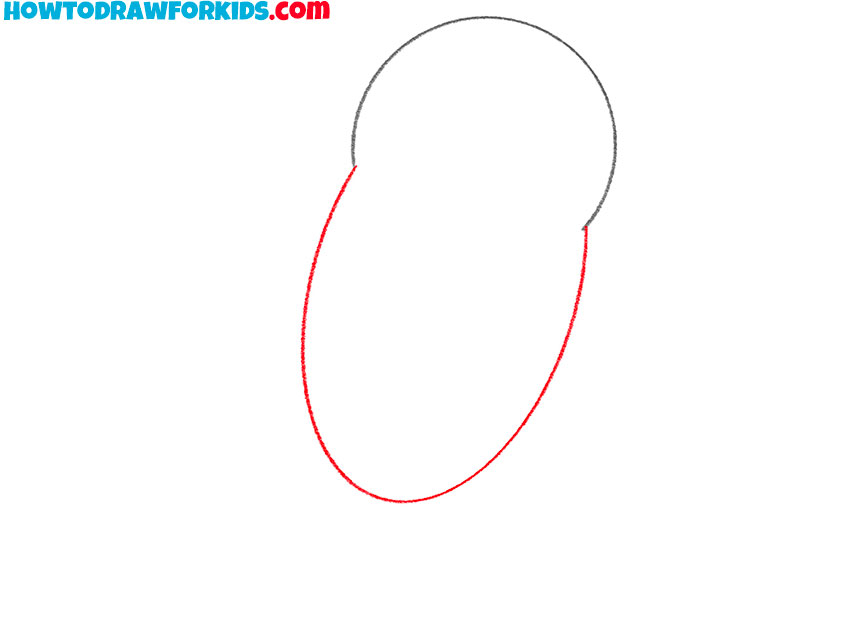
- Add the outline of the otter’s torso.
Continue the previously drawn incomplete circle with a long curved line in the form of an arc.
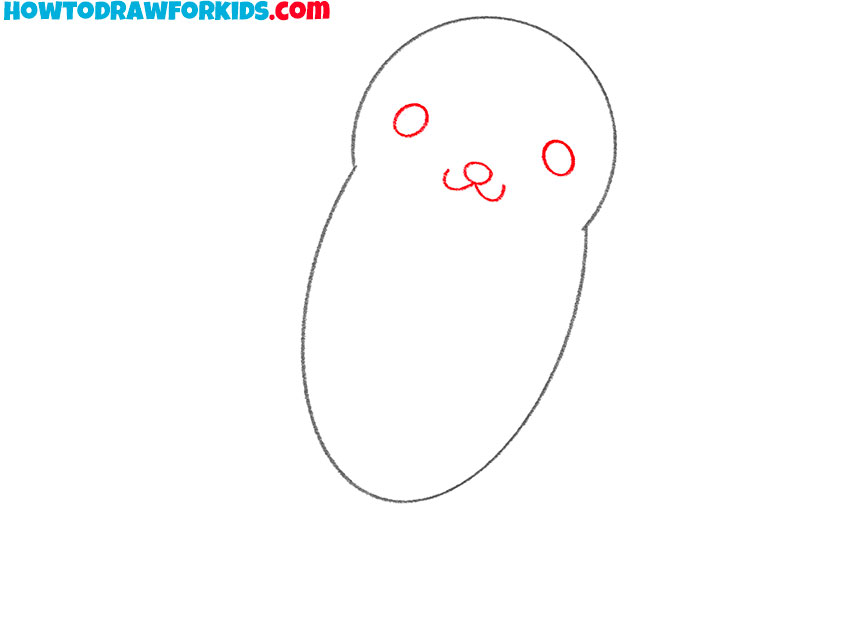
- Draw the facial features.
Picture the eyes as two same ovals, add the nose as an oval and the mouth as two curved lines.
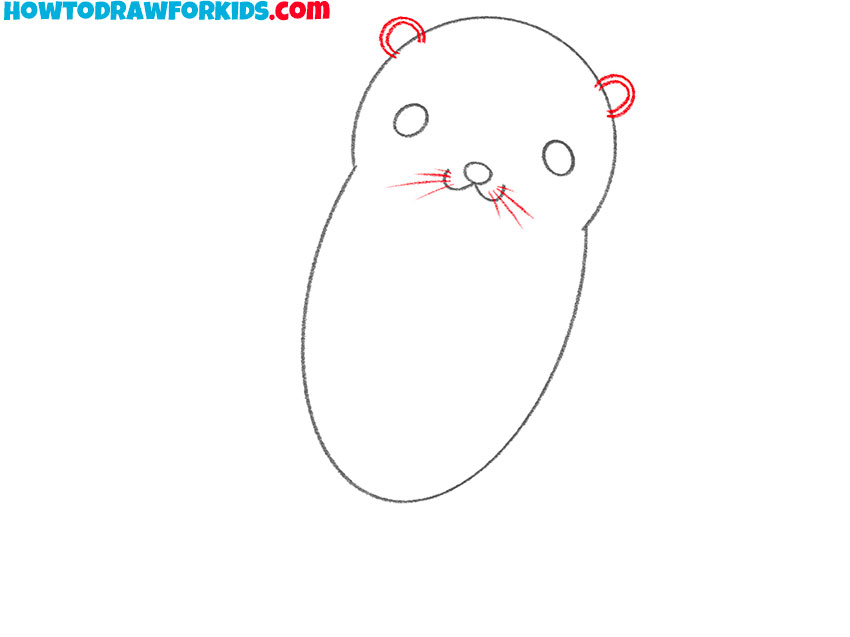
- Depict the otter’s whiskers and ears.
Picture the whiskers as straight lines of different lengths, and the ears as incomplete circles.
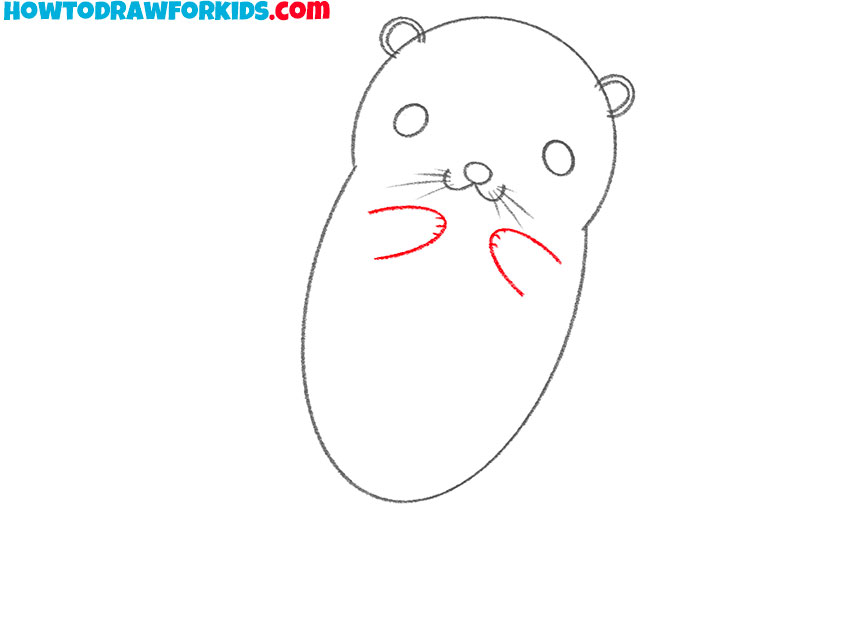
- Outline the pair of paws of an otter.
Draw two symmetrical paws of an otter using curved lines and short lines to depict the fingers.
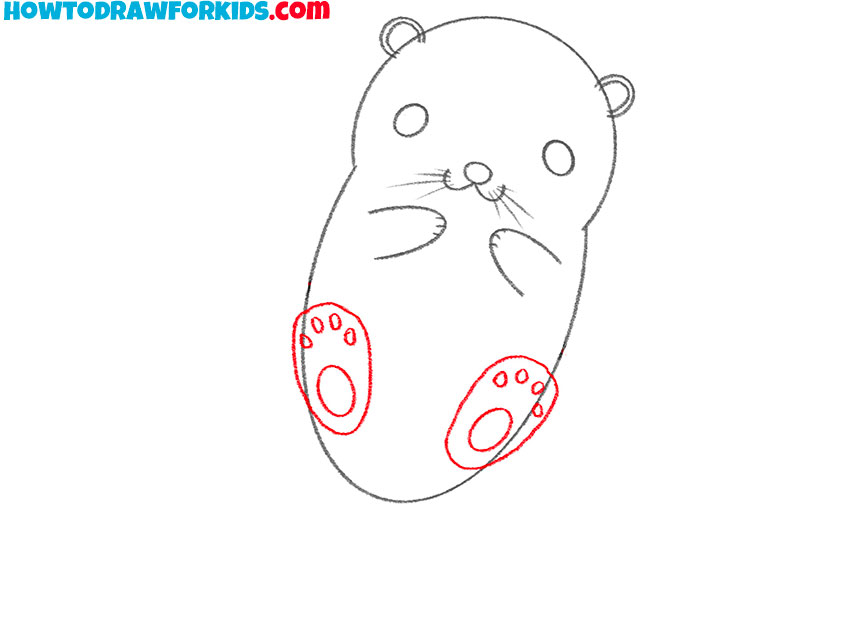
- Add the second pair of paws.
Image paws at the bottom of the torso with two curved ovals, identical ovals and curved lines.
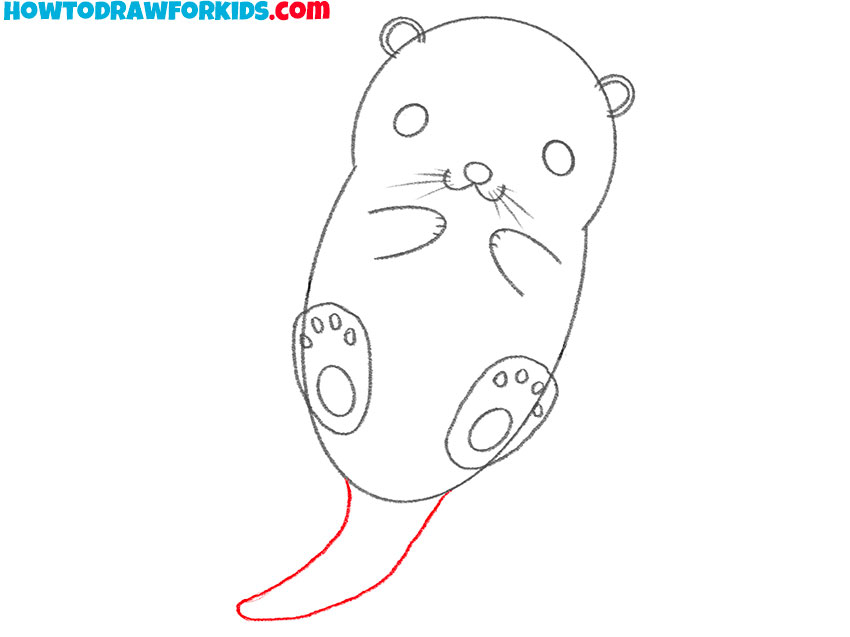
- Picture the tail of an otter.
Below the otter’s torso depict a slightly pointed tail using a long curved line.
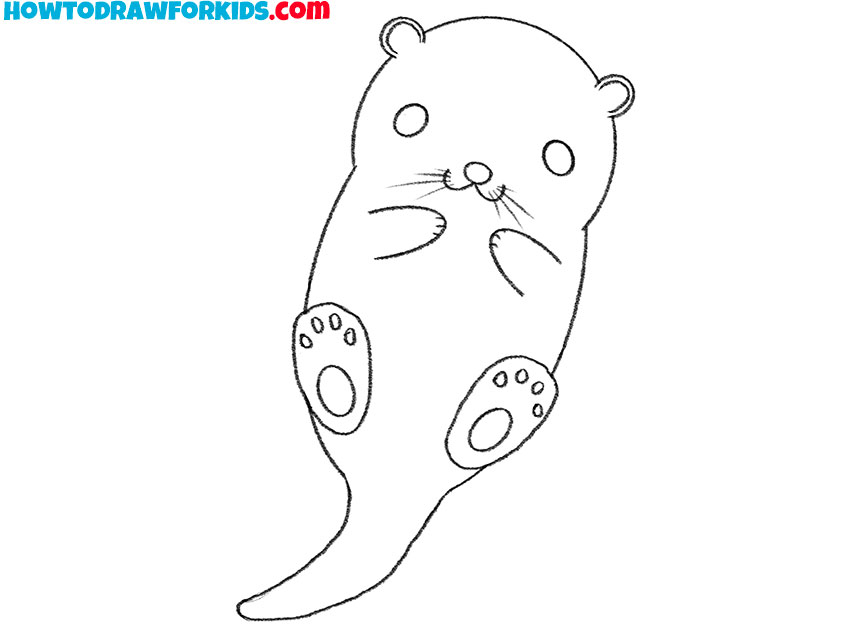
- Erase unnecessary lines.
Use an eraser to remove auxiliary lines that appeared during the drawing process.
- Color the drawing.
To color the otter, you should use black, pink, and shades of brown. Also add highlights.

Such was this lesson in drawing an otter. I hope you enjoyed it and that it was helpful. Write in the comments what other drawing objects you would like to see in our lessons. Traditionally, I have prepared a short PDF version of this tutorial for your convenience. Download this file to come back to this lesson when you want to draw again.