How to Draw Bat Wings
In this simple lesson you will learn how to draw bat wings. This instruction consists of only nine easy steps.
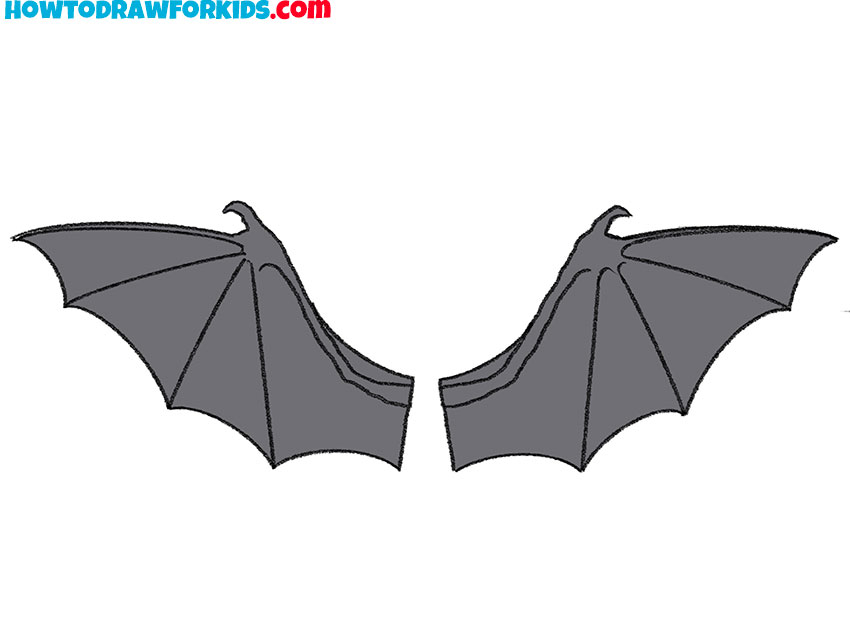
In this tutorial, I want to show you how to draw bat wings. This lesson will be interesting and useful, like the other lessons presented on this site.
Now I will show you in detail how to draw bat wings. The bat has elongated forearm bones and modified fingers, on which wide thin wings are located.
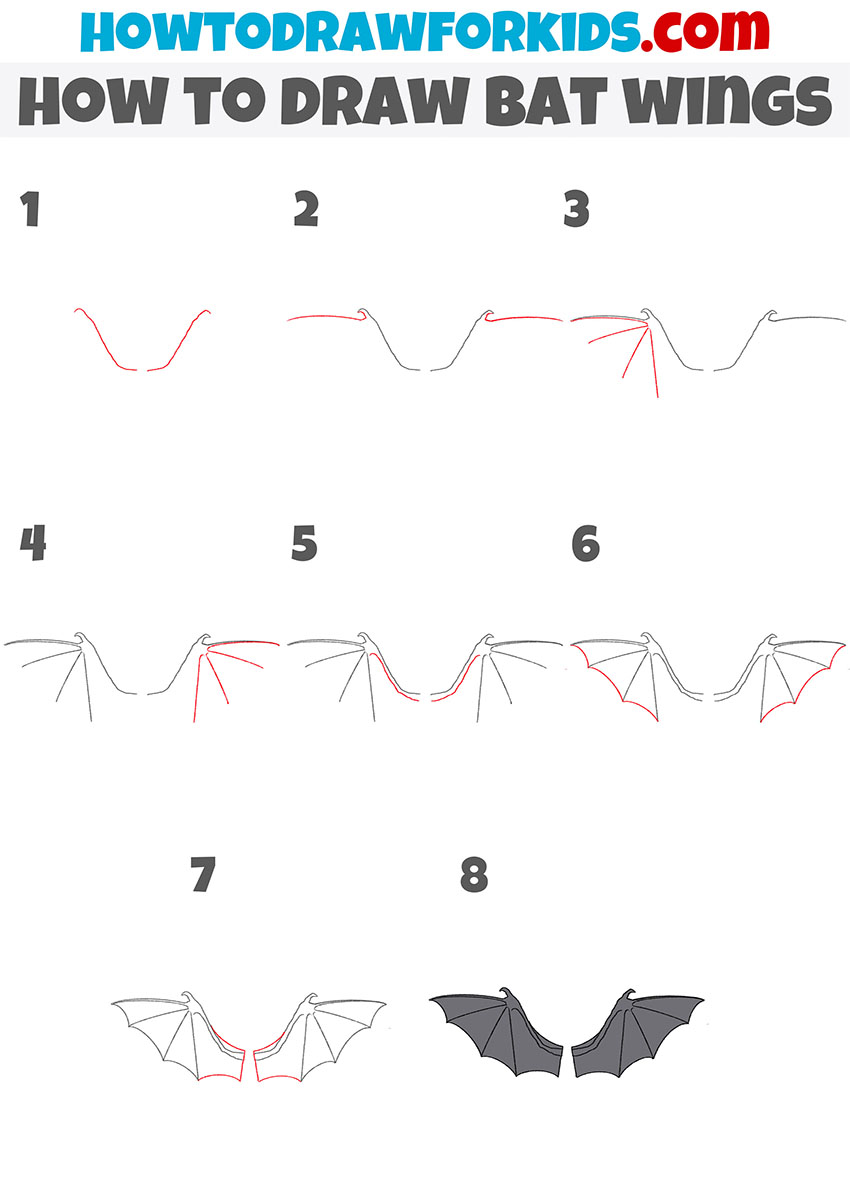
The instruction includes eight simple steps that you can easily repeat. When working, try to maintain symmetry. Take your time and carefully draw all the lines, as shown in the example.
Materials
- Pencil
- Paper
- Eraser
- Coloring supplies
Time needed: 20 minutes
How to Draw Bat Wings
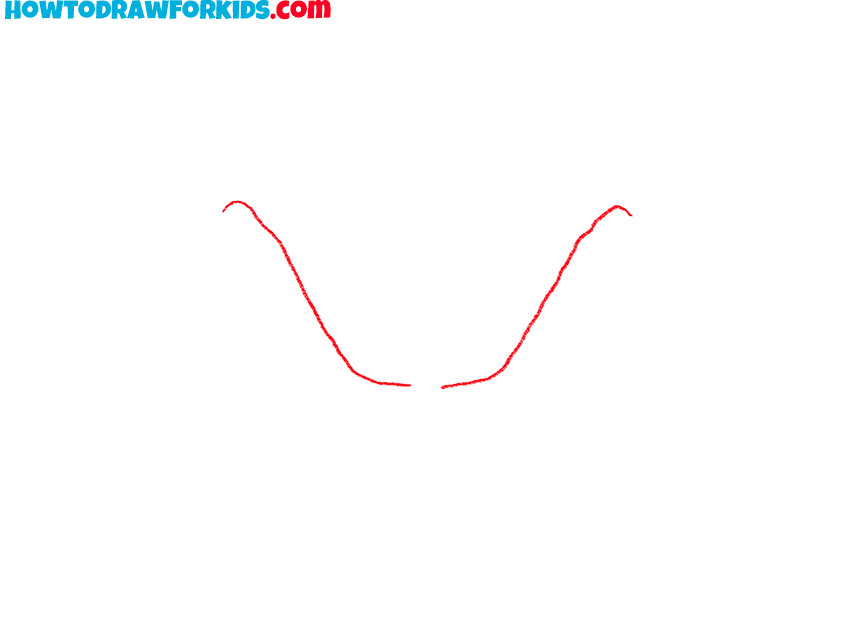
- Draw the upper part of the forearm.
Depict two smooth curved lines. Keep symmetry and try to draw lines on the same level.
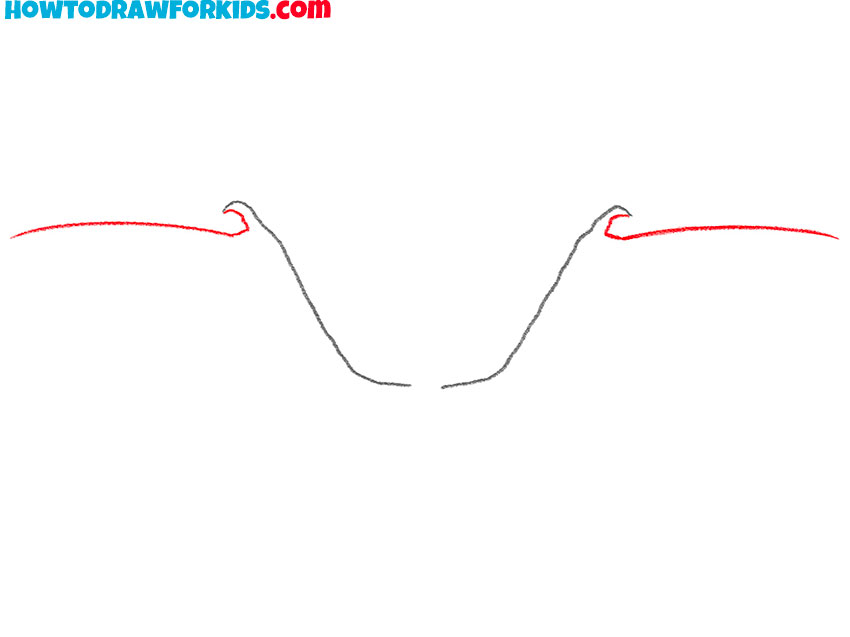
- Add the top outline.
Sketch out two smooth horizontal lines.
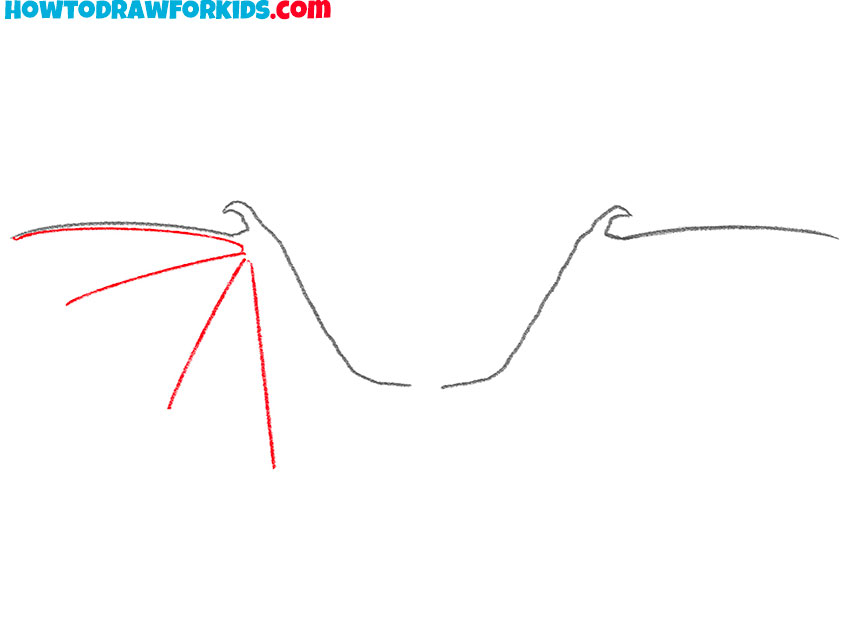
- Depict the fingers on the other side.
On the left side, draw four smooth lines that emanate from one point.
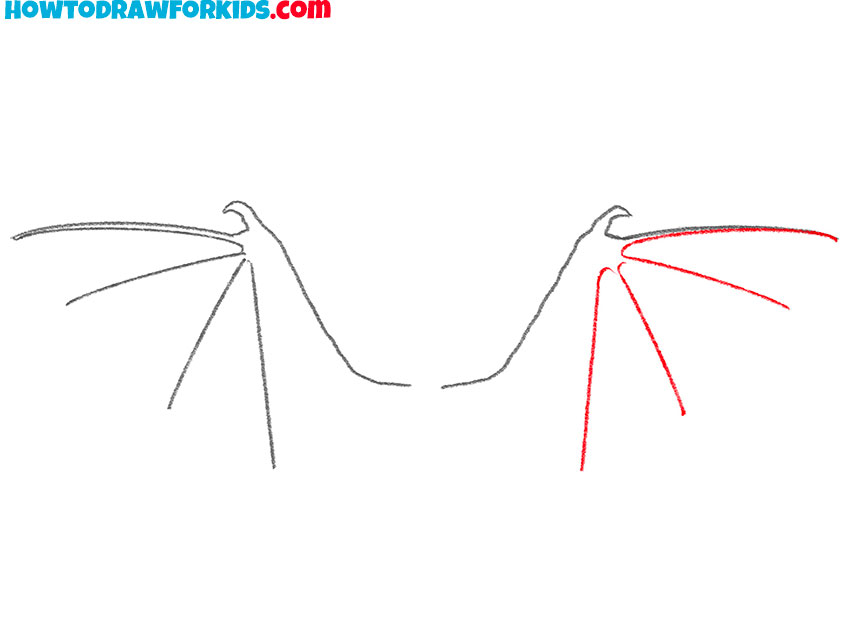
- Draw the fingers on the other side.
Repeat the previous step and draw the same four lines on the right side.
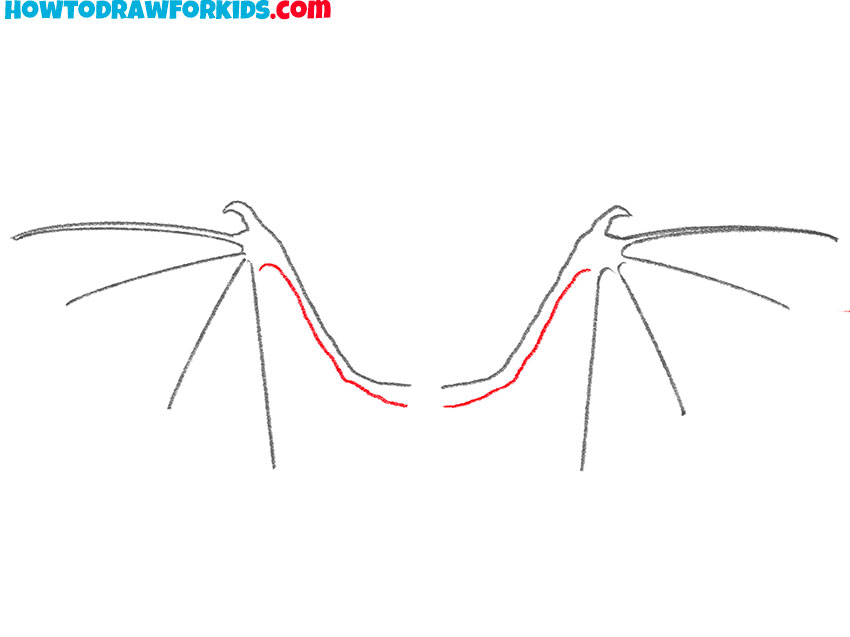
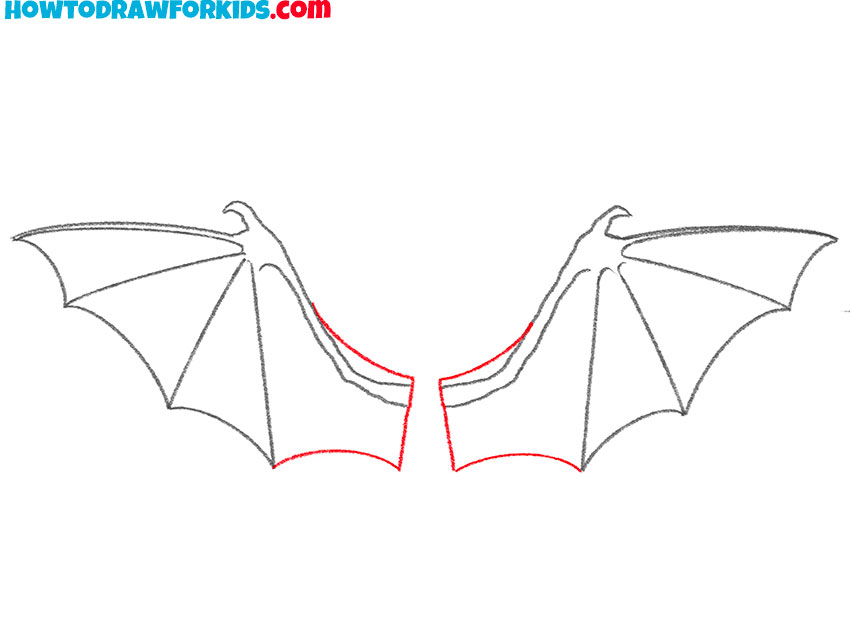
- Add the bottom of the forearm.
Sketch out smooth lines on each side.
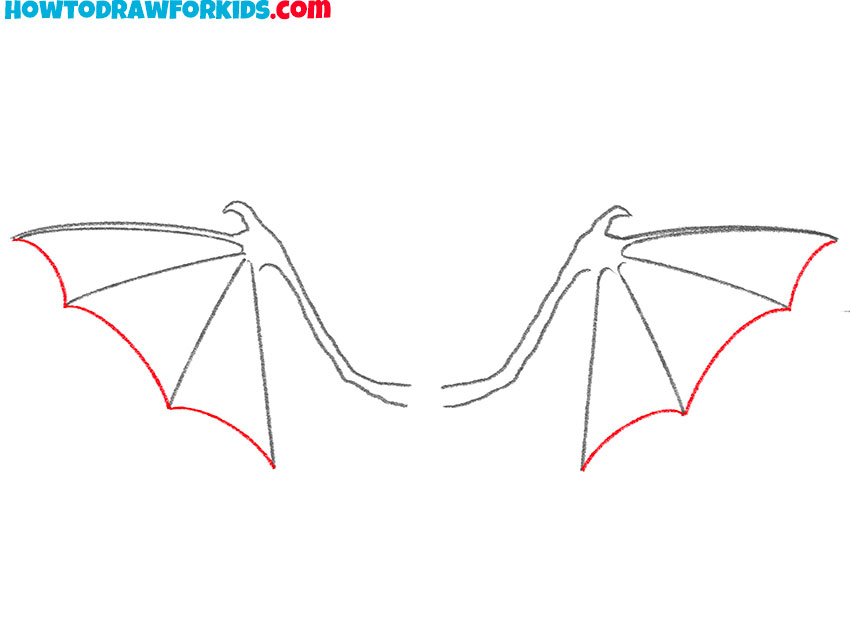
- Depict the sides of the wings.
Draw smooth, rounded lines between the fingers to create a closed outline.
- Draw the inner outline of the wings.
Depict a few lines to depict the part of the wings that is adjacent to the body.
- Color the wings.
At this stage, you will need gray.

The lesson has come to an end and now you can evaluate the result of your work. Compare your drawing with my example. Did you manage to correctly depict the shape of the wings? Share your impressions in the comments.
Finally, I suggest that you download the short version of the lesson as a PDF file so that the lesson is available to you at any time.




The second digit is much less pronounced, and the end of the third digit is the tip of the wing.