How to Draw Boxing Gloves
In this step-by-step tutorial we continue to learn how to sketch sports equipment and learn how to draw boxing gloves.


In this tutorial you will learn how to draw boxing gloves. This lesson will be very interesting for you if you are fond of sports. In any case, you will have a great time and get new artistic skills, even if you are not interested in martial arts.
Punching is allowed in boxing, so each player must have gloves that ensure their own safety and the safety of the opponent during training and fights.
Gloves are a necessary element of boxing equipment. There are special requirements for gloves. Gloves must have a certain weight and shape.
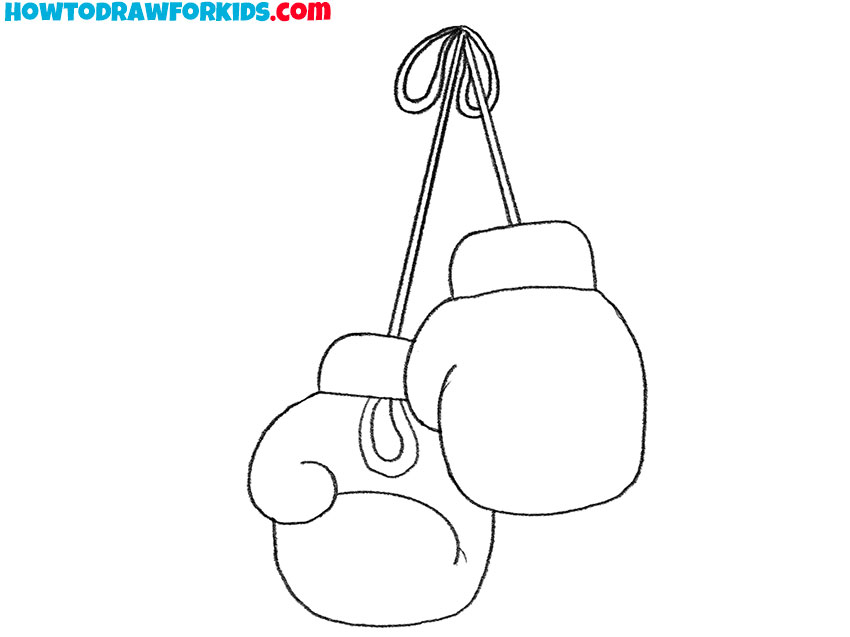
In the picture you see a pair of boxing gloves that are connected by a cord and hang down freely. The gloves are rounded. Now you have to do a few simple steps using hints. If you are careful and careful, you will get an excellent result and create a great addition to your boxer drawing skills.
Materials
- Pencil
- Paper
- Eraser
- Coloring supplies
Now you have learned how to draw boxing gloves. Are you satisfied with the result? Share your opinion in the comments.
Time needed: 15 minutes
How to draw a bow tie step by step
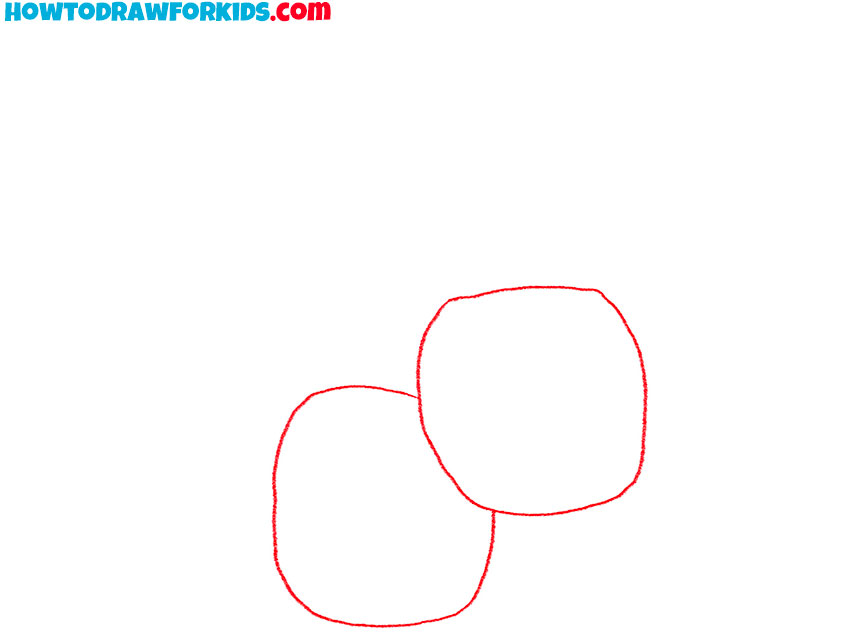
- Sketch the main shapes of the gloves.
Start by creating the general forms of two boxing gloves. Draw two large and rounded shapes overlapping each other to establish their main position. Each glove should resemble a squarish oval. You can make the left glove slightly lower and positioned behind the right one to convey perspective.
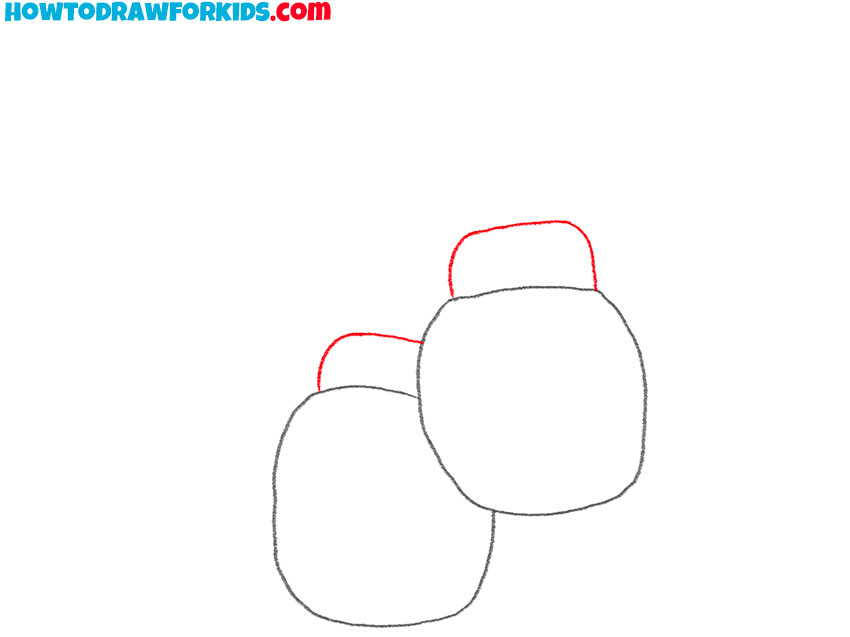
- Add the wrist cuff sections.
Above each glove, add a small rectangular shape to represent the wrist or cuff area. Keep the corners soft and smooth, as real boxing gloves have padded, rounded edges. Boxing gloves are different, so you can make these wrist areas taller or shorter.
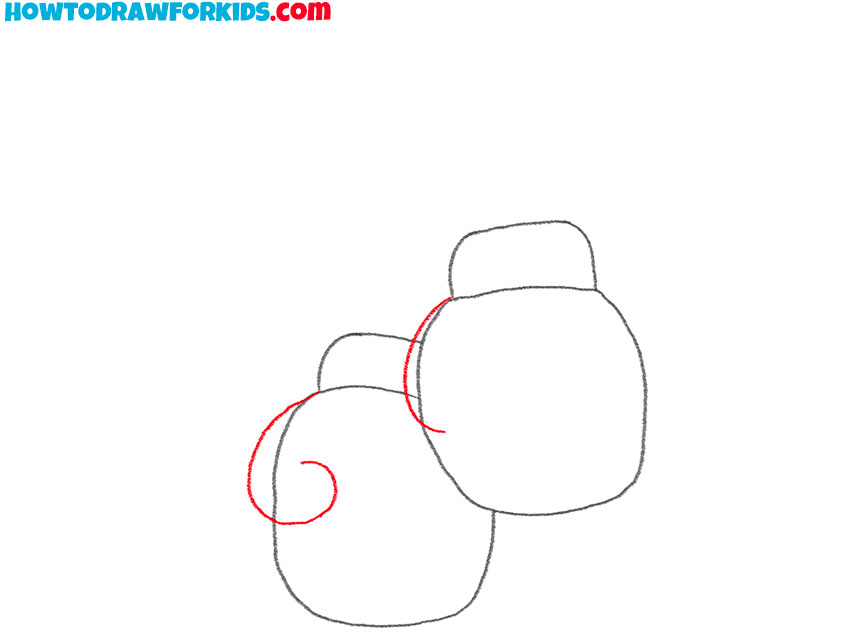
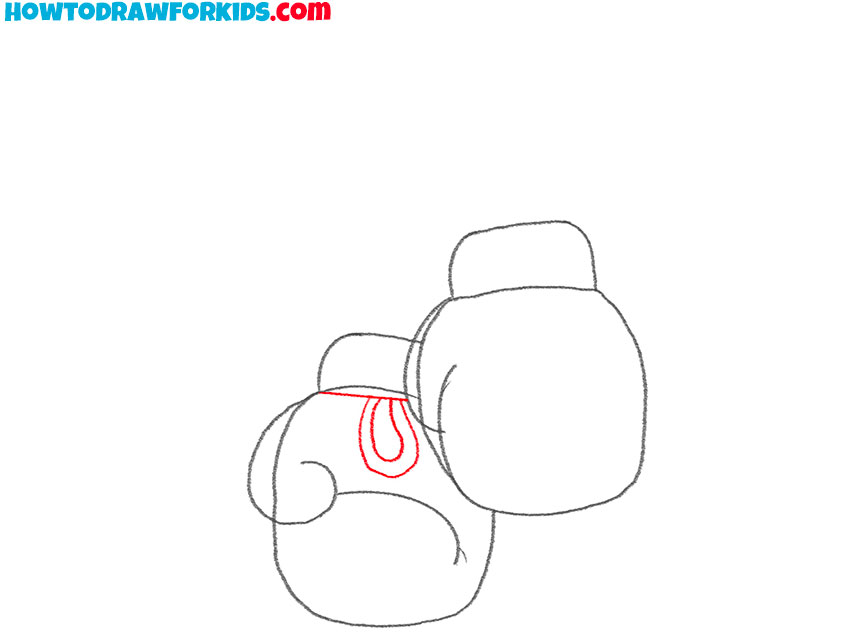
- Mark the thumb on the left gloves.
On the left glove, draw a curved, spiral-like shape extending from the upper left side of the boxer glove’s main body to illustrate the thumb. The thumb should appear tucked inward. After that, sketch the visible part of the second glove thumb.
- Draw the inner curves of the boxing gloves.
The inside of boxing gloves consists of two parts: the thumbs and the rest of the fingers. Since the thumbs are already drawn, add the parts covering the rest of the fingers. To do this, use a smooth line at the bottom of the right glove and a small vertical line on the other.
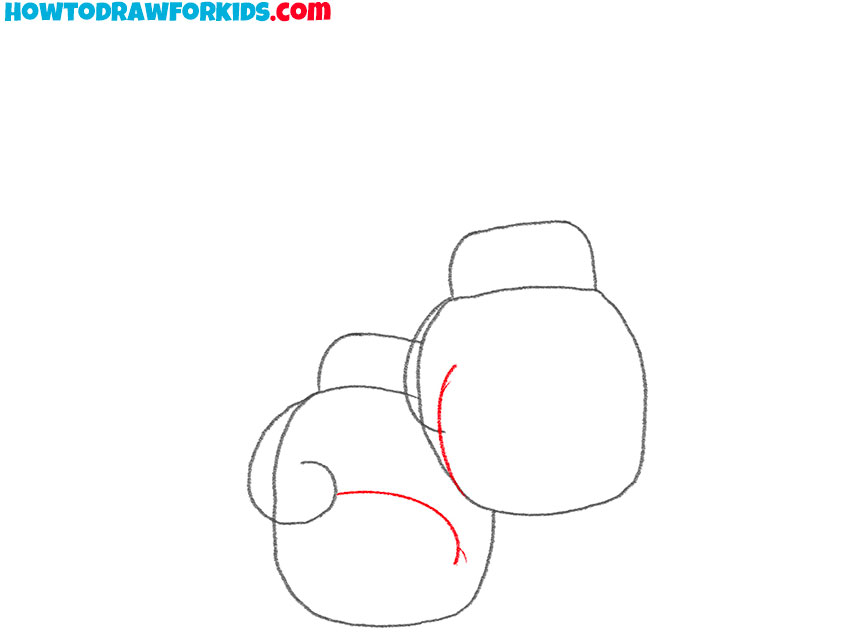
- Sketch the stitching and vent area.
Boxing gloves need to be easy to put on and take off, so they have a small slit on the inside to allow for expansion. Draw this slit on the left boxer glove using a long, smooth line. Duplicate this line to show the seam and give it a more convincing look.
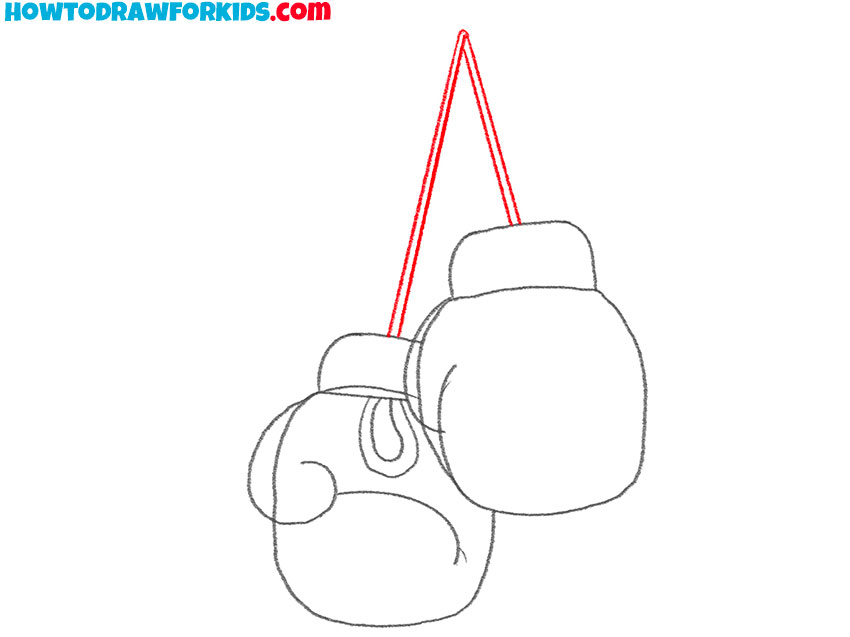
- Illustrate the hanging straps.
Now add two long, straight lines extending upward from the wrist cuff of each glove. The lines should converge toward the top center, representing the straps or cords that the gloves hang from. The lines should be thin and straight.
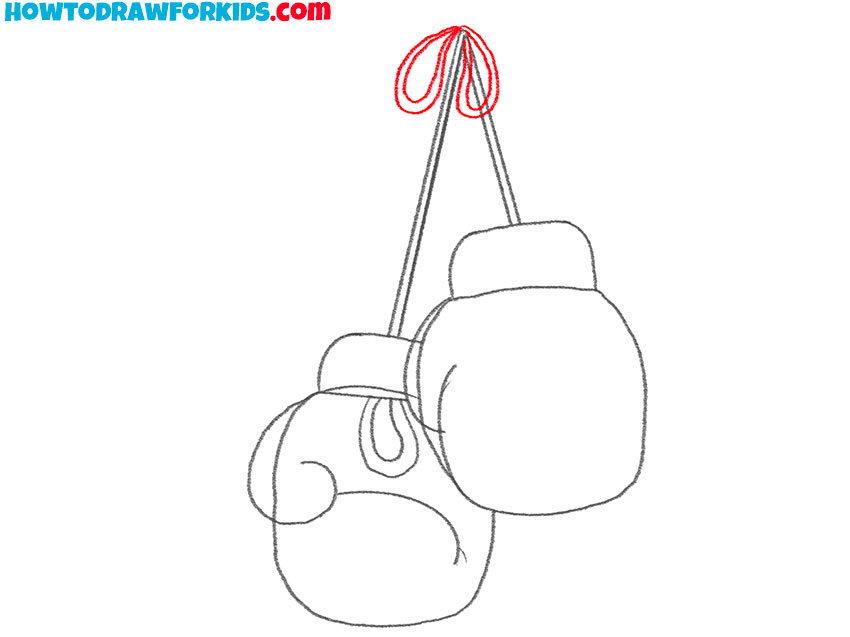
- Sketch the tied knot at the top.
At the top where the two cords meet, sketch a small, looped knot to represent where the straps are tied together. Draw two rounded, connected loops and a central knot shape that holds them in place. The loops should not be perfectly symmetrical, a bit of irregularity makes them appear more natural.
- Finalize the boxing glove outlines.
Clean up the unnecessary construction lines of the gloves, straps, and knot so all shapes look smooth and complete. Trace the main outlines with smooth, dark, and consistent strokes. Check for symmetry and adjust the shapes if needed.
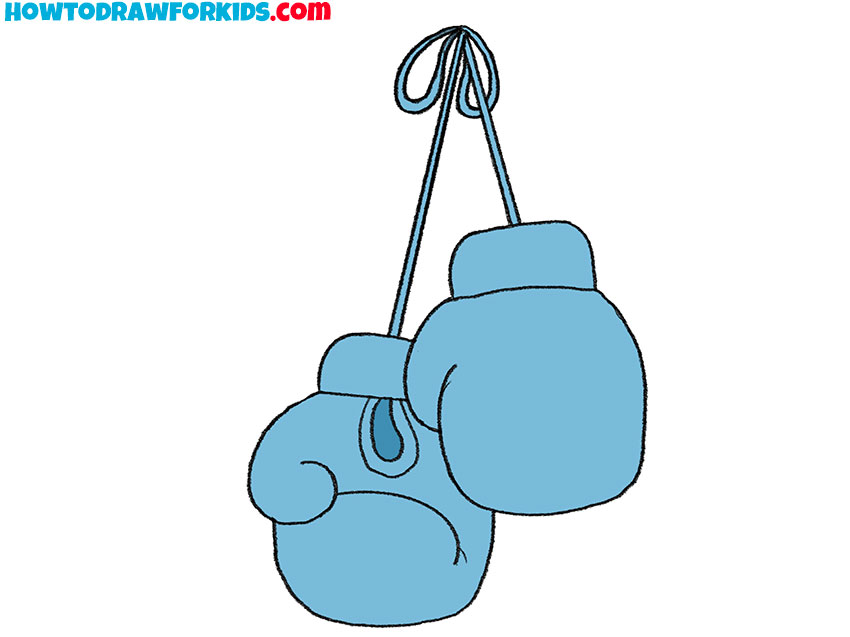
- Apply an even color to the gloves and straps.
Fill both gloves with a rich red, blue, or any other strong hue commonly used in sports gear. The straps and knot can be a darker tone or gray. The cuffs can be the same color or a slightly lighter shade to separate them from the glove bodies. If you want to sketch classic boxing gloves, use a brown color.
Finally, I suggest you download the PDF file, which contains a short version of the guide and additional useful tools. Save this file and use it whenever you want to get creative.