How to Draw Captain America’s Shield
In this drawing tutorial I will show you how to draw Captain America’s shield. There will be nothing complicated here except simple geometric shapes.

How to Draw Captain America’s Shield: Introduction
So, Captain America’s shield is an incredibly famous weapon in the world of comics and beyond. The guys from Marvel really tried to make this popular even among those who have never opened the latest issue of the comic.
Even though it looks very cool, we will show you a way to draw this Captain America shield quite simply. We will use only simple lines and basic geometric shapes for almost the entire lesson. Drawing this without tools will greatly improve your skills as an artist.
For maximum simplicity, I decided to use a full frontal angle of the shield without any shadows or highlights.
At the very end of the tutorial, I will also tell you how to make your drawing of Captain America’s shield more unique and interesting, how to add fascinating details, and make it more three-dimensional and realistic.
Captain America’s Shield Drawing Tutorial
Materials
- Pencil
- Paper
- Eraser
- Coloring supplies
Time needed: 20 minutes
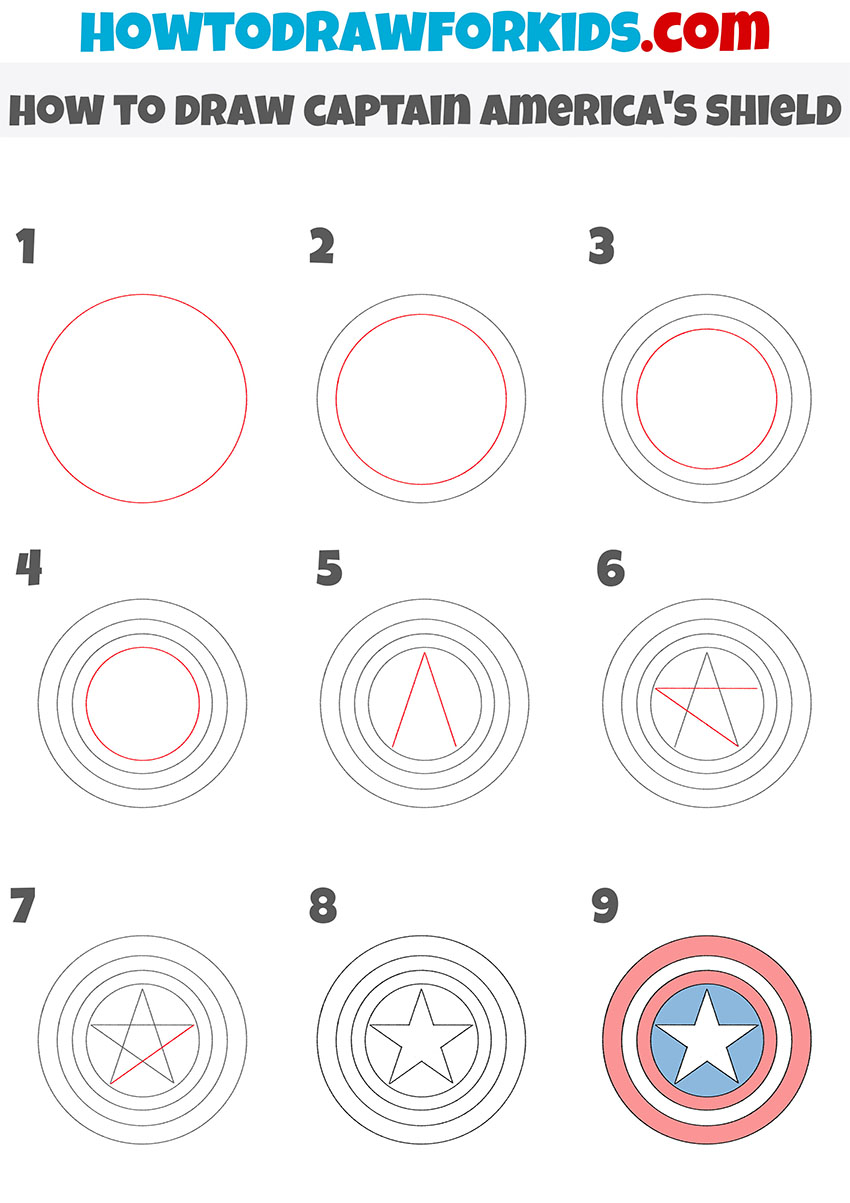
How to Draw Captain America’s Shield
- Draw the outer circle of the shield.
Begin by drawing a large circle in the center of your paper. This will be the outermost edge of Captain America’s shield. You can use a compass or trace around a circular object such as a plate or a round lid to ensure that the circle is even and smooth.

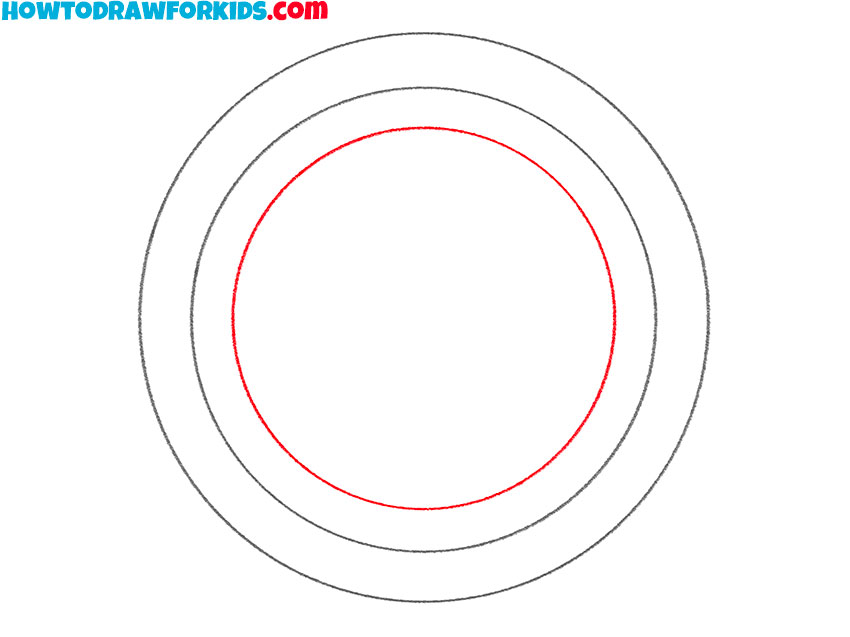
- Start adding the inner circles.
Inside the large outer circle, draw a slightly smaller circle. This will create the first ring of Captain America’s shield. Use the same center point as the outer circle to ensure concentricity. This step starts to form the iconic concentric ring pattern of the shield.

- Add the next circle.
Draw another circle inside the first inner ring you just created. This new circle should be smaller, creating a second ring within the shield. Like before, ensure this circle is evenly spaced. If you find it challenging to draw perfect circles, consider using drawing aids like templates or circular stencils.
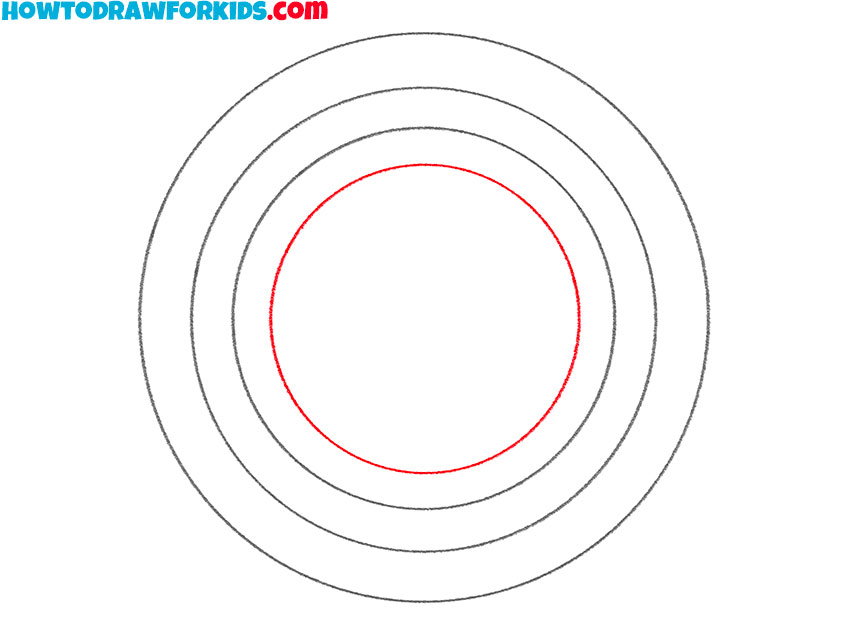
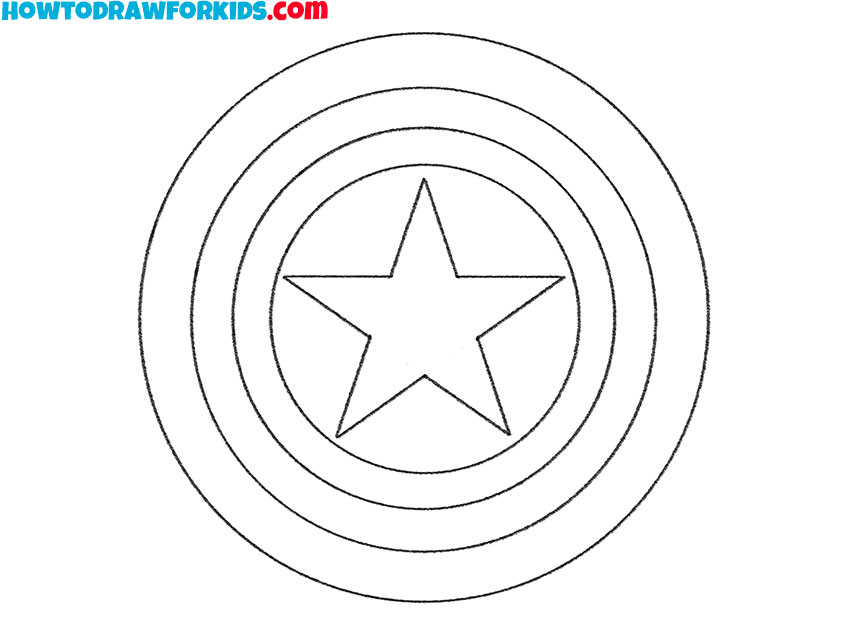
- Sketch the inner circle.
The final small circle in the center will be where the star will be drawn. Ensure all circles are centered and evenly spaced. This step completes the foundational structure of the shield, setting up for the central star design. Double-check the spacing and alignment of all circles.
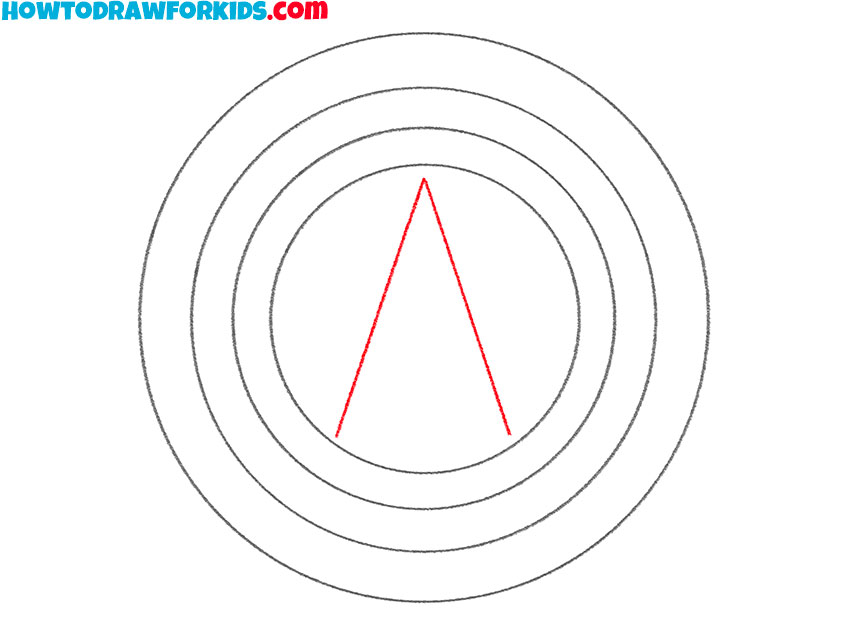
- Start drawing the star.
Draw two straight lines which converge at one point. It should look like a sharp corner in the center of the circle from the last step. These lines will be guidelines for the star’s points. You can use a ruler can help make these lines straight and even.
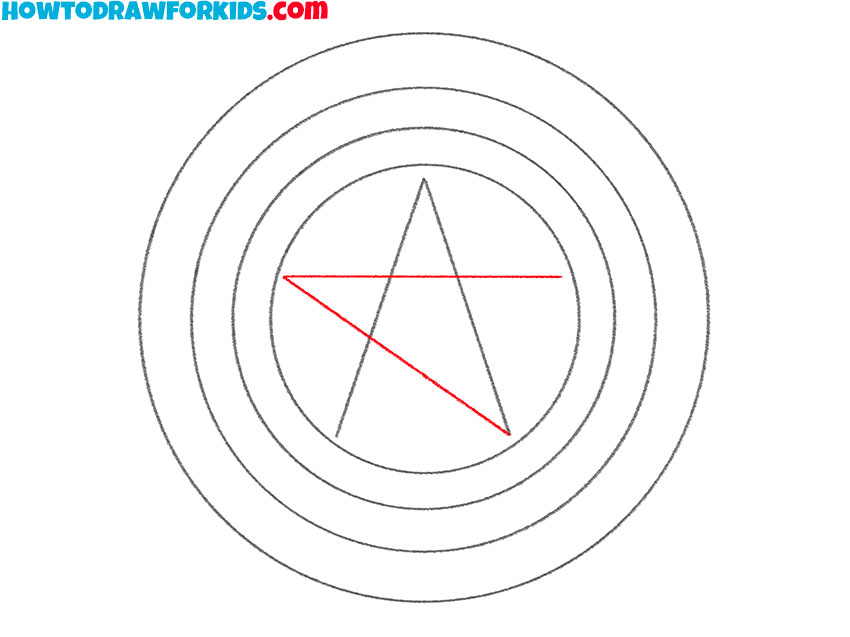
- Continue drawing the star.
Continue drawing lines to form the star by another triangle. Extend these lines to form a five-pointed star. Make sure the star is symmetrical and fits well within the innermost circle. Each point should almost touch the edge of the inner circle.
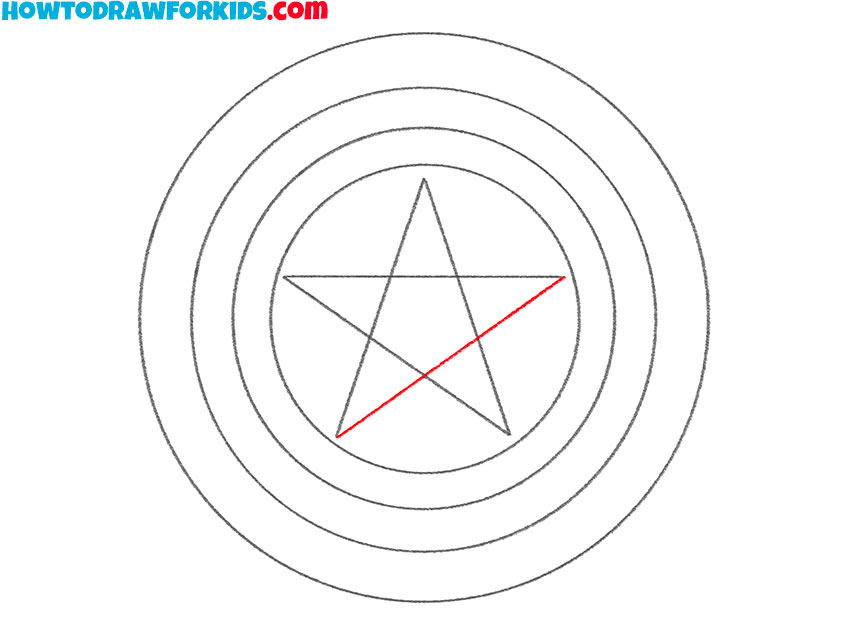
- Finish drawing the star.
Complete the star by drawing the final lines to connect all points, ensuring it is symmetrical. Adjust any lines as needed to make the star even and proportional. This step finalizes the basic structure of Captain America’s shield, combining the circles and star into one design.
- Erase the guidelines of the star.
Look carefully at your drawing and if you notice any mistakes, correct them. Remove the extra guide lines from the previous steps. Outline the entire shield with a darker line to emphasize the rings and star. Use a fine-tip marker or a darker pencil to make these lines stand out.
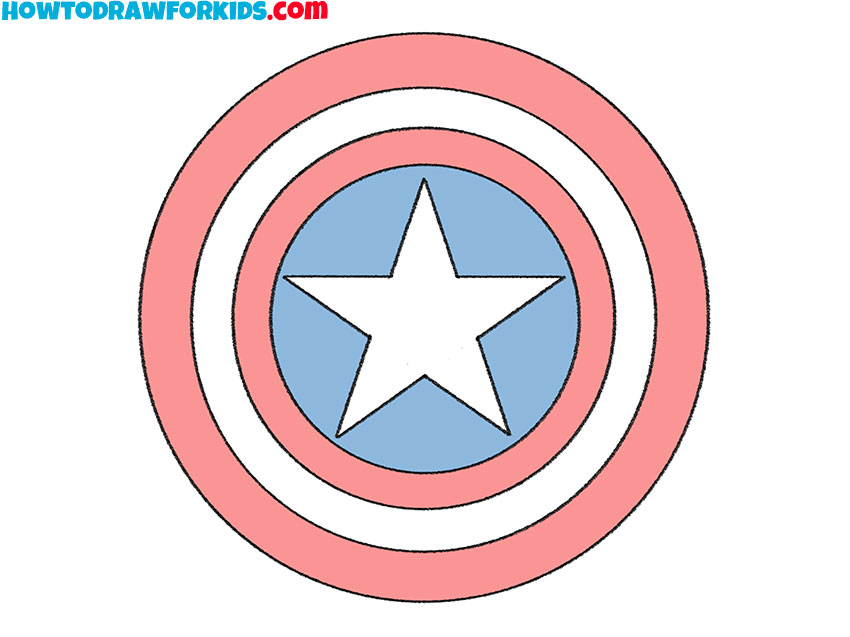
- Color the drawing of Captain America’s shield.
For coloring, you will need red and blue. The outermost and third rings should be red, the second ring and the star should be white, and the innermost circle with the star should be blue. The star itself should be white. The classic Captain America colors look really cool, don’t they?
Additional Content
Do you love Marvel superheroes? If you want to be able to draw Captain America’s shield anywhere, regardless of the Internet, be sure to save this PDF archive. With this archive, you can try several new drawing methods, as well as take a closer look at each new step.
How to Draw Captain America’s Shield: Tips and Tricks
To improve your skills in drawing such objects, you need to draw circles and straight lines as often as possible without using any auxiliary tools.
Introduce shading and highlights to give the shield a more three-dimensional appearance. Use a light source, such as a lamp or natural light, to determine where the highlights and shadows should be.
To make the shield look more realistic, add texture details. Draw fine lines or stippling to suggest metal grain or small imperfections. This can give the shield a worn, battle-used appearance, making the drawing more realistic.
Since the shield is made of a metal-like material, you can add reflective surfaces. Draw light reflections and glares on the surface of the shield. These can be small white spots or lines that suggest light bouncing off the polished metal.
Make the overall drawing more interesting by adding a background. This could be a simple gradient to suggest movement or a more detailed scene, like a battlefield or an urban landscape. A background can place the shield in context and make the drawing more dynamic.
Incorporate Captain America’s arm holding the shield. This adds an element of action and makes the drawing more complete. You can draw the arm in a gripping pose, with muscles and veins detailed to show strength and tension.
You can also complicate this drawing by drawing Captain America’s shield from a slightly different angle, from the side or bottom, or by adding shadows or highlights. Finally, you can draw Captain America himself with this shield on his shoulder.
Conclusion
I hope you had a great experience with this tutorial on drawing Captain America’s shield. We’ve tried to make this drawing guide suitable for artists of all skill levels. If you have difficulty drawing this shield, try to find the step where you made a mistake. This reflective practice can be incredibly helpful in improving your skills.
If you find certain elements challenging, such as drawing perfect circles or straight lines, practice these components separately on another sheet of paper. Focusing on these foundational skills will help you with this particular drawing and will also be invaluable for your overall drawing skills.
Remember, every artist faces challenges and makes mistakes. The key is to use these experiences as learning opportunities. As you continue practicing, you will notice improvements in your precision and confidence. Keep experimenting with different techniques and don’t hesitate to revisit this tutorial as often as needed. The process of learning to draw is ongoing.