How to Draw Christmas Bells
For a bit of Christmas spirit, I’ve created this lesson where I’ll show you how to draw Christmas bells with a simple decorative red bow.

With this fascinating step-by-step tutorial, you’ll learn how to draw simple and recognizable Christmas bells.
This tutorial consists of nine very simple steps that any child and beginner artist can handle. So you don’t need to have much drawing experience to sketch these beautiful Christmas bells.
These bells are one of the most famous symbols of Christmas. This element of decor will be a great decoration for Christmas trees.
Also, we are all accustomed to hearing the beautiful fine ringing of the bells, which symbolizes for us the approach of the Christmas holidays.
You will be able to repeat this design while you draw a Christmas tree, and you can also depict bells as interior decorations.
In this lesson, you will first sketch the bow and then two bells below it. So prepare the materials you need for sketching and start the tutorial.
Materials
- Pencil
- Paper
- Eraser
- Coloring supplies
Time needed: 20 minutes
How to draw a Christmas tree step by step
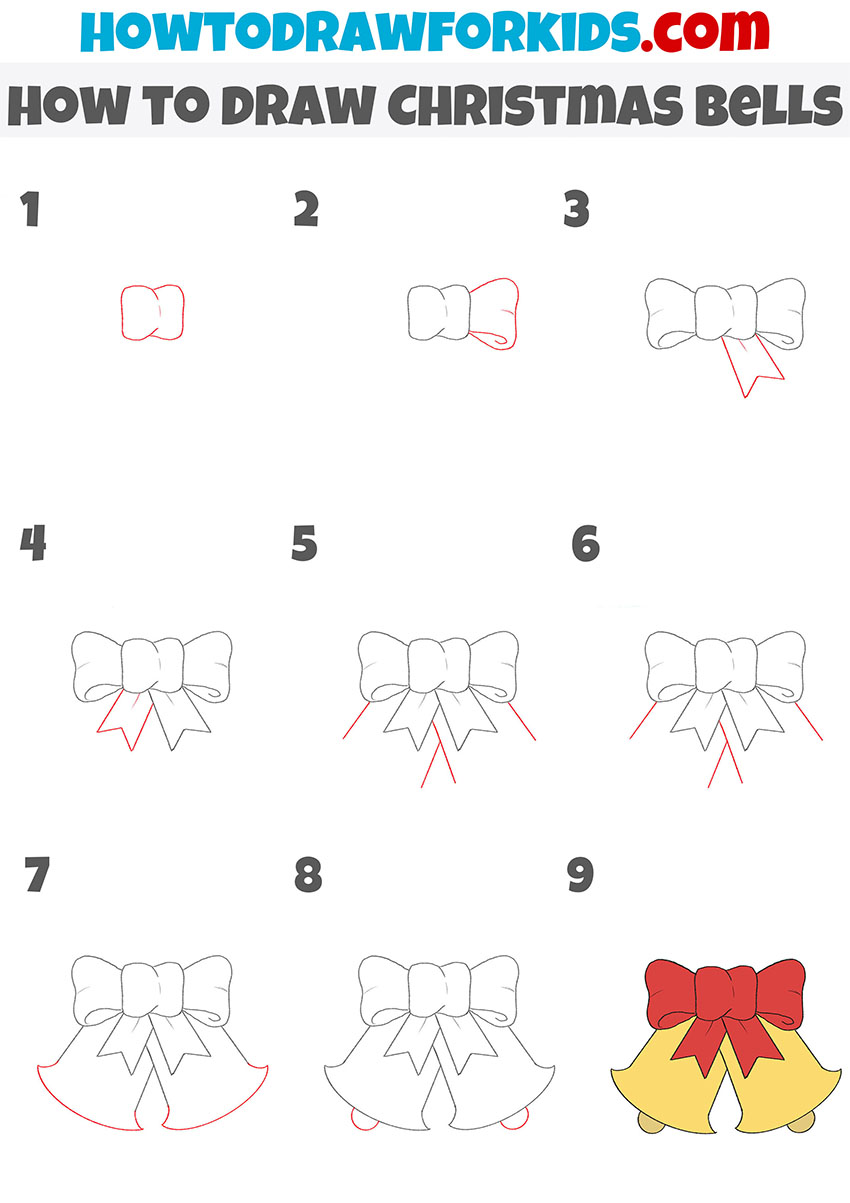
- Sketch the bow’s central knot.
Start with the center and draw a bow. First, sketch a small knot using smooth shapes. Indicate the folds at the top and bottom. Add a few short strokes in the middle for additional folds. When drawing the curves, make them soft, giving the shape a fabric-like appearance.

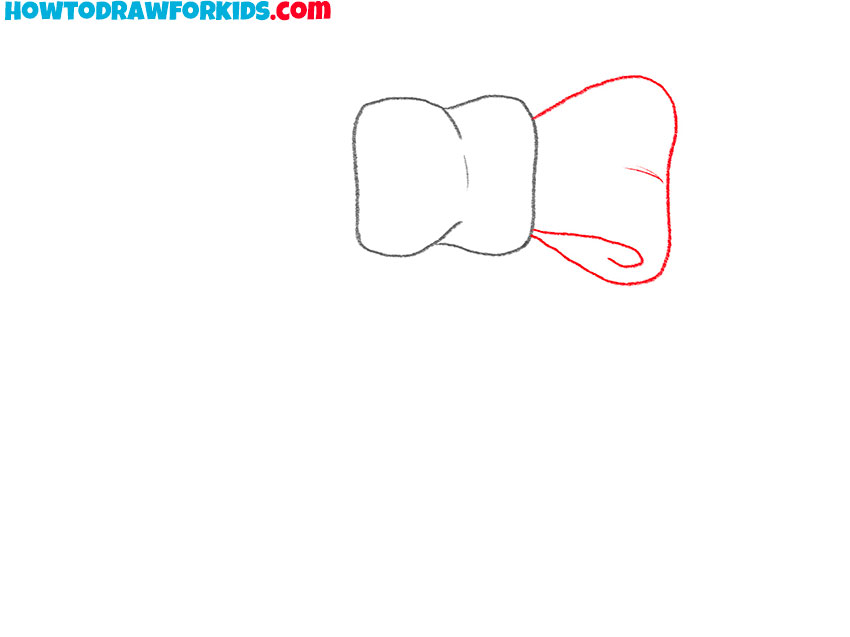
- Add the right bow loop.
To build out the bow, work outward from the knot and sketch a rounded loop extending to the right. Illustrate a few subtle folds near the knot to show how the fabric bends as it ties. Illustrate the bottom edge of this part with a smooth curve.
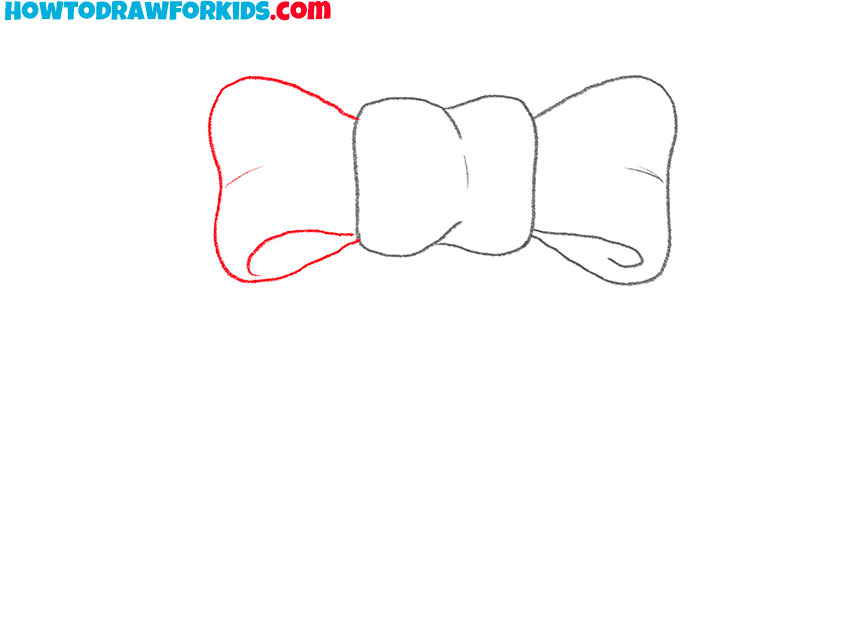
- Sketch the left bow loop.
Building the other side of the bow helps complete the top section, so sketch a matching loop on the left. Try to mirror the shape and size of the right loop without forcing them to be perfectly identical – slight natural variation looks more like real fabric.
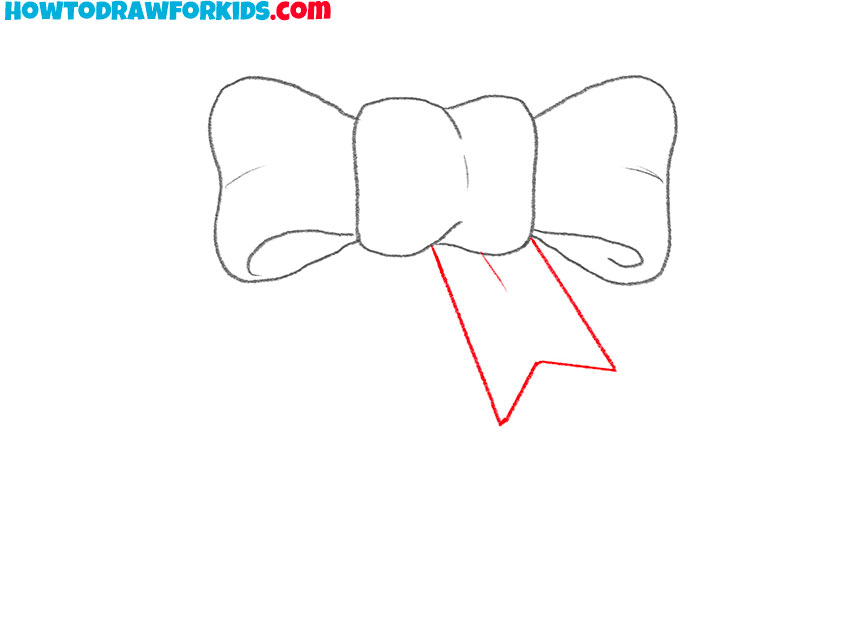
- Draw the first ribbon tail.
Once the main loops are established, illustrate the first downward ribbon tail by adding a long angular shape beneath the knot. Draw it angled gently to the right so the bow looks realistic. Add a forked bottom edge, using a V-shaped cut.
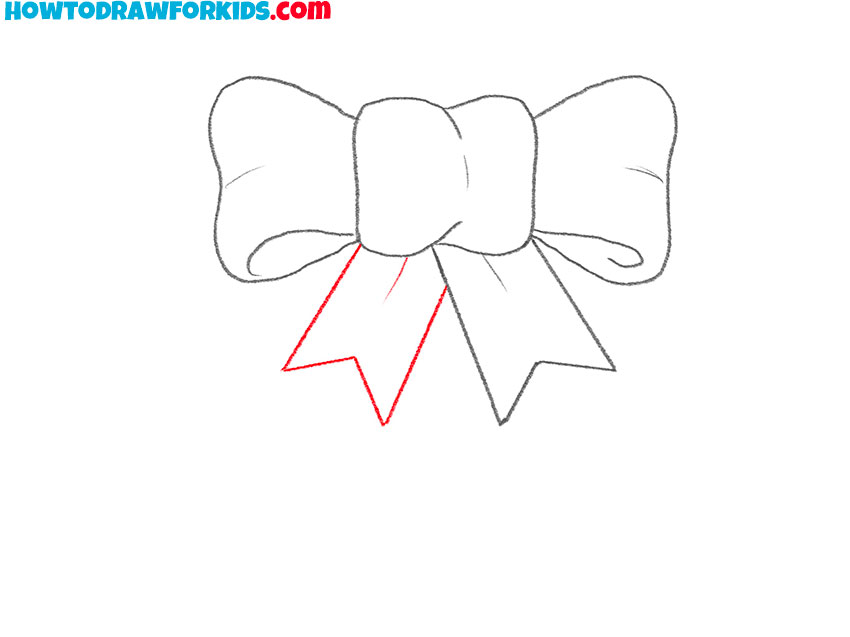
- Sketch the second ribbon tail.
Now, let’s complete the set of ribbon tails, adding the second tail angled to the left. Sketch a similar triangular form with the same forked bottom edge, making sure both tails look consistent in length and shape. Add a few folds to make this part look more realistic.
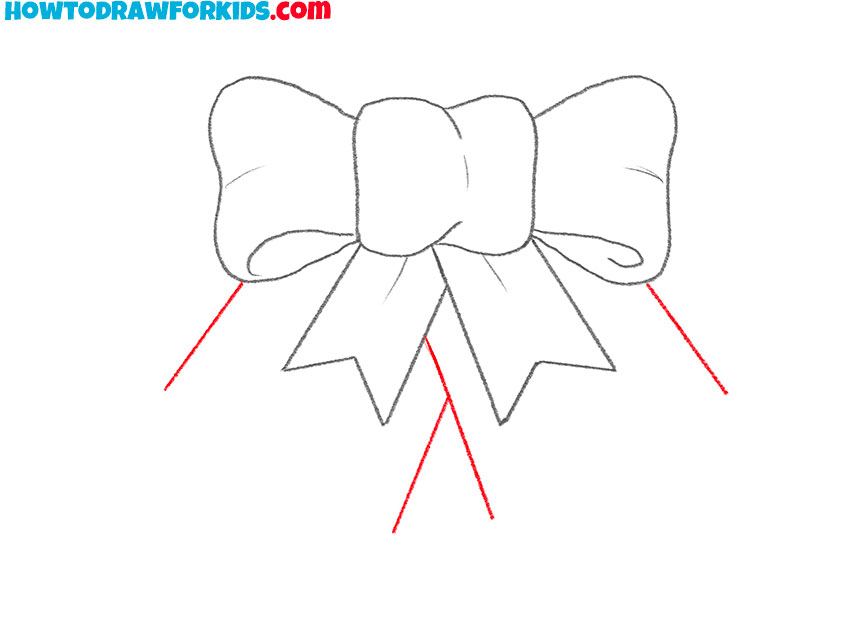
- Draw the edges of the Christmas bells.
Before drawing the bells, it helps to mark the outer edges. Lightly sketch simple angled lines beneath the ribbon tails. Use two simple lines for each bell, trying to keep the overall size and shape symmetrical.
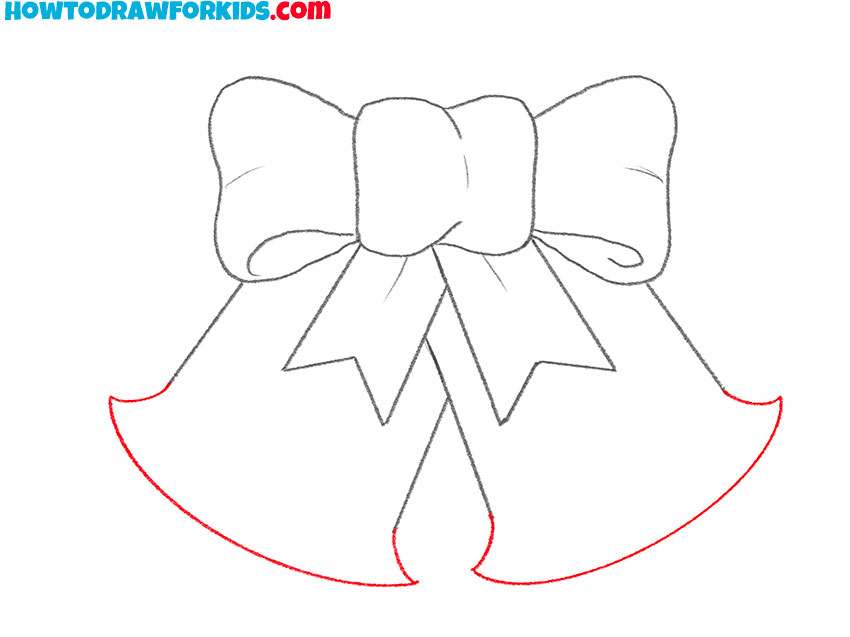
- Sketch the bottom edges of the bells.
Now complete each bell adding a wide rounded form at the bottom. Use long sweeping strokes to illustrate the flowing bell silhouettes. Try to keep the bottoms flared to mimic the shape of real metal bells. Pay attention to symmetry so both bells share similar width and height.
- Draw the clappers of the Christmas bells.
To finish the line drawing, sketch the small round clappers beneath each bell. These can be centered or sketched closer to the left or right sides. Once the clappers are in place, you can carefully erase all earlier guidelines if any.

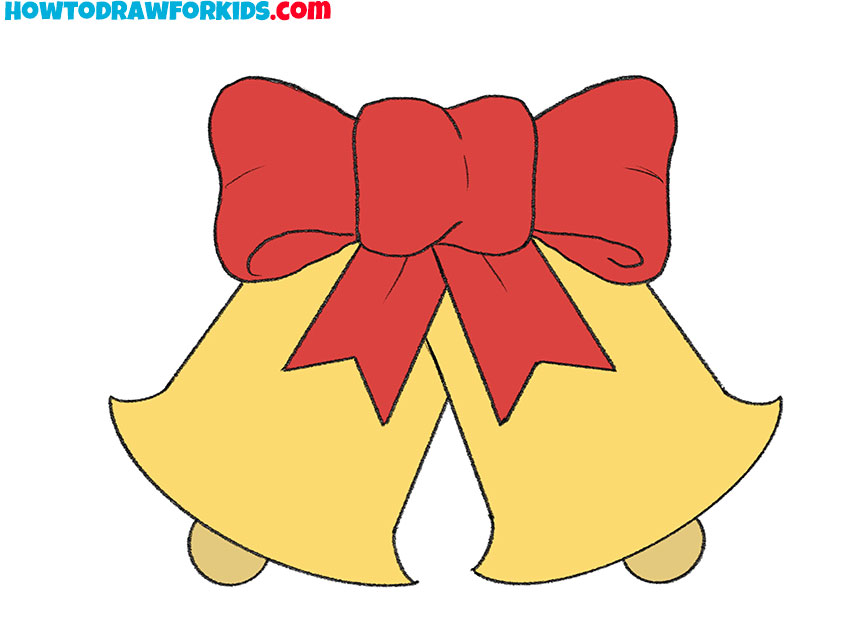
- Add yellow and red tones to the bells and bow.
With the final outlines of your Christmas bells drawing complete, choose warm and festive colors to paint them. Color the bells with a rich golden yellow. The bow should have a different tone, so use a deep red for the knot, loops, and ribbon tails. The clappers beneath the bells can be colored a slightly darker gold.
This drawing lesson is complete. I hope you got into the Christmas spirit and did a great job with this drawing. Now you can share this tutorial with your friends and leave your feedback in the comments.
Also, don’t forget to download the PDF file which contains a short version of this step-by-step drawing lesson and other useful materials.