

How to Draw Elf on the Shelf
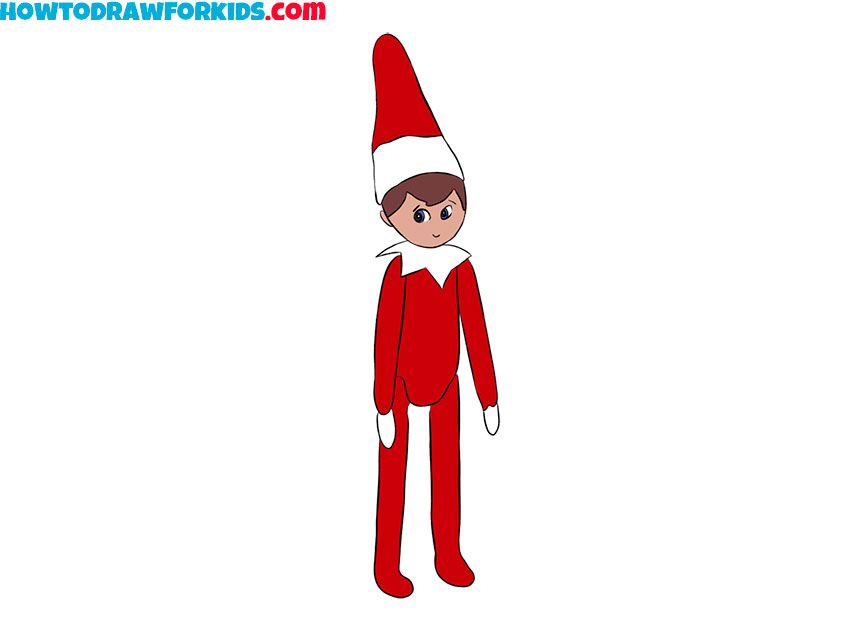
This really simple tutorial will show you how to draw an Elf on the Shelf with a tall cap, long limbs, and a simple face, then color the Christmas character.
Prepare to Draw an Elf on the Shelf
I invite you to another creative tutorial in which I will show in detail how to draw an Elf on the Shelf. With these simple instructions, you will practice drawing a cute elf.
As you can see, the elf has an elongated torso and long, thin limbs. It looks unusual and very funny. Toys with a similar shape are often used for Christmas games and decorations.
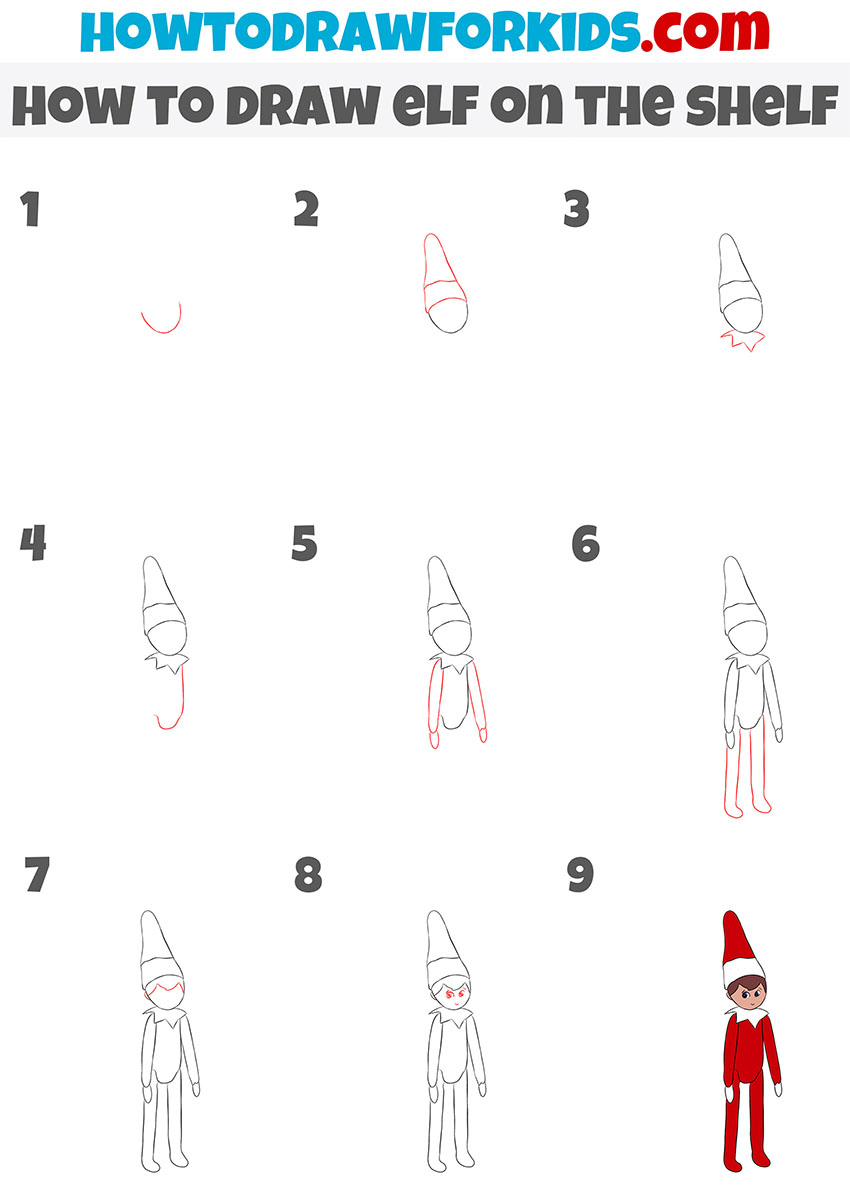
Each step in this tutorial is shown clearly and includes a short instruction that explains how to add the next part of the Christmas character.
Elf on the Shelf Drawing Tutorial
Materials
- Pencil
- Paper
- Eraser
- Coloring supplies
Time needed: 30 minutes
How to draw an Elf on the Shelf step by step
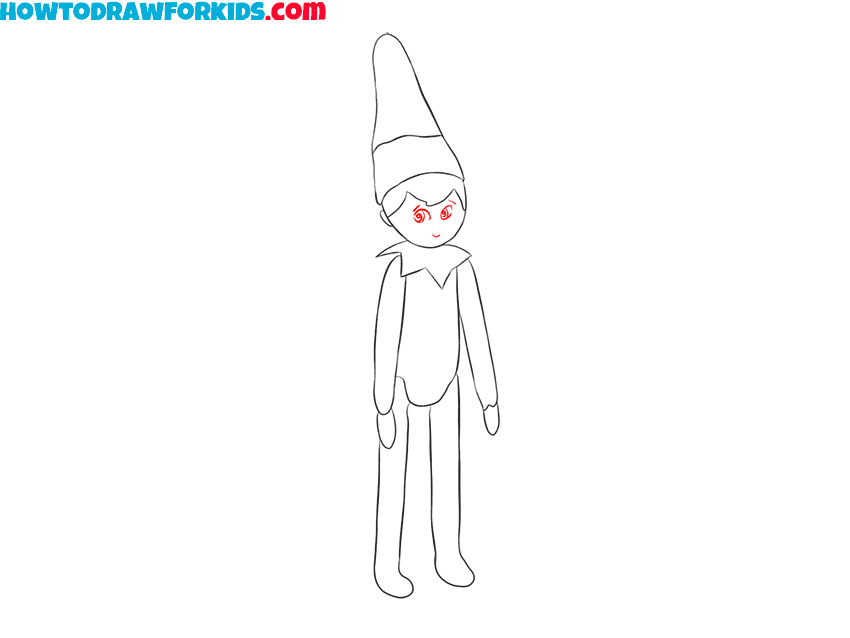
- Outline the elf’s face.
Draw a large oval to form the face of the Elf on the Shelf. Place the shape near the top of the page and leave enough space below it for the long torso and limbs.

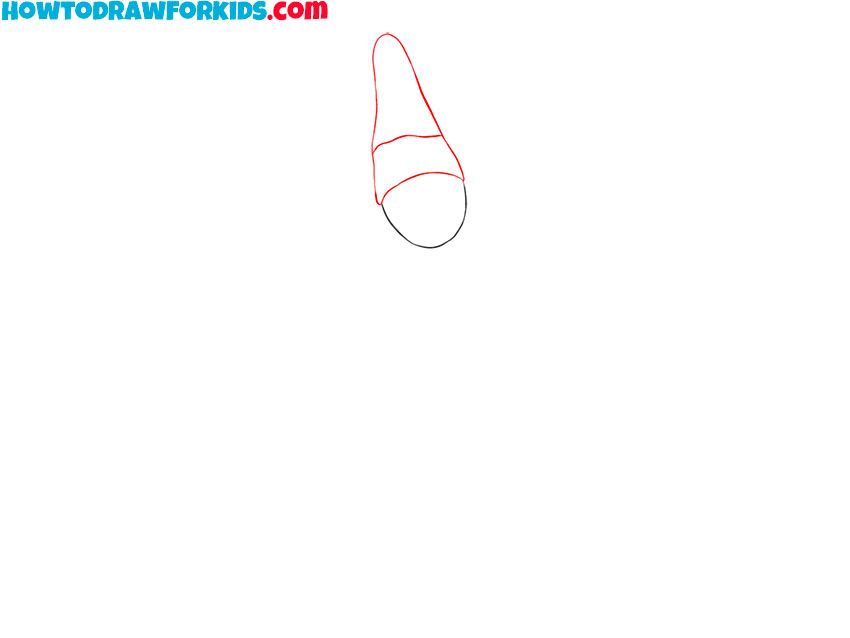
- Draw the tall elf cap.
Above the face, draw the elf’s tall cap. Make the base wide where it meets the head, then use two curved lines that narrow and bend toward the tip.
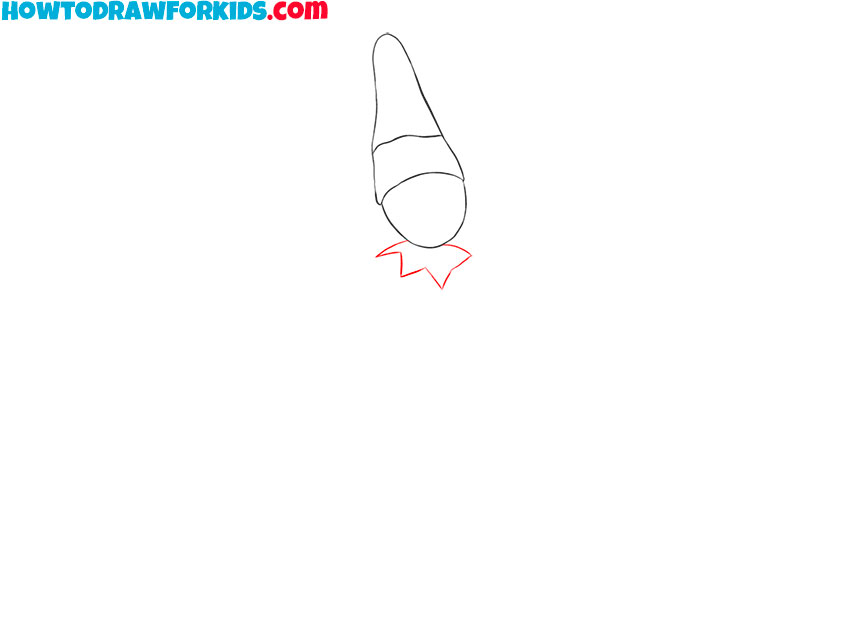
- Add the pointed collar.
Below the head, outline the elf’s collar with a series of short zigzag lines. Connect the ends beneath the face to form a narrow band around the neck.
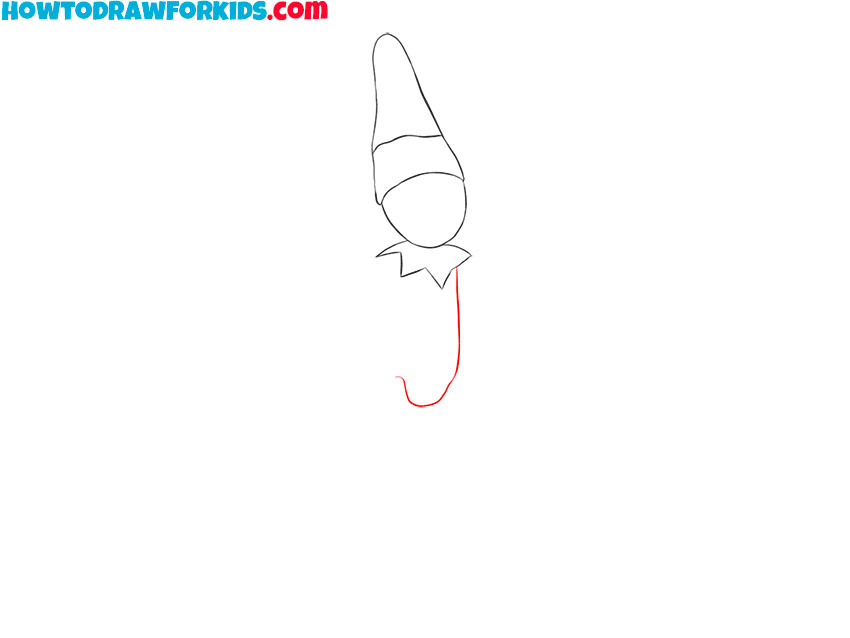
- Outline the Elf on the Shelf torso.
Draw two long curved lines downward from the collar to outline the narrow torso. Connect them at the bottom with a short curved line to complete the body shape.
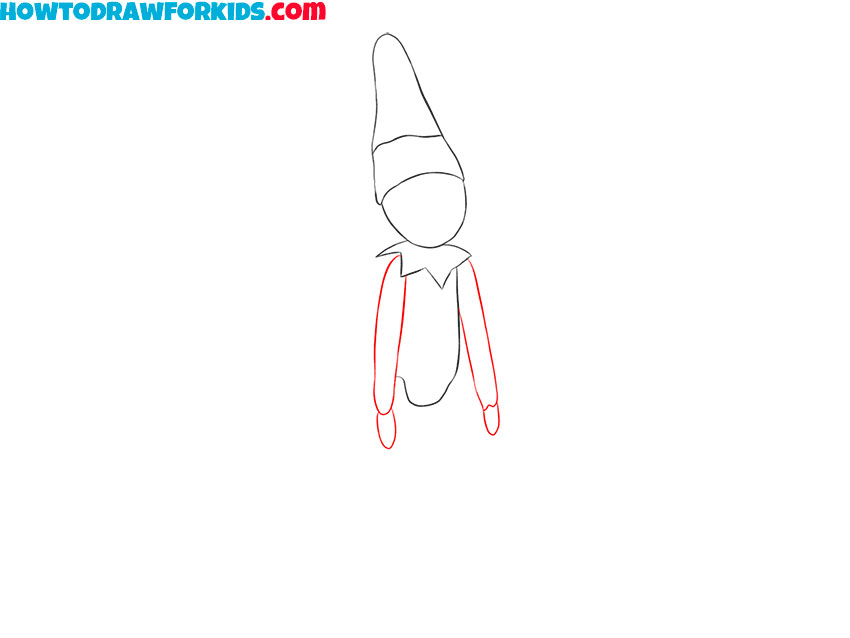
- Draw the elf’s arms and hands.
Add one long, thin arm on each side of the torso using narrow curved shapes. At the lower ends, outline the small mitten-like hands with simple lines.
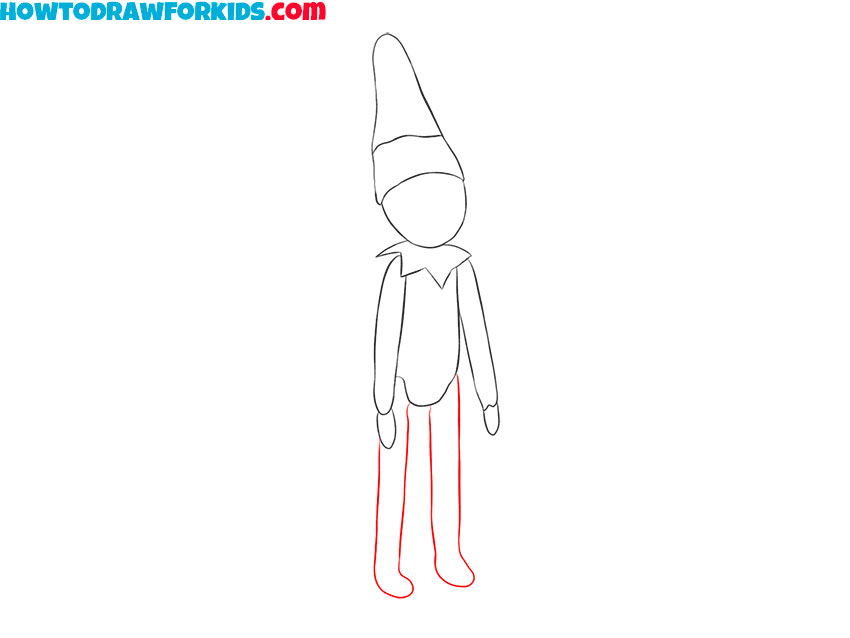
- Sketch the long elf legs.
Below the torso, draw two long, narrow legs with smooth lines. Add the small feet at the ends and turn their tips slightly outward to match the elf’s pose.
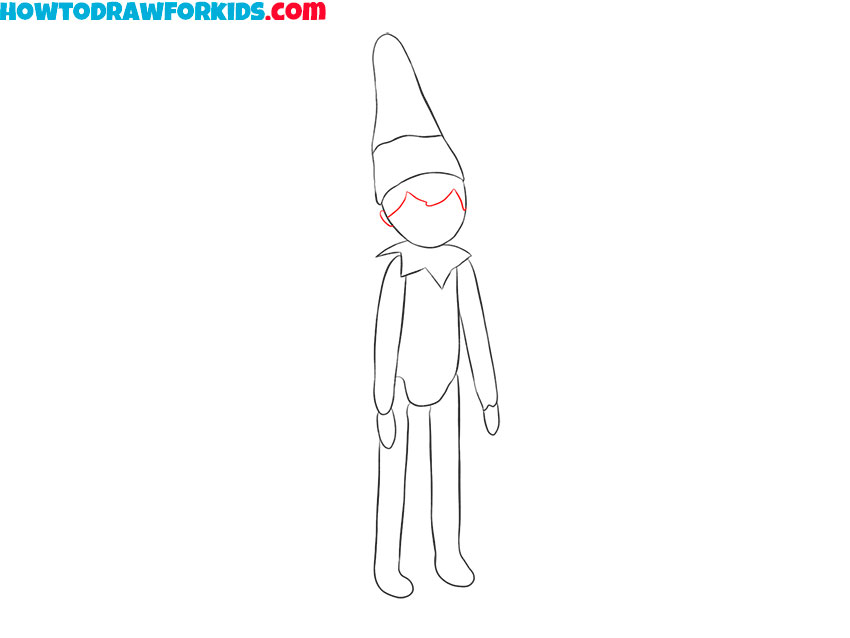
- Add the ear and hair.
On the side of the head, <a href=”https://howtodrawforkids.com/how-to-draw-an-elf-ear/”>draw the pointed elf ear</a> with two curved lines. Above the forehead, sketch the hairline with several short pointed sections.
- Draw the elf’s facial features.
Draw two small oval eyes and fill them in, leaving tiny highlights. Add short curved eyebrows, then use another small curved line to form the smiling mouth.
- Color the Elf on the Shelf.
Color the cap, collar, torso, and limbs red. Use beige for the face and hands, then add brown to the hair and shoes to complete the Christmas elf drawing.
Elf on the Shelf Drawing Printables
By tradition, I suggest that you use the link to download the PDF file, which contains a short version of the tutorial and additional useful materials. Save this file and use it whenever you want.
Conclusion
You can change the position of the arms or legs to give your Christmas character a different pose.
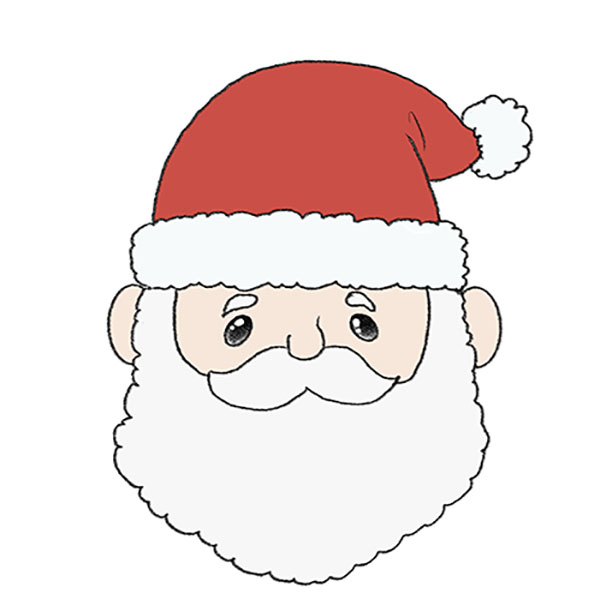
A different hat can make the character look new, so you can practice by drawing a Santa hat and adding it to your elf.
You can place the elf beside a decorated tree by drawing a Christmas tree on the same page. This will turn the character drawing into a complete holiday picture.
Another suitable addition is a wrapped gift. Try sketching a Christmas present near the elf’s feet and color it with any pattern you like.





Thank you for the drawing tutorial