How to Draw an Elf
Step into the magical realm of my drawing class as I guide you on how to draw an elf with three unique methods, each designed to inspire and delight. Through this tutorial, you will learn to craft these charming characters, from their pointed hats down to their curled-toe shoes, perfect for the holiday season or any imaginative adventure.
How to Draw a Elf: Basic Information
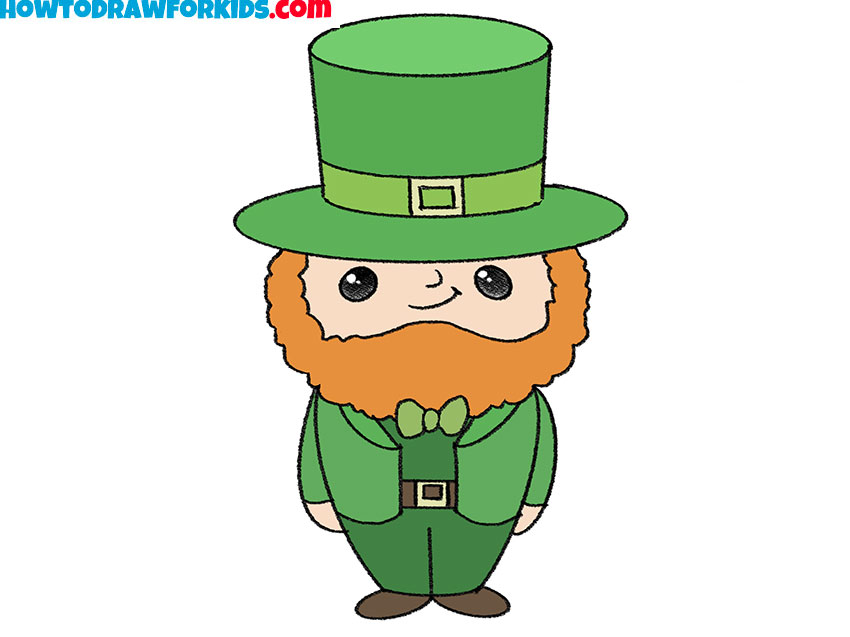
Gather round, creative souls, for today we embark on a delightful endeavor to capture the charm of a Christmas helper—learning how to draw an elf. This guide is my gift to you, crafted to make drawing simple and fun. Our elf comes to life step by step, donning a jolly cap and a grin that promises festive cheer.
As we sketch together, you’ll notice our elf is not just a figure of enchantment but also a character brimming with personality. The curves of the hat, the playful boots, and the merry outfit are all carefully planned to capture the elfin charm. Each feature is designed to be approachable, inviting artists of all ages to create and imagine.
By the time you finish this lesson, to draw an elf will be another skill in your artistic quiver. You’ll have mastered the gentle lines that form the elf’s costume and the soft arcs that make up its merry face. Let’s embark on this creative quest, pencils poised, hearts light, and minds open to the wonder of drawing.
Elf Drawing Tutorial
Materials
- Pencil
- Paper
- Eraser
- Coloring supplies
Time needed: 30 minutes
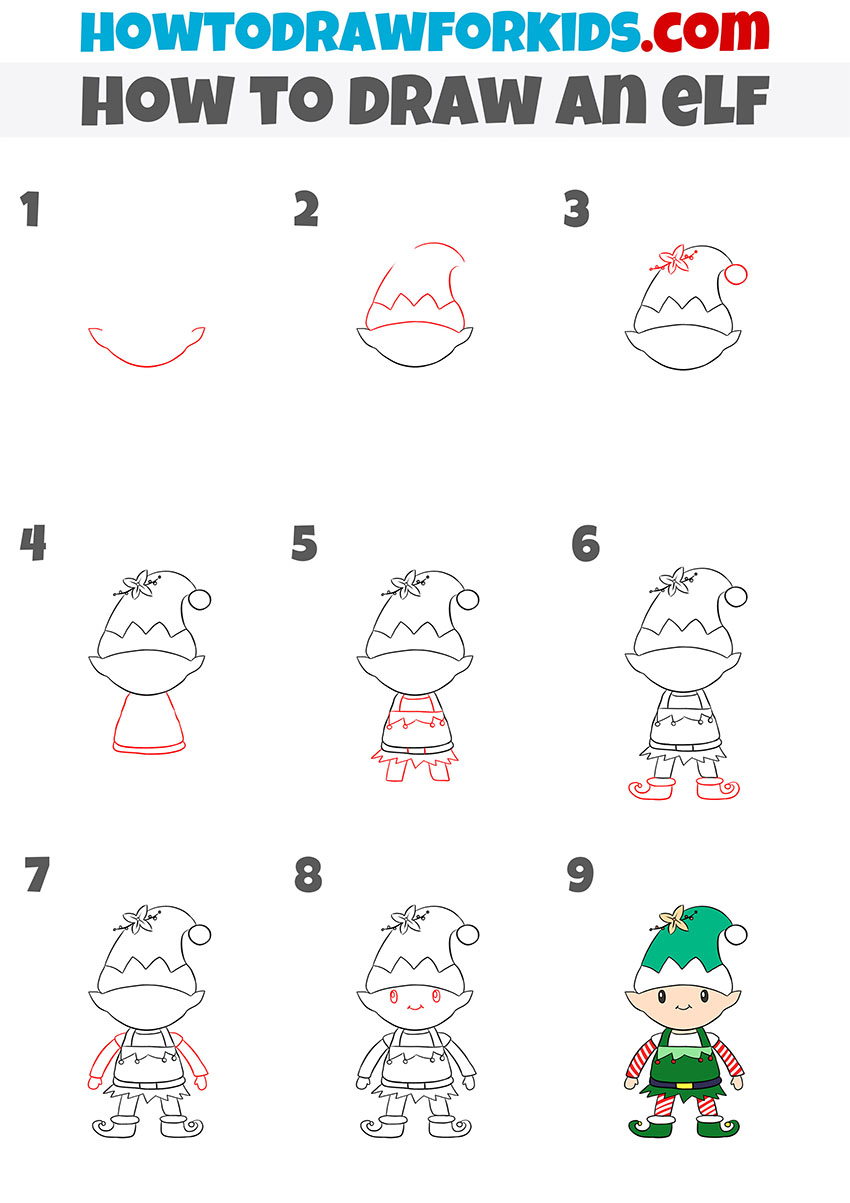
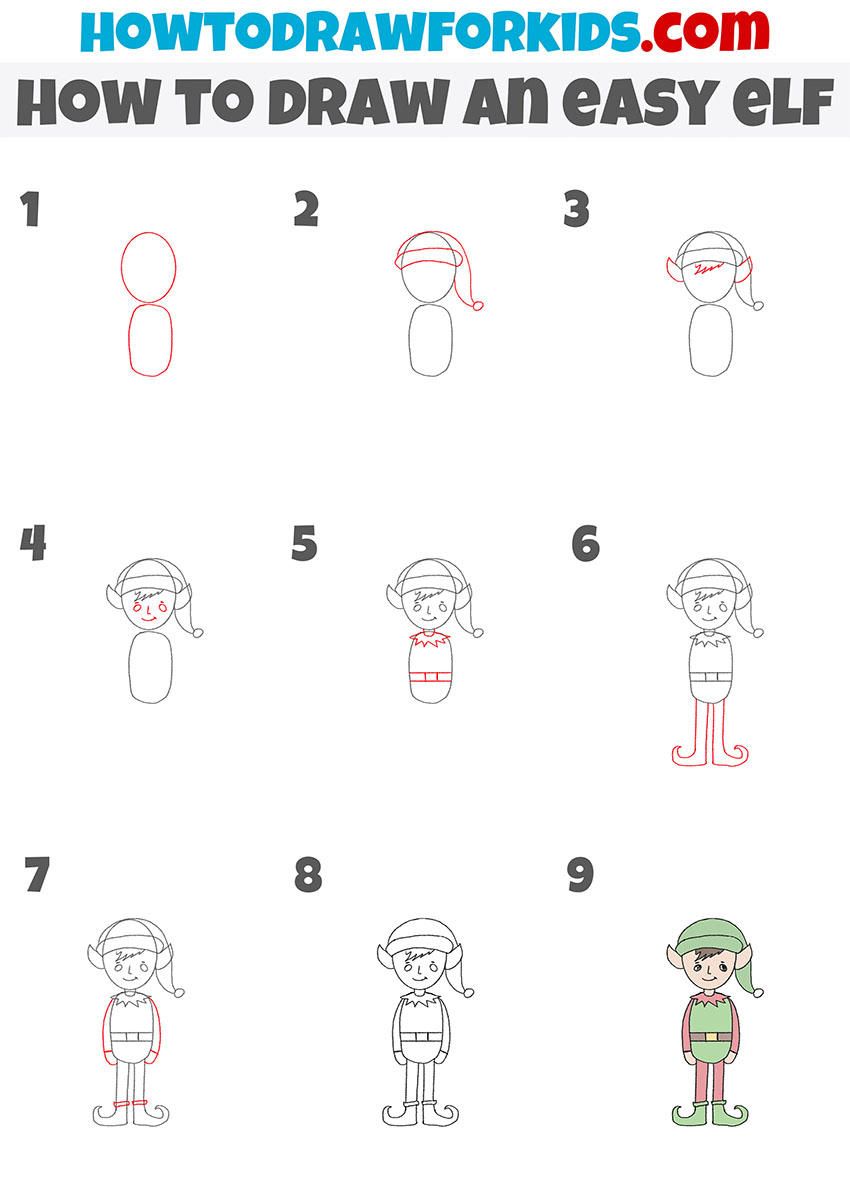
How to Draw an Elf
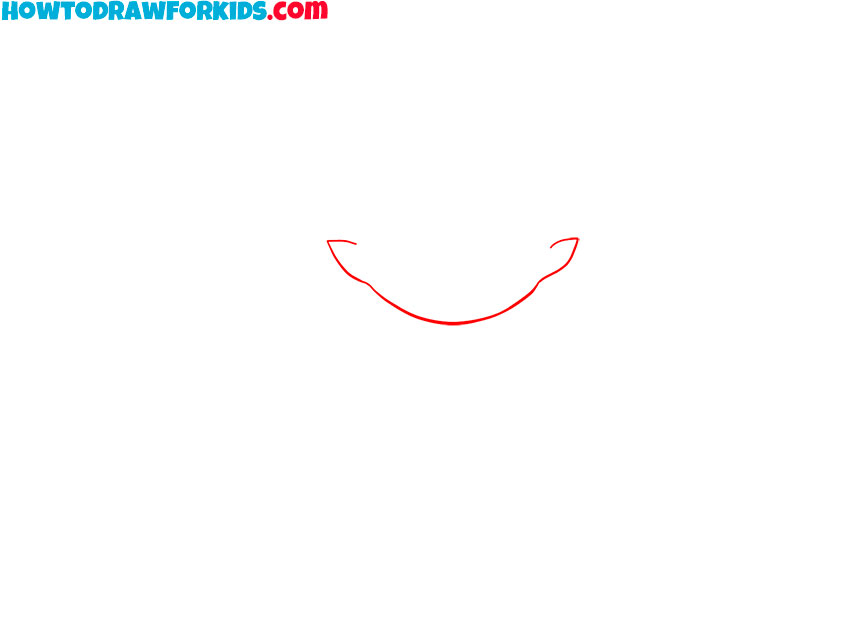
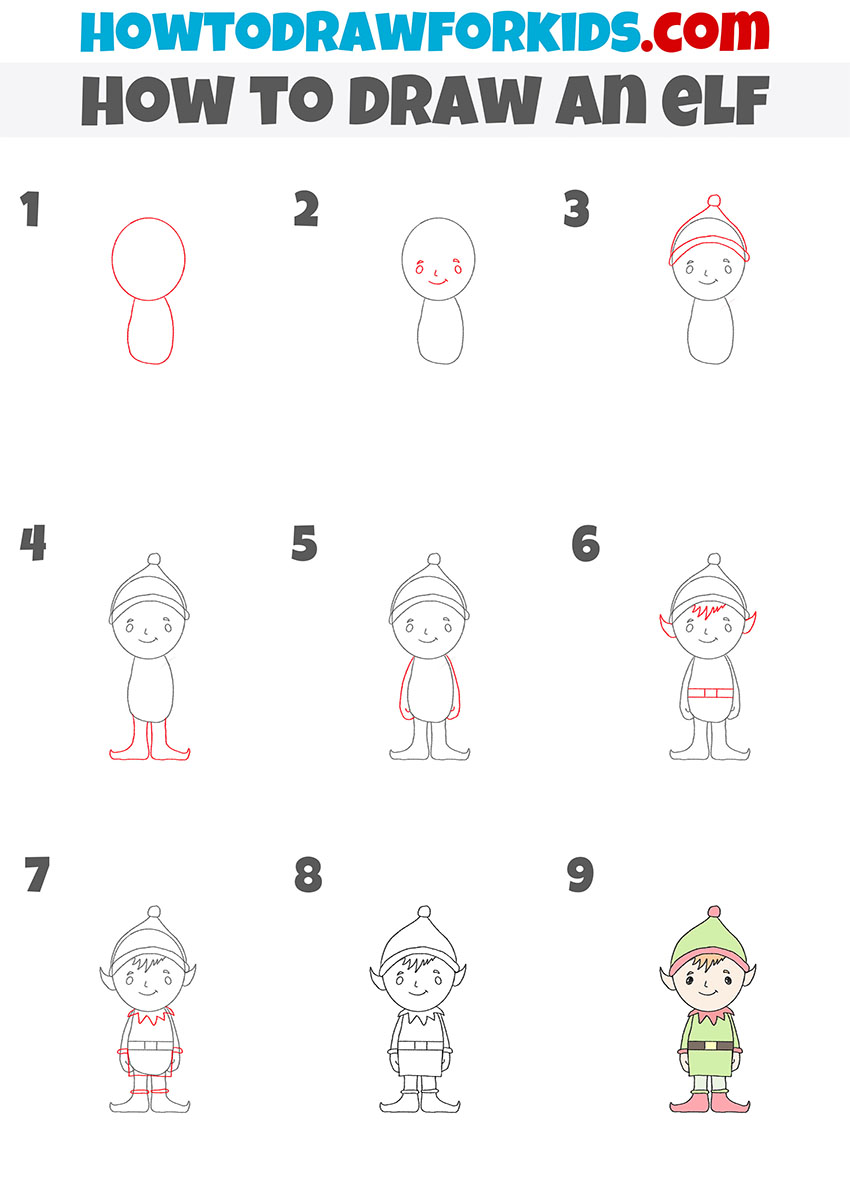
- Draw an oval for the face and ears.
Depict a smooth rounded line and add the pointed ears on the sides.
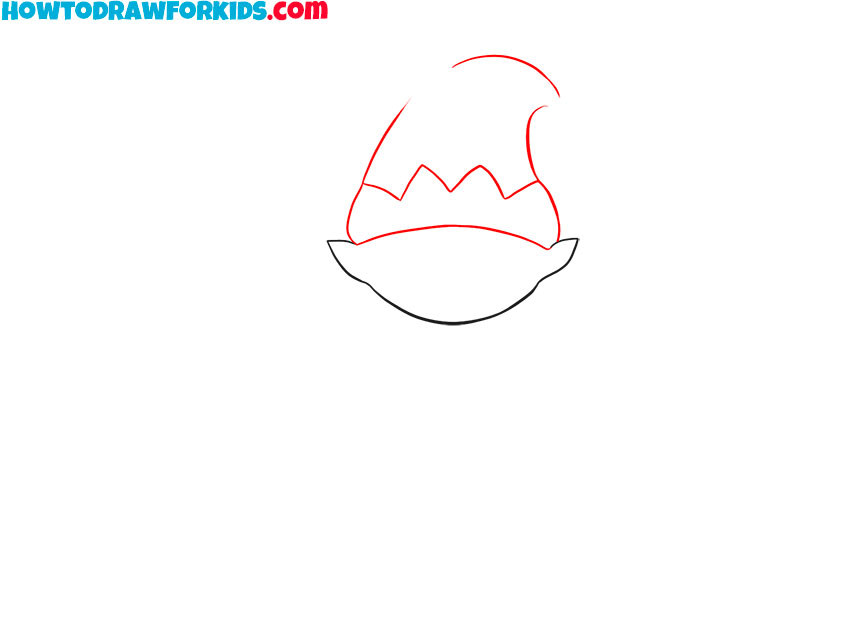
- Sketch out the cap.
The lower part of the cap has a figured shape, the upper part consists of smooth curved lines.
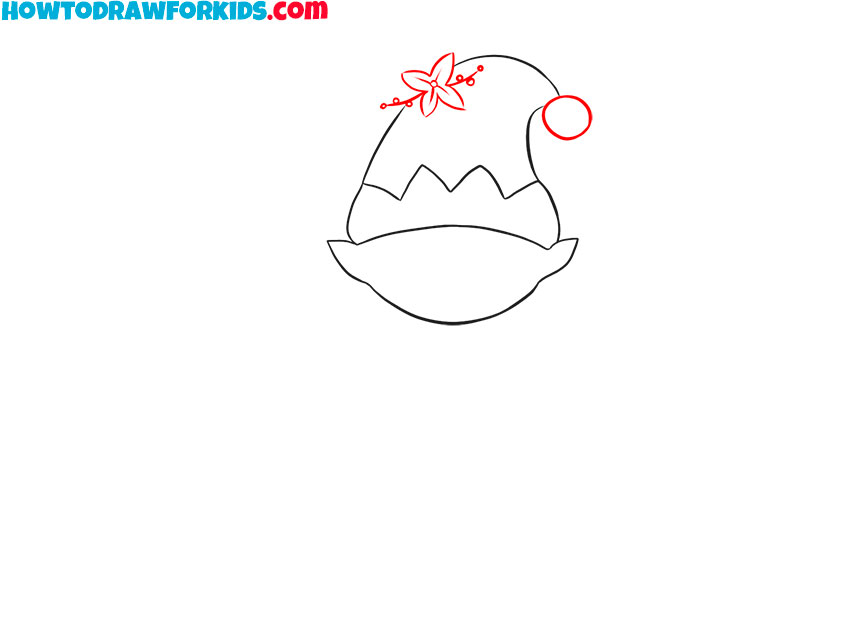
- Add the remaining elements of the cap.
Depict the flower decoration and the round pom-pom at the end of the hat.
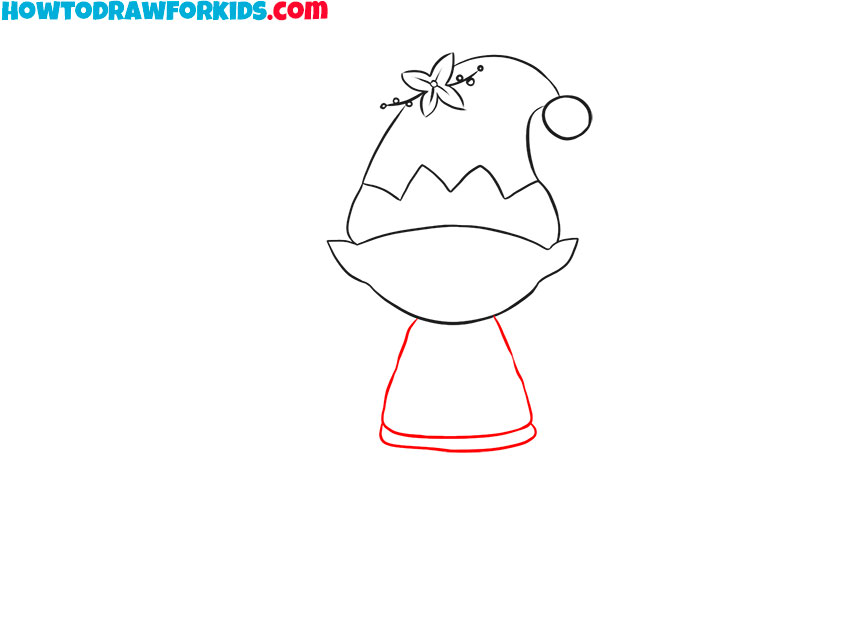
- Draw the torso.
The torso has the shape of a trapezoid, draw the small belt below.
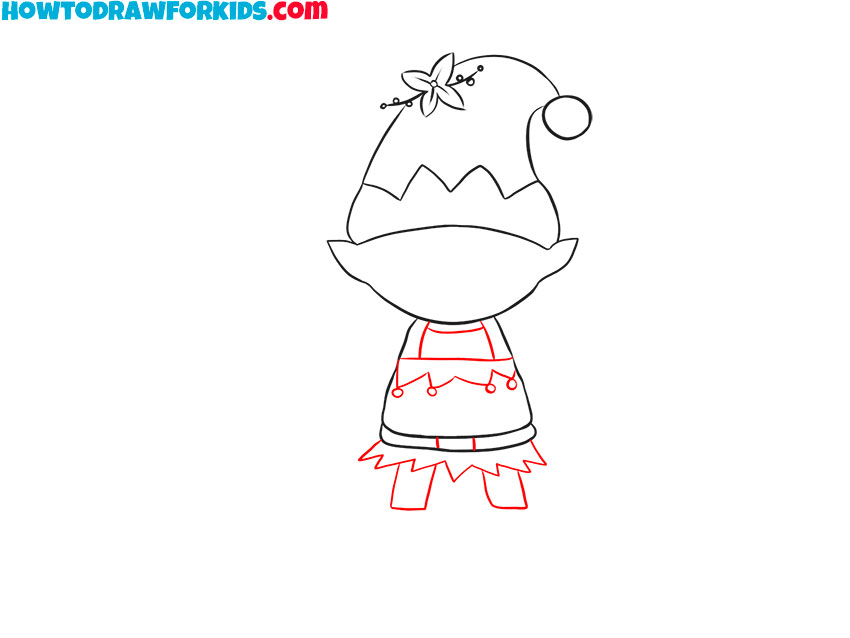
- Add the rest of the clothes.
Depict some curly elements on the clothes and draw the legs.
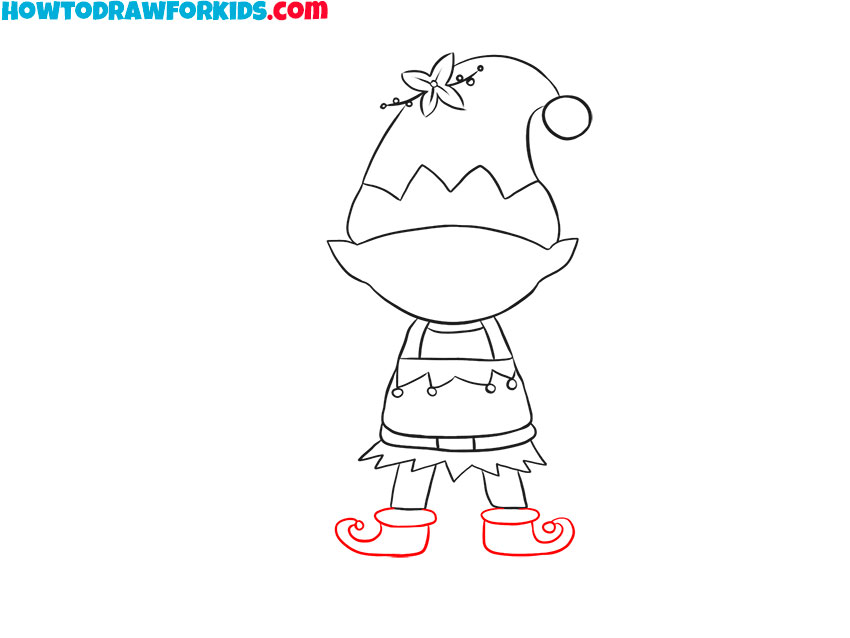
- Sketch out the shoes.
The toes are turned up and have little pom-poms at the ends.
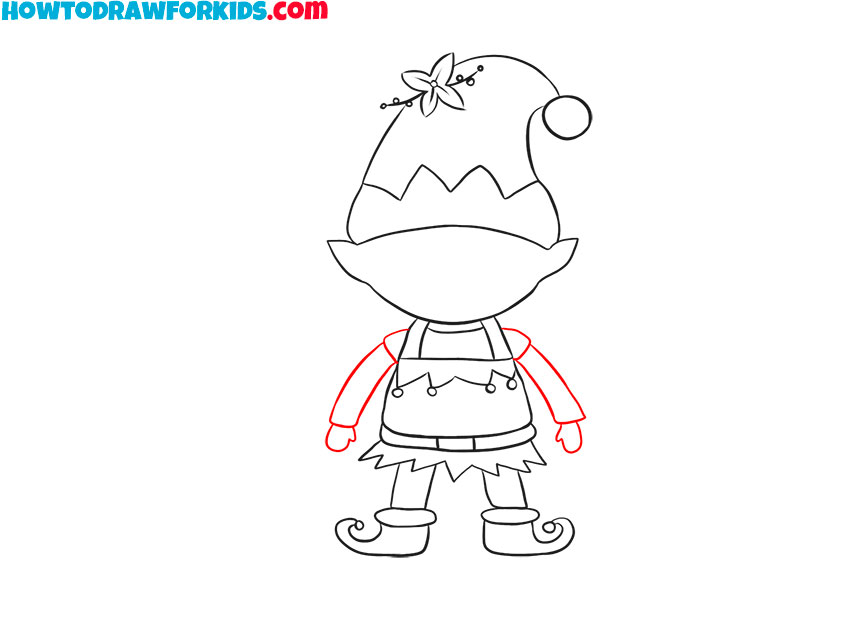
- Draw the arms.
The sleeves consist of two elements, draw the hands below.
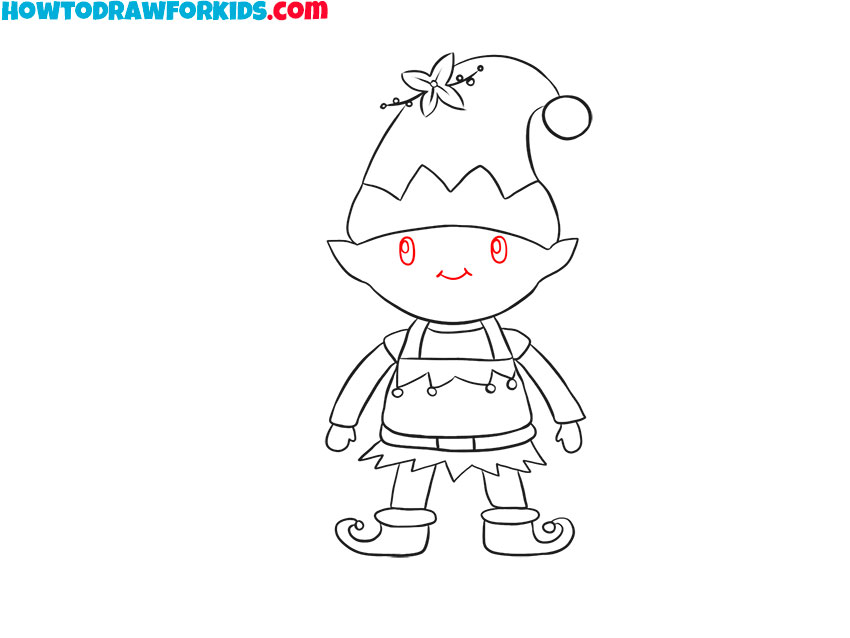
- Add the elements of the face.
Depict the eyes in the form of ovals and add the small mouth.
- Color the elf.
Use some bright colors to color the elf.
Additional Content
Adding an extra layer of convenience and accessibility to this lesson, I’ve crafted a free PDF file that encapsulates the essence of what we’ve covered. This streamlined version is packed with the core insights and step-by-step guides, designed for easy downloading and offline use.
Whether you’re away from your desk, in transit, or simply prefer a physical copy to reference, this PDF is your go-to resource. It ensures that you have uninterrupted access to the material, empowering you to continue honing your skills in any setting.
Alternative Drawing Techniques
Alongside the main lesson content, I’ve taken the initiative to create a series of alternative elf drawing techniques. These additional exercises are meant to offer you more practice opportunities and help you elevate your artistry.
Each technique has been carefully crafted to cater to a range of skill levels and artistic preferences, ensuring that everyone, regardless of their experience, can benefit and learn something new.
How to Draw an Easy Elf: Extra Practice
This drawing method presents an easy, step-by-step process to help learners quickly depict an elf character. It begins with the simplest of shapes to establish the basic outline and gradually layers on details such as clothing, facial features, and accessories.
As the steps progress, the character gains complexity, including defining the elf’s signature ears and festive attire. The method is designed to be accessible, providing a clear progression that allows for practice in rendering shapes and adding details, culminating in a fully realized, colorful elf drawing.
Elf Drawing for Kindergarten
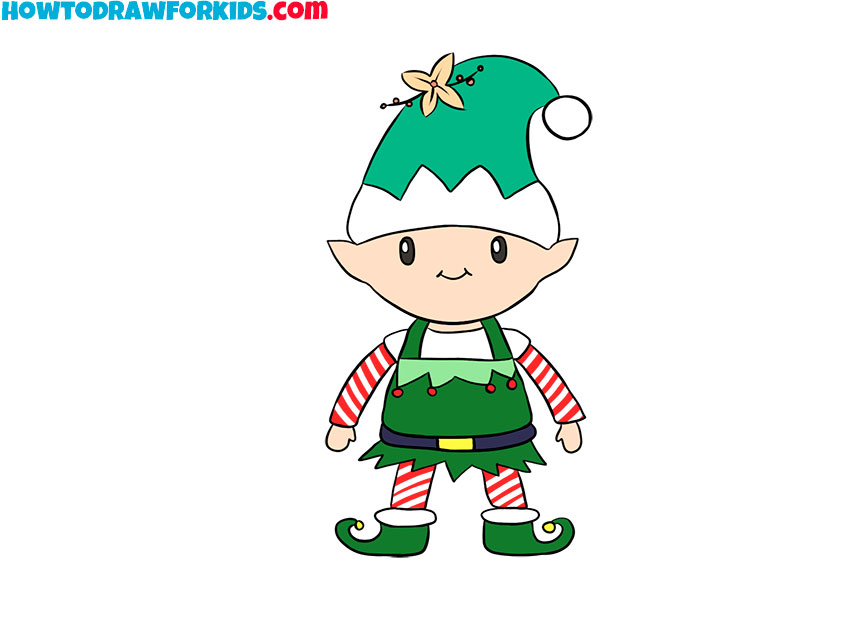
This alternative drawing method is exceptionally simple, making it an excellent fit for kindergarten-aged children. It simplifies the process of drawing an elf into small, easy-to-follow stages that focus on basic shapes and lines.
The method builds up from a simple circle for the head and a rounded shape for the body, to adding facial features, and finally to defining the character with a hat, clothing, and color. It’s designed to be accessible and engaging for young learners, encouraging them to develop their motor skills and creativity through drawing.
Conclusion
Ta-da! You’ve just finished drawing an elf, and I’m so proud of you! If you’re hungry for more, my website is like a big cookie jar of drawing lessons. Fancy drawing Kakashi or a fluffy owl next? Go on and check them out!
Oh, and make sure to follow my social media pages – it’s the best way to stay in the loop with all the artsy fun we have here. Plus, I’d love to hear your thoughts and ideas for new lessons. Leave a comment below with your wishes, and who knows? Your favorite character might just be featured in our next drawing tutorial.