How to Draw Fog
Today in this super simple tutorial you will learn how to draw fog in just five easy steps with helpful tips for you.
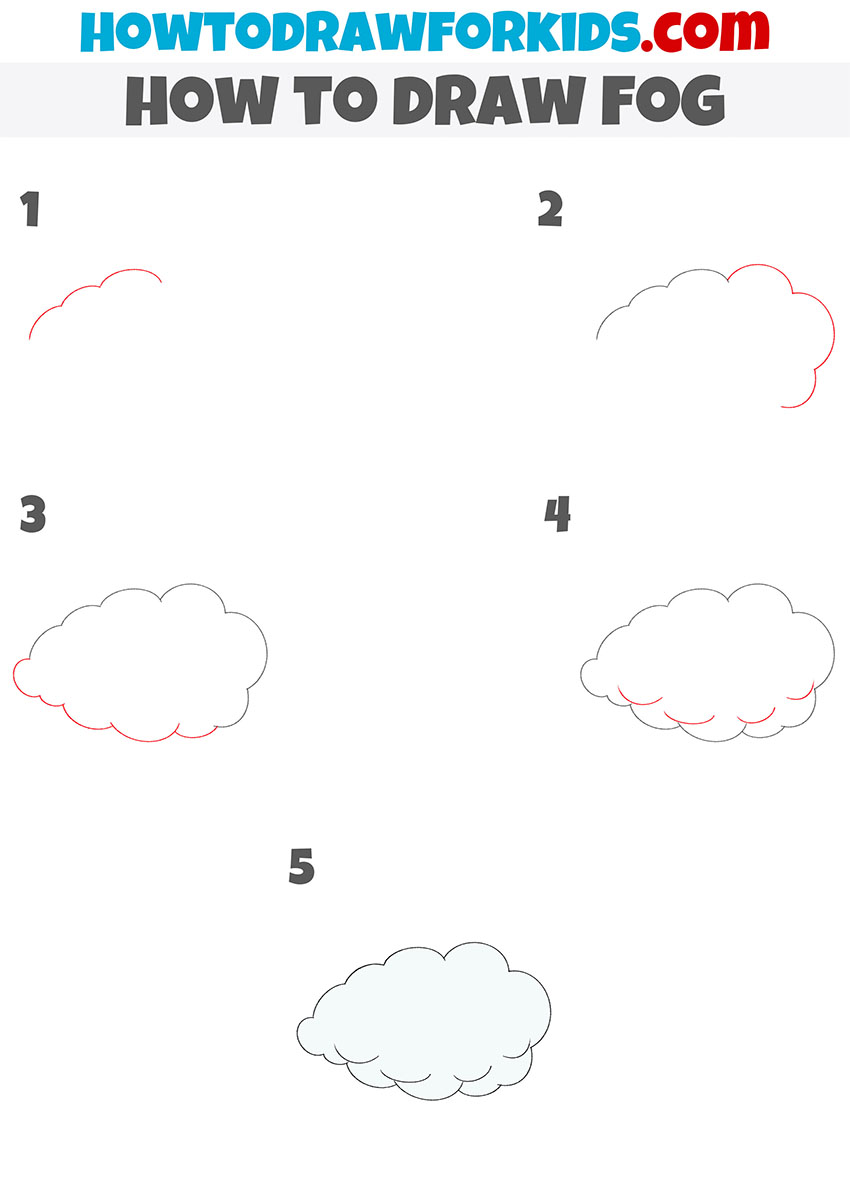
I propose to complete a new lesson on the topic of natural phenomena, and now I will show you how to draw fog. The lesson will be interesting and contains only five simple steps that any child and aspiring artist can easily repeat.
Now I will show in detail how to draw fog step by step. Surely you have seen this atmospheric phenomenon more than once in your city. Fog is opaque air that is saturated with water vapor and spreads over the surface of the earth.
Most often, fog occurs in the autumn-winter season, when high humidity prevails.
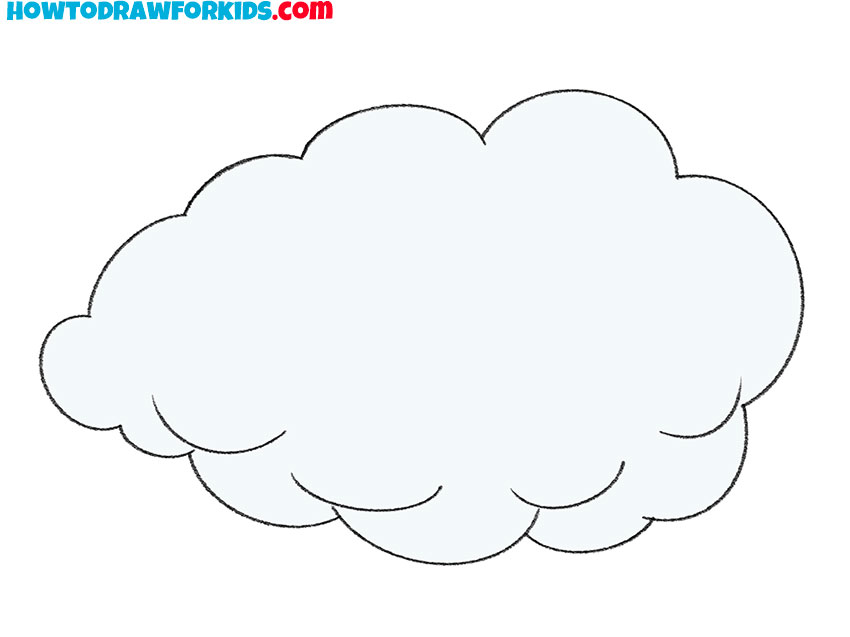
In the figure, fog is depicted as a fluffy cloud and has a rounded, irregular shape.
In this tutorial, arbitrary lines are allowed, so you can easily draw fog and be satisfied with the result. Memorize all the drawing steps so that you can later use the acquired skills to draw a cloud.
Materials
- Pencil
- Paper
- Eraser
- Coloring supplies
Time needed: 15 minutes
How to Draw Fog
- Draw the top of the fog.
Depict a wavy line that includes three rounded lines.

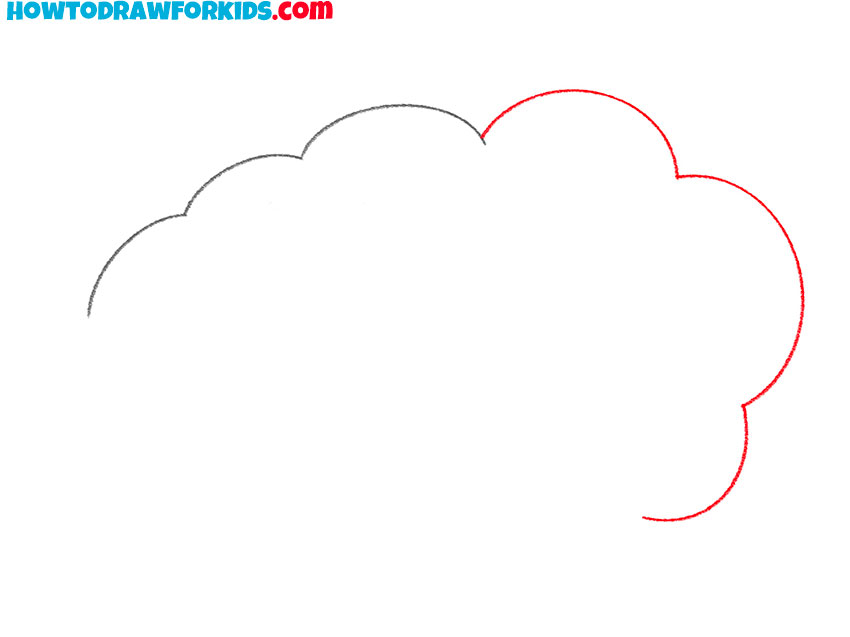
- Depict the side of the fog.
On the right side, add three curved lines, as shown in the example.
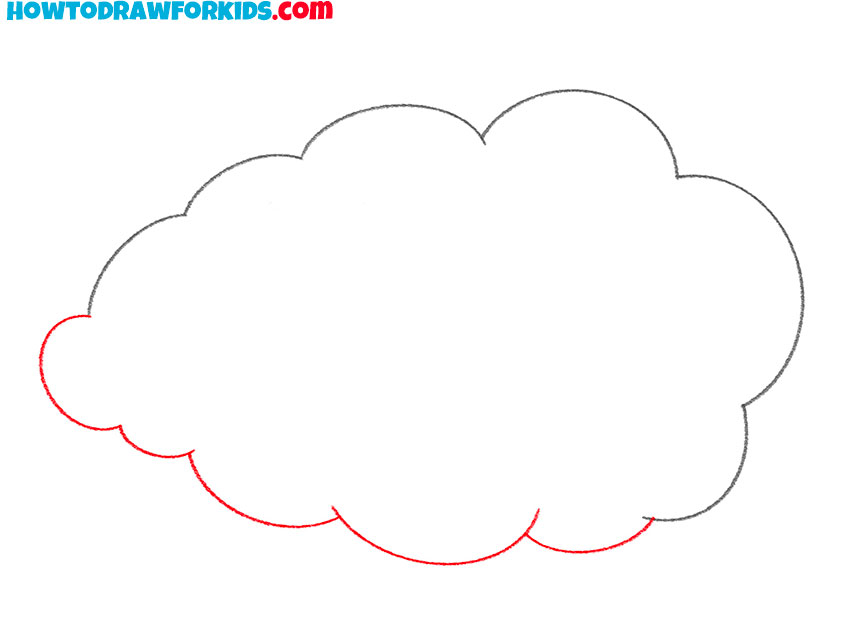
- Add the rest.
Sketch out a wavy line at the bottom, which consists of separate semicircular segments.
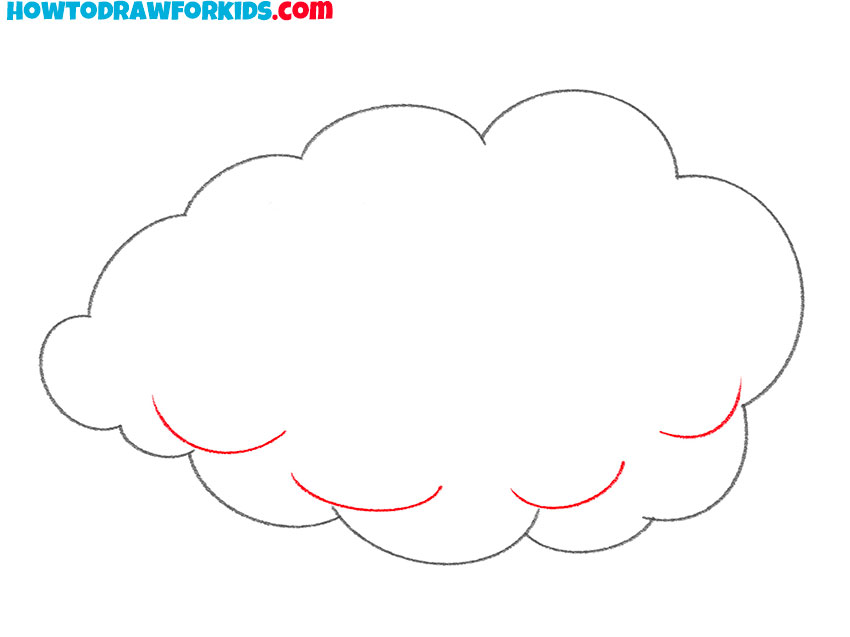
- Detail the fog.
Draw some semicircular lines at the bottom of the fog.
- Color the fog.
For coloring, use the lightest shade of blue.

The lesson has come to an end. I hope that you quickly completed this task and be proud of yourself. Share your impressions in the comments. At the same time, write down what other natural phenomena you know and would like to draw. I promise that I will take into account all your wishes when creating new, interesting lessons.
Finally, I suggest you download a short version of the lesson in PDF format, which I have prepared specifically for your convenience. Save this file and use it whenever you want, even if you don’t have Internet access.

