How to Draw Smoke
In this step-by-step tutorial, I’ll show you how to draw smoke and explain how to effectively add it to more complex compositions.
How to Draw Smoke: Introduction
Smoke is a drawing subject that artists rarely depict on its own. Instead, it’s usually drawn as part of a more complex illustration, such as background elements or as swirling clouds of smoke surrounding a character.
In this tutorial, I’ll show you how to draw smoke and introduce you to the fundamentals of creating natural-looking smoke clouds. By the end of this lesson, you’ll be able to confidently include realistic smoke in your artwork.
When learning how to draw smoke, it’s important to keep in mind that smoke is inherently chaotic. It does not have a clear or symmetrical structure, which means the more randomly and loosely you sketch the curves and shapes, the better your smoke will appear. In this way, drawing smoke resembles drawing fire, since flames are also drawn using spontaneous, irregular lines.
However, despite its chaotic nature, you can’t simply draw random rounded lines and expect to achieve realistic smoke. In this tutorial on how to draw smoke, I’ll carefully explain how to maintain a balance between randomness and structure to help you create believable smoke clouds in your drawings.
Smoke Drawing Tutorial
Materials
- Pencil
- Paper
- Eraser
- Coloring supplies
Time needed: 15 minutes
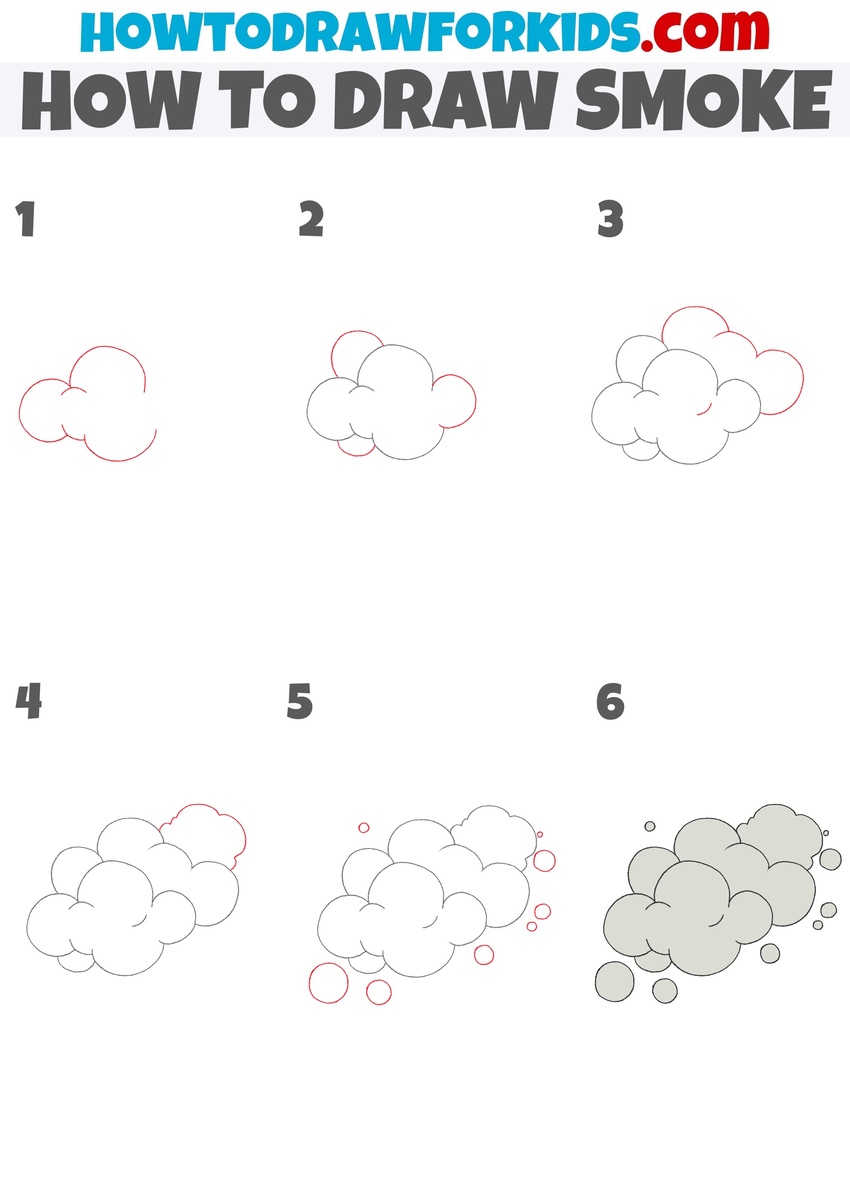
How to Draw Smoke
- Draw the first curves of the smoke.
Sketch the initial outline of the smoke using a few simple curved lines. The lines don’t have to be perfect, but they should be rounded and soft. Avoid sharp angles or straight lines. Remember, the smoke is naturally chaotic, so vary the sizes and directions of these initial curves slightly.
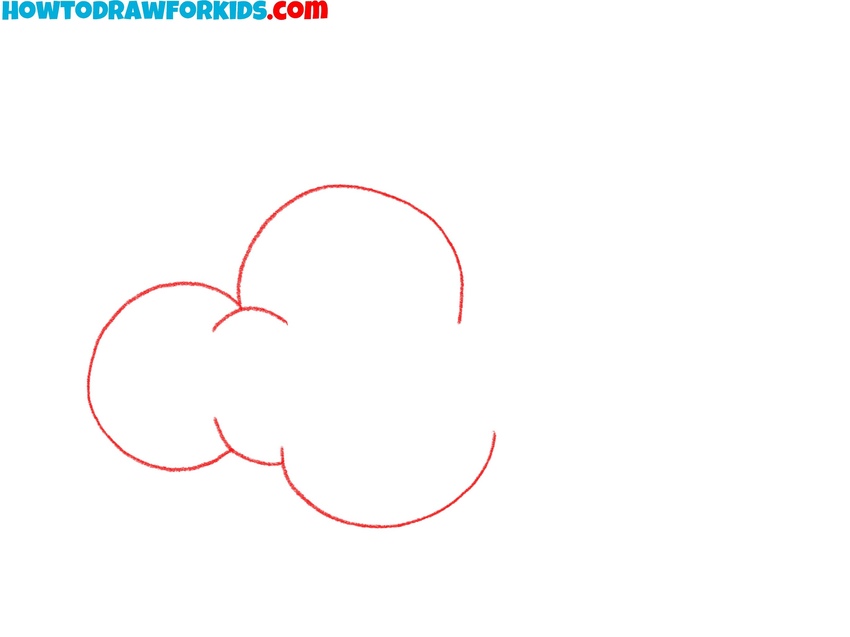
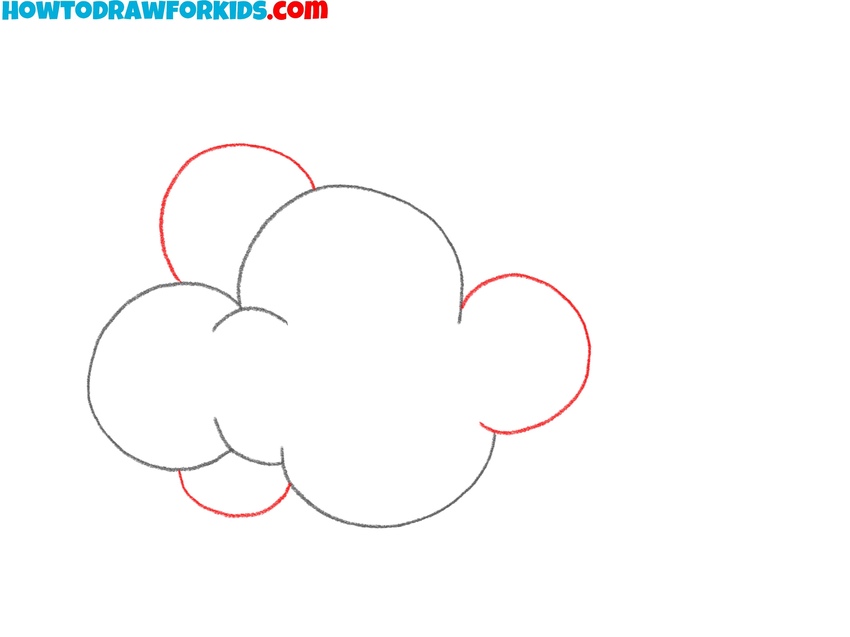
- Add curves on the sides.
Next, expand your smoke shape by adding additional rounded curves on both sides. These curves should overlap slightly with the lines from the previous step to give the smoke a soft, billowing appearance. The overlapping curves help create volume and dimension, making the smoke look more natural.
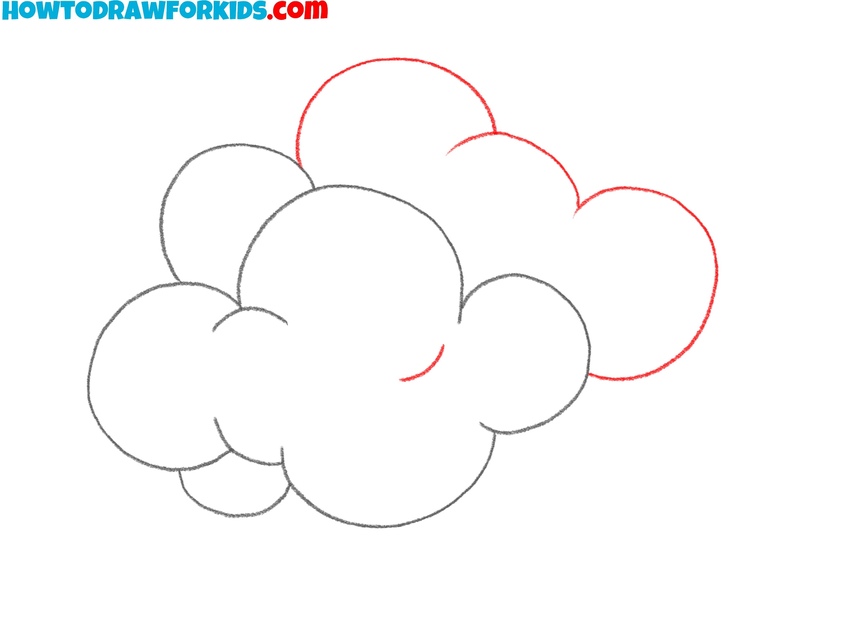
- Sketch curves at the top.
Vary the sizes and positions of these curves. Some curves should overlap each other. Allow some curves to be larger and more prominent while keeping others smaller and subtler. Make sure the curves remain rounded and natural, avoiding sharp edges or perfectly symmetrical patterns.
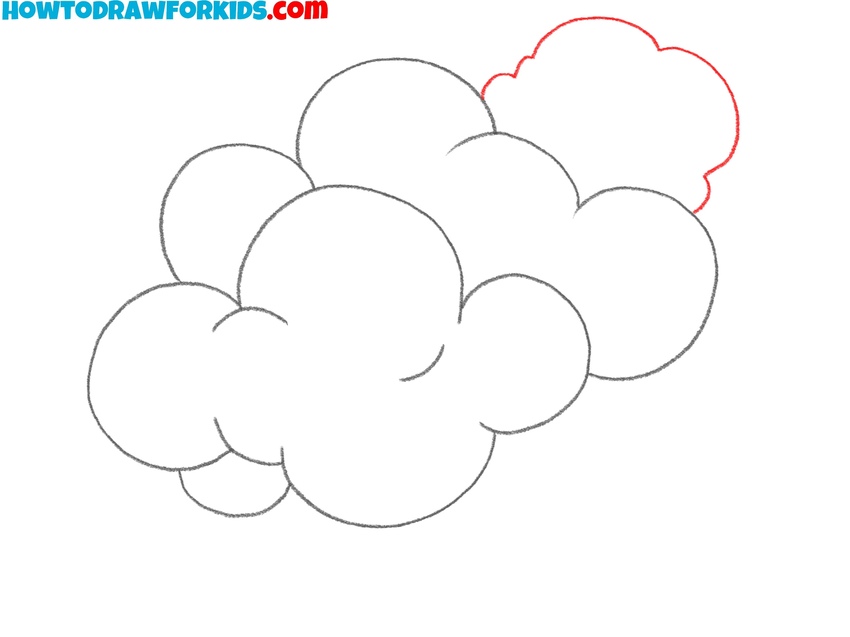
- Finish the main cloud shape.
Continue by drawing additional rounded shapes and curves on the remaining empty sides of your smoke cloud. These curves should be irregular in size and placement to reinforce the natural randomness of smoke. Feel free to vary the sizes of the curves, making some larger and others smaller.
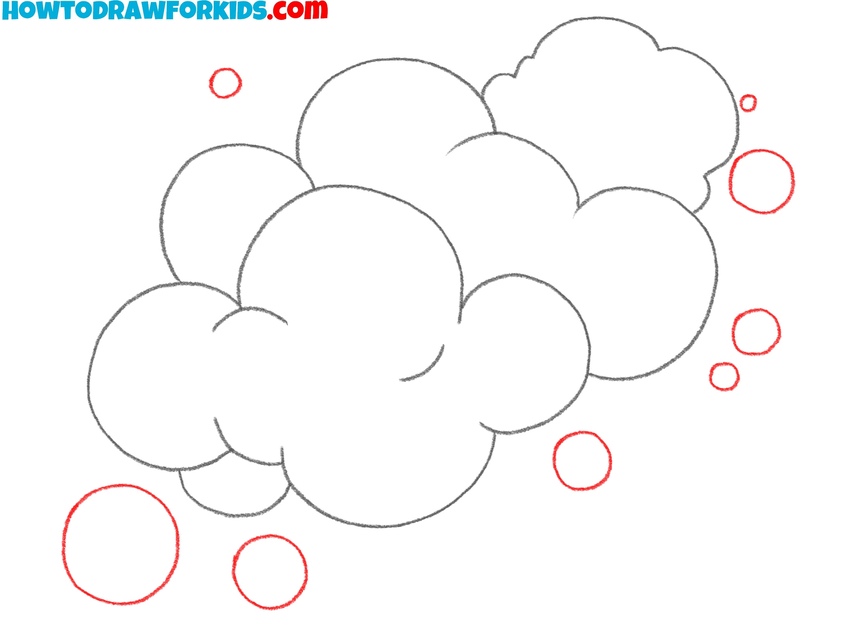
- Draw smaller smoke details.
These smaller curves and circles represent scattered wisps or smaller smoke puffs. They can be positioned around the edges of your main shape, varying in size and spacing for a realistic effect. Keep them unevenly distributed and to maintain the spontaneous look typical of smoke.
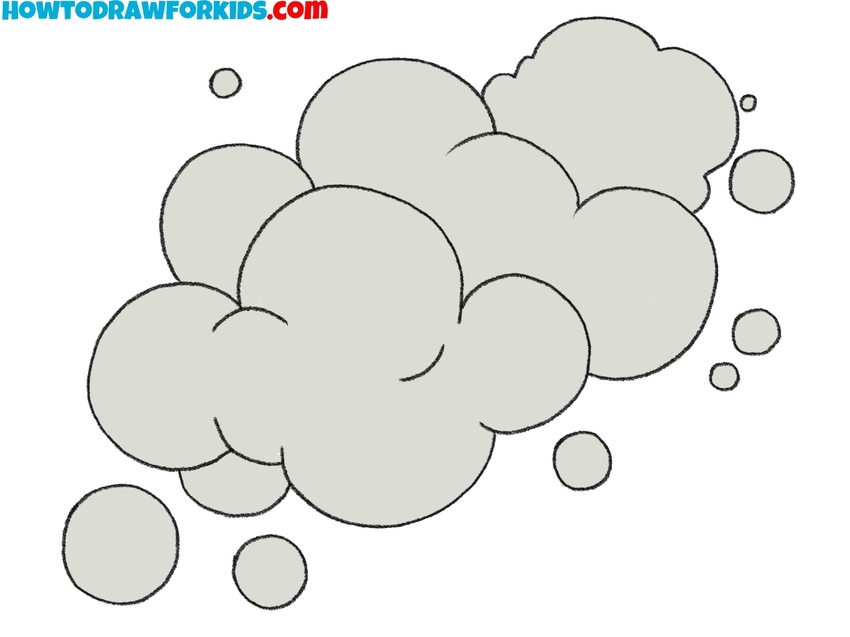
- Color your smoke cloud.
Fill in the main shape lightly and evenly, avoiding harsh contrasts or overly dark tones. If you’d like to add more realism, you can use slightly darker shades around the lower areas of each curve and lighter shades at the top, indicating subtle shadows and highlights.

How to Draw Smoke in Different Compositions
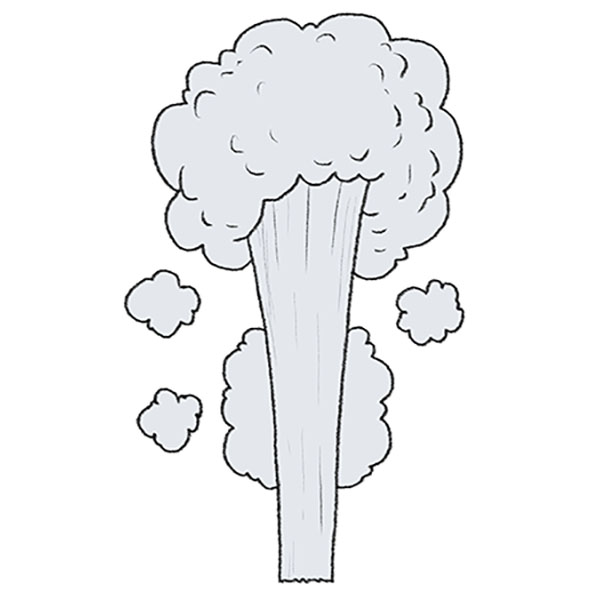
Smoke can be drawn above a campfire in outdoor scenes. To correctly show this in your artwork, start directly above the fire, sketching loose rounded shapes that gradually widen and become less defined as they rise upward. To effectively learn how to draw smoke, keep your shapes irregular and uneven, making sure the smoke becomes lighter and more dispersed as it moves higher.
When practicing how to draw smoke coming from a chimney, start at the chimney’s opening. Sketch the smoke rising vertically, using rounded shapes that expand outward as the smoke moves upward. Gradually make the shapes larger and more loosely spaced, becoming less distinct near the top.
When drawing a rocket or spaceship, add smoke to show propulsion. Begin with dense, rounded clouds near the rocket base, and gradually thin them out further behind the rocket. Include trailing wisps that narrow and fade as they extend downward, illustrating rapid movement.
Smoke is suitable for scenes involving magicians or wizards performing magic. Draw soft, rounded smoke clouds around the character, extending outward and upward from their hands or wand. Keep curves rounded, irregular, and overlapping to represent a natural dispersion.
In drawings of cartoon vehicles, smoke can emerge from engines or exhaust pipes. Start at the exhaust with small rounded shapes, gradually widening as the smoke moves away. Keep the smoke clouds thin and elongated, curving slightly.
When drawing smoke after candles are blown out, use techniques from how to draw smoke tutorials. Sketch thin, slightly irregular lines moving upward from each candle, softly dispersing the lines as they move higher, creating a realistic and gentle visual effect.
Conclusion
This was a simple lesson on how to draw smoke using basic lines and shapes. Remember, you can continue learning by exploring other sections of my website, where you’ll find a wide variety of content.
Through my tutorials, you can learn to draw clouds, rain, and many other subjects.
Be sure to follow me on Pinterest for updates and drawing inspiration, and subscribe to my YouTube channel for detailed video tutorials and a look at how I create my artwork and coloring pages.