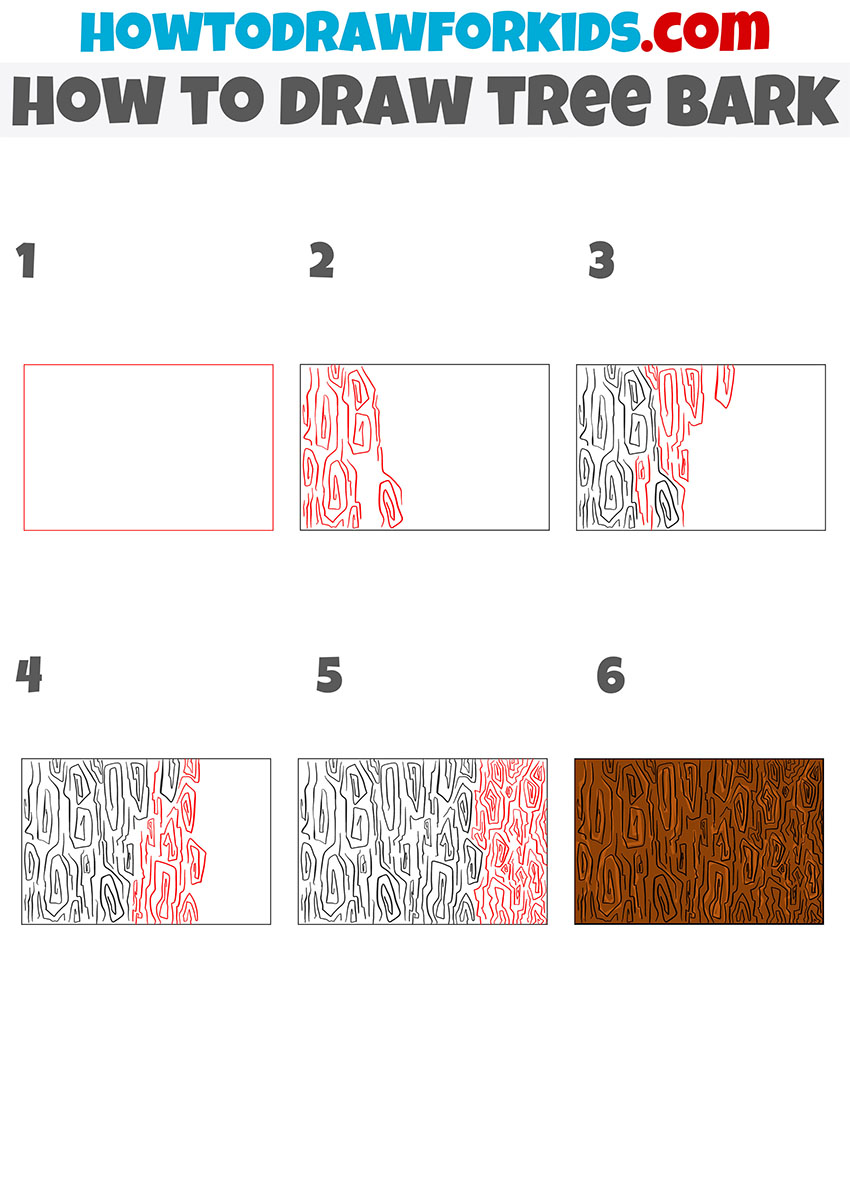
How to Draw Tree Bark
With this step-by-step lesson on how to draw tree bark, you’ll practice building realistic and organic textures from nature.

In this tutorial I will show you how to draw tree bark. You will gain useful skills that will be useful to you in the future.
Sketch bark is very simple and helps you to draw trees, making it more realistic. This lesson includes only six accessible and understandable steps. You do not need to repeat the same lines as in my example, the main thing is to remember the sequence of steps.
Freehand lines are allowed in this lesson. The tree bark has an uneven surface and consists of many furrows of various shapes and sizes. You just need to master the simple elements that make up the relief of the tree bark and continue to repeat these elements.
Materials
- Pencil
- Paper
- Eraser
- Coloring supplies
Time needed: 10 minutes
How to draw tree bark step by step
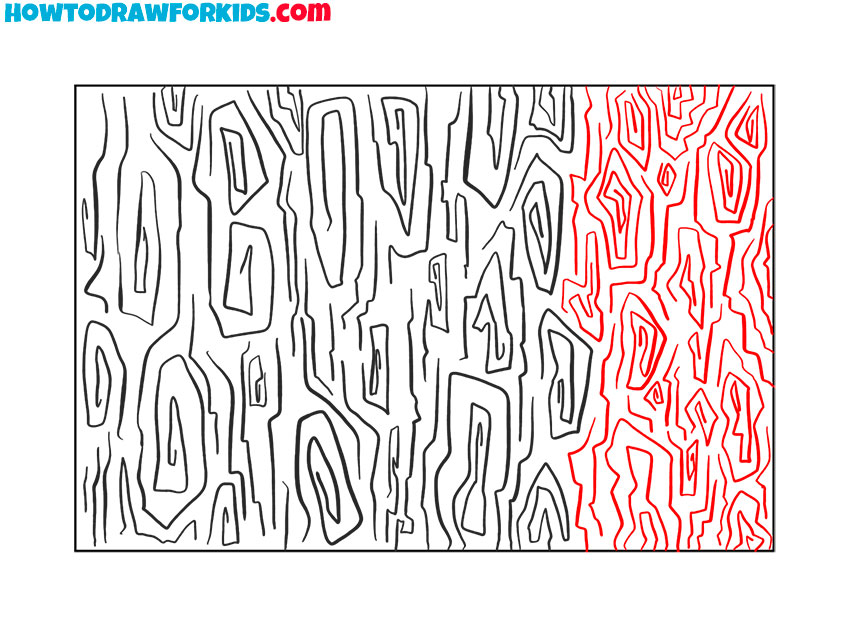
- Sketch the outline of the bark panel.
Draw a wide horizontal rectangle that will contain the tree bark sample. Keep the corners square and the edges parallel so the panel reads like a cut section of a trunk. But this rectangular frame is just an option, so you can make the edges uneven.
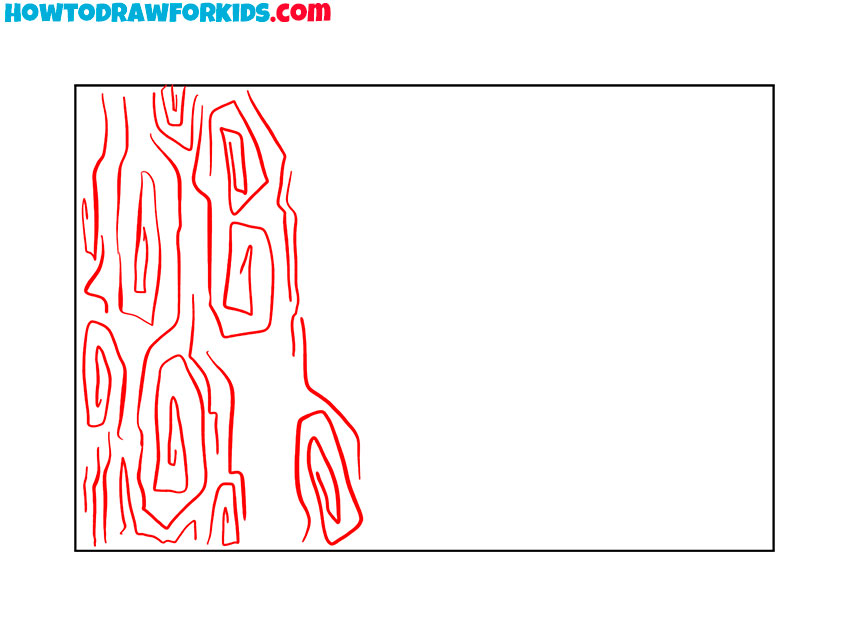
- Draw the first strip of bark texture.
Because texture builds best from large forms to small, begin with the first vertical strip of bark on the left. Sketch a column of irregular oval and oblong “islands,” each surrounded by a second contour that follows the first at a small distance. Vary sizes: some tall and thin, others short and wide.
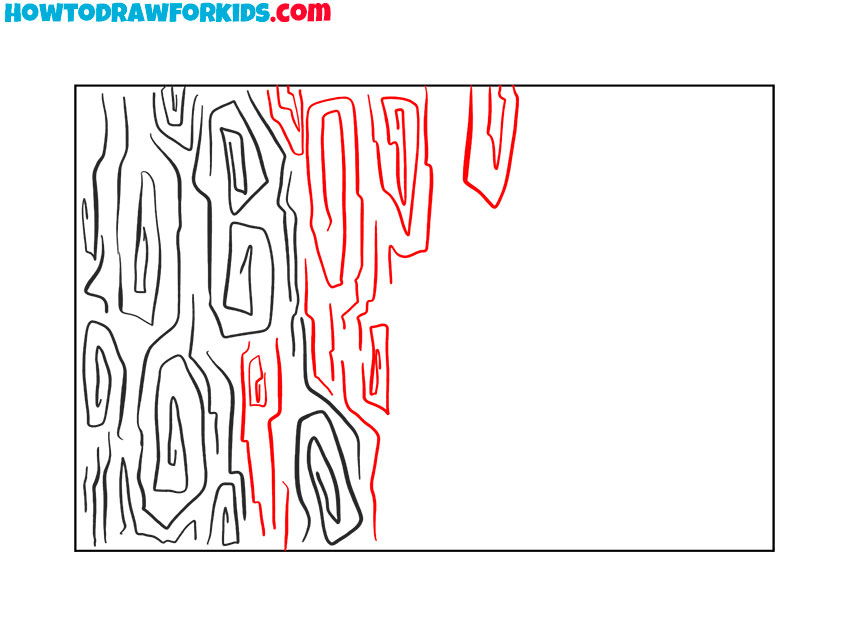
- Continue drawing the bark texture.
To develop rhythm, continue the pattern into the next strip to the right. Outline more uneven and simple shapes, but interlock their edges with the previous column so grooves feel continuous. Draw a few long vertical tracks to mimic deep fissures common on tree trunks. Insert occasional tiny capsules inside larger shapes to hint at complex grain.
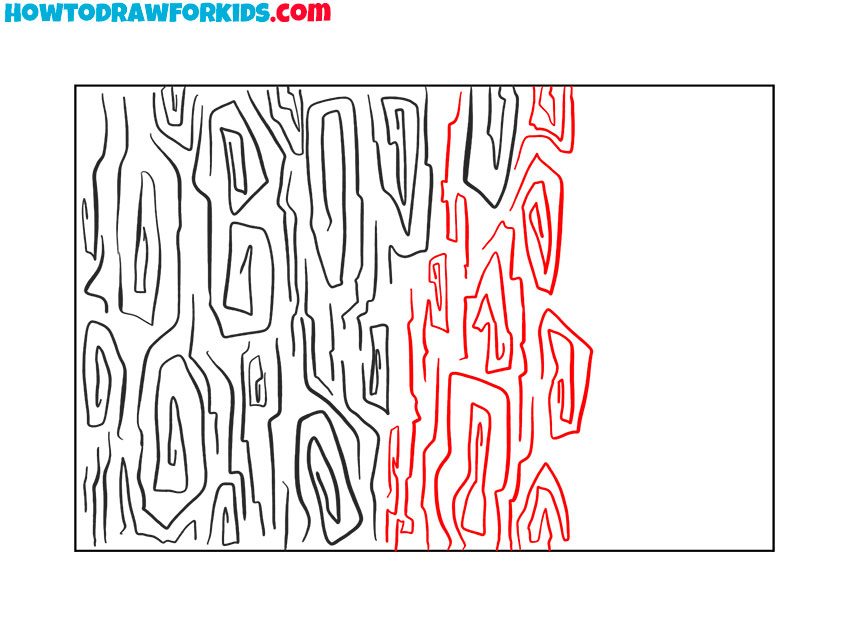
- Add more details to the center.
A convincing wood texture needs density, so build another band of details through the center. Sketch medium and small knots, repeating the double-contour idea so each knot has a core and one or two echo lines. Weave slim channels between forms to keep a vertical flow.
- Complete the bark outline.
Before coloring, complete the right side and refine all contours. Draw the remaining islands and grooves, slightly compressing shapes near the panel edge. Strengthen primary fissures with a second pass, but keep stroke weight modest. After that, erase construction marks, and doubled sketch lines that make edges fuzzy.
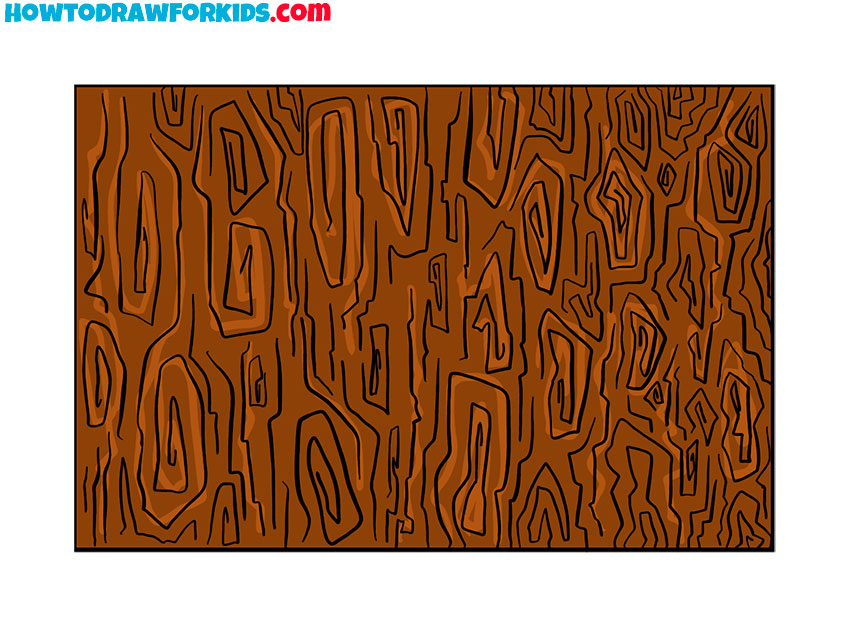
- Color the bark texture.
Value makes the bark read three-dimensional, so apply simple shading. Use a brown base over the entire panel, then darken the narrow grooves and the inner contours of knots to push them back. Lightly tint the “islands” a mid brown, leaving the center of a few shapes slightly lighter to suggest worn, raised areas.
Now you know how to draw the bark of a tree. I hope you get great results. As a reminder, for your convenience, I have prepared a PDF file that contains a short version of this guide and additional useful drawing tools. You can download this file for free and use it whenever you feel like drawing.