How to Draw Darth Maul
This tutorial is dedicated to one of the most recognizable characters in Star Wars and tells you how to draw Darth Maul.

In this drawing lesson you will learn how to draw Darth Maul. I am sure that this lesson will be exciting and informative for you. You probably know that Darth Maul is a character from “Star Wars”.
Darth Maul is an agile fighter. He wields a dangerous lightsaber and looks very formidable and ruthless. As you know, in every story, not only positive characters are important, but also negative ones.
Surely you have seen Darth Maul not only in “Star Wars”, but also in animated series, video games and even as children’s toys, because this character has become very popular.
This tutorial follows a lot of the principles of my Darth Vader drawing tutorial, so knowing how to sketch one character will help you illustrate the other.
Materials
- Pencil
- Paper
- Eraser
- Coloring supplies
Time needed: 35 minutes
How to draw Darth Maul step by step
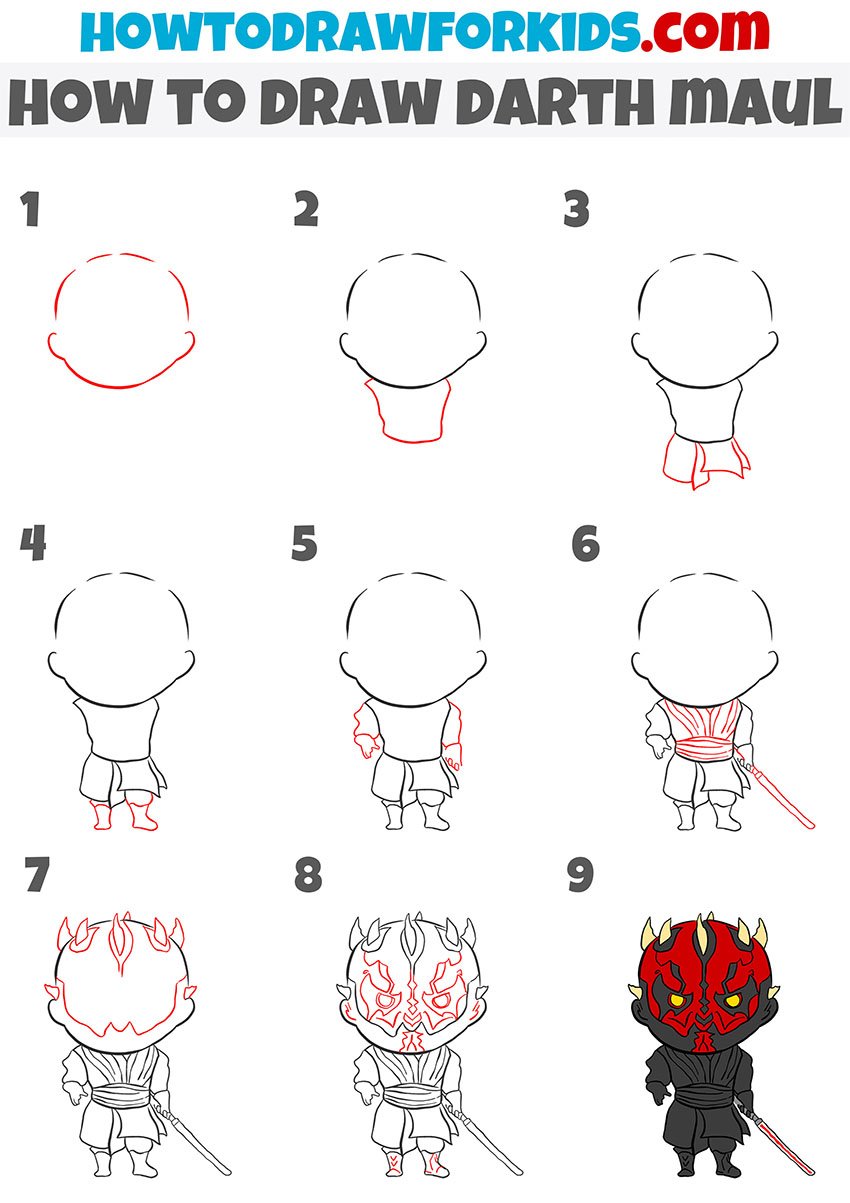
- Outline the main shape of the head.
Firsr, sketch a wide oval to draw the head of the Star Wars character. Add two tiny bumps on the sides to suggest ears. Keep the shapes line smooth and leave space above for horns. Use light pressure so you can adjust symmetry easily.

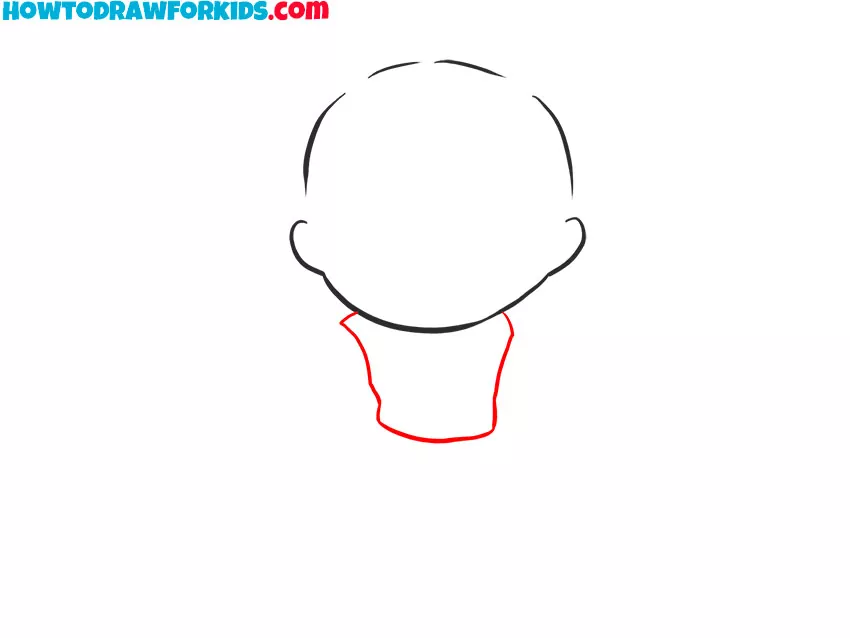
- Draw the torso of Darth Maul.
Under the head of the character, sketch two smooth lines downward to create the side edges of the torso. Close the shape of the torso at the bottom with a light horizontal line. The torso should be slightly wider at the top, near the shoulders, and slightly narrower at the bottom, near the waist.
- Add the hanging parts of the tunic.
To illustrate the distinctive Star Wars costume, add the hanging fabric panels that drape from Maul’s waist. Sketch a short rectangle in the center and additional rectangles on the sides. These shapes represent the outer layers of his tunic typical of a Jedi or Sith robe.

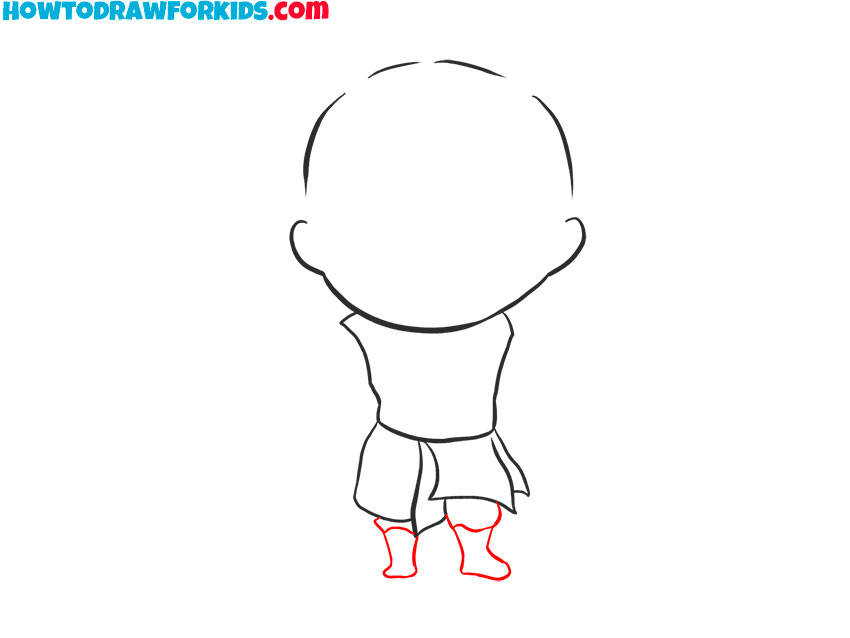
- Sketch short legs and small boots.
Once the upper robe is finished, extend two short legs downward. Use simple tube-like forms that slightly taper toward the ankles. At the bottom, sketch Darth Maul’s boots as rounded shapes. You can add gentle lines at the boot tops to represent folds or straps, but keep details minimal.
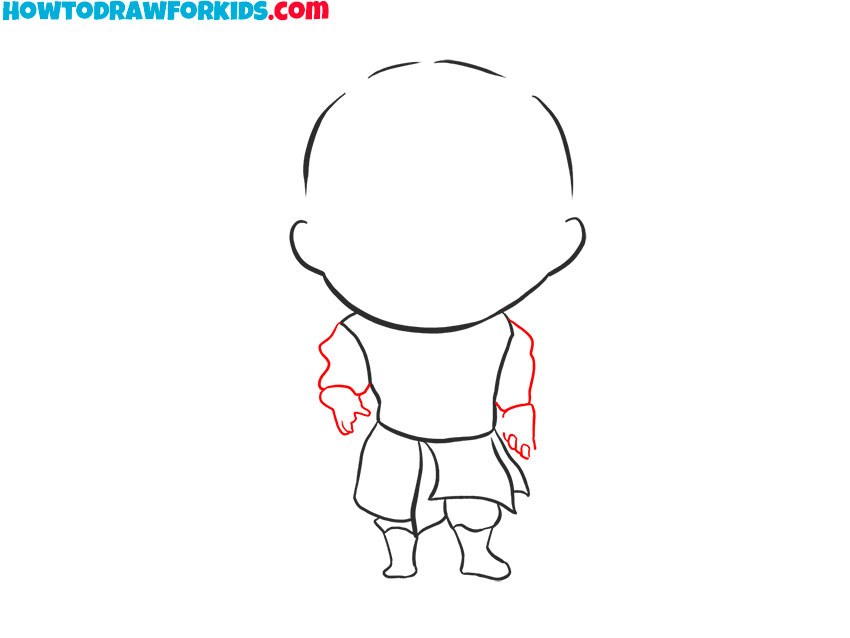
- Draw Darth Maul’s arms and hands.
On the left, sketch an arm hanging straight with a mitten-like hand. On the right, draw a bent arm that will grip the saber. Use smooth curves for the arms, and draw the hands as simple shapes. The sleeves should be wide and have wavy outlines.
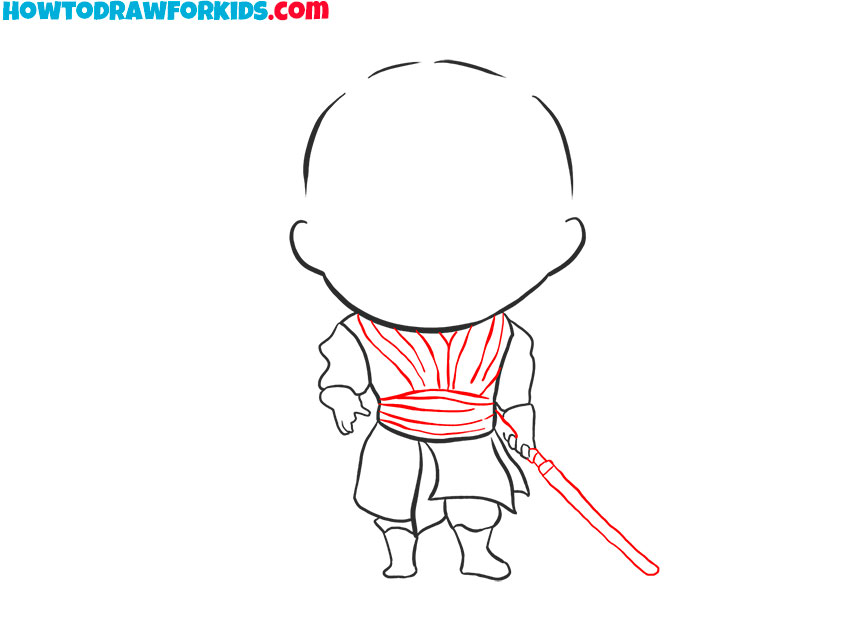
- Sketch the fabric details and lightsaber.
Across the chest, illustrate several radiating folds that converge toward the sash to indicate wrapped fabric. Keep lines light and directional. Around the midsection, add horizontal belt layers. On the right, draw the lightsaber with straight elongated links.
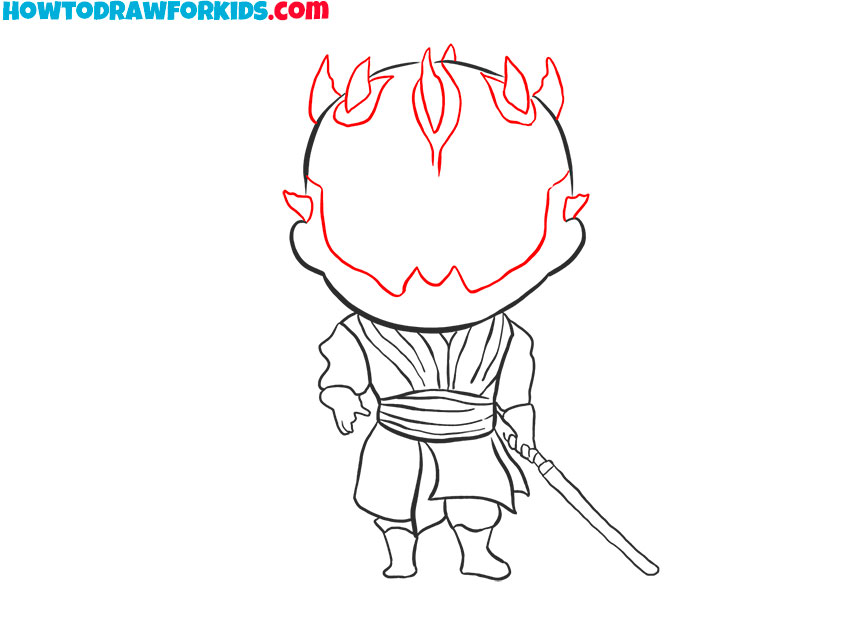
- Add the horns on top of the head.
Around the crown, draw small, rounded triangular horns: one centered near the top and a few along the sides. You can make sizes varied but symmetrical left to right. On the face, indicate broad boundary lines for the red-and-black pattern.
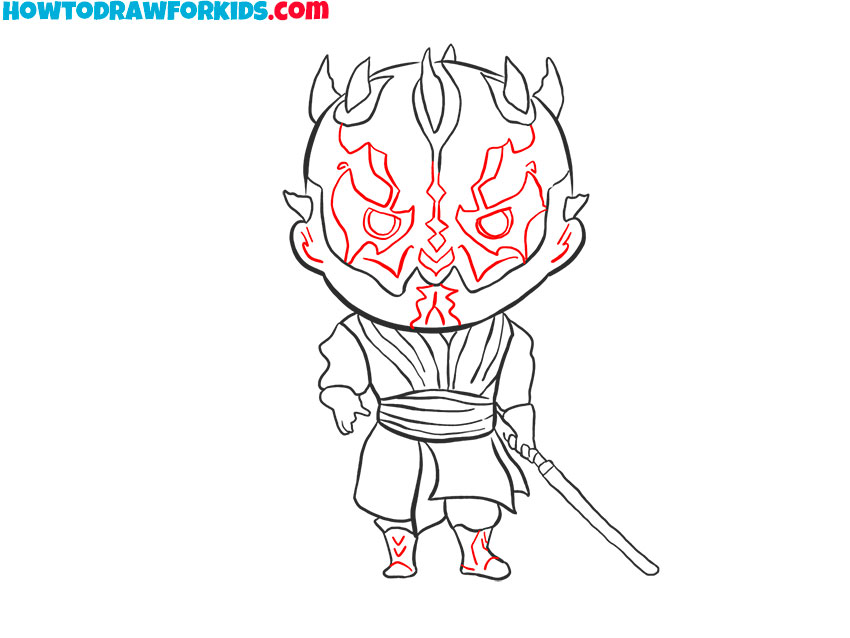
- Sketch the facial features and tattoos.
Now, draw the evil eyes of the Star Wars character, add a small nose mark, and a compact mouth. Inside the earlier boundaries, add angular tattoo shapes on the forehead, cheeks, and chin, mirroring left and right. Strengthen final contours on the head, limbs, robe, belt, and saber.
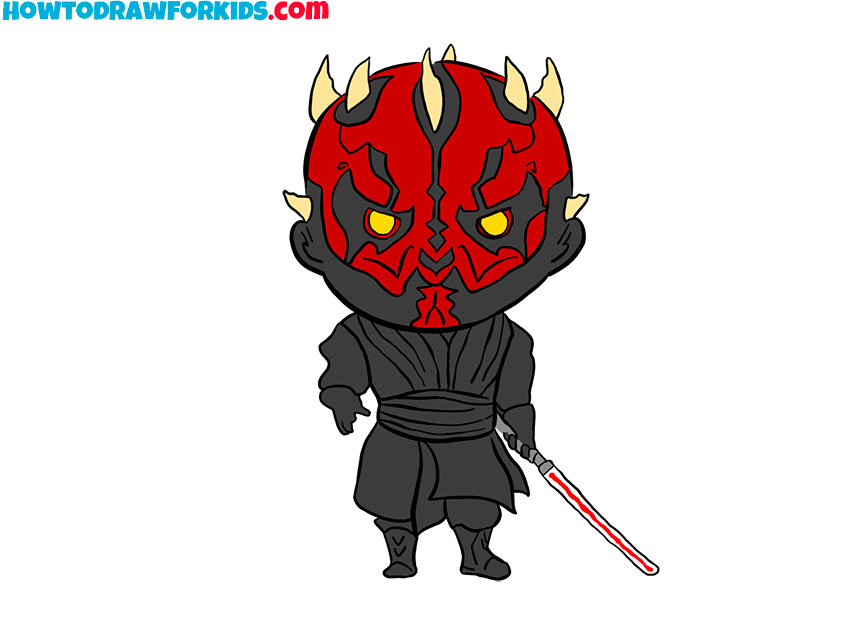
- Paint Darth Maul using simple flat tones.
Finish the sketch with simple, readable colors. Paint the skin a deep red and fill the mask shapes and ears with flat black. Color the horns a pale yellow or bone tone. Use dark charcoal for the robe, and a deep red for the lightsaber blade; keep the hilt neutral gray.
So you’ve drawn a character from “Star Wars”. I hope you enjoyed doing this drawing and you are happy with the result! Do not forget to also look at our website for drawing lessons of other characters from “Star Wars”.
If you liked this tutorial, you can share it with your friends and leave your comment. Don’t forget to download the PDF file with a short version of this tutorial, as well as some useful extras that I have prepared for you.