How to Draw a Seagull
Today I will tell you how to draw a seagull. This will be a simple drawing tutorial in which I will use simple shapes to get cool and unusual art.
How to Draw a Seagull: Basic Information
In this tutorial, I will focus on capturing the seagull in a static pose, rather than in flight. This approach allows us to pay closer attention to the bird’s distinct features and proportions. By the end of this lesson, you will have a clear and accurate representation of a seagull, which can serve as a foundation for more complex drawings in the future.
This tutorial employs a simplified drawing style that retains all the essential characteristics of a seagull. Despite the straightforward approach, I ensure that the body structure remains proportional and realistic. My goal is to create a drawing that is both easy to follow and visually accurate.
The process of drawing this seagull begins with simple geometric shapes and basic lines. By breaking down the bird’s form into manageable components, you can achieve a very good result. Each step of the tutorial builds upon the previous one, gradually adding detail and refinement. This method not only makes the drawing process more approachable but also helps to develop your skills in constructing complex forms from simple shapes.
Precision and care are essential throughout this drawing lesson. While each step is designed to be straightforward, paying attention to detail will significantly enhance the final outcome. The key to success lies in taking your time and making small adjustments as needed. This careful approach ensures that the seagull’s features are accurately represented and that the overall composition remains cohesive and well-proportioned.
By following this tutorial, you will learn how to create a correct and nice drawing of a seagull using basic techniques. This structured approach will help you develop a better understanding of bird anatomy and improve your overall drawing skills.
Seagull Drawing Tutorial
Materials
- Pencil
- Paper
- Eraser
- Coloring supplies
Time needed: 30 minutes
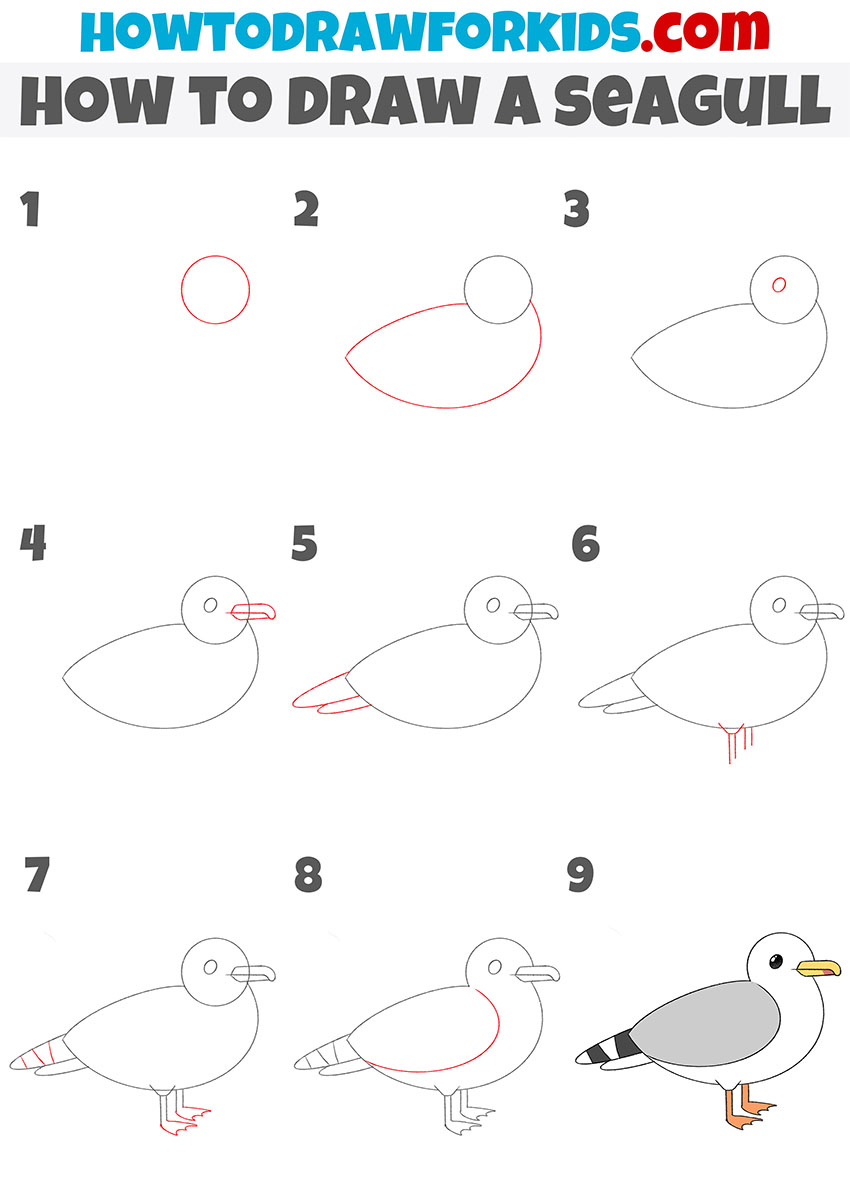
How to Draw a Seagull
- Draw the head.
To begin your seagull drawing, start by sketching a simple circle for the head. Place this circle slightly to the left on your paper, leaving enough room for the body and tail. Use light, smooth strokes to create the circle, ensuring that it’s not too large, as the head should be proportional to the body.

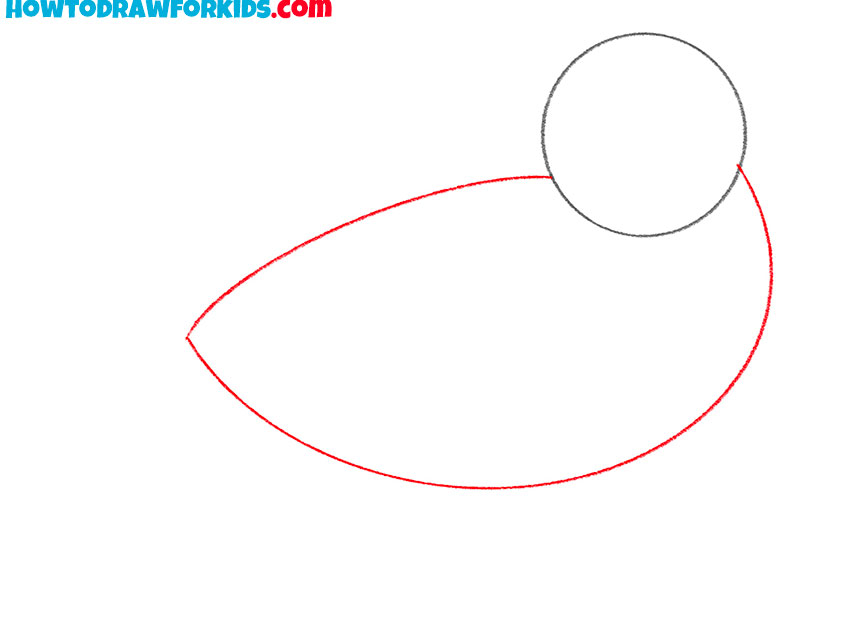
- Depict the torso.
Next, add the body by drawing a large, oval-like shape that connects to the head. The body shape should taper slightly towards the back, resembling a teardrop lying on its side. Pay attention to the proportions; the body should be larger than the head but not too exaggerated.
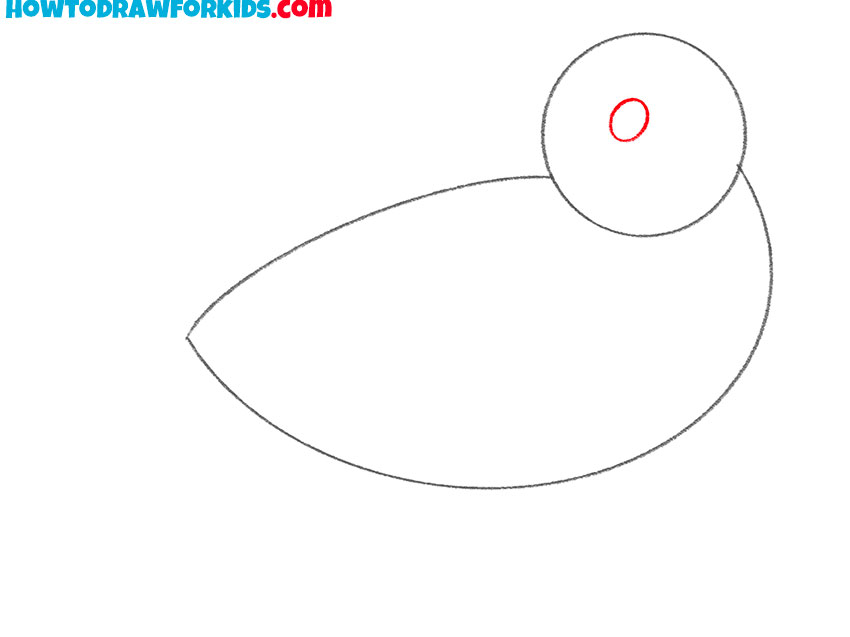
- Sketch out the eye.
For the eye, draw a small, solid circle near the front of the head. This circle should be positioned slightly above the midpoint of the head and to the left, closer to the beak’s future placement. The eye should be proportionate to the head, not too large, but noticeable enough.
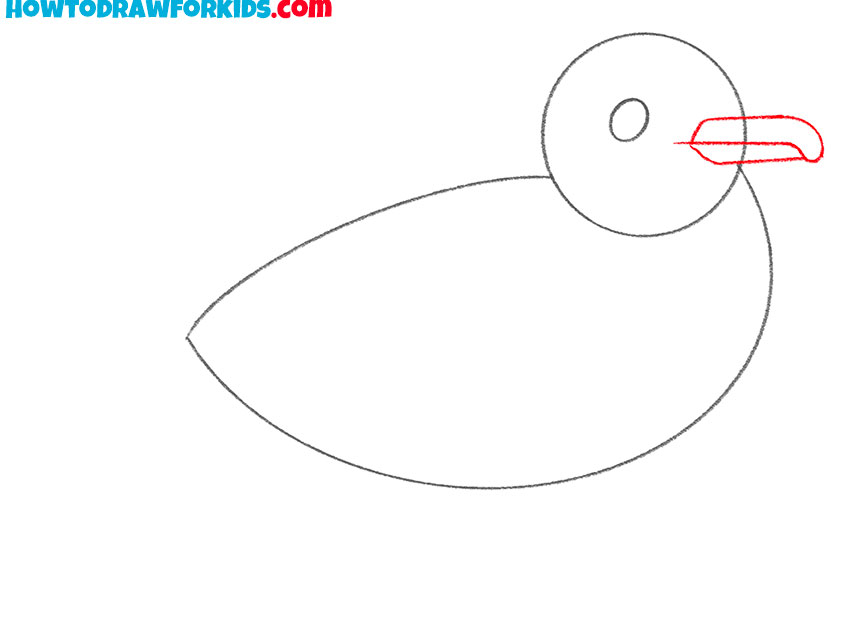
- Add the beak.
Sketch the beak by drawing a small triangle. The beak should point slightly downward and be divided into two parts: the upper and lower beak. Start with the upper beak, extending a line from just below the eye, curving it down and forward. Then, add the lower beak by drawing a shorter line that meets the upper beak at the tip.
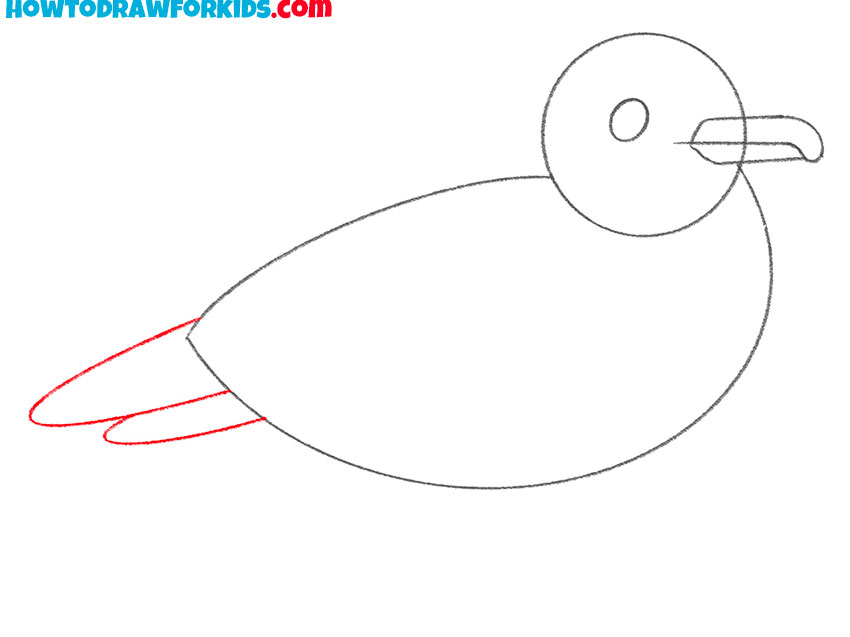
- Draw the tail.
For the tail feathers, draw two elongated shapes extending from the back of the body. These shapes should be slightly curved and taper to a point, resembling a pair of feathers. Position them towards the lower back of the body, with one feather slightly overlapping the other.
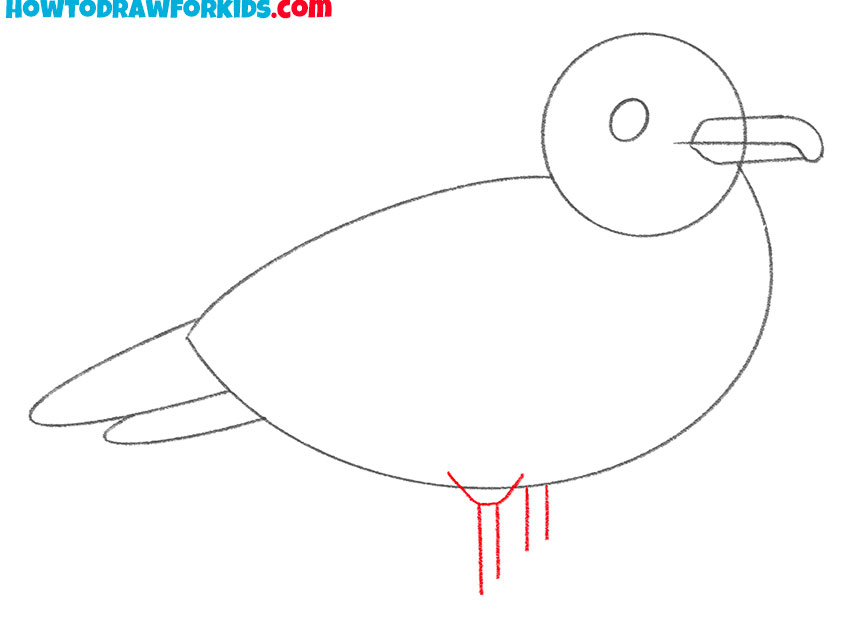
- Add the top of the paws.
Next, draw the seagull’s legs by adding two straight lines extending downward from the lower part of the body. Focus on the thickness and placement of the legs, ensuring they appear sturdy and capable of supporting the seagull.
- Add details.
Complete the legs by drawing the feet, adding small lines to indicate the joints and claws. Each foot should have three forward-facing toes and one backward-facing toe for balance. Add slight curves to the toes to suggest a natural resting position, and make sure the claws are small but visible
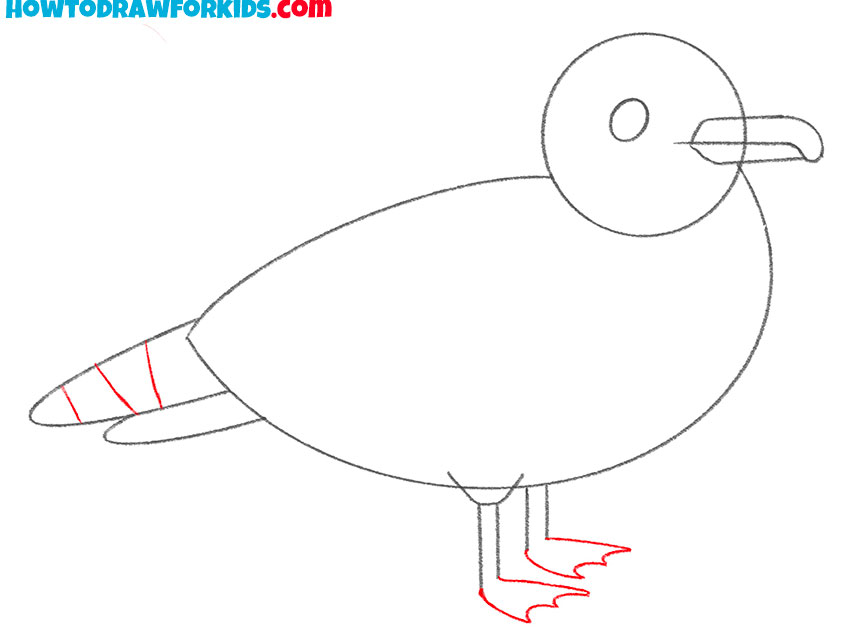
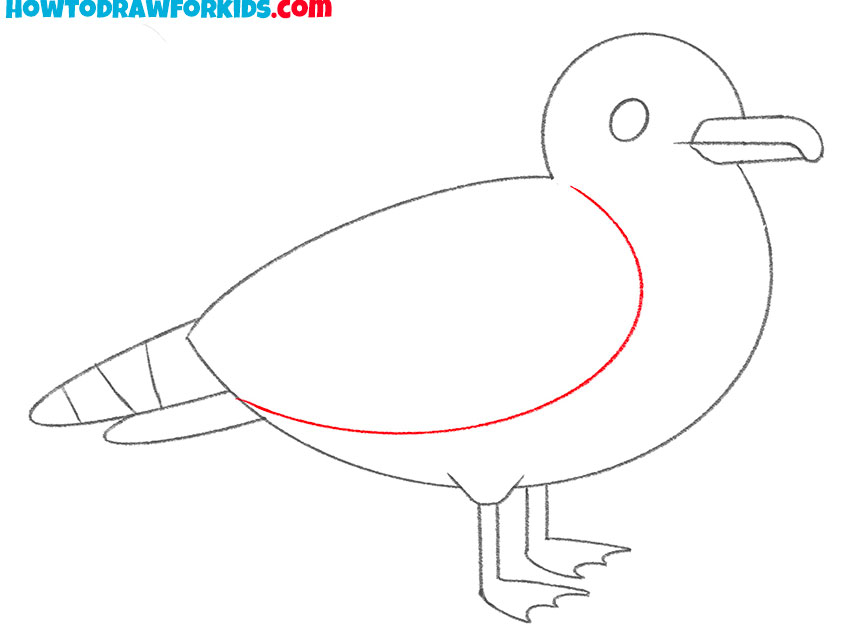
- Depict the outline of the wing.
Now, add the wings by drawing a large, curved line along the side of the body. This line should start near the top of the body and curve downward towards the tail. The wing should be proportionate to the body, not too large, and should follow the natural contour of the seagull.
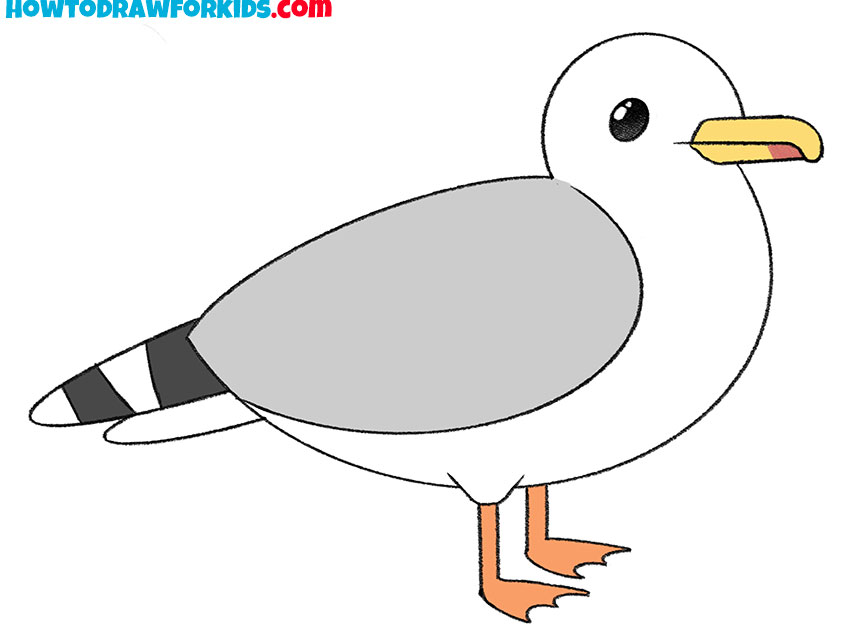
- Color the seagull.
Use gray for the body to reflect the typical plumage of a seagull. Add yellow to the beak and legs, giving these features their characteristic vibrant hue. Use orange for the feet to add a subtle contrast.
Additional Content
This PDF provides a concise guide on how to draw a seagull, focusing on using simple geometric shapes and basic lines. The tutorial covers each step clearly, ensuring that even beginners can follow along and achieve a proportional and realistic depiction of a seagull in a static pose. Practicing regularly with this guide will help you improve your drawing skills and develop a better understanding of bird anatomy.
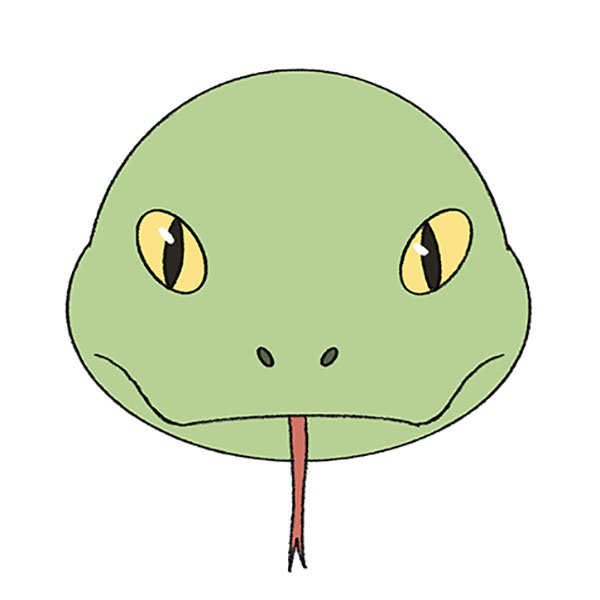
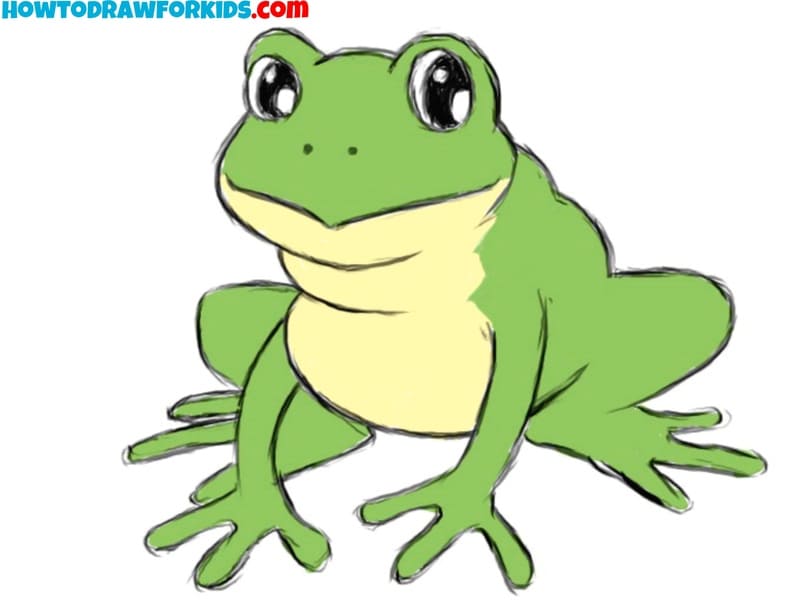
In addition to the primary tutorial, this PDF includes two alternative methods for drawing a seagull, offering more variety and techniques to explore. By downloading this PDF, you can practice your drawing skills anytime, even without an Internet connection. Consistent practice is key to becoming a skilled artist.


this is really good