How to Draw a Karate Fighter
In this guide, as we continue exploring various professions and sports, I will share with you the secrets of how to draw a karate fighter.

This straightforward drawing guide will teach you how to draw a karate fighter. It is specifically created so that even the most inexperienced artist can easily and quickly learn to sketch a karateka.
There are countless fighters and types of martial arts worldwide, each with its own unique characteristics. Boxers, karate fighters, and Muay Thai fighters all have distinct appearances and are drawn differently.
In this guide, I chose to focus on drawing a karateka because their outfit, called a Gi, is one of the most recognizable among fighters. You might have seen this outfit on karate fighters, as well as on kudo or judo practitioners.
Time needed: 1 hour
How to Draw a Karate Fighter
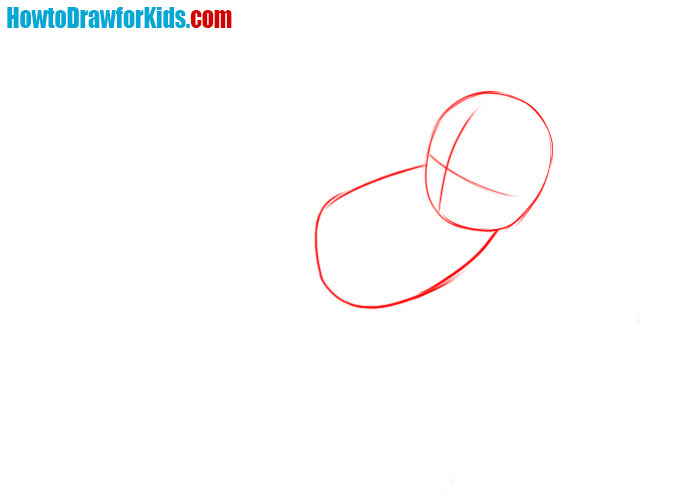
- Draw the head and torso of the karateka.
Begin by sketching a simple oval for the head, tilting it slightly downward to indicate the fighter’s focused posture. Draw a centerline down the middle of the oval and a horizontal line to help with facial features later. Add a curved shape for the torso, rounding it at the shoulders and narrowing it at the waist.
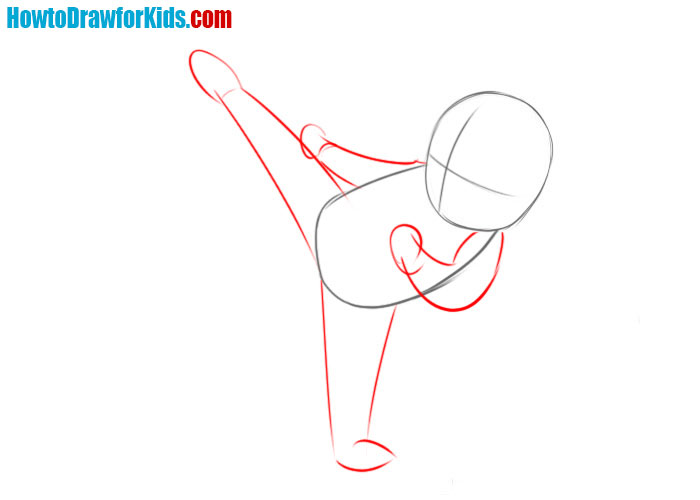
- Draw the legs and arms of the karateka.
For the legs, draw straight lines from the left side of the torso to form the supporting leg, adding a slight bend at the knee. For the kicking leg, extend long lines from the right side of the torso, curving it slightly to show the angle of the kick. And, sketch the arms with simple geometric shapes.
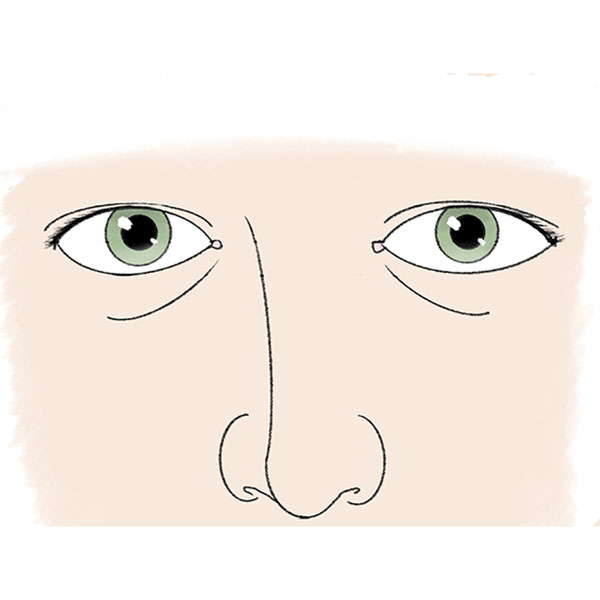
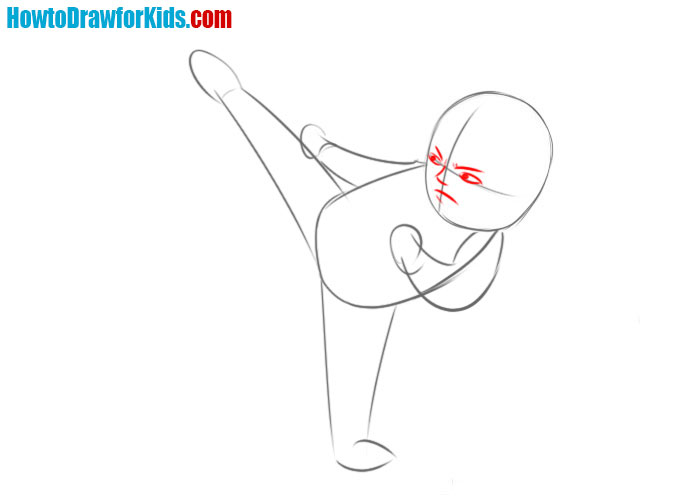
- Illustrate the facial features.
Draw the eyes as almond-shaped ovals, adding pupils and irises with smaller circles. For the eyebrows, use sharp, angled lines to show determination, and a small line or dot for the nose. The mouth can be represented with a straight or slightly curved line, depending on the desired expression.
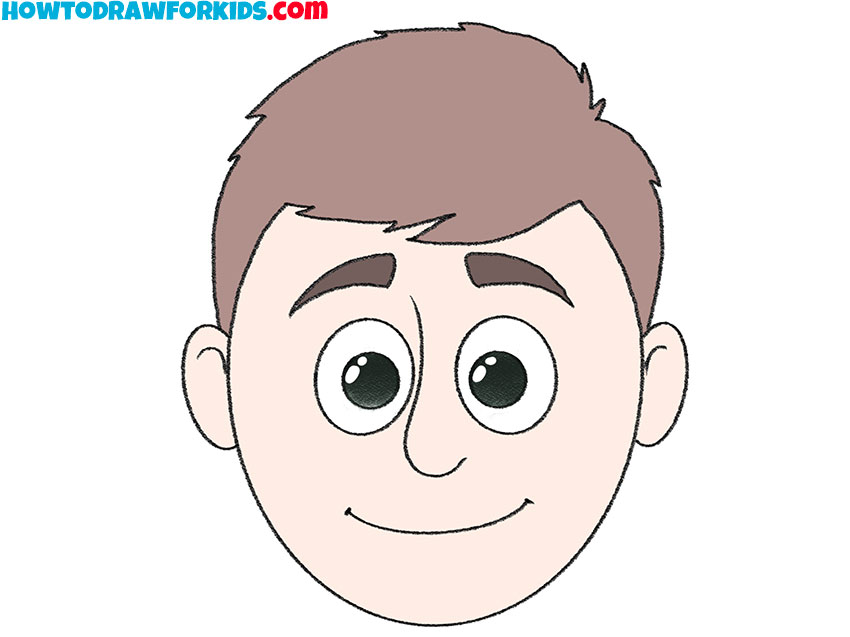
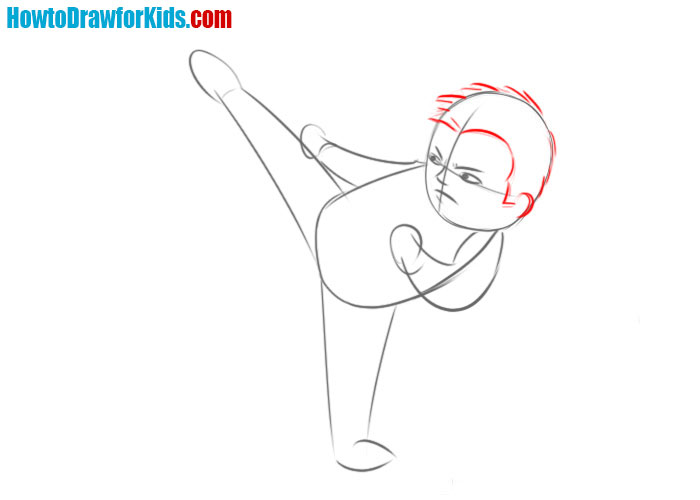
- Add the contours of karateka’s hairstyle.
For the hair, sketch a rough outline with jagged strokes, indicating spiky hair. Long oblique lines on one side of the head perfectly form the feeling of a sharp movement to the side. An important detail of this step is the semi-circular cutout for the ear.
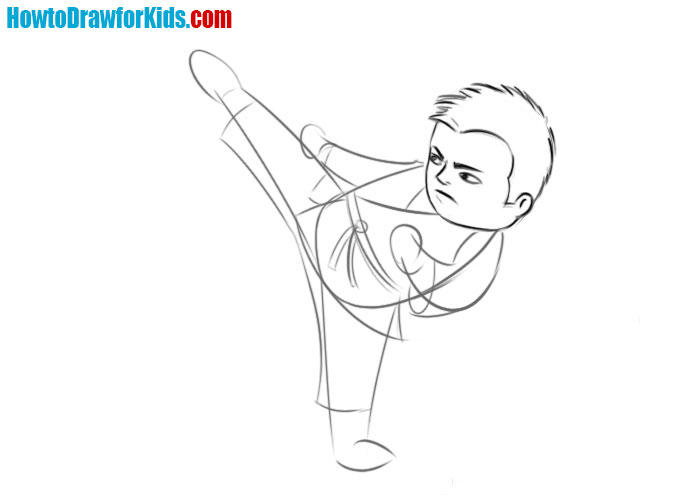
- Illustrate the karategi.
Draw the uniform details. Start by sketching a belt around the waist, using a rectangular shape, and add two diagonal lines at the front to suggest the knot. Extend two trailing ends downward, adding slight curves to show natural movement. The pants can be drawn as simple rectangles, flaring slightly at the ends.

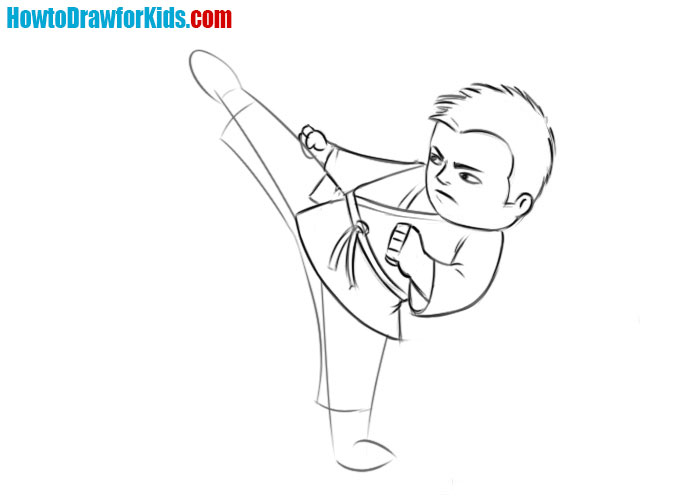
- Refine the details of the face.
Check the correctness of facial features, direction of gaze and head turn. Finally, remove any unnecessary sketch lines from the face, ensuring it looks clean and polished. To make your karate fighter look more unique, you can add some details, for example a headband.
- Refine the contours of the body.
Focus on clarifying the body and karate gi. Make sure the belt is clearly visible, with a rectangular knot in the front and two trailing ends hanging down. Erase any extraneous lines to create a tidy look. Here you can also add more unique details, for example a logo on the chest.
- Detail karateka’s legs.
Refine the details of the legs by drawing smooth lines for the pants, flaring slightly at the ends to illustrate movement. Add a seam line down each leg to complete the appearance, ensuring the pants look authentic and finished. Finally, remove any remaining sketch lines or guidelines, leaving a clean and finished sketch.

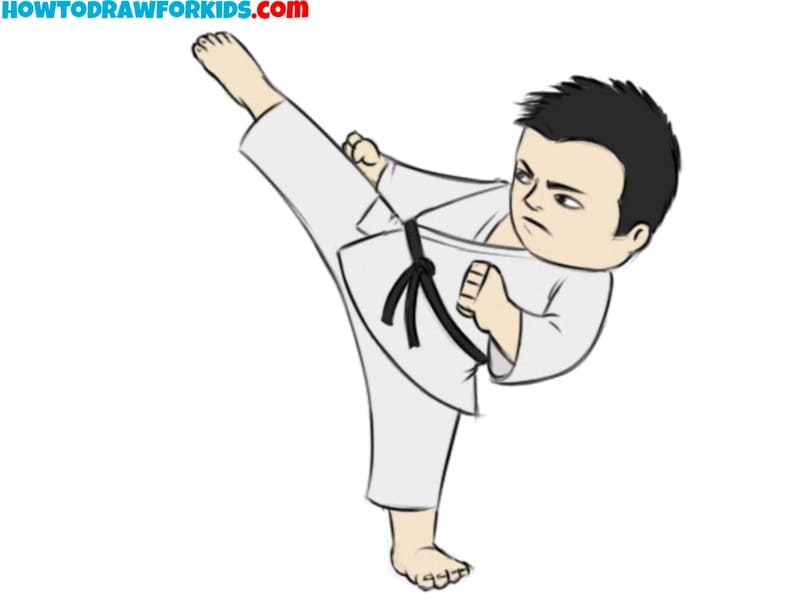
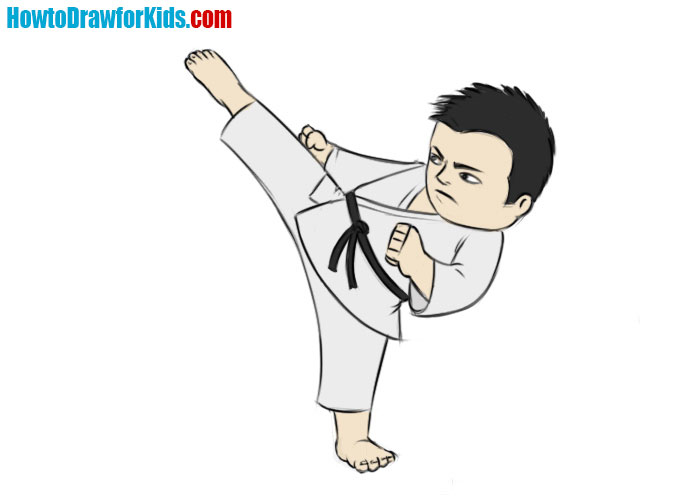
- Color the karate fighter.
For a more finished look, erase any remaining sketch lines or guidelines from your karateka sketch. Finish with clean, smooth outlines, and fill in the coloring. Keep the gi’s coloring simple, usually white, with a contrasting black belt. Color the skin and body in any Color you prefer.
As i said at the very beginning of the instructions, any novice artist can easily learn how to draw a karate fighter.
If this guide was interesting for you, check out my other dragons tutorial to find how to illustrate people from other sports and professions.
Also subscribe to me on Pinterest and share there your artworks with me and don’t forget to visit my YouTube channel for video tutorials.