How to Draw a Cook
In this guide, I’ll walk you through how to draw a cook. I’m excited to share this with you because being a cook is one of the most fascinating professions out there.

How to Draw a Cook: Basic Information
This tutorial on how to draw a cook offers young artists a structured approach to developing their skills. By following this step-by-step guide, children and beginners can gain confidence in their drawing skills, learn about simplified proportions, and understand the basics of human anatomy in a simplified manner. This specific tutorial focuses on drawing a cook, a character that is an excellent subject for practice.
The tutorial simplifies human anatomy, making it accessible for young artists. The cook’s arms, legs, and torso are created with basic shapes and lines, making it easier to understand how the human body moves and how different parts connect. This simplified approach helps in building a foundational understanding of anatomy, which is very important for drawing more realistic figures in the future.
Simplification is a valuable skill in art, and this tutorial demonstrates how to reduce a complex subject (a human figure) into simple, understandable forms. Learning how to simplify without losing the essence of the subject is important, particularly in character design and animation, where clarity and readability are crucial. This skill also helps in creating art that is easy to replicate and refine.
Cook Drawing Tutorial
Materials
- Pencil
- Paper
- Eraser
- Coloring supplies
Time needed: 40 minutes
How to Draw a Cook Step-by-Step
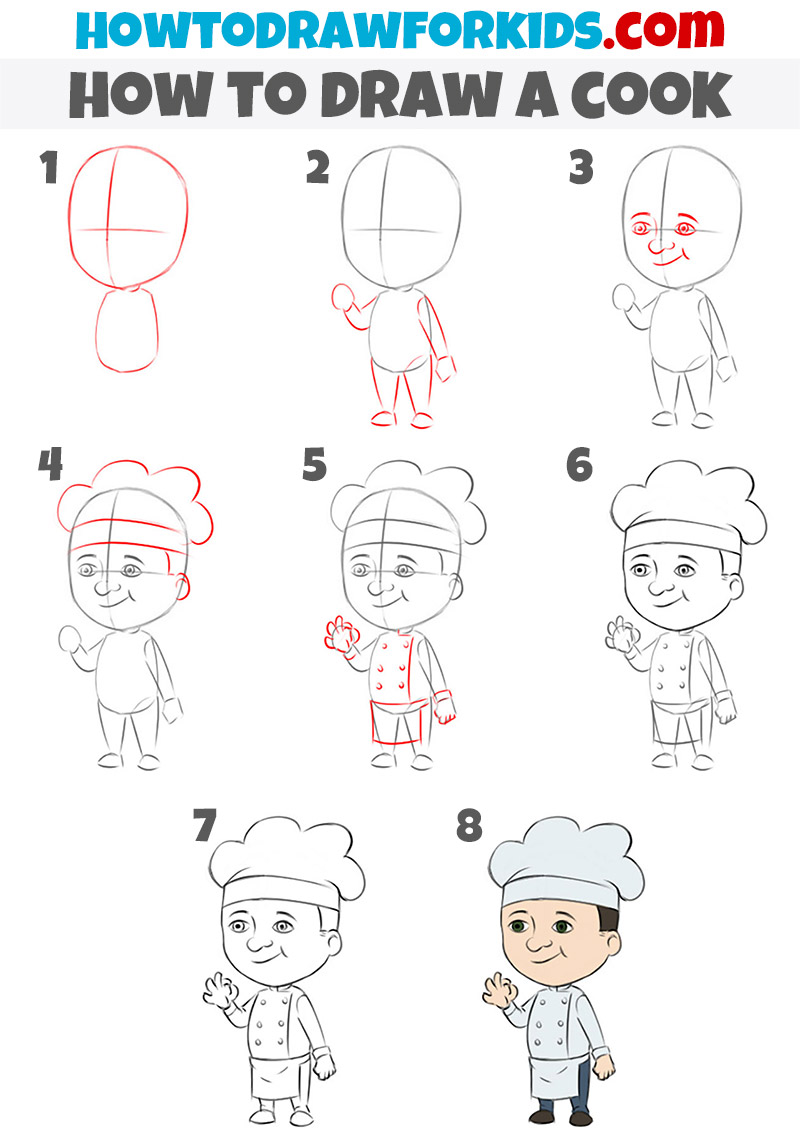
- Create the basic structure.
Start by drawing a vertical oval for the head and a smaller rounded shape for the body, ensuring they are proportionate to each other. Sketch a vertical and a horizontal line inside the oval to act as guides for facial features placement, dividing the face into equal sections.
- Outline the body of the cook.
Draw two short lines extending downward from the body to create the legs, and two more lines for the arms, with small ovals at the ends to represent hands. This stage focuses on getting the proportions and posture of the cook right, ensuring that the limbs are in a natural position.

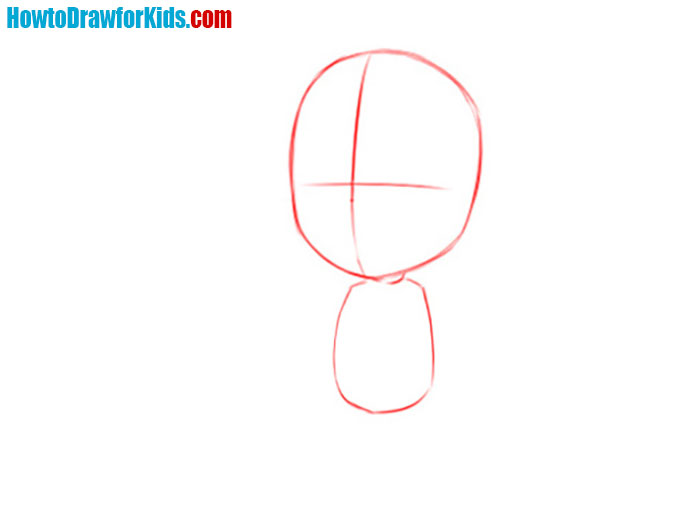
- Draw the facial features.
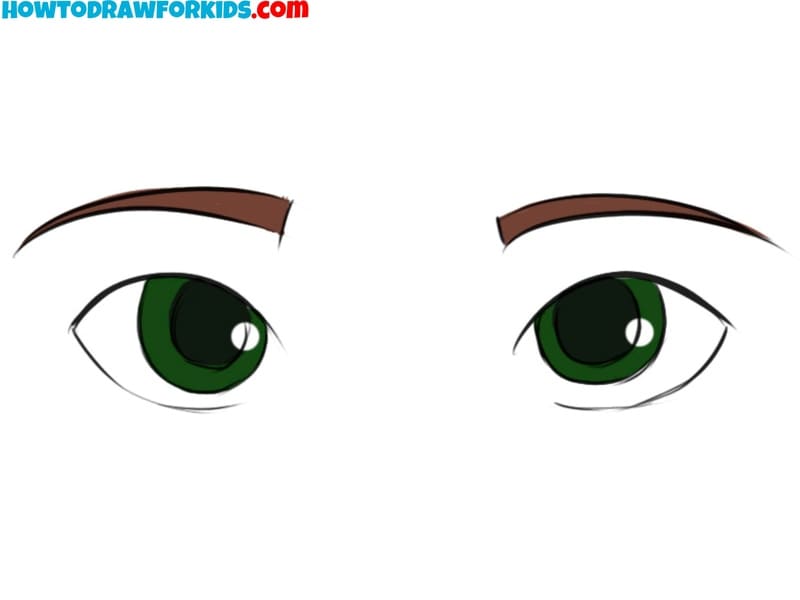
Sketch two small circles on the horizontal facial guide for the eyes and add curved lines above them for eyebrows. Place a small curved line below the eyes for the nose and a wider curved line for the smiling mouth, giving the cook a friendly expression.
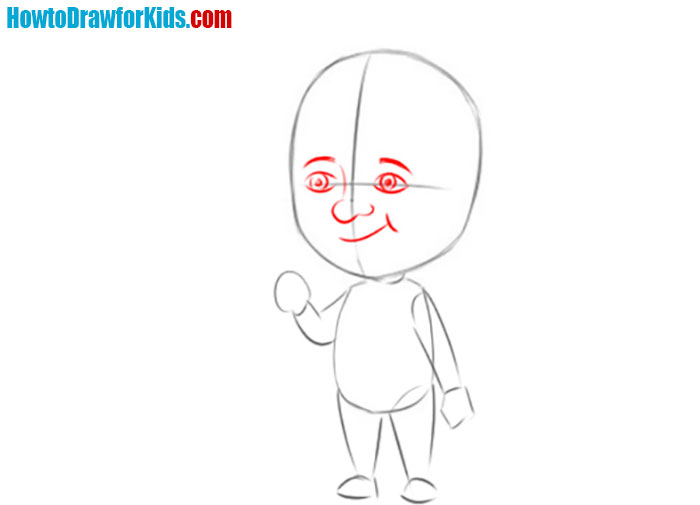
- Sketch the chef’s hat.
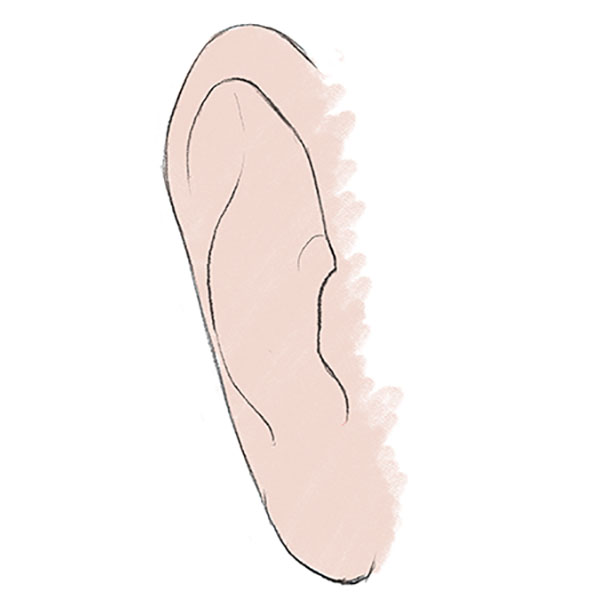
Now, detail the chef’s iconic hat. Add the ear and ensure facial symmetry and expressiveness. The hat, known as a toque, should be drawn with volume. In fact, the chef’s hat is four small asymmetrical semicircles that are located above the outline of the head from the last step.
- Draw the chef’s clothes.
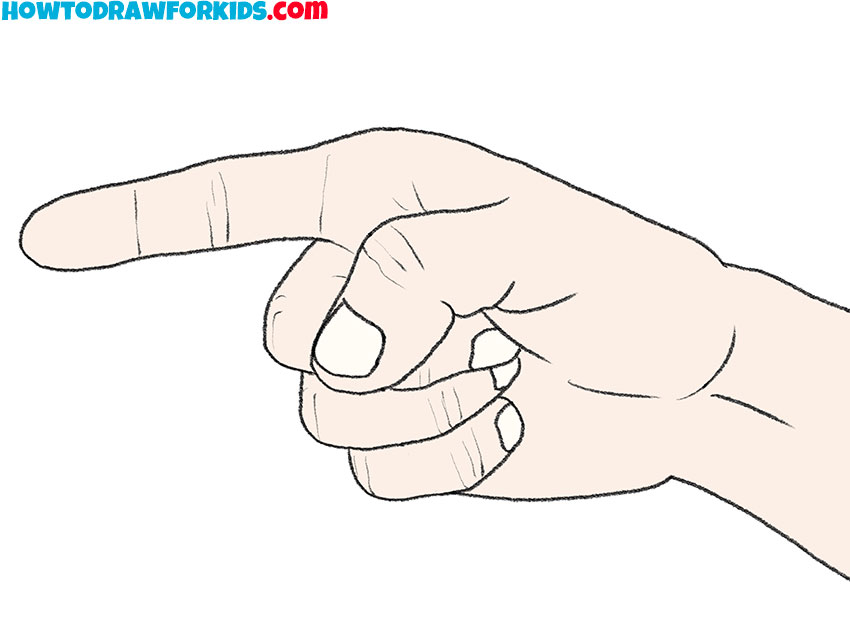
Draw a few additional simple lines to clarify the basic details of the chef’s uniform. It is most convenient to first draw a long vertical line through the torso, and then the buttons and outline of the lower part of the uniform. Then draw the fingers, which are movable and have different positions on the right and left hands.
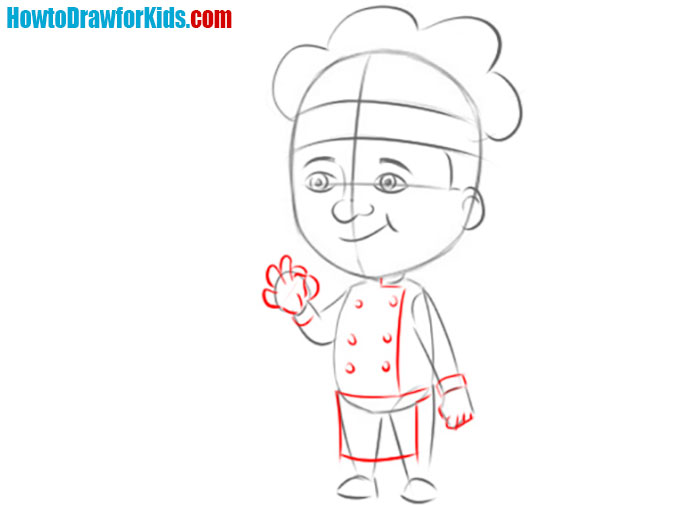
- Remove extra lines from the cook’s body.
Try to find all the inaccuracies in the area of the chef’s face, neck and hat. Fix this, then remove the extra guidelines from the previous steps. Use a softer and darker pencil to create the final outlines of the character’s head and neck.
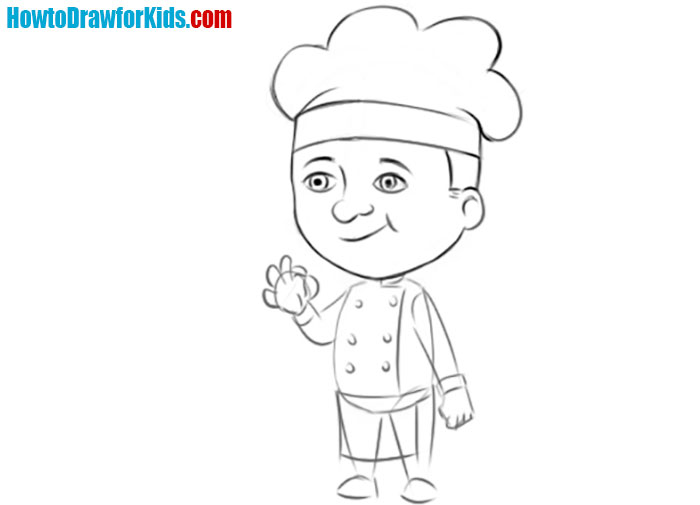
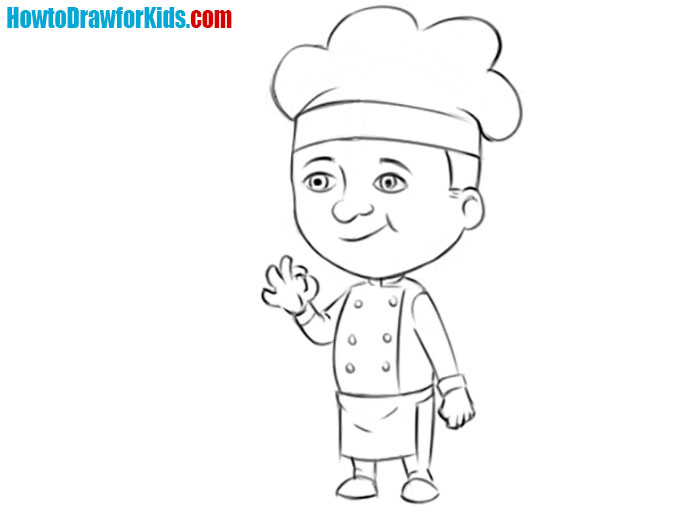
- Remove extra lines from the cook’s body.
Carefully go over the drawing with a darker pencil or ink to solidify your lines, making sure to smooth out any rough edges. Remove any remaining guide lines and correct any final details in the chef’s uniform, ensuring that everything looks tidy and symmetrical.
- Add colors to the cook.
There is a little life hack when working with what should be white in your drawing. Don’t just leave it blank, use a light gray or light blue color. In my case, correctly selected pastel colors of the remaining parts of the picture will help create the desired effect.

How to Draw a Cook: Tips and Tricks
Begin your drawing by sketching basic shapes to outline the cook’s head, body, and limbs. Use circles for the head and joints, and ovals or rectangles for the torso and limbs. This approach will help you establish the proportions and overall structure before adding details.
The chef’s hat is a distinctive feature that gives your character its identity. Make sure to draw it large and puffy, with soft, rounded lines to convey the fabric’s texture. The hat should sit comfortably on the head, slightly covering the forehead.
When drawing the cook’s face, keep the lines simple and clear. Start with basic shapes for the eyes, nose, and mouth, then refine them gradually. The eyes should be large and expressive, while the mouth should have a friendly curve to give the cook a cheerful appearance.
Small details, like buttons on the chef’s coat, the knot on the apron, or the folds in the fabric, can add a lot of character to your drawing. These details make the cook look more realistic and natural.
Typically, the head is slightly larger in cartoon-style drawings, and the body should be proportionally smaller and rounder, especially if you’re going for a more caricatured look. This helps in creating a charming and approachable character.
Conclusion
This tutorial provides a really simple approach to drawing a cook, suitable for beginners and young artists alike.
The skills practiced in this tutorial are foundational for more complex drawing tasks. Understanding how to simplify forms, maintain consistency in style, and add personality to your characters will serve as a strong base for future Kew complex drawings.
Additionally, the repetition and attention to detail required in this process help build confidence and improve overall drawing skills.
I hope this drawing guide was helpful to you. I really look forward to your feedback in the form of questions and comments on this article. It helps me a lot to work and create really cool drawing tutorials!