How to Draw a Haunted House
In this lesson, I will guide you on how to draw a haunted house. You won’t encounter any challenging aspects related to perspective or architectural details. Yet, by the end, you will have a charming, fairytale-like illustration of a haunted house in a frontal view.
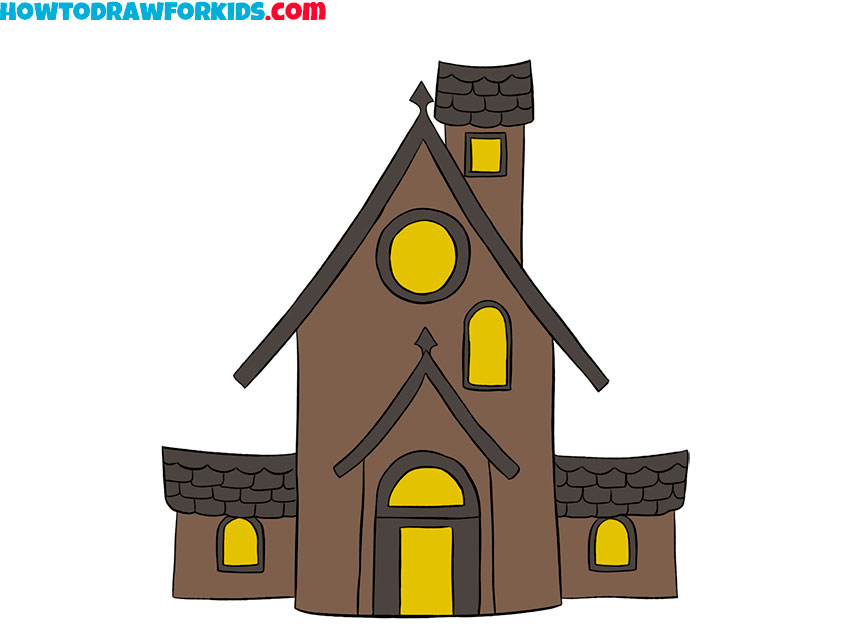
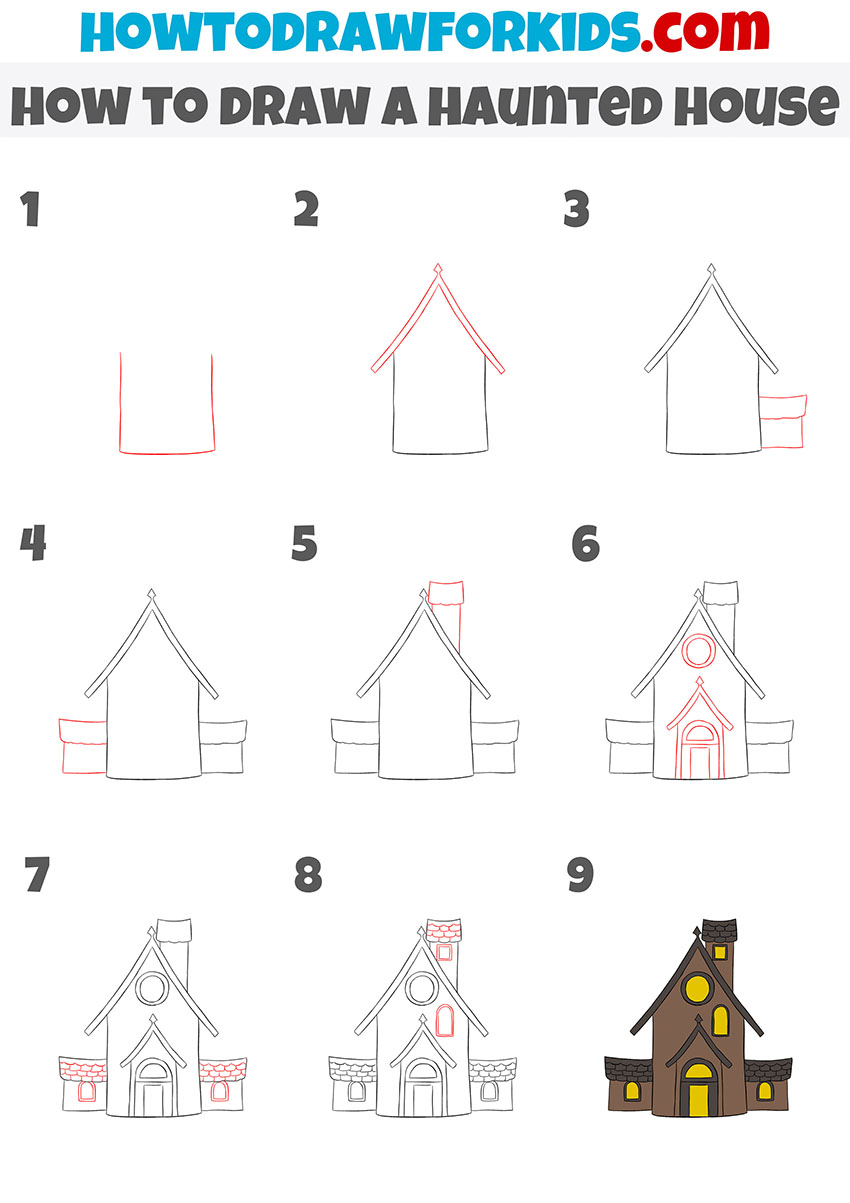
Table of Contents
- Basic information
- Step on how to draw a haunted house
- Additional content
- Improve your skills
- Conclusion
Basic Information on How to Draw a Haunted House
What features might such a haunted house have? First and foremost, it boasts a very simple design. You will notice a combination of several basic shapes that together form the house’s outline.
I chose a frontal position for this drawing to avoid the complexities of perspective. While perspective can be fascinating, my goal was to keep this lesson as straightforward as possible.
Many lines have subtle symmetrical bends, reminiscent of illustrations from old fairy tale books. Symmetry is crucial here, as in any drawing of a building.
To compensate for the absence of shadows and highlights, I used the contrast between the yellow windows and the dark, gloomy walls of the house.
Materials
- Pencil
- Paper
- Eraser
- Coloring supplies
Steps on How to Draw a Haunted House
Time needed: 30 minutes
How to Draw a Haunted House
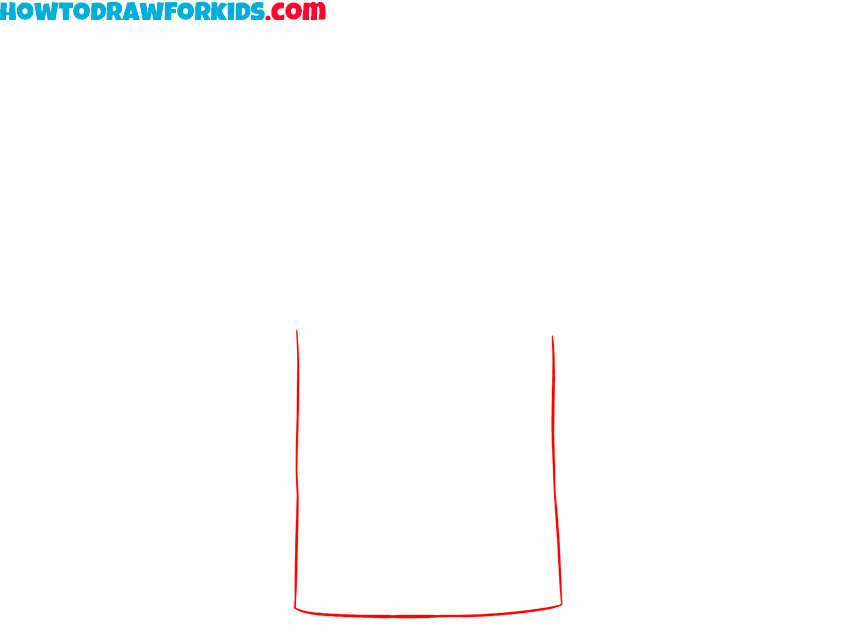
- Start with the base.
Begin by drawing the base structure of your haunted house. Using smooth, curved lines, draw a simple, elongated rectangle to represent the main body of the house. This frontal position keeps the house straightforward and easy to draw.
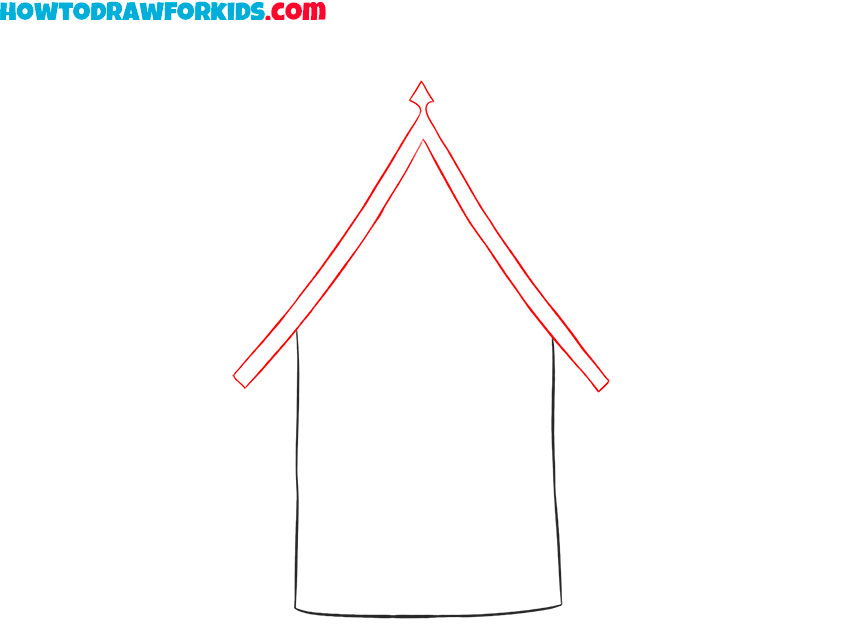
- Draw the main roof of the haunted house.
Next, add the roof to your house. Draw two diagonal lines extending from the top corners of the rectangle and meeting at a point above the rectangle to form a steep, triangular roof. This adds a traditional haunted house look with a slightly exaggerated, spooky roofline.
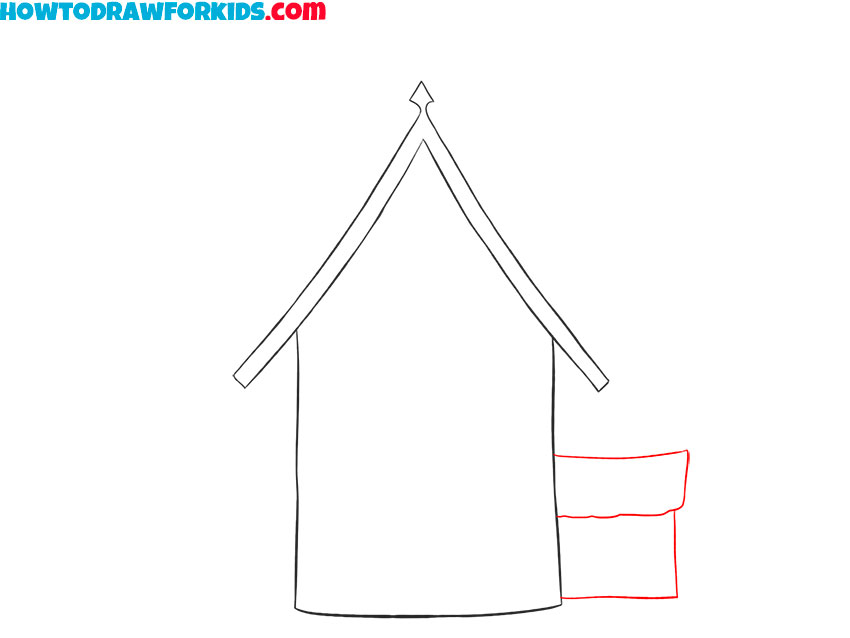
- Add the adjacent room.
Draw a small rectangular extension on the right side of the main structure. This part represents an additional room or wing, giving the house a more complex and intriguing layout. Use smooth, curved lines to keep the style consistent with the rest of the drawing.
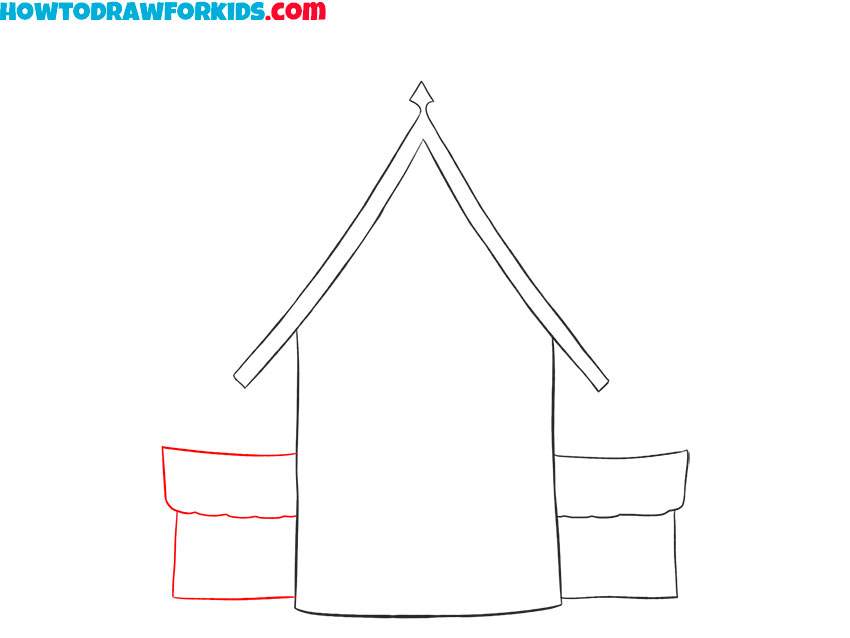
- Sketch the side extensions.
Refine the extension by adding another layer to it. Draw another slightly smaller rectangle side the main part. This stage adds more architectural interest to your haunted house. The layered look suggests age and decay, enhancing the haunted theme.
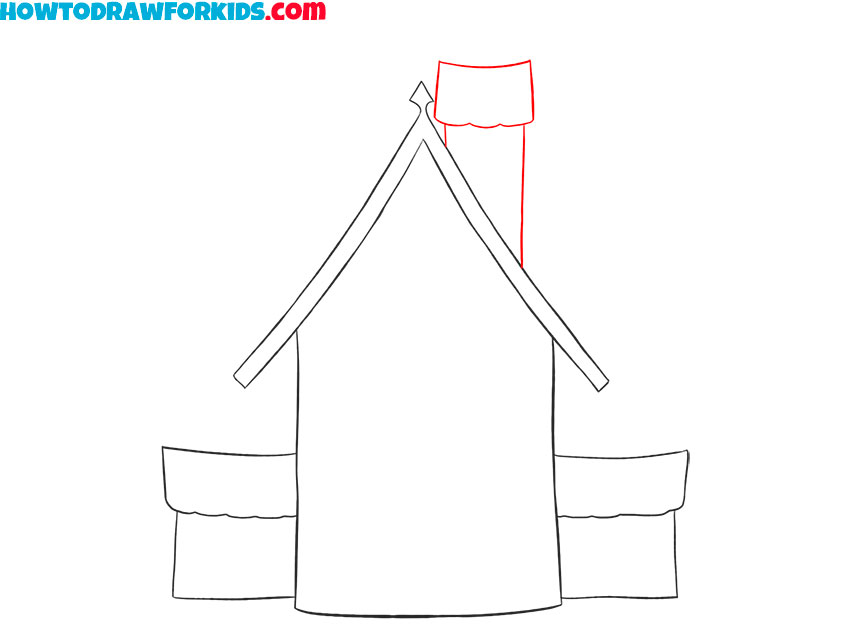
- Depict the tower.
Add the tower to the roof to further enhance the haunted house’s look. Draw a narrow rectangle on the right side of the roof, extending upwards. The top of the tower can be slightly tilted or uneven to give a more spooky and aged appearance.
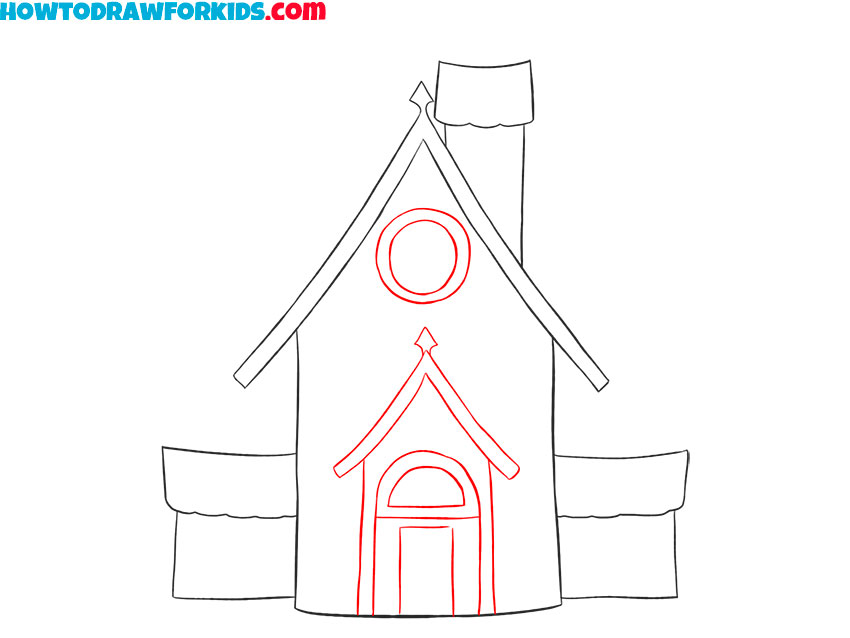
- Draw the architectural details in your drawing.
Add the circular window right above the entrance door to add uniqueness, and then place the arched door in the center of the house to emphasize the main entrance.
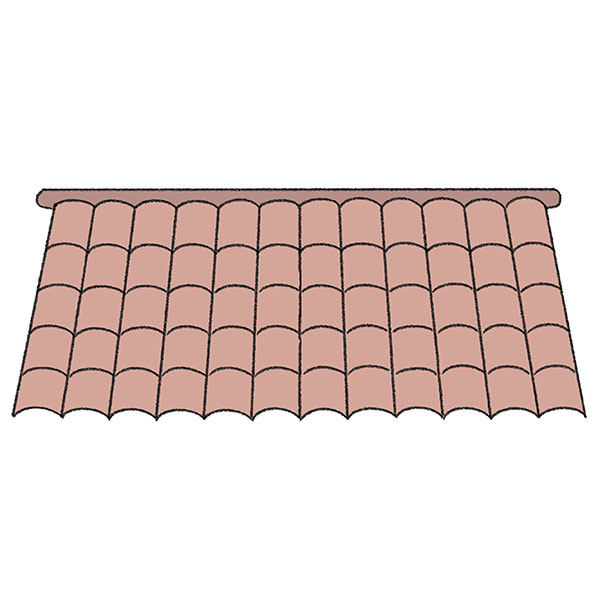
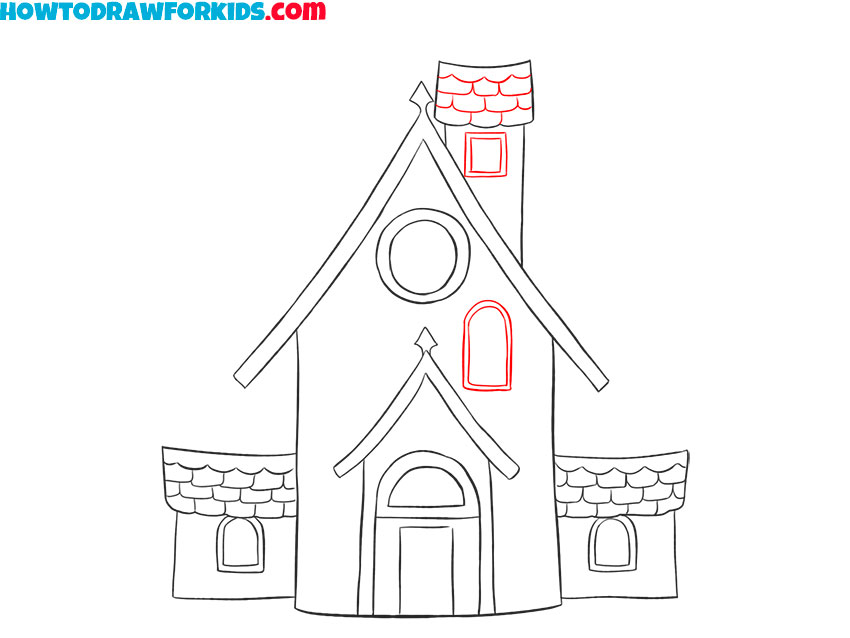
- Add the windows and shingle the roof.
Sketch out the window on each side of the house. Position them symmetrically in relation to the main front door. Then, draw shingle roofing following the shape and contour of the roof of the haunted house.

- Finalize details.
Refine the details of the windows and door by adding small, curved lines for window panes and additional frames. These small details are crucial in making your haunted house look complete and polished.
- Color the house.
Finally, color your haunted house. Use dark browns and grays for the house, with lighter shades for the windows and door to give a ghostly glow. The roof can be a darker shade to contrast with the walls.
Additional Content
The lesson on drawing a haunted house includes a PDF document with a shortened version of the lesson and an alternative drawing method. This PDF is convenient for offline use, allowing you to follow the steps without needing an Internet connection.
Improve Your Skills
Every step you take in learning and practicing serves as a foundational stone to becoming a more accomplished artist. Initially, drawing, as you might be aware, isn’t solely about replicating what you observe; it’s more about comprehension, interpretation, and integrating your unique flair.
- First and foremost, delve into expanding your color repertoire: A prime joy of artistry is the vast array of colors at your disposal. In particular, consider using muted blues or purples to evoke a ghostly mood, or perhaps fiery reds and oranges to illustrate a haunted house that’s witnessed otherworldly occurrences.
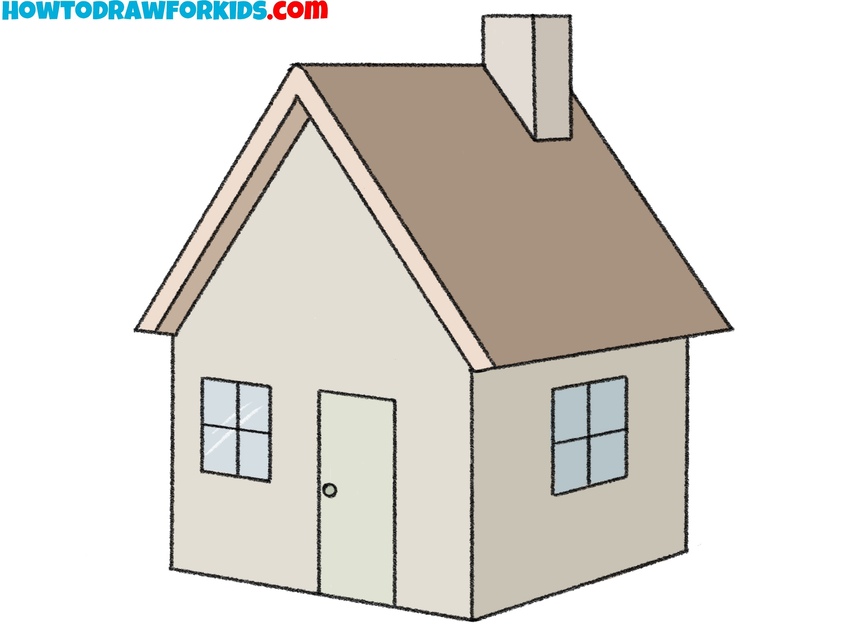
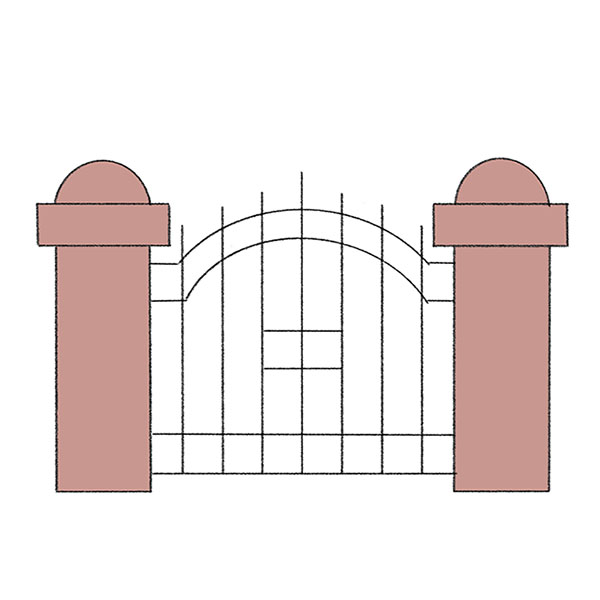
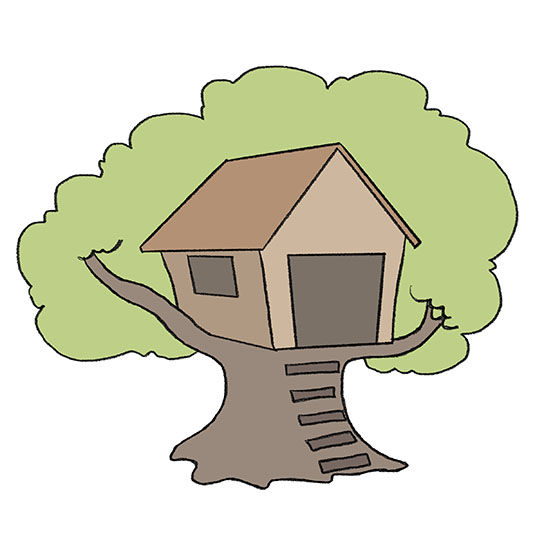
- On another note, the background is pivotal: The right setting can elevate your haunted house illustration from basic to awe-inspiring. Additionally, think about incorporating elements like trees, an aged fence, or maybe a moonlit backdrop. Is your haunted house perched on a hill, overseeing a hamlet? Or perhaps it’s concealed deep in a forest, shielded from curious onlookers?
- Subsequently, focus on integrating more paranormal nuances: The character of a haunted house is often defined by its chilling residents. Crafting shadows in windows, capturing the silhouette of a ghost, or illustrating bats in mid-flight can infuse a thrilling touch to your piece.
To wrap things up, it’s vital to recognize the importance of consistent practice. Each haunted abode you sketch will invariably outshine the previous one. Equally important, as your expertise matures, you’ll discover the boundless opportunities’ art extends. Immerse yourself, persist in experimentation, and most crucially, relish every moment!
Conclusion
After all, the skills and confidence you’ve acquired today are bound to pave the way for your subsequent art endeavors. Furthermore, it’s essential to keep drawing, exploring, and above all, expressing yourself!
In conclusion, for those who desire to stay in the loop with my latest art lessons and tips, it would be beneficial to follow me on social media!