How to Draw Jeans
If you want to learn how to create simple clothing elements and apply these skills to your characters, then this lesson on how to draw jeans will be very useful for you.
Prepare to Draw Jeans
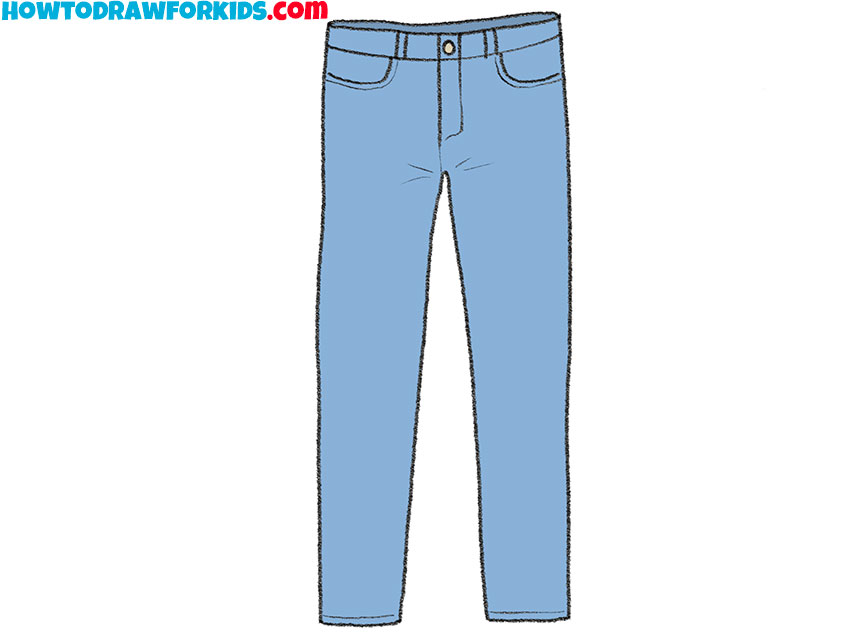
Jeans are a useful subject for practicing how to draw clothes in a simplified style. Their main construction is based on the waistband and two long leg shapes. Check their width and placement before adding details.
The two sides do not need to be perfectly identical. Small differences in the outer edges and lower folds can make the garment look more natural. However, the waistband, crotch, and leg openings should remain properly aligned.
This construction can later be adapted when you dress a person or cartoon character. You can change the leg width, length, pockets, and seams without rebuilding the entire garment.
Jeans Drawing Tutorial
Materials
- Pencil
- Paper
- Eraser
- Blue and gray coloring supplies
Time needed: 30 minutes
How to draw jeans step by step
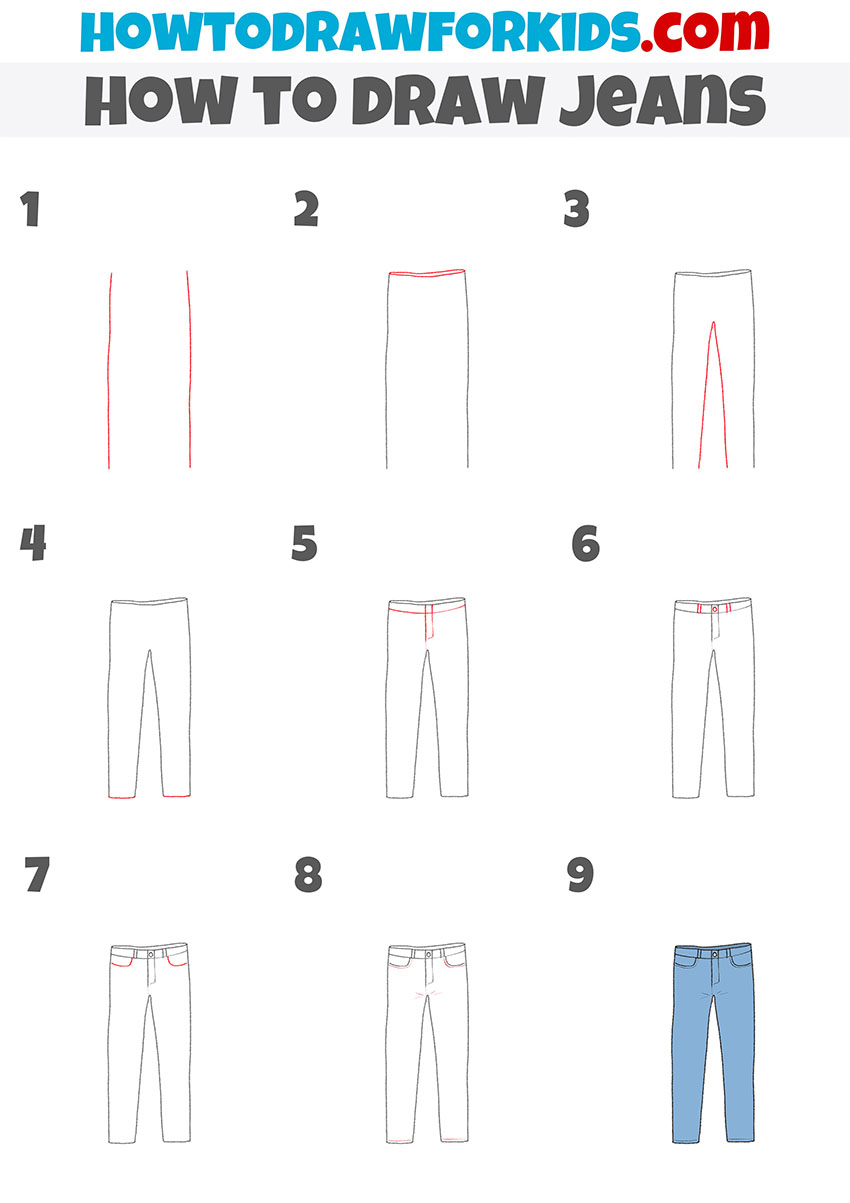
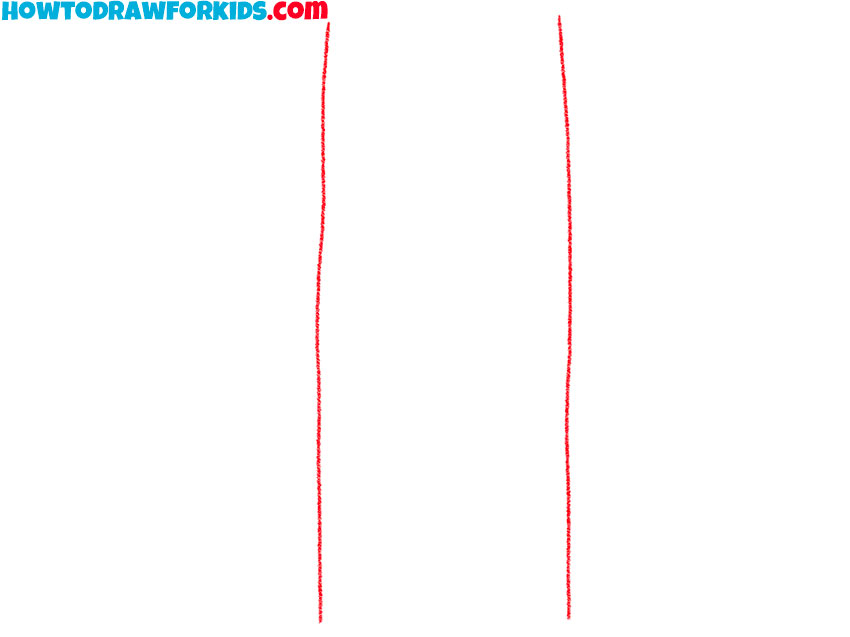
- Outline the sides of the jeans.
Draw two long lines for the outer edges of the jeans. The lines don’t have to be perfectly straight. A subtle, barely noticeable curve will add regularity to the shape of the pants.
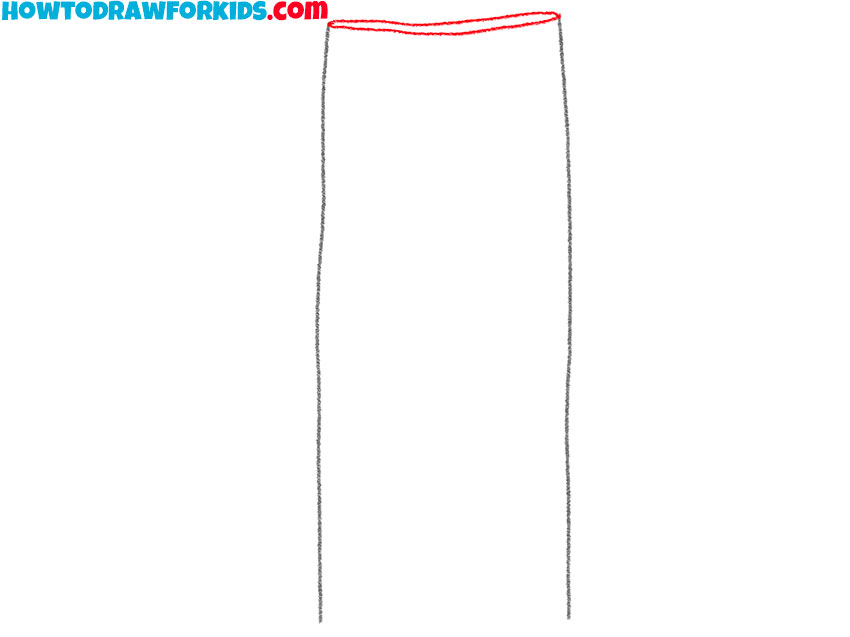
- Add the jeans waistband edge.
Connect the upper ends of the side lines with a shallow curved line. This edge forms the top of the waistband. Place its center slightly lower than its outer ends.
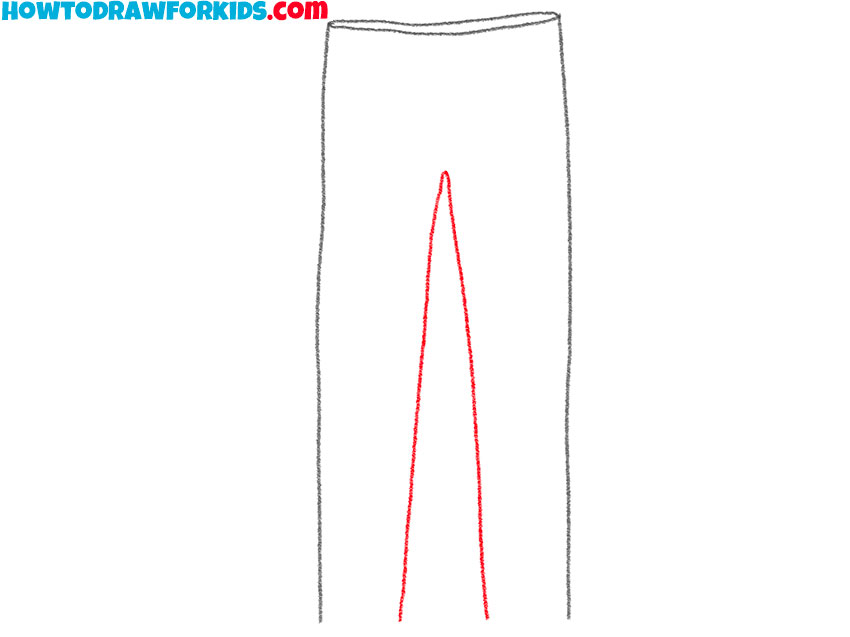
- Form the inner leg edges.
Start near the center below the waistband and draw the inner edge of each leg. Leave a narrow gap between the lines and guide them toward the lower ends of the jeans.
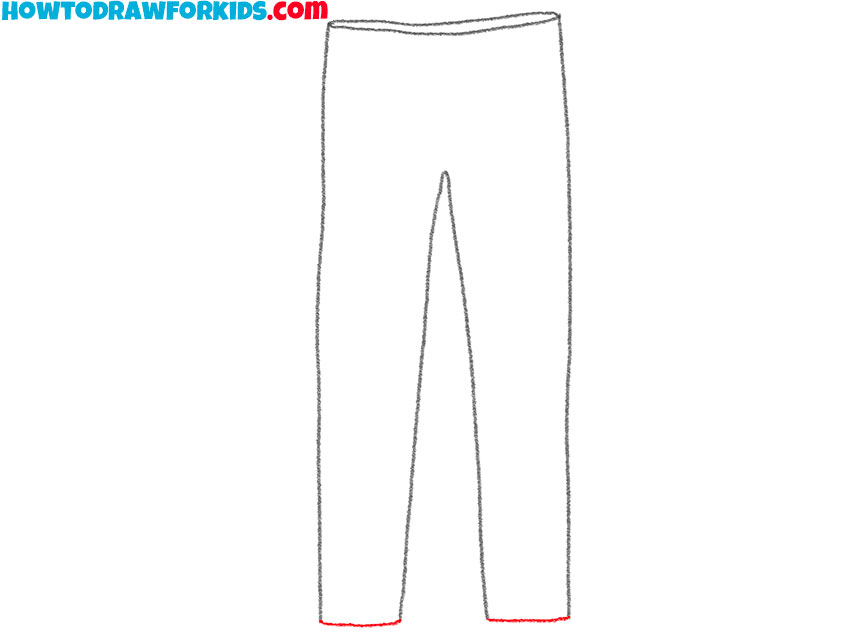
- Close the jeans leg openings.
Connect the inner and outer edges at the bottom of each leg with short, slightly curved lines. Make the two openings similar in width and place them at the same level.
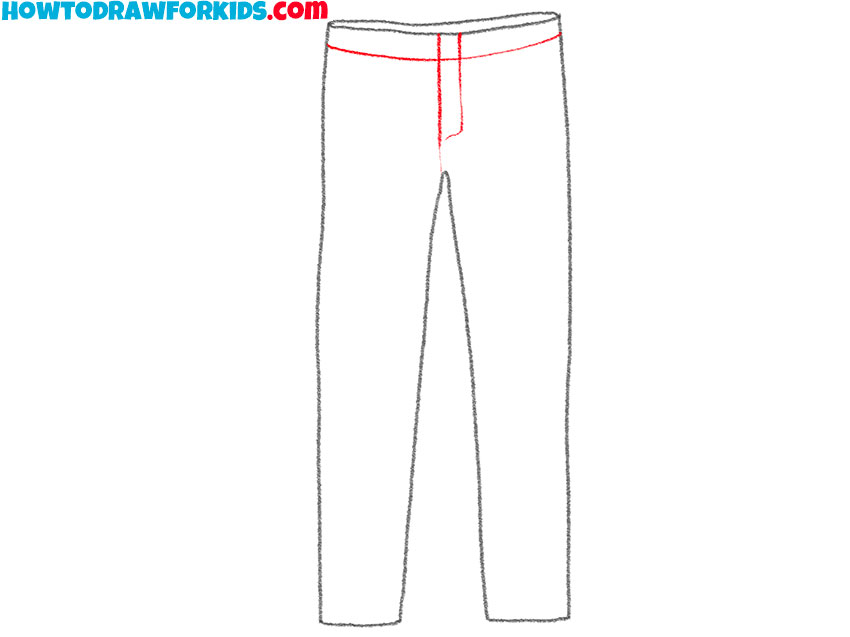
- Mark the waistband and fly.
Draw another curved line below the top edge to form the waistband. Add the fly in the center with a couple of short vertical lines.
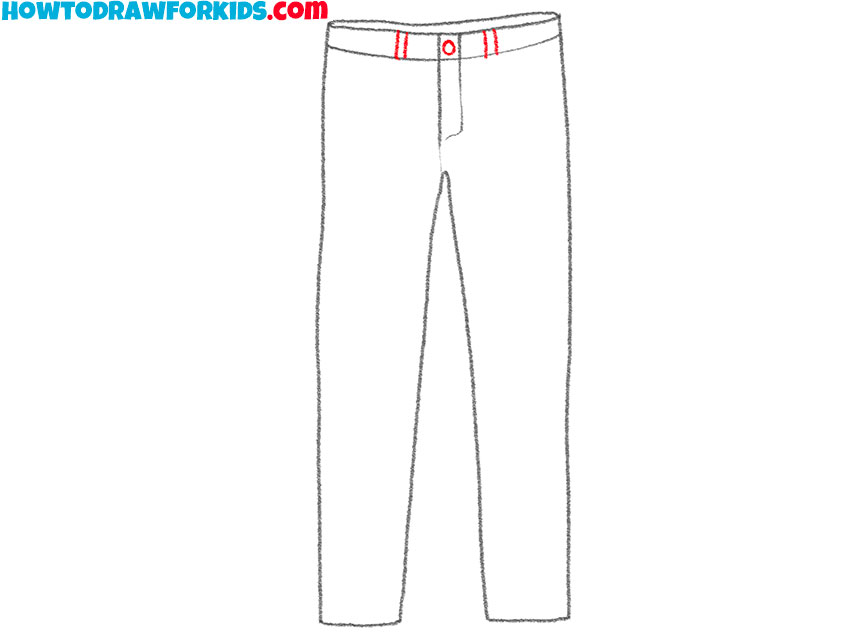
- Draw the button and belt loops.
Place a small circular button above the fly. Add several short vertical shapes across the waistband for the belt loops.
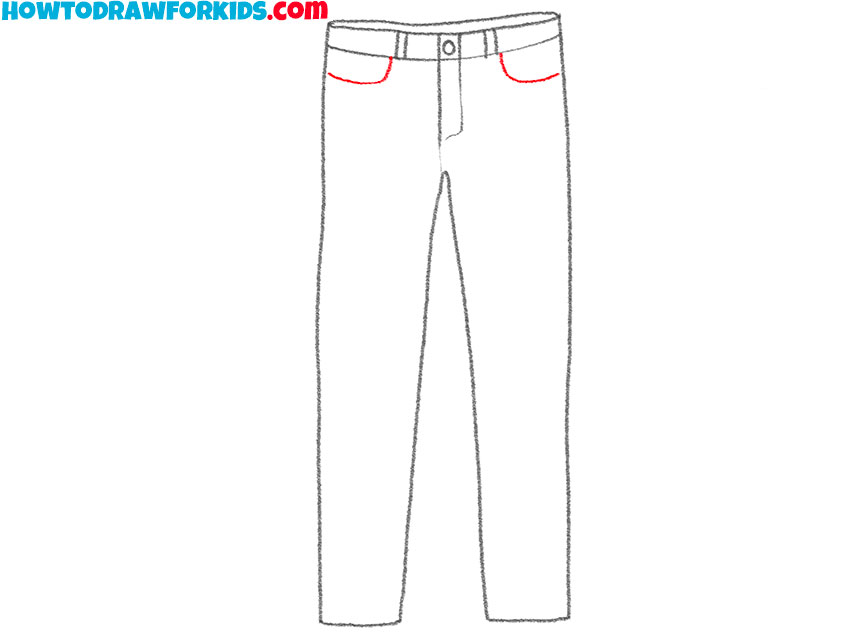
- Outline the front pockets.
Add one curved pocket opening on each side below the waistband. Position the two pockets at a similar height and direct their inner ends toward the center.
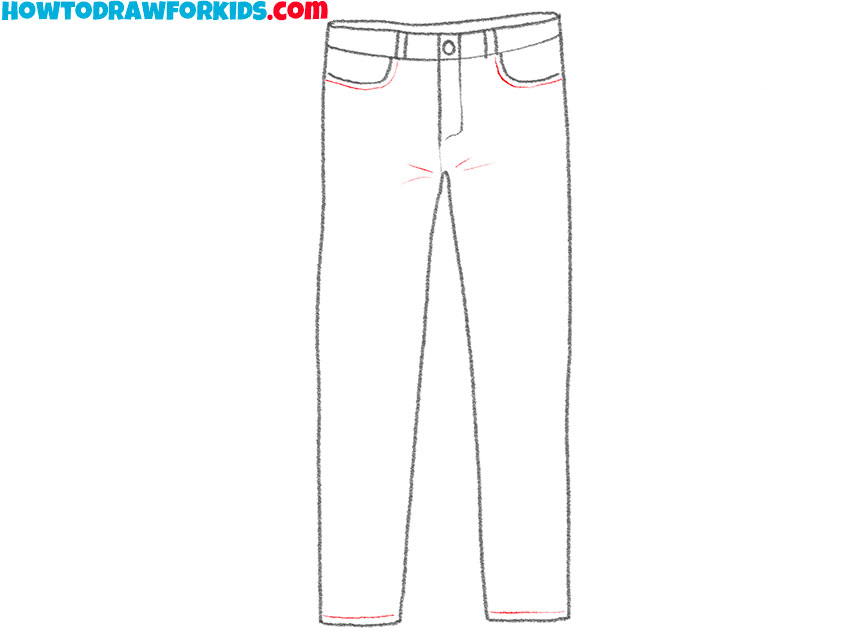
- Add folds to the jeans.
Sketch short curved lines near the hips, knees, and lower leg openings. Use only a few marks in each area, and change their direction to show how the fabric gathers.
- Color the finished jeans.
Fill the main garment with blue and use gray or yellow for the button if desired. You can apply a slightly lighter blue to selected areas to suggest worn denim.
Jeans Drawing Printables
This PDF contains the jeans drawing steps and additional worksheets for practicing the garment’s main shapes and details. You can save the file and use it without an internet connection.
Use these printables when you want to repeat the tutorial or practice adding jeans to your own character drawings.
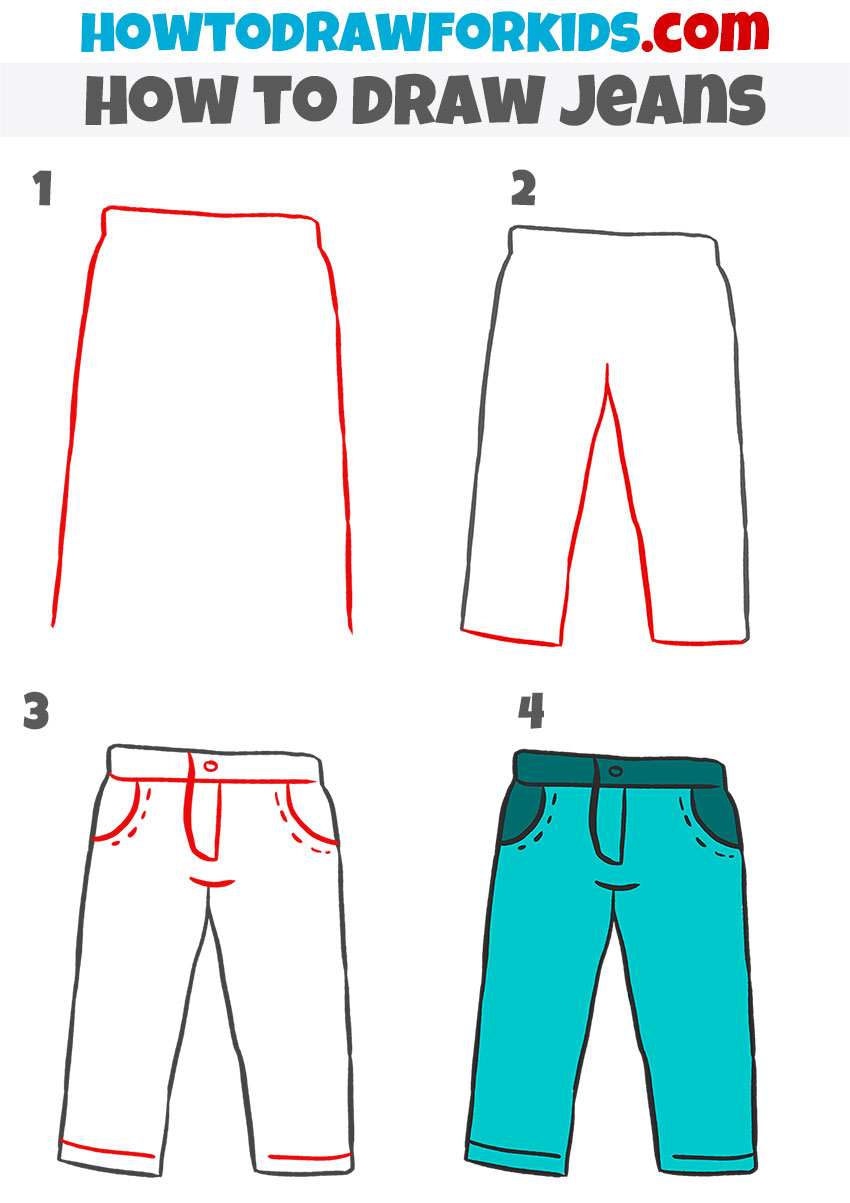
Jeans Tutorial for Preschoolers
The next method uses fewer details. It is useful for young artists who want to practice the basic construction. This version also works well when drawing clothes for a simplified person or cartoon character.
Begin with two long side lines and connect their upper ends to form the top of the jeans. Next, add an inverted V-shaped line between the legs.
Finish the outline with a waistband and two pockets, then color the jeans. This simple construction can be placed below the torso when drawing clothes on a cartoon character.
Tips for Beginners
Once you understand the main construction, you can adjust the jeans for different characters and poses. The following details have the greatest effect on how the garment looks.
- Compare the Leg Shapes: Check the length and width of the two legs before adding pockets or seams. Small differences are acceptable, but large differences can make the jeans look twisted.
- Place the Waistband First: Use the waistband as the main reference for the button, belt loops, fly, and upper edges of the pockets.
- Use Folds Selectively: Add short fold lines near areas where the fabric changes direction, such as the hips, knees, and lower leg openings.
- Position the Pockets: Place the pocket openings at a similar height and leave enough space between them and the fly.
- Space the Belt Loops: Arrange the loops across the waistband instead of clustering them near the center.
- Vary the Blue: Use a lighter or darker blue in selected areas rather than filling every part with exactly the same tone.
- Adapt the Jeans to a Character: Wider legs create a loose style, and narrower legs create a closer fit. Adjust the outline before drawing the small details.
- Keep the Seams Close to the Edges: Draw seam lines near the outer contour so they follow the construction of the garment.
Conclusion
This tutorial focused on constructing clothes from a few large shapes. The same method can be used when you dress a person or cartoon character in different styles of pants.
To practice other types of clothing, try to draw a shirt, sketch a jacket, or outline a dress. These tutorials use related construction principles but introduce different sleeves, collars, and garment shapes.
Write in the comments which item of clothing or character outfit you would like to draw next.