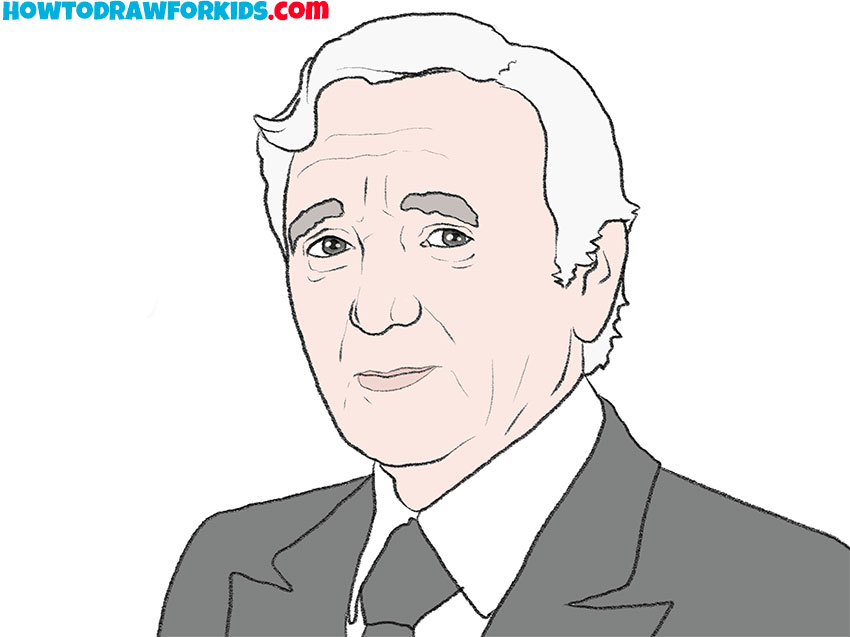
How to Draw Charles Aznavour
This tutorial will cover how to draw Charles Aznavour and how to create a realistic and recognizable portrait using simple techniques.
How to Draw Charles Aznavour: Basic Information
Usually, I demonstrate how to draw simplified characters in a stylized and cartoonish manner. However, when it comes to portraits, it’s important to capture the facial features more accurately, leaning towards a realistic approach. In this tutorial, I will show you how to draw Charles Aznavour in a fairly realistic style. This exercise will help you learn how to create realistic portraits and train your overall drawing skills.
Drawing Charles Aznavour in this technique requires a keen understanding of facial proportions. His face is a great subject for learning how to balance different elements harmoniously. This tutorial teaches you to measure and place the eyes, nose, mouth, and ears accurately, ensuring a realistic and proportionate portrait. Mastering facial proportions is fundamental for any artist, as it forms the basis of creating lifelike representations.
Aznavour’s face is rich with details that convey his personality, from the crinkles around his eyes to the shape of his lips. This tutorial highlights the importance of these small details and provides techniques for incorporating them into your drawing. Capturing these nuances can bring out the subject’s character and make your portrait more compelling.
One of the most distinctive aspects of Charles Aznavour’s face is his expressive and soulful eyes. This tutorial guides you in capturing the subtle emotions conveyed through the eyes, eyebrows, and mouth. Learning to draw these expressions helps you develop the ability to convey emotions in your portraits, making your artwork more realistic.
Charles Aznavour Drawing Tutorial
Materials
- Pencil
- Paper
- Eraser
- Coloring supplies
Time needed: 50 minutes
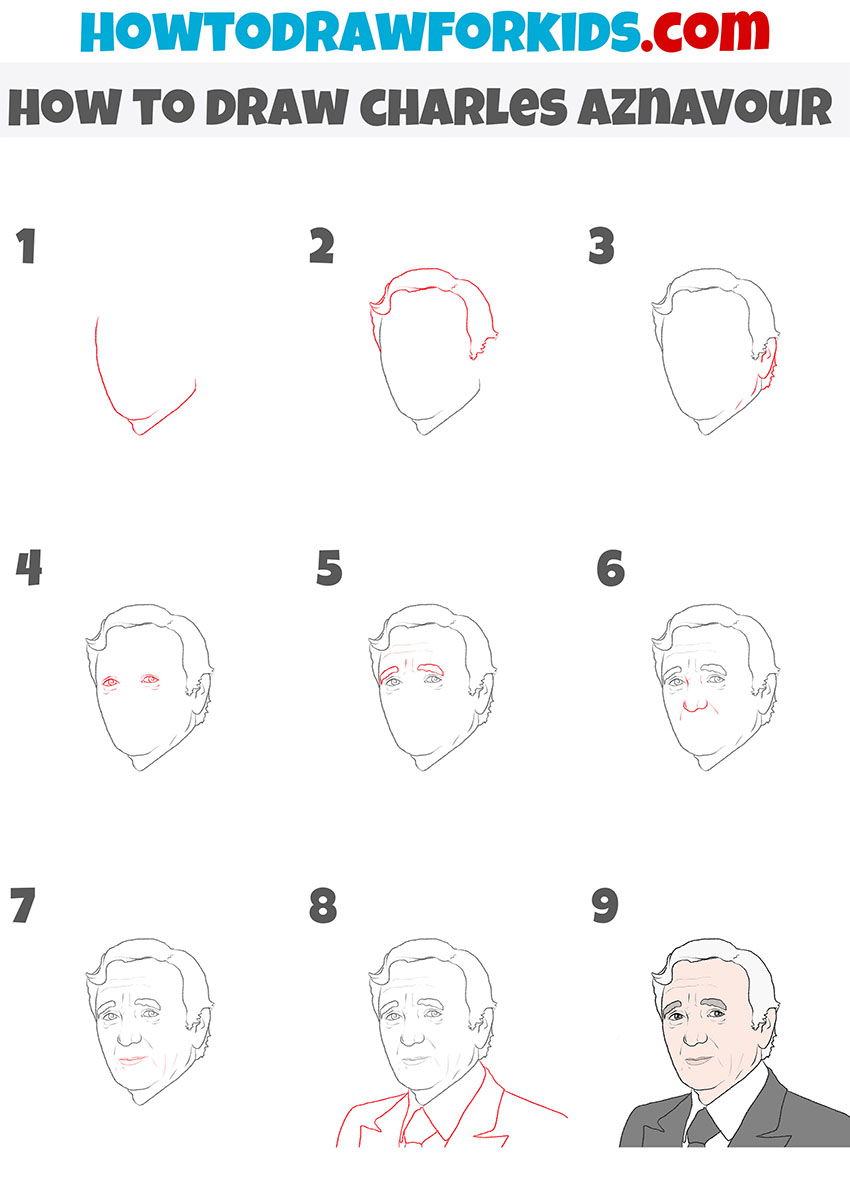
How to Draw Charles Aznavour Step-by-Step
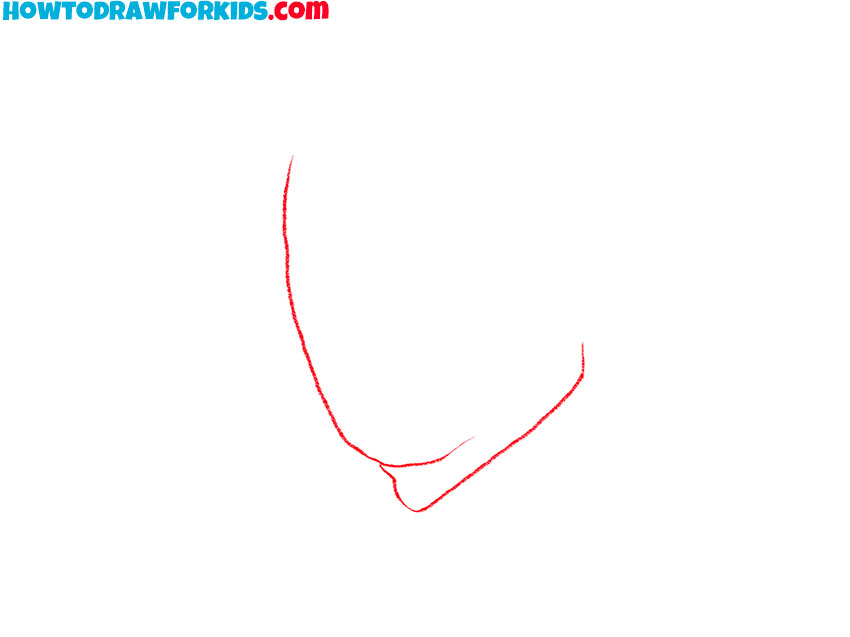
- Draw the face outlines of Charles Aznavour.
Start by sketching the basic shape of Charles Aznavour’s face. Looking at the reference, try to repeat the outlines of the face as accurately as possible. This will establish the fundamental structure of the face. Add a small, curved line at the base to indicate the neckline and the beginning of his neck.
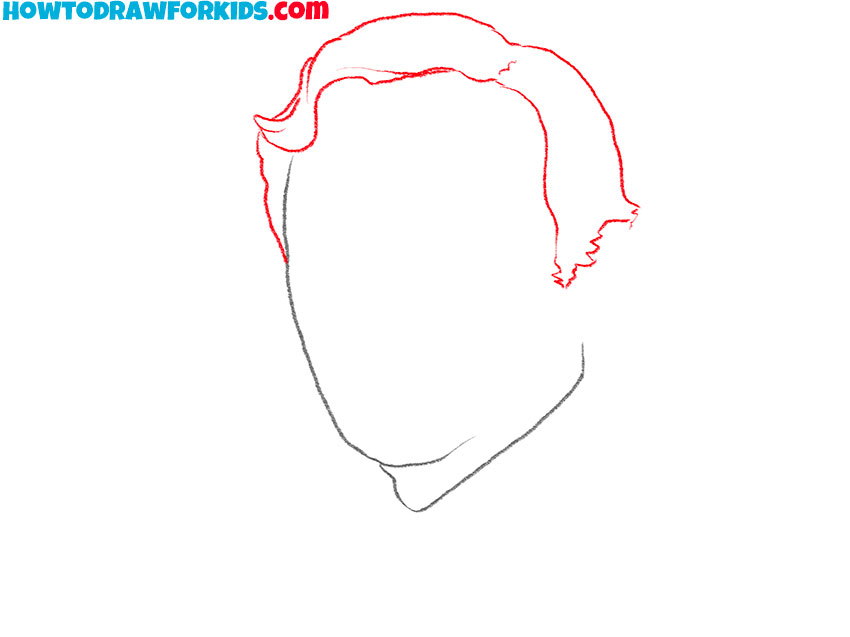
- Draw the hair outlines.
Begin by drawing a wavy line along the top of the head to represent the hairline. This line should curve around the forehead and flow down the sides of the face. Extend the hair down to just above the ears, creating a frame around the face.
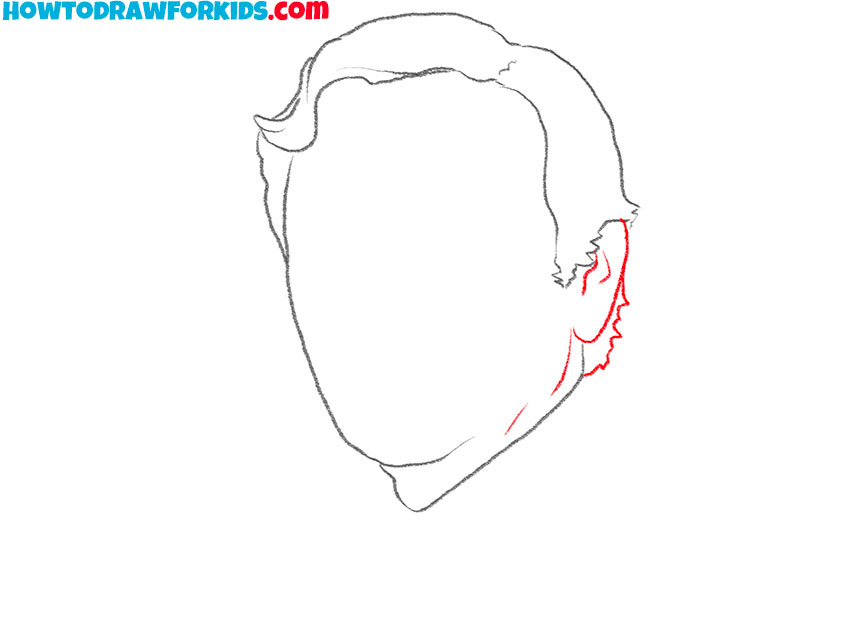
- Sketch the ear.
Align the ear with the face’s vertical midline. Start with a curved line to outline the ear’s outer shape, resembling a small, rounded “C” shape. Add some internal details, such as the inner curve and the earlobe. The ear should blend naturally with the hairline and the jaw.
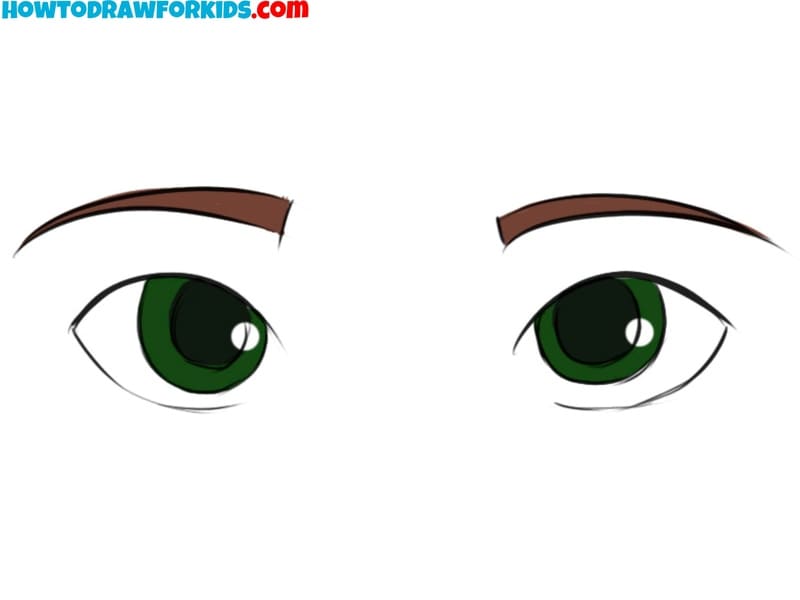
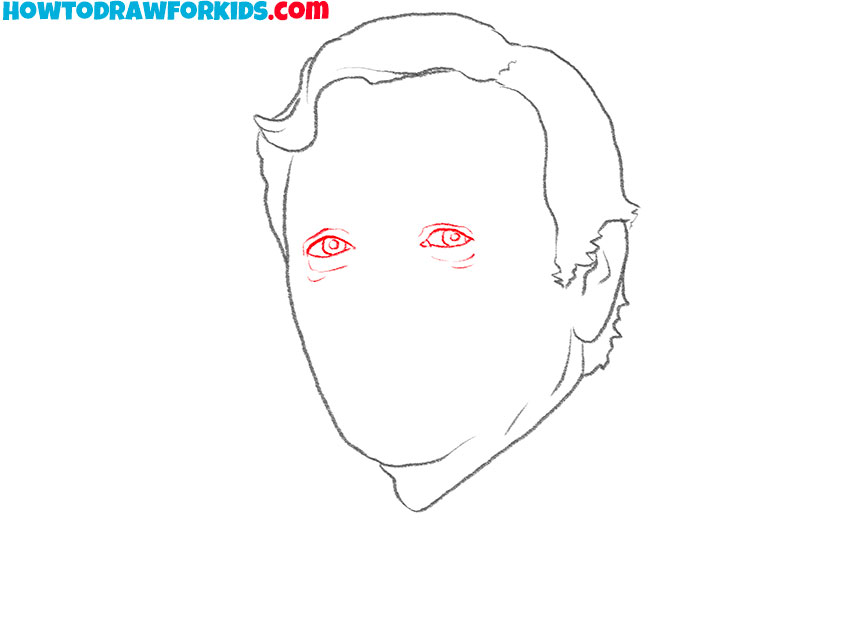
- Add the eyes of Charles Aznavour.
Place them roughly halfway down the face, ensuring they are evenly spaced. Draw almond-shaped outlines for the eyes, with small circles inside for the pupils. Pay attention to the placement and symmetry. Add a few lines above the eyes to suggest the eyelids and the creases around them.
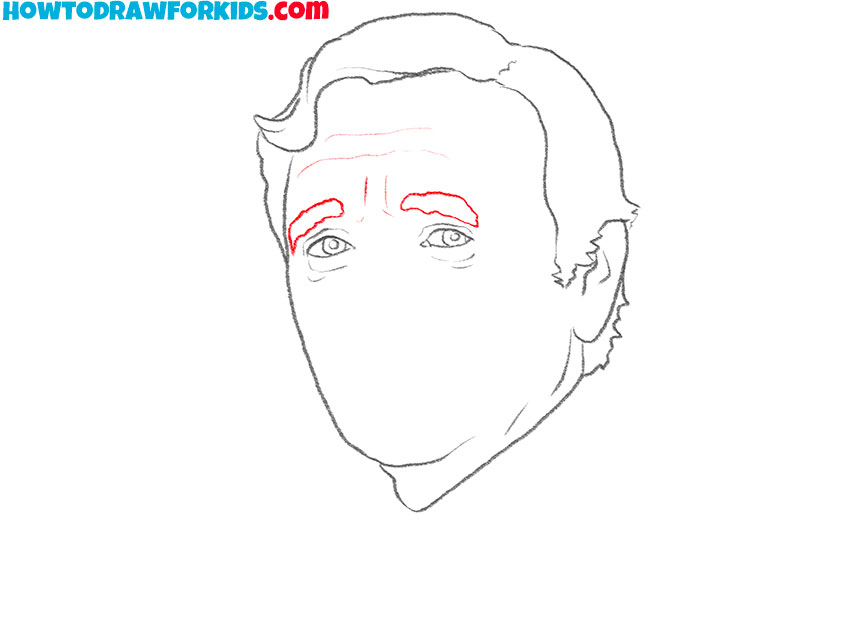
- Draw the eyebrows.
With the eyes in place, draw the eyebrows above them. Position the eyebrows just above the eye sockets, following the natural curve of the brow bone. Charles Aznavour’s eyebrows are expressive and slightly arched, so use smooth, curved lines to outline them.
- Illustrate the nose.
Begin by sketching the bridge of the nose, starting between the eyebrows and extending downwards. Add a slight curve to indicate the tip of the nose, and draw the nostrils on either side. Draw subtle shapes and contours that capture Charles Aznavour’s features.
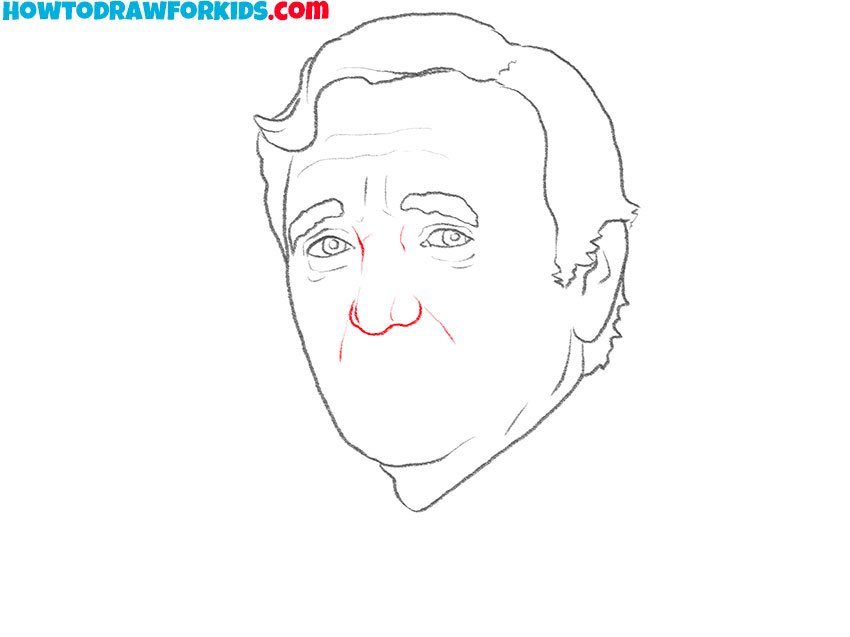
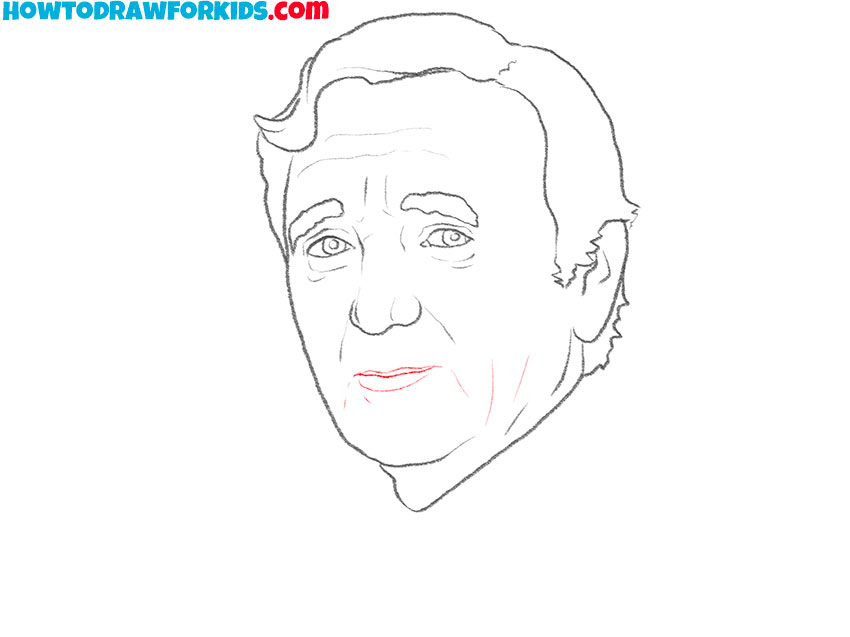
- Sketch the mouth.
Draw the mouth below the nose, about halfway between the nose and the chin. Start with a gentle curve for the upper lip, followed by a slightly fuller curve for the lower lip. Charles Aznavour often has a serene, almost melancholic expression, so capture that in the shape of the mouth.
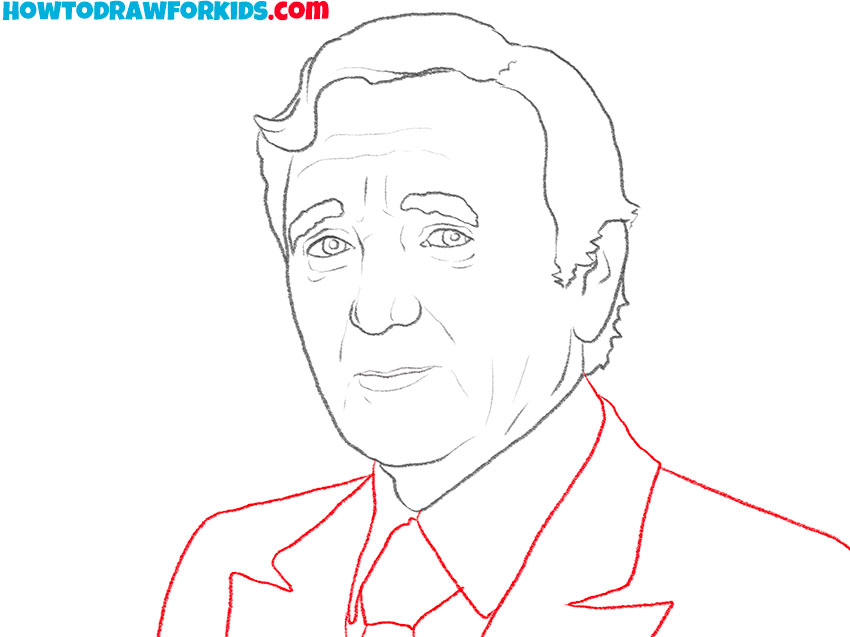
- Add the shoulders and clothes.
Sketch the shoulders with smooth, slightly sloping lines extending outward from the base of the neck. Add the collar for his shirt using a few simple lines to indicate the edges and folds of the fabric. Using short lines draw the lapse of the jacket and the tie.
- Color the Charles Aznavour drawing.
Use light skin tones for the face. You can use slightly darker shades for the shadows and contours. Color the hair with shades of gray or brown, depending on the reference, adding highlights to reflect light. Use a soft pink or red for the lips. Color the clothing in appropriate shades.

Additional Content
I’m excited to share that I’ve created a free PDF file for this drawing lesson. It’s a concise version of the tutorial, perfect for those who prefer to practice offline. You can easily download it and enjoy learning how to draw Charles Aznavour anytime, anywhere, without the need for an internet connection.
Become a Portrait Master Drawing Charles Aznavour
Using multiple reference photos can help improve accuracy and detail in your drawing. Different angles and lighting conditions provide a comprehensive understanding of Aznavour’s features. Compare these references to ensure accuracy in your portrait. Reference photos can guide you in capturing subtle details that may be missed from a single image.
The eyes are a crucial element of any portrait. Correct the detail in the eyes, ensuring they reflect light and convey emotion. Add subtle lines to indicate the texture of the iris and the reflection on the pupils. Illustrating the eyes and capturing Aznavour’s expressive gaze will make your portrait more realistic.
Spend extra time refining the mouth and smile. Aznavour’s gentle smile is a defining feature, so ensure the curves and lines of the lips are accurate. Add subtle shading to give the lips volume and texture, and pay attention to the way the smile affects the surrounding facial muscles. Illustrating the nuances of his smile can greatly improve the likeness and warmth of your portrait.
Focus on correcting the texture of the hair to make it appear more realistic. Observe the direction and flow of Aznavour’s hair, adding finer details and individual strands. Use different pencil strokes to create a natural look, and incorporate highlights and shadows to give the hair volume.
Adding a simple background can improve your drawing by providing some context. Consider a neutral or softly textured background that complements the portrait without overwhelming it. You could also include elements that relate to Charles Aznavour, such as a stage, microphone, or musical notes, to make the overall composition more interesting.
Conclusion
Charles Aznavour was one of the most influential musicians of the 20th century. This tutorial was not only a way to show you how to draw a portrait, but also a way to introduce you to this great man.
But this is not the only one portrait of a well-known person on my site. There are a lot of portrait tutorials waiting for you. For instance, why not try the lesson on how to draw Queen Elizabeth?
If you enjoyed this tutorial on how to draw Charles Aznavour and found it helpful, please share it with your friends. Don’t forget to follow me on social media, so you’re always know about new tutorials. Your support helps me reach more people and continue creating cool and interesting for you.