How to Draw a Barrel
In this tutorial, you’ll learn how to draw a barrel in 8 easy steps, plus some extra tips for making your artworks even better.
How to Draw a Barrel: Introduction
Drawing a barrel can be a gateway to mastering more complex art techniques. Any artist starts not with drawing complex geometric figures, but simple ones like this barrel.
Studying the actual structure of a barrel, including its staves, hoops, top, and bottom, helps young artists create a more accurate and realistic drawing. This knowledge is really important for depicting structural details convincingly.
Focusing on differentiating between the textures of wood and metal trains the ability to render different materials realistically. This practice involves varied shading techniques for wood grain and metal sheen, which are also really important for detailed and textured drawings.
Barrel Drawing Tutorial
Materials
- Pencil
- Paper
- Eraser
- Coloring supplies (different shades of brown)
Time needed: 30 minutes
How to Draw a Barrel
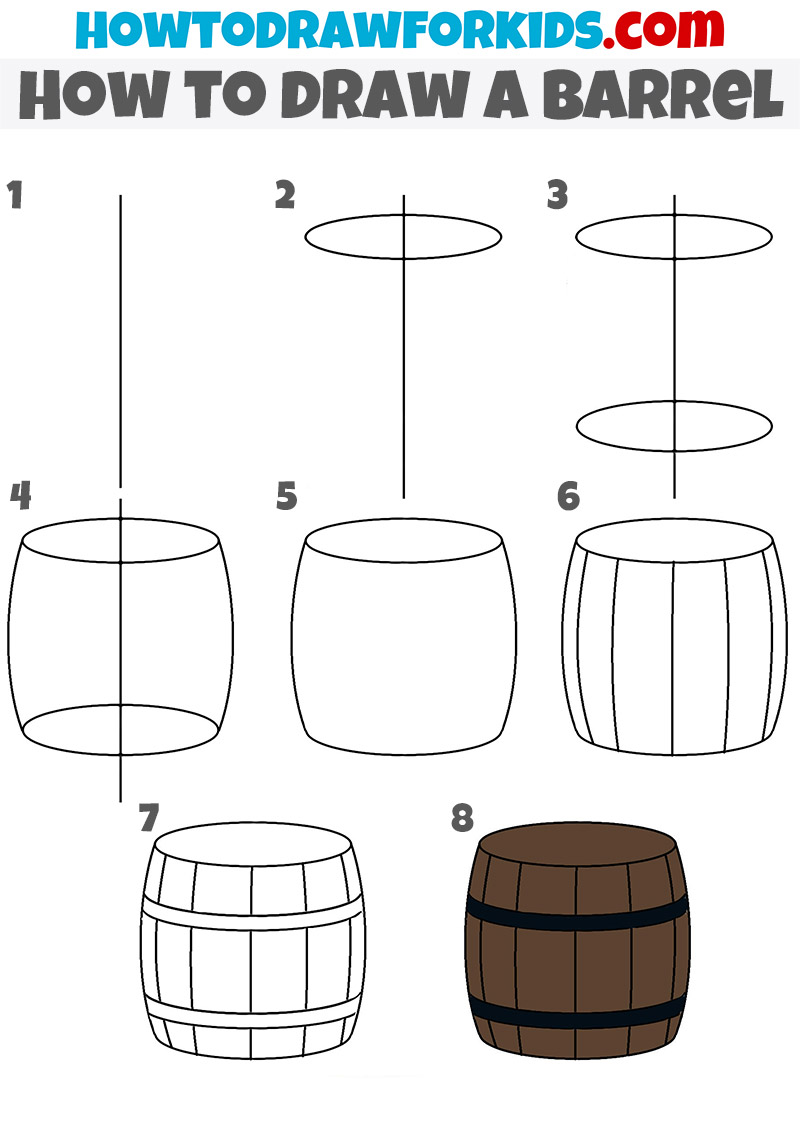
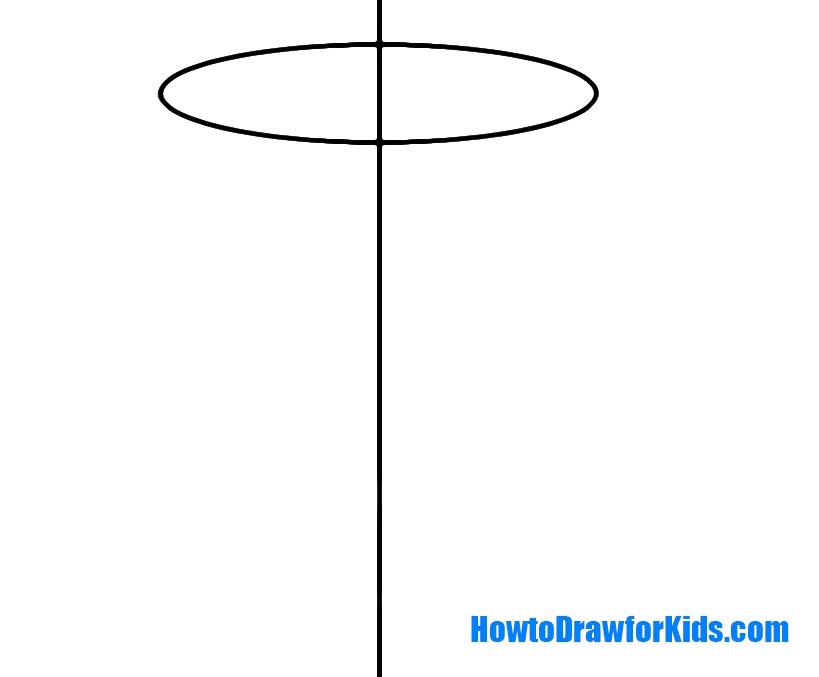
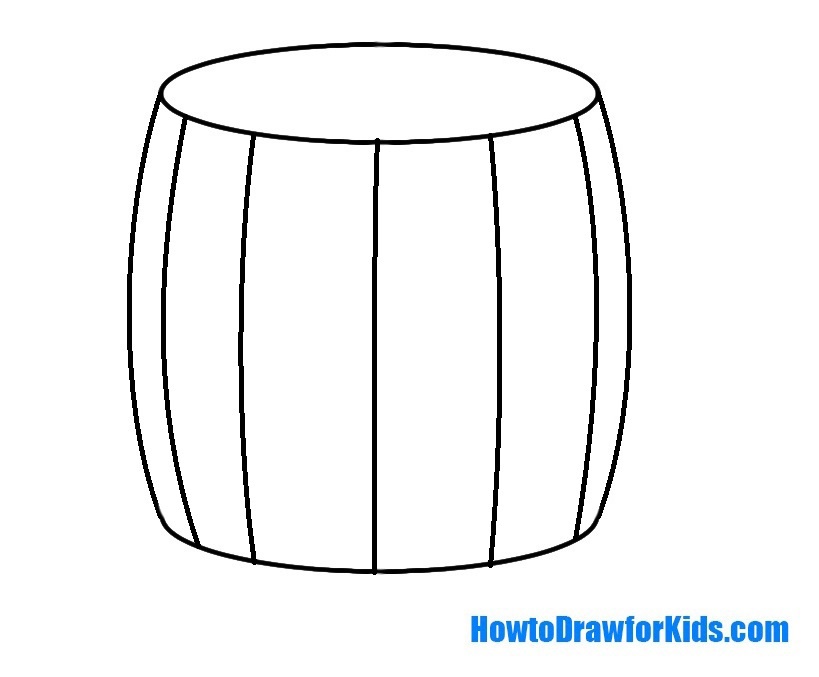
- Draw the central axis line for the barrel.
Begin with a simple vertical line drawn from top to bottom. This line will serve as the central axis and guide for your barrel, ensuring symmetry in your drawing. Make sure the line is straight and placed in the center of your drawing area to provide a balanced reference for the subsequent steps.
- Draw the top of the barrel.
At the top end of the vertical line, draw a horizontal oval shape. This represents the top opening of the barrel. The oval should be aligned symmetrically around the central vertical line and should be of moderate thickness to indicate the lip of the barrel.
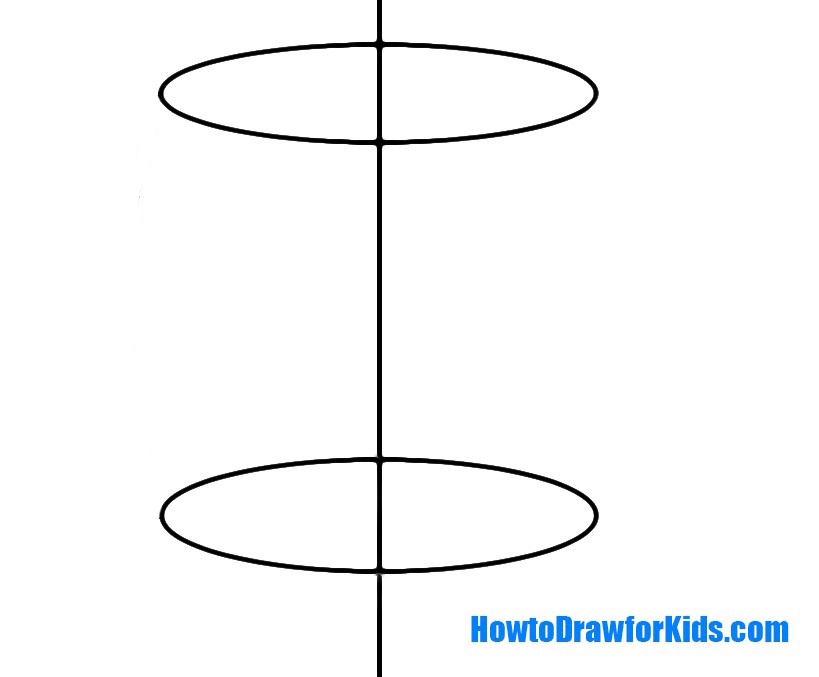
- Draw the bottom of the barrel.
Below the first oval, and spaced evenly, draw a second, slightly wider oval. This will create the illusion of the barrel’s bottom. In my example, the lower part of the barrel is slightly wider than the top; such barrels can often be found in different parts of the world. But you can draw the bottom and top ovals the same size.
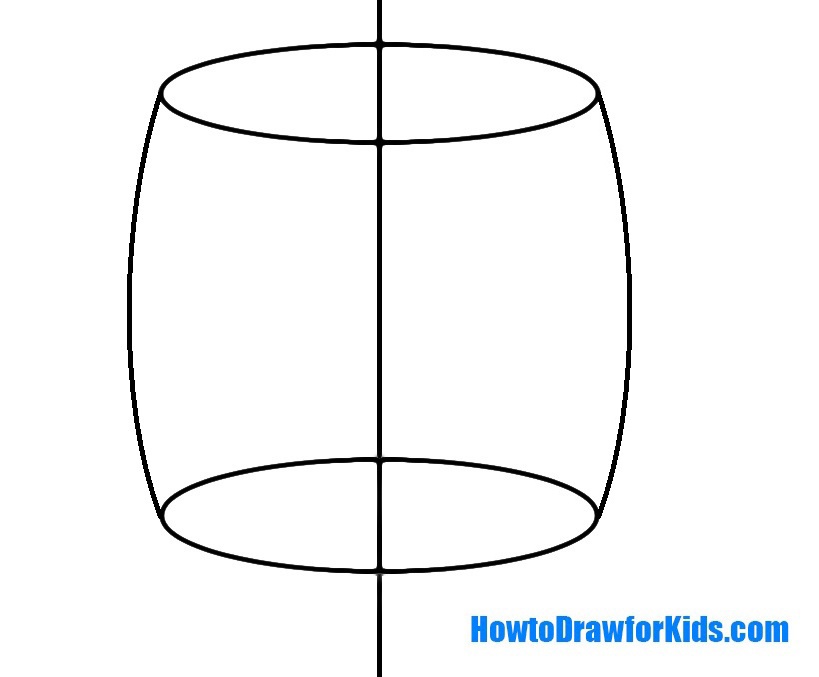
- Add the side edges.
Connect the top and bottom ovals with two slightly curved lines on each side of the vertical line. These lines should bow outward, mimicking the shape of a barrel, and should be smooth to create a natural wooden barrel look. This completes the basic outline of the barrel’s body.
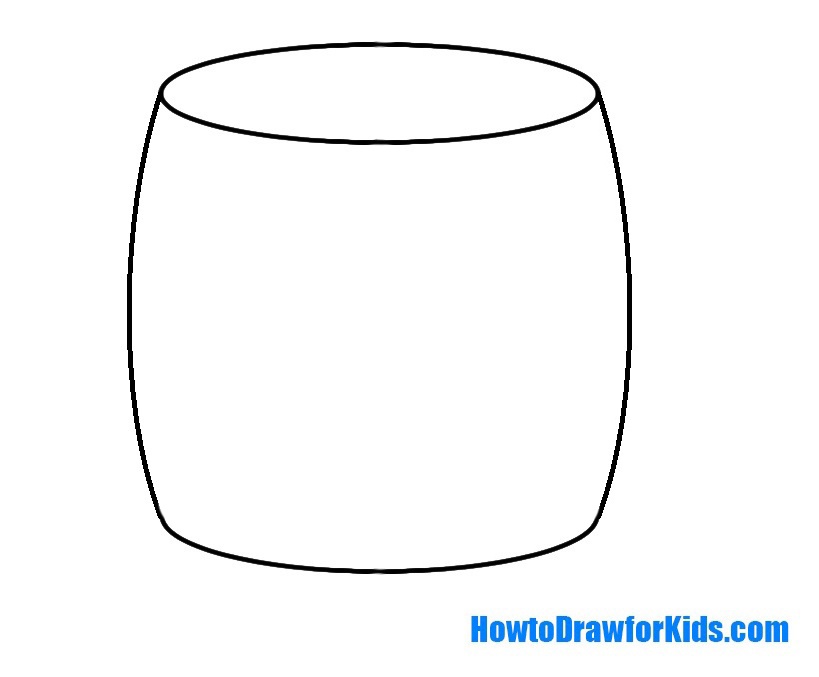
- Erase the guidelines and check the drawing.
Now, refine the outline of the barrel by smoothing the curves and making sure the sides are symmetrical. This stage involves adjusting any uneven curves or bumps to create a more polished and realistic barrel shape.
- Add the lines of the wooden stives.
Inside the barrel’s outline, draw vertical lines spaced evenly apart from top to bottom oval. These lines represent the wooden staves that make up the barrel’s structure. Ensure the lines are parallel and equally spaced to maintain a realistic look, and that they slightly follow the curvature of the barrel.
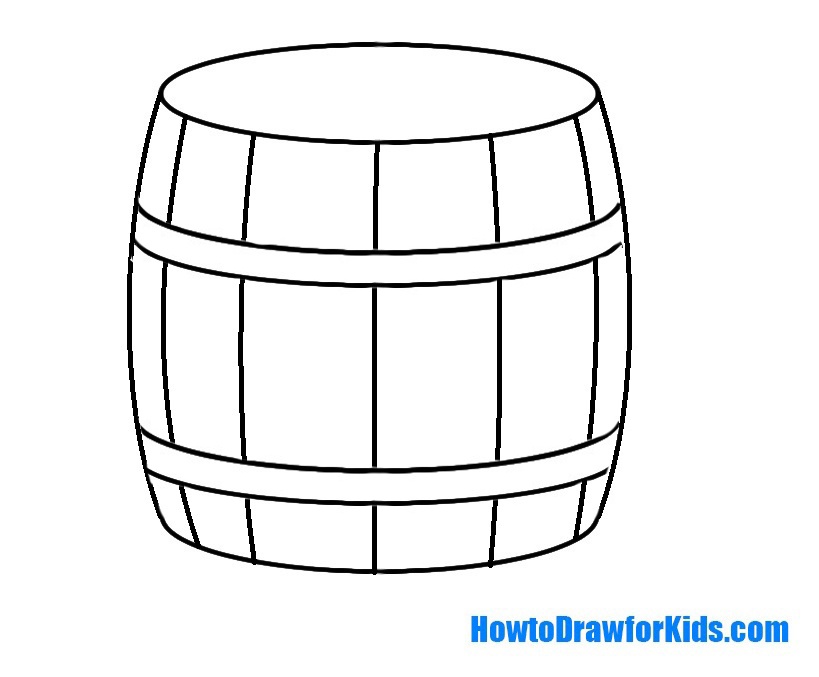
- Draw the hoops on the barrel.
Add horizontal bands, known as hoops, around the barrel. Draw two bands near the top and bottom of the barrel and possibly one in the middle, depending on the barrel’s design. These bands should curve around the barrel’s body and appear tighter near the edges to depict the tension that holds the staves together.
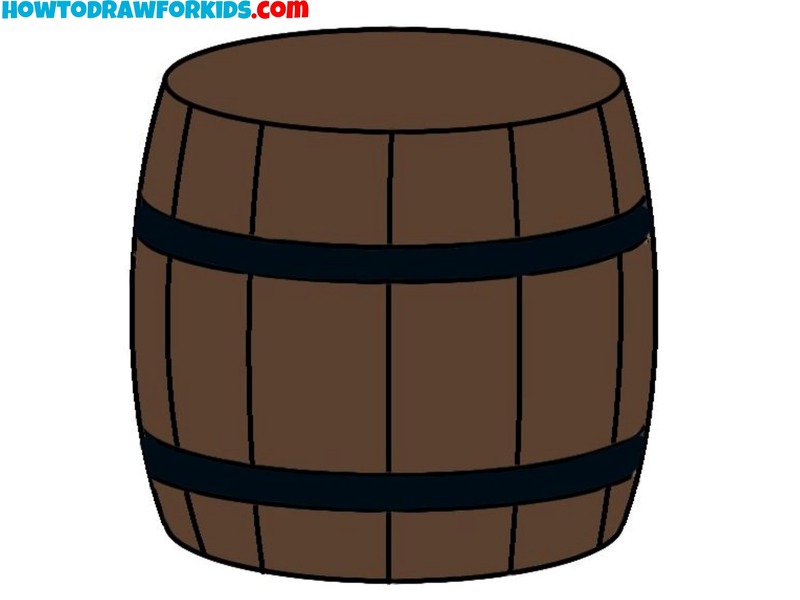
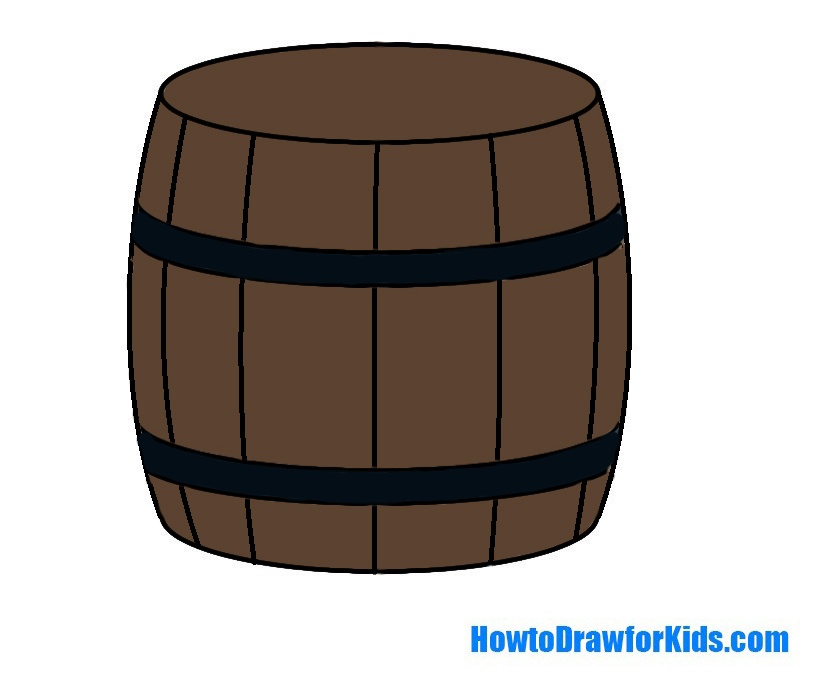
- Color the barrel drawing.
Shade and color the barrel to give it a three-dimensional appearance. Use different brown tones to represent wood, and a darker color like black or charcoal for the hoops. You can add shades, light and shadow to make your barrel drawing look more lifelike. You can also depict the texture of wood on the staves.
How to Enhance Your Barrel Drawing Abilities
In concluding this lesson, here are some valuable tips and tricks to train your drawing skills further.
When starting to sketch the barrel, consider the perspective. A slightly angled view can add dynamism to your drawing. As you sketch the staves curving around the form, remember that the lines should subtly converge at the edges, creating a realistic look. The curves are the spirit of the barrel’s structure, and getting them just right is key to the overall effect.
Next, pay attention to the texture. Use a variety of pencil strokes to mimic the wood grain; cross-hatching works well for this. Keep in mind the direction of the wood grain – usually vertical, following the barrel’s height, which helps in visualizing its cylindrical shape.
For the hoops, ensure they’re proportional and wrap around the barrel’s bulge accurately. They should look like they’re squeezing the wood, which requires a bit of shading to show that the wood is being pressed. These small details can make a big difference in how authentic your barrel appears.
As for the final touches, shadowing beneath and around the barrel is really important. It grounds the object and gives it weight. Watch where the light falls and which parts should remain bright or fade into the dark. The shadows cast by the hoops can also be quite telling of the light source’s direction and the environment around the barrel.
Lastly, incorporate the barrel into various scenes to practice its interaction with other objects and surroundings. This practice will improve your drawing of a barrel and help you understand its place within a larger composition. Over time, these detailed practices will train your drawing skills.
Conclusion
Don’t let the barrel be your last creation. A lot of of sketches is waiting for you – the rustic lines of a desert cactus or the soothing curves of a beach scene, for instance.
Subscribe to my social media to ensure you receive timely updates on new drawing tutorials. Each notification keeps you informed about the latest educational content, providing continuous opportunities to improve your skills.
Also, please share in the comments which subjects or scenes you want to draw. Your suggestions help shape my content, ensuring I create future tutorials to align with your drawing interests.