How to Draw an Alarm Clock
Now I will show you how to draw an alarm clock. You will acquire new artistic skills that will be useful in the future.
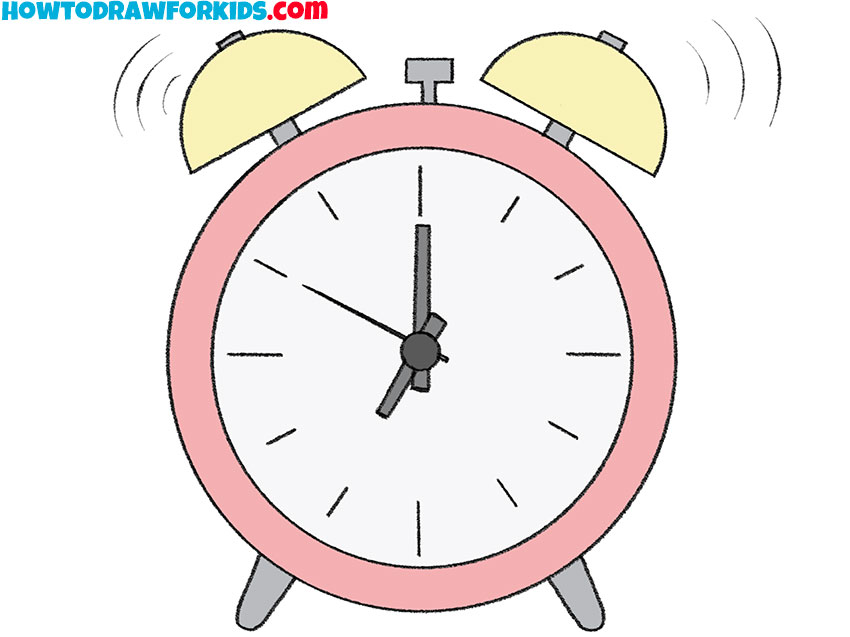
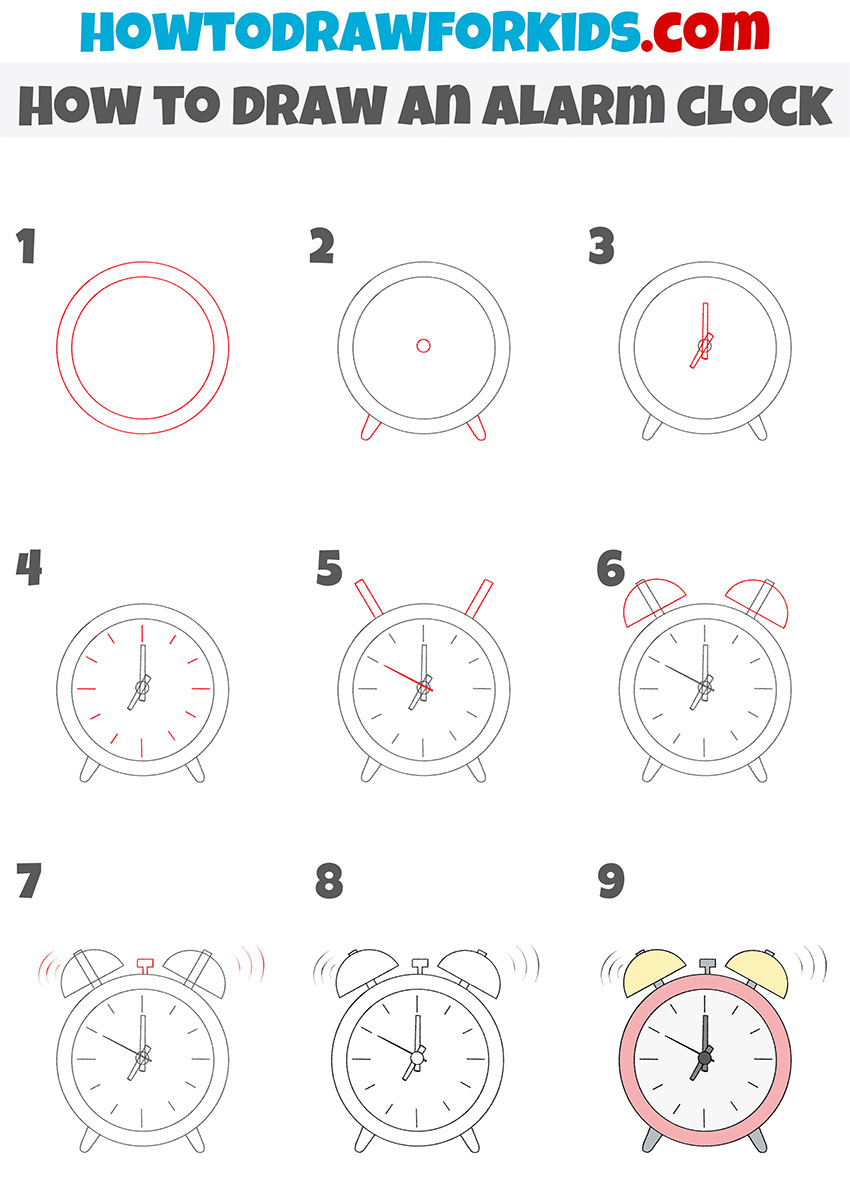
With the help of a simple instruction, I want to show you how to draw an alarm clock step by step. An alarm clock is a clock that beeps at a given time. It is with the help of an alarm clock that a person wakes up at the right time so as not to be late for work or school. Sometimes an alarm can be used as a timer.
This lesson will be very useful for you, as you will once again practice drawing simple geometric shapes. Your main task is to draw a smooth outer contour of the alarm clock, maintain symmetry and correctly position the divisions on the dial.
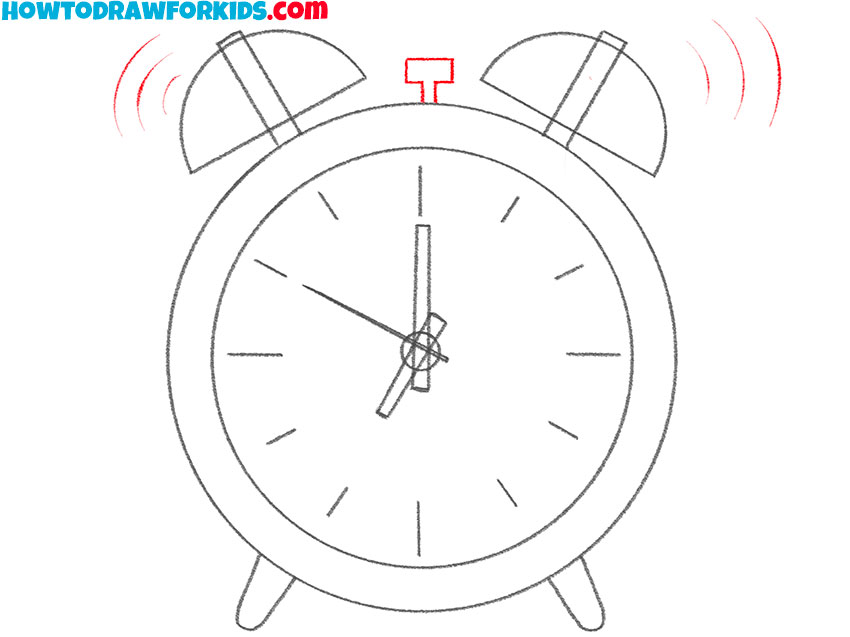
Take your time during this lesson, carefully draw all the lines that are marked in red. To color the alarm clock, you can use the colors that are suggested in the instructions or any other colors of your choice.
Alarm Clock Drawing Tutorial
Materials
- Pencil
- Paper
- Eraser
- Coloring supplies
Time needed: 30 minutes
How to Draw an Alarm Clock
- Draw the inner and outer outline of the alarm clock.
Determine the size of your drawing and draw two even circles of different diameters.

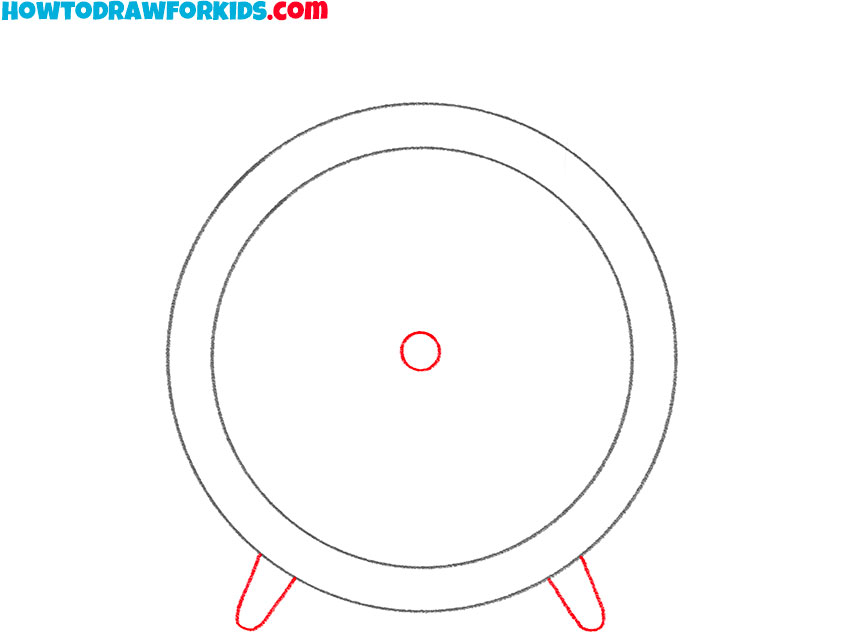
- Mark the center and add the legs.
Determine the center of the alarm clock and draw a small circle, add two legs at the bottom.
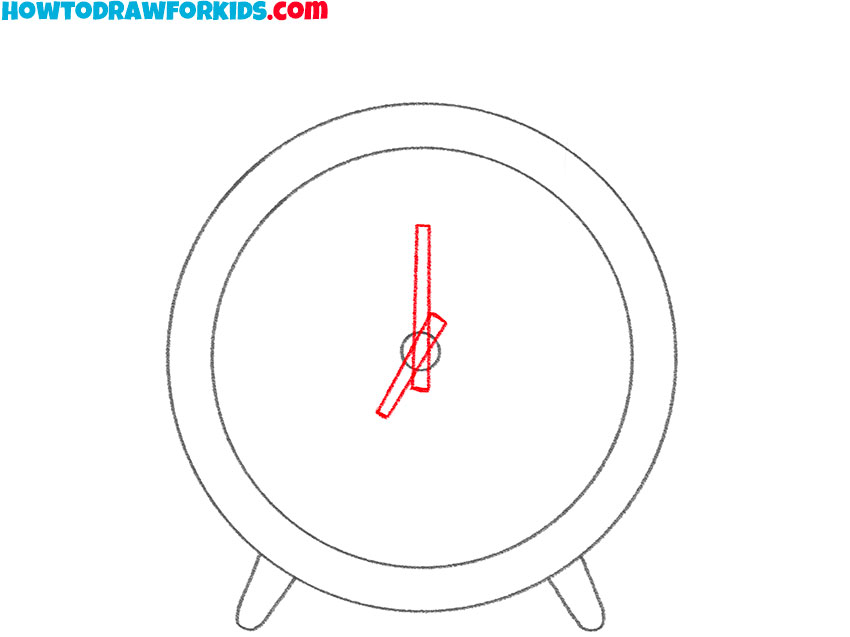
- Sketch out the arrows.
Draw two arrows of different sizes, which have the shape of an elongated rectangle.
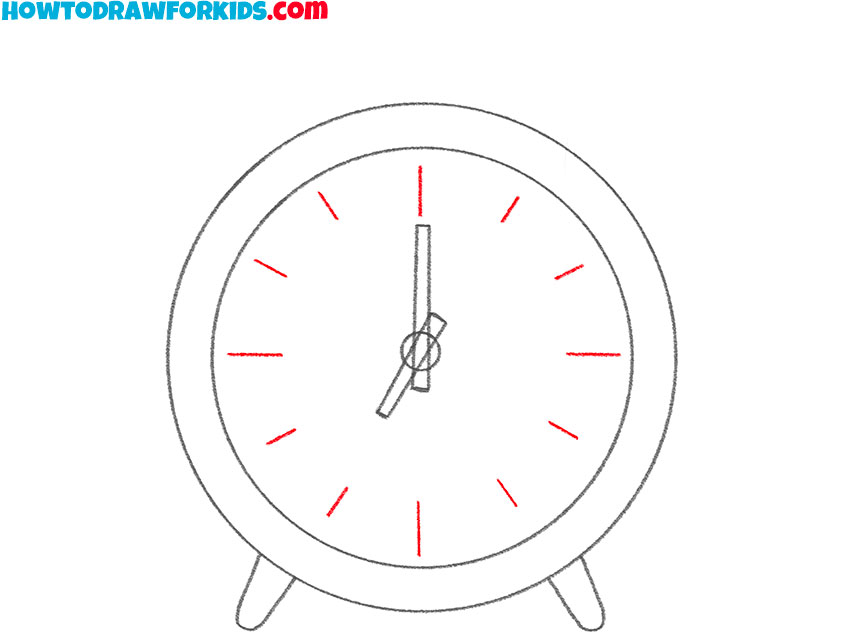
- Add the divisions to the watch face.
Use short strokes to mark the divisions on the dial. Make equal spaces between divisions.
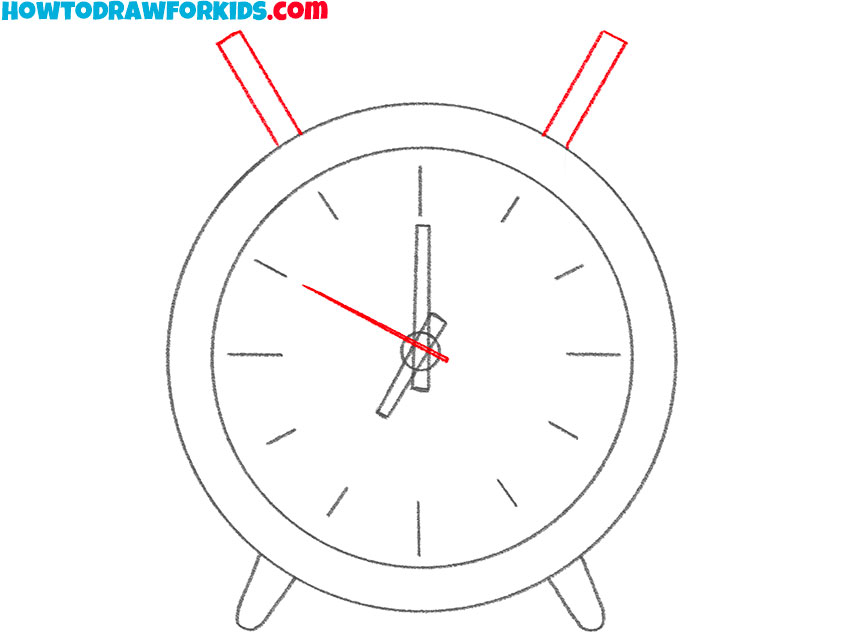
- Depict the arrow and bell bases.
Draw the thin arrow and add two elements in the form of elongated rectangles at the top.
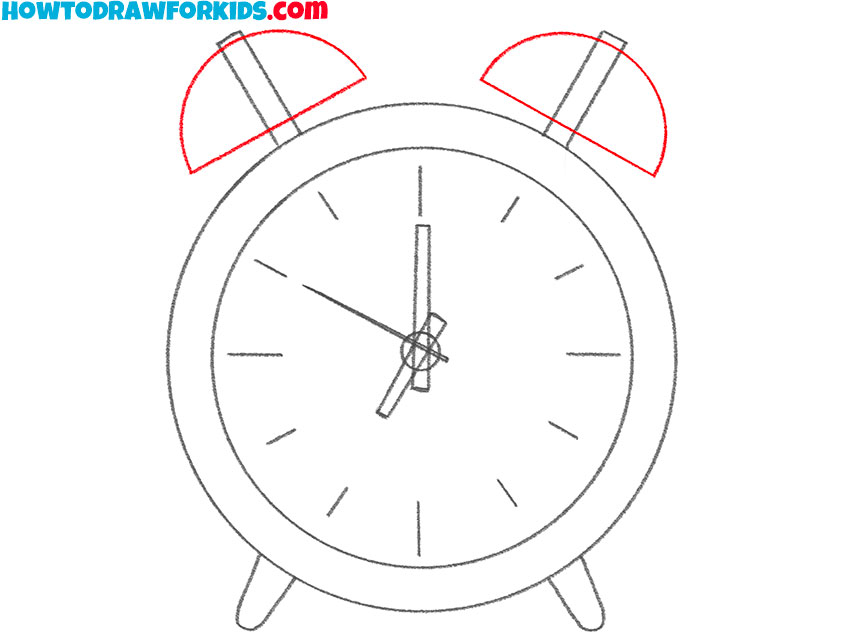
- Add the bell bowls.
At the top, add two shapes in the form of semicircles.
- Draw the button and acoustic waves.
Sketch out the small button at the top. On the sides, add a few thin semicircular lines.
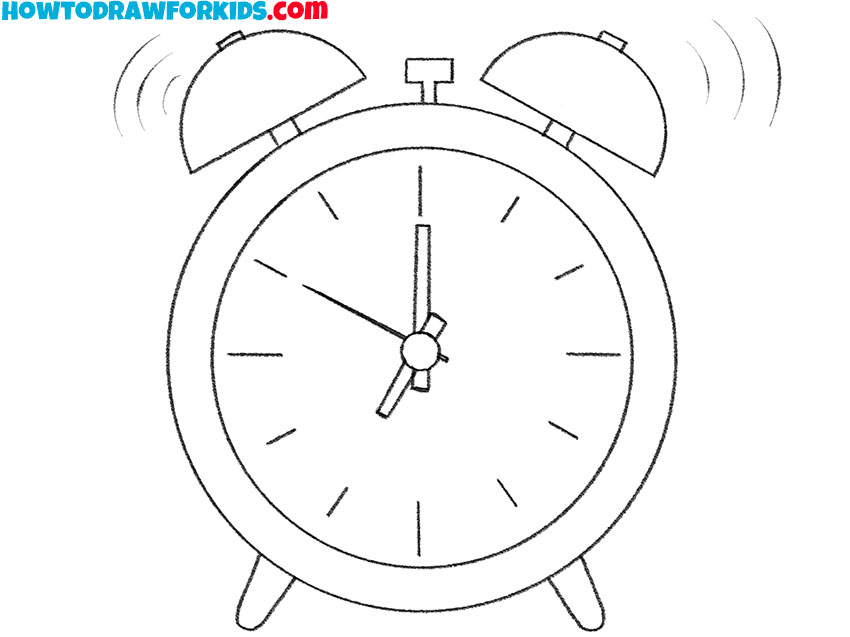
- Correct inaccuracies.
Carefully remove all extra lines in your drawing.
- Color the drawing.
You will need pink, beige, and gray.
You can now download a free PDF file that contains a simplified version of this walkthrough. Thus, you can return to the lesson and do it again at any convenient time.