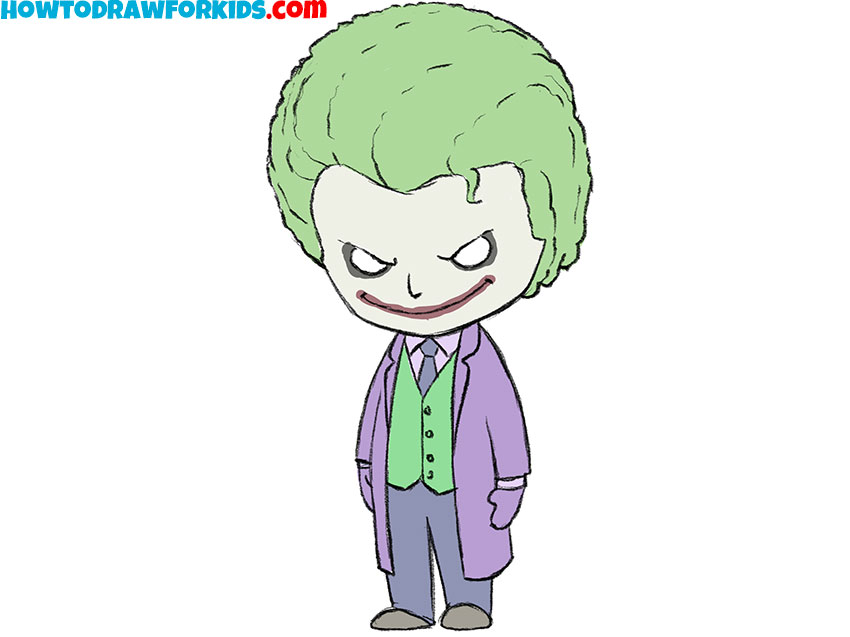
How to Draw a Villain
This step-by-step tutorial will show you how to draw a villain who looks like he came straight from the pages of a comic book, using a familiar character as an example.
Prepare to Draw a Villain
In this tutorial, I’ll show you how to draw a comic book villain using the Joker as an example. I’ve already created a tutorial on how to draw the Joker, but this guide has a different goal.
Instead of focusing on the specific details of this character, we’ll look at the features that make a character look like a villain.
As we go through the drawing, I’ll point out the features that create a sinister appearance. These ideas can be used not only for the Joker but also for many other villains from comics, movies, games, and cartoons.
Be sure to read the section at the end of this tutorial. There I’ll explain the main principles of drawing villains and show you how to apply the same approach when creating completely different characters.
Step-by-Step Villain Drawing Tutorial
Materials
- Pencil
- Paper
- Eraser
- Coloring supplies
Time needed: 40 minutes
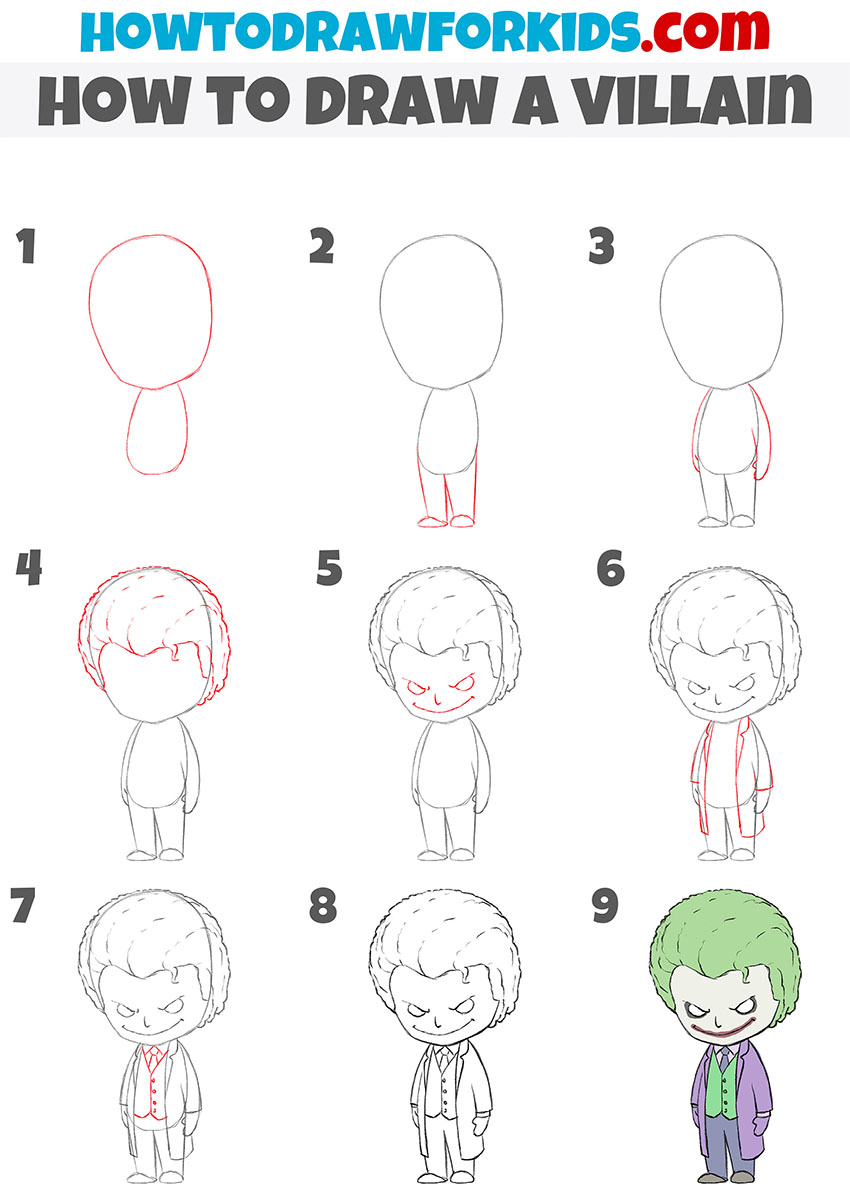
How to draw a villain step by step
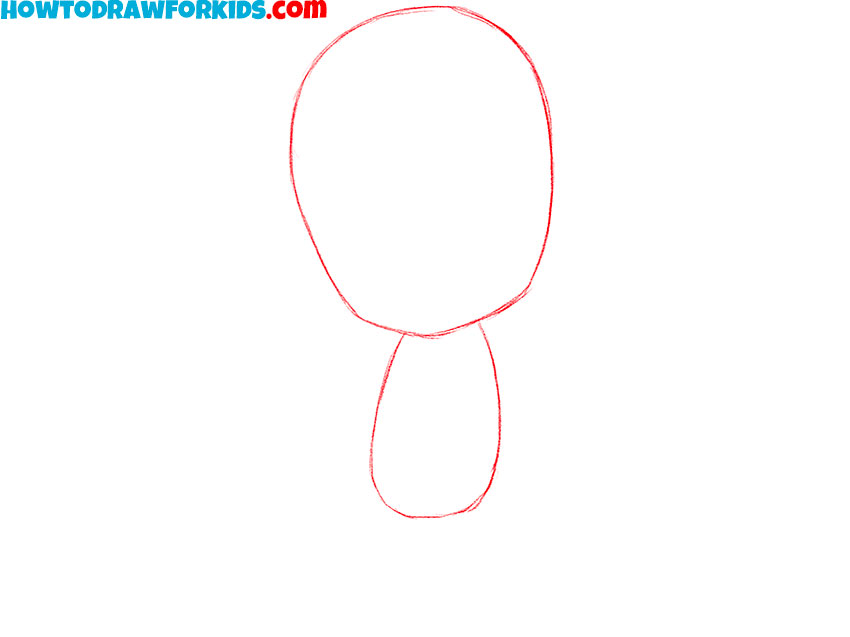
- Sketch the head and torso of the villain.
First, draw the head as an oval, connected to the oval for the torso. This step is about establishing the basic structure of the character.
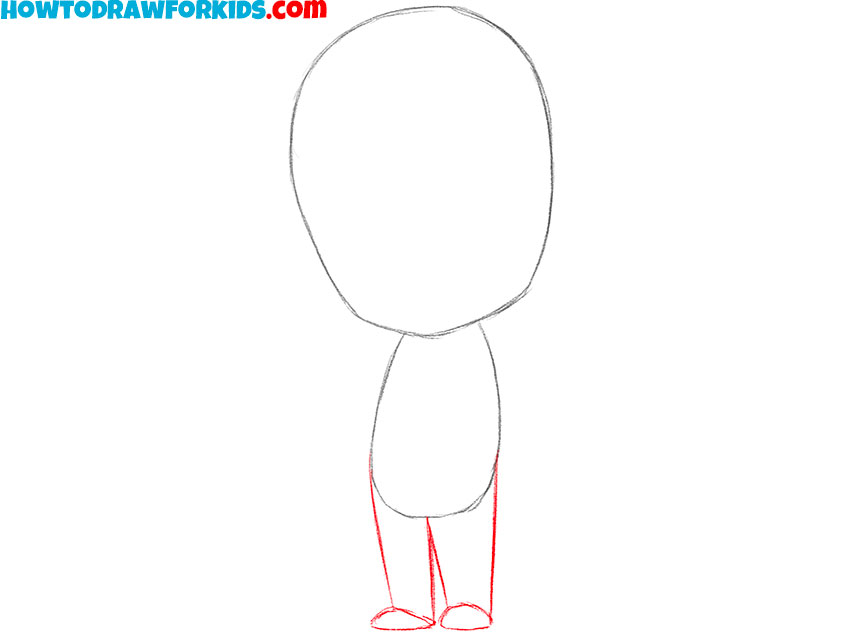
- Draw the legs.
Draw the villain’s lower limbs with two simple lines beneath the torso, carefully positioning them to provide a stable base for the character’s stance, which is crucial for the overall posture of the villain.
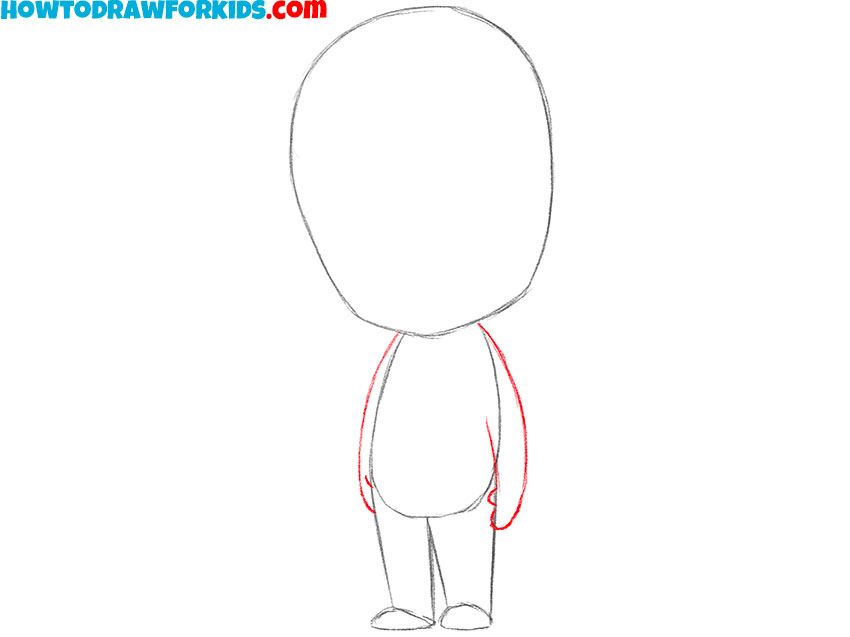
- Draw the arms of the villain.
Illustrate the arms with gently curved lines on either side of the torso. Using very simple lines draw the hands as shown in my example.
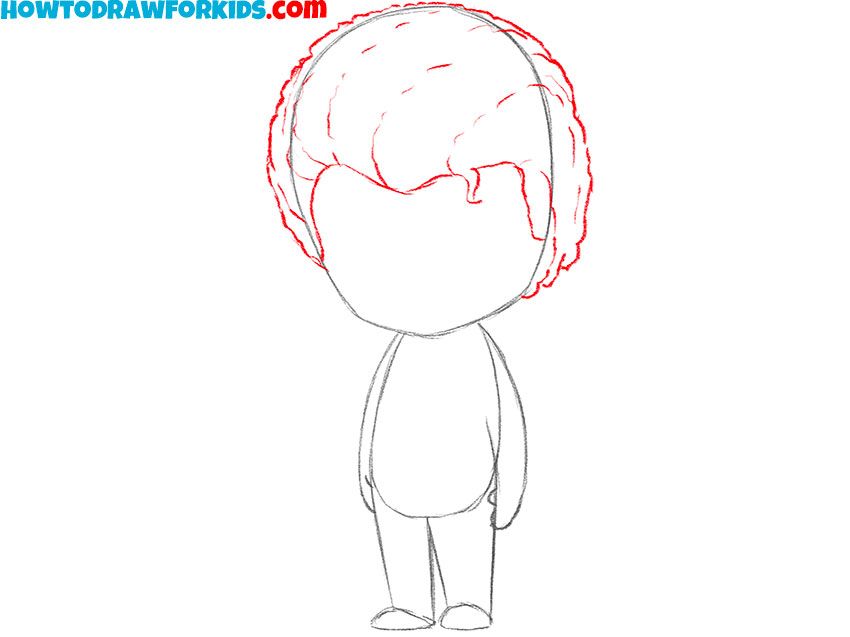
- Draw the hairstyle.
Next, sketch the hairstyle, which plays a key role in shaping the villain’s identity. Sketch a bold, wavy outline that adds personality to the character
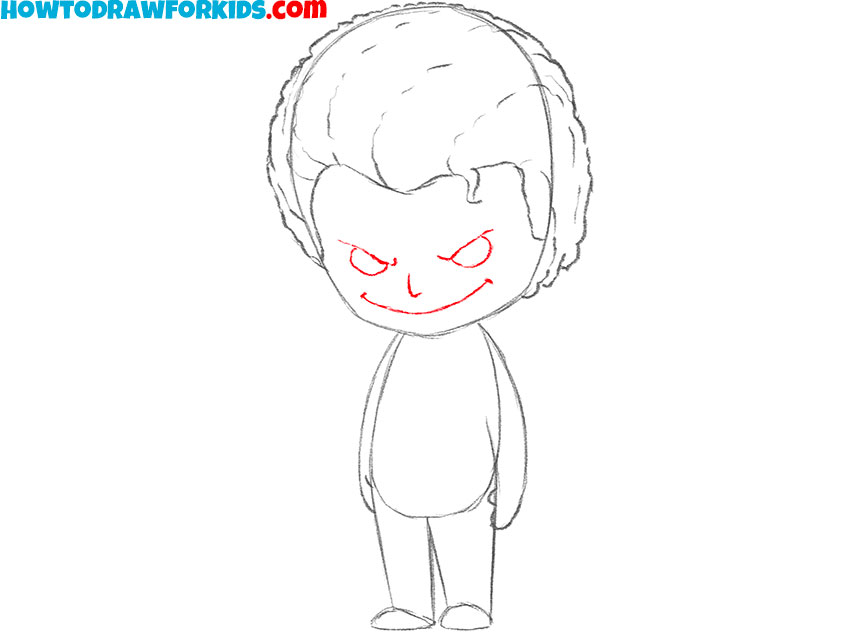
- Detail the face of the character.
Draw two menacing eyebrows angling downwards. Next, draw the evil eyes, and a frowning mouth to convey a malevolent personality. Add creases or other details to accentuate their wicked expression.
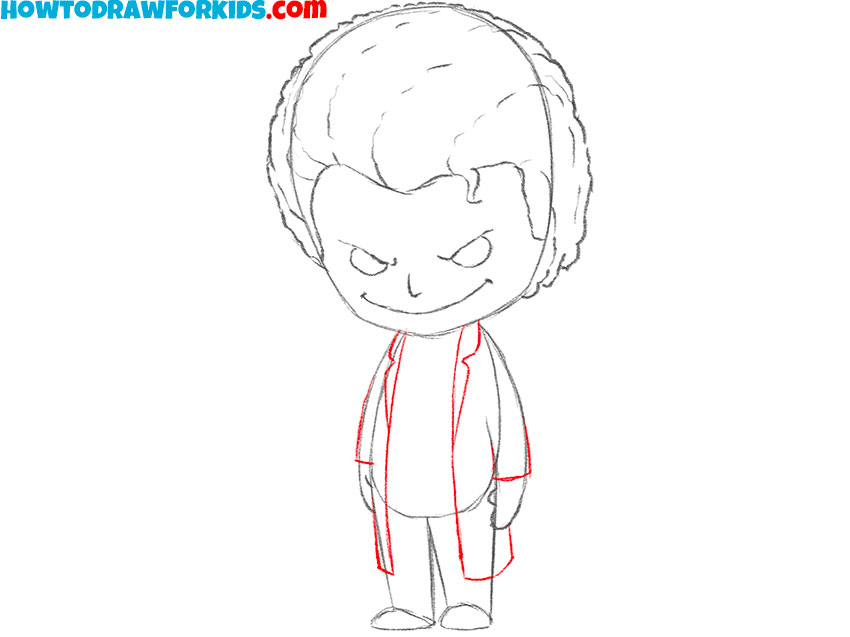
- Add the coat.
Sketch the coat, starting from the shoulders and flowing down on each side. Include indications of the coat’s collar and the way it hangs on the body.
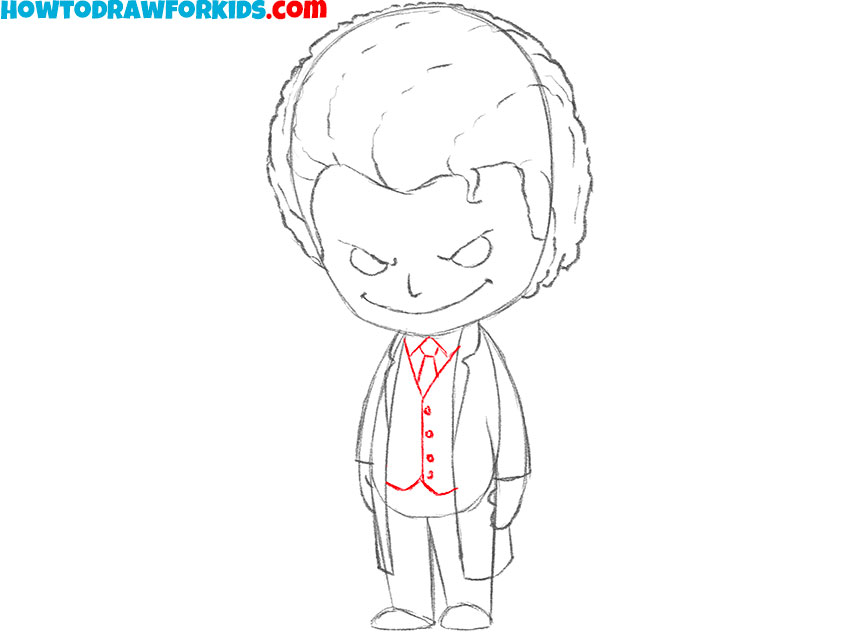
- Detail the clothes of the character.
Add intricate details to the clothing, such as a crisp shirt collar, a decorative tie, and the distinct lines of a waistcoat under the coat.
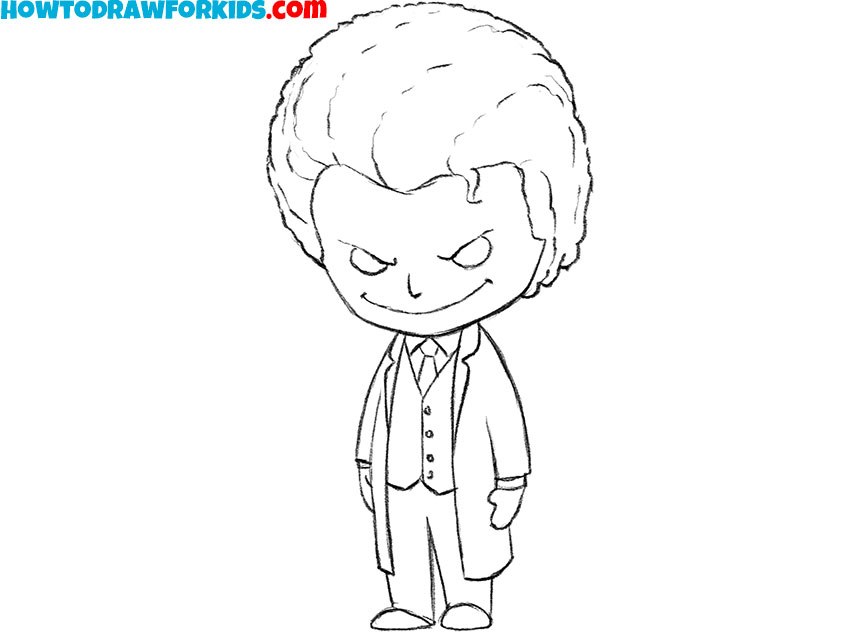
- Erase the initial guidelines.
Now, remove all the preliminary sketches, erasing the guidelines you initially drew. This will leave you with the clean, sharp lines that define your villain, setting the stage for the final step.
- Color your villain drawing.
Apply color thoughtfully: choose a palette that reflects the villain’s personality, perhaps with a green or purple to suggest a classic comic book antagonist’s attire.

Watch the Full Video Tutorial
Additional Content
I’ve also prepared a free PDF version of this tutorial. It includes a simplified lesson, a coloring page, a tracing worksheet, and a grid drawing worksheet.
Download it using the link below and practice drawing this villain anytime, even without an internet connection.
Draw Your Own Comic Book Villain
Although every villain has a unique design, most of them share a few common visual features. In this tutorial, you can see that the Joker has narrow eyes, sharply angled eyebrows, and a wide grin.
Even if you remove his famous colors and clothing, these facial features alone make him look unsettling.
When you create your own villains, pay close attention to the expression. A slight change in the eyes or mouth can completely change the mood of the character.
Clothing and hairstyle also play an important role. Villains are often drawn wearing long coats, capes, suits, armor, or other outfits with sharp silhouettes and strong contrasts.
Hairstyles are usually exaggerated as well, making the character look like real villains. Bright colors, unusual accessories, scars, face paint, or distinctive makeup can all help make a villain memorable.
You can use these same ideas when drawing almost any villain. By combining these elements in different ways, you can create your own original villains instead of simply copying existing ones.
Villains Drawing FAQ
Below are some of the questions my students most often ask during my villain drawing lessons. If you have similar questions, you may find the answers below helpful before creating your own villain characters.
Simple shapes make it easier to place all the parts of the body before adding the details. This helps keep the drawing look more professional and symmetrical.
There are no strict rules. Dark colors are common, but bright colors can work just as well if they match the character. The Joker is a good example of a villain with a colorful design.
No. Some villains look calm or even friendly at first glance. However, narrowed eyes, sharp eyebrows, or an unusual smile can still make the character feel intimidating.
You can draw a city street, an abandoned building, a dark alley, or any other setting that matches your villain.
What’s Next?
Now you know how to draw a comic book villain and understand the main visual elements that make a character look truly villainous.
You also learned how these ideas can be used to create your own original characters and explored some of the most common questions about drawing villains.
The next step is to draw the opposite type of character. Be sure to visit my tutorial on how to draw a superhero, where I show how to create a classic comic book hero.
After trying both tutorials, you’ll have a much better understanding of what makes heroes and villains look so different and how to use those ideas in your own drawings.
I hope you enjoyed this tutorial and had fun drawing your own comic book villain. If you liked this guide, share it with your friends, classmates, parents, or art teacher so they can draw along with you. It’s always more fun to practice drawing together.
Don’t forget to follow me on social media, where I regularly share new drawing tutorials and updates. If you have an idea for another lesson, leave a comment below. I read your suggestions and often use them when planning future tutorials.