How to Draw a Bee
Learn how to draw a bee and train your art skills with four really simple step-by-step tutorials and additional materials.
How to Draw a Bee: Basic Information
This tutorial provides a really simple approach to learn how to draw a bee, making it easy for kids and beginners to follow and create a recognizable honeybee. It’s a great starting point for anyone interested in learning to draw insects.
One of the most important features of a honeybee is its striped abdomen. This tutorial teaches how to create even, curved stripes that follow the body’s contours, a skill that can be useful in various other drawing projects involving patterns and textures.
Drawing a bee helps in understanding the proportions between different parts of its body, such as the head, thorax, and abdomen. This knowledge can be applied when drawing other insects and small creatures.
Through drawing, one can learn about the anatomy of bees, including their segmented bodies, wing structure, and antennae, boosting your artistic and biological knowledge.
At the end of this lesson, you will also find additional tutorials that will help kids learn to draw a bee from different perspectives and using various sequences of steps, providing more complete method to mastering bee drawing.
Bee Drawing Tutorial
Materials
- Pencil
- Paper
- Eraser
- Coloring supplies
Time needed: 25 minutes
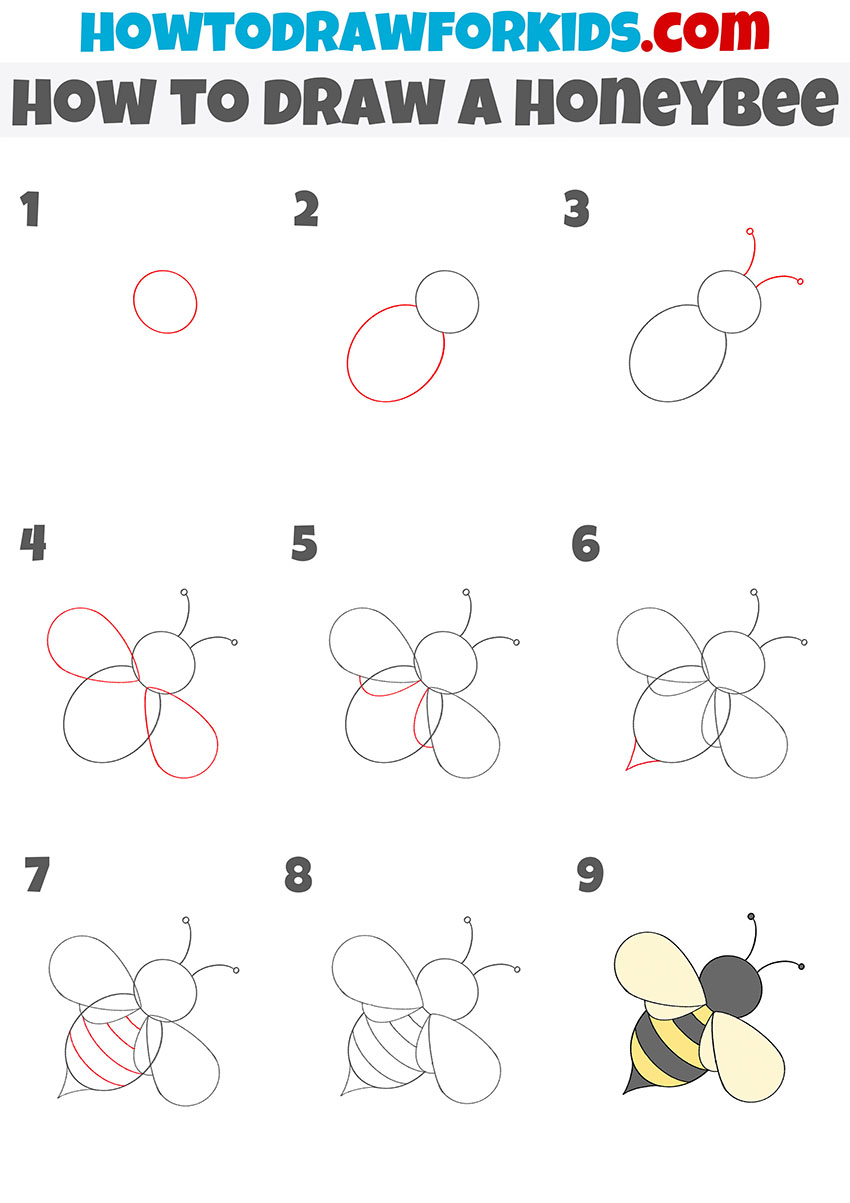
How to Draw a Bee Sep-by-Step
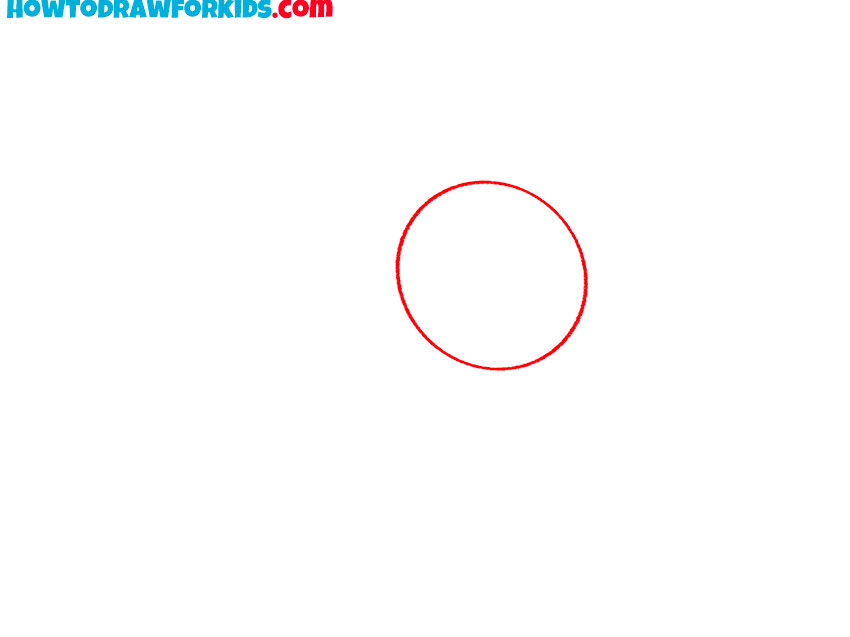
- Draw the head of the bee.
Start by drawing a small circle for the honeybee’s head. Position it slightly towards the upper right part of your drawing area. Make sure the circle is neat and even, as this will be the base for the head. This circle will serve as the reference point for the rest of the body, so take your time to get it right.
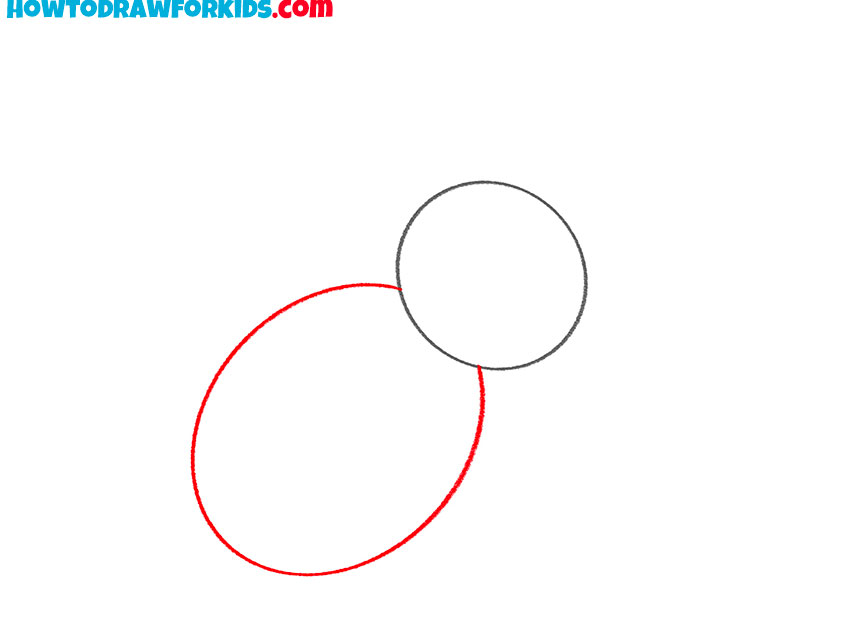
- Draw the abdomen.
Next, draw an oval shape attached to the lower left side of the head circle. This oval will represent the abdomen of the bee. Make sure the oval is slightly larger than the head circle but not too large. Position it so that it overlaps slightly with the head circle.
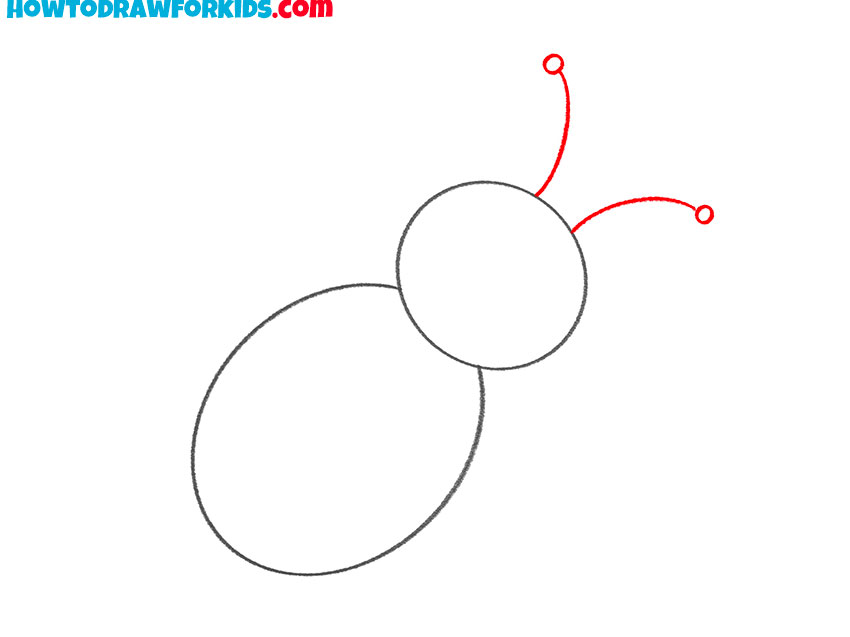
- Add antennae.
To add the antennae, draw two curved lines extending from the top of the head circle. Each line should curve gently outward and end with a small circle or dot. The antennae should be roughly symmetrical and of equal length. These lines represent the honeybee’s sensory organs.
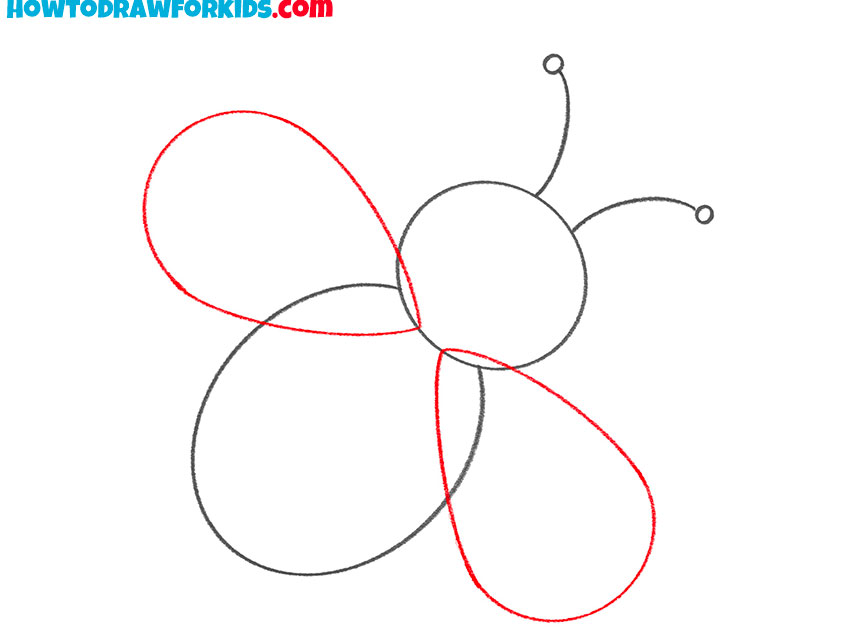
- Draw the forewings.
Now, add the forewings by adding two large, elongated oval shapes. Attach one to each side of the thorax, making sure they extend outward and upward. The wings should overlap slightly with the thorax and curve gently to give them a realistic look.
- Add the hind wings.
For the hind wings, add two smaller oval shapes below the forewings. These ovals should overlap slightly with the thorax and the forewings, extending outward and downward. The hindwings are smaller than the forewings, so make sure to draw them proportionally.
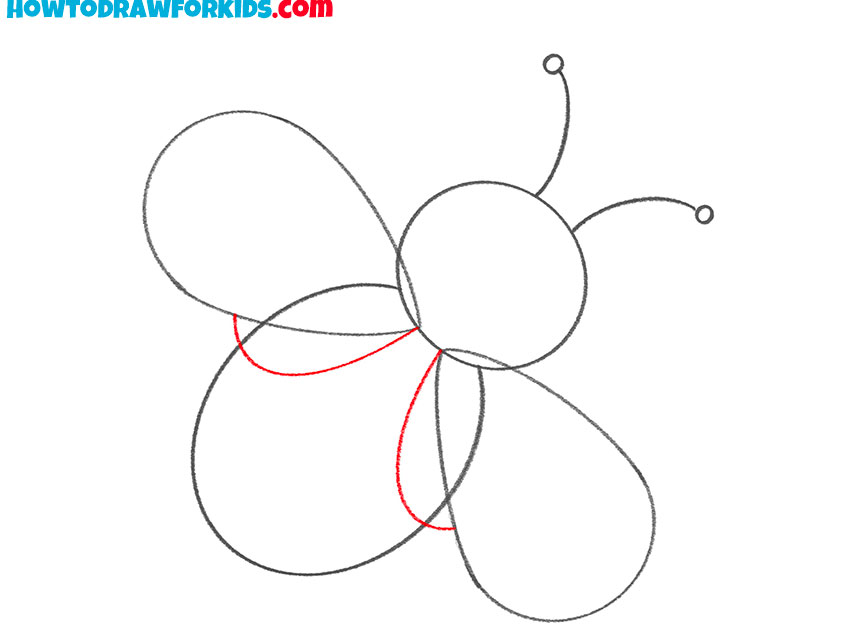
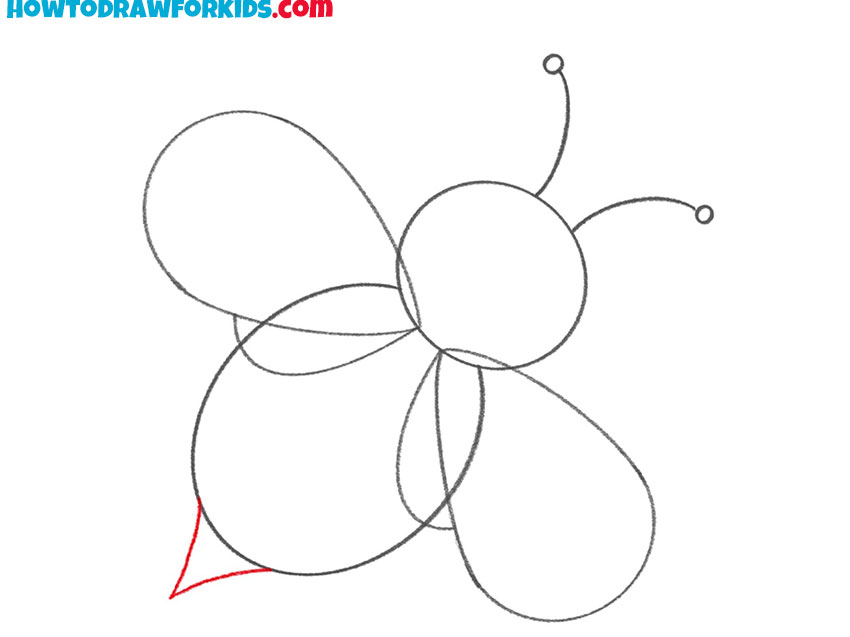
- Illustrate the sting.
To do draw the sting of the bee, draw a small, sharp triangle extending from the bottom center of the abdomen. The triangle should be narrow and pointed, resembling a tiny spear. Position it symmetrically in the middle of the abdomen’s end. This sting is a defining feature of a honeybee.
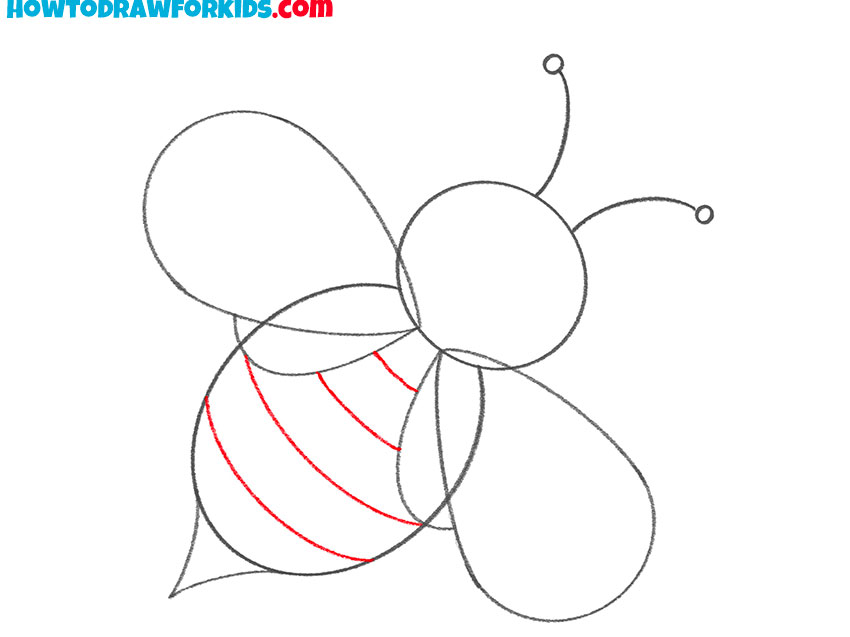
- Add the stripes.
To give the bee its distinctive appearance, add horizontal stripes to the abdomen. Draw three curved lines across the abdomen. These lines should be evenly spaced. Make sure they are not too thick or too thin, and keep them consistent in width for a realistic look.
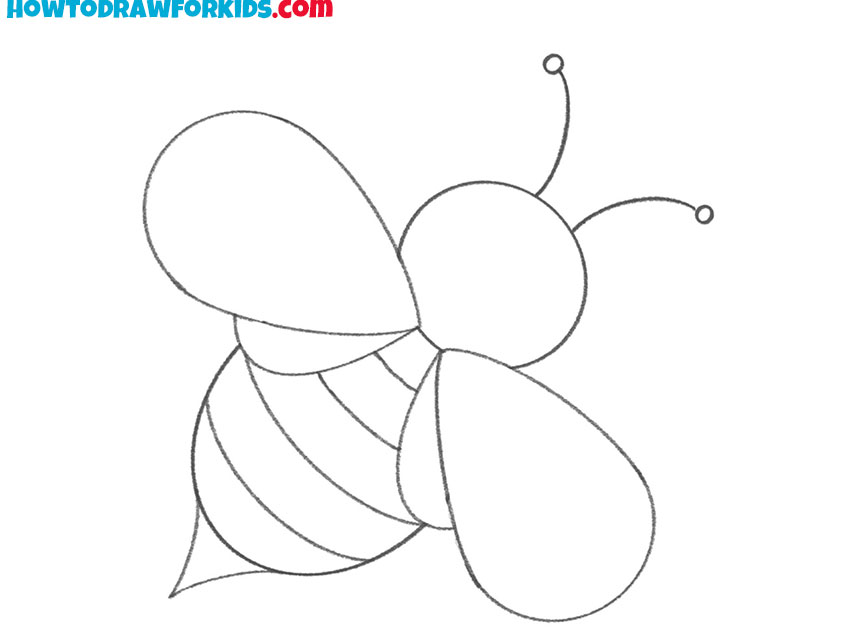
- Erase the guidelines and review the sketch.
Refine the bee drawing by erasing any overlapping lines and redrawing them with cleaner, more defined strokes. Check the proportions, symmetry, and overall appearance of the bee. You can add a few vein lines inside each wing to give them a more realistic texture.
- Color you bee drawing.
Begin by coloring the head and abdomen. Use a black for the main body sections and alternate with bright yellow stripes on the abdomen. Next, color the wings a light, translucent yellow or light gray to give them a realistic, delicate appearance.

Additional Content
So, this concludes the basic tutorial on how to draw a bee. I hope you found the steps easy to follow and enjoyed the process of sketching. To make the most of this tutorial, don’t forget to download the PDF version of this instruction. The PDF includes all the steps detailed in this instruction, ensuring you can refer back to them anytime.
Additionally, it comes with a coloring page where you can practice adding recognizable colors to your bee, a tracing worksheet to help you refine your drawing skills, and a grid drawing worksheet to further improve your accuracy.
Drawing a Bee: Alternative Techniques
Experiment with various approaches to drawing a bee using these alternative techniques. Each method introduces a fresh perspective, helping young artists train their skills and learn new styles.
How to Draw a Bee From the Front
This is an additional tutorial to the first bee drawing lesson, providing another fun and educational technique. Unlike the first tutorial, in this version we will draw a bee from the front.
To begin, draw an oval for the bee’s head, followed by a teardrop shape for the body. Add a smiling face with two eyes and a curved mouth. Next, draw two simple antennae on top of the head. Add three curved stripes across the body to create the characteristic bee pattern.
Then, draw the wings as rounded shapes extending from each side of the body. Finally, add color to complete your cute and friendly bee.
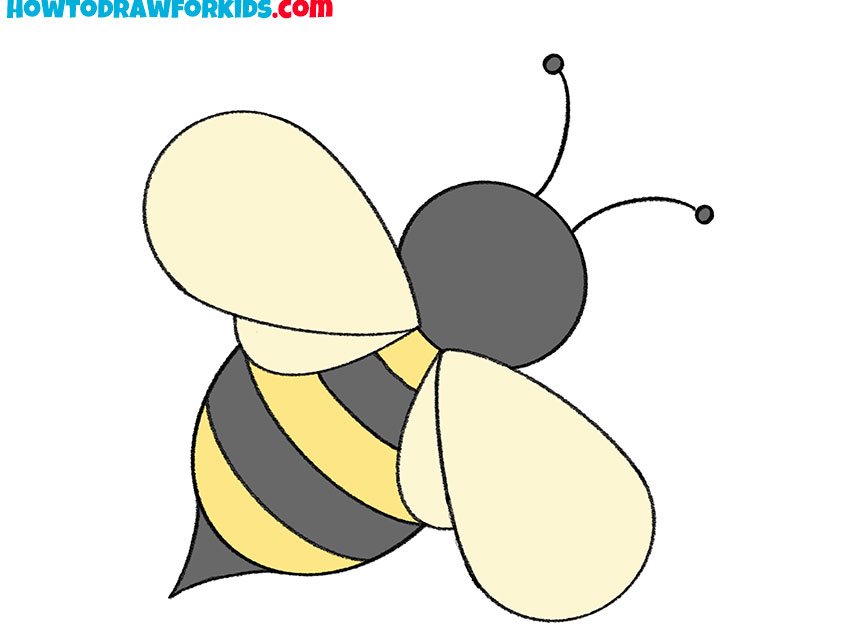
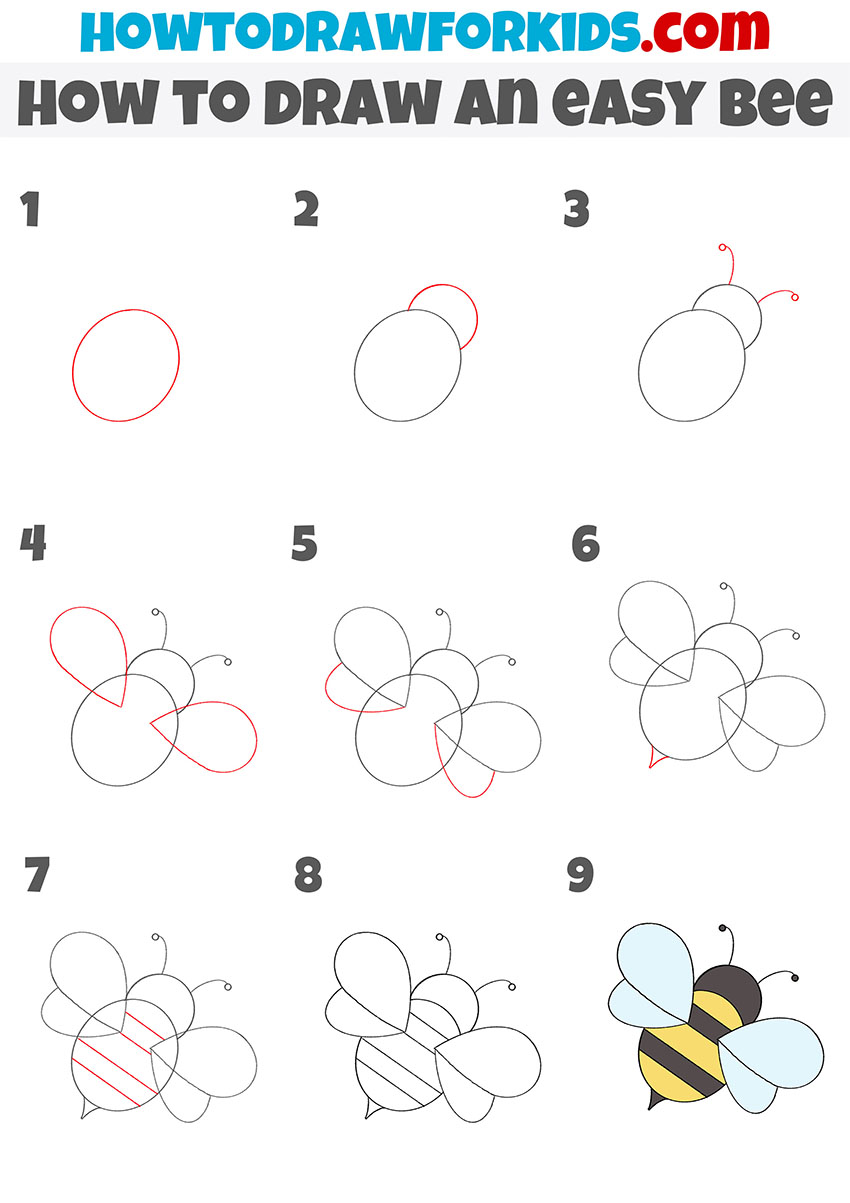
How to Draw an Easy Bee
Now you will also get another chance to practice drawing symmetrical objects. This lesson consists of nine easy-to-follow steps. It uses the simplest lines and minimal elements. In this illustration, the bee is depicted in a cartoon style with a rounded head, body, and wings. Make sure to draw all the lines carefully to achieve the best result.
To begin, draw an oval for the bee’s body and add a smaller oval for the head, overlapping slightly. Next, add two small antennae extending from the head, each ending with a tiny circle. Draw two large, rounded shapes for the wings, attaching one to each side of the body. Then, add a small triangle at the bottom of the body to represent the sting.
Draw three curved stripes across the bee’s body for its distinctive pattern. Finally, color the bee with yellow and black stripes on the body and light blue wings.
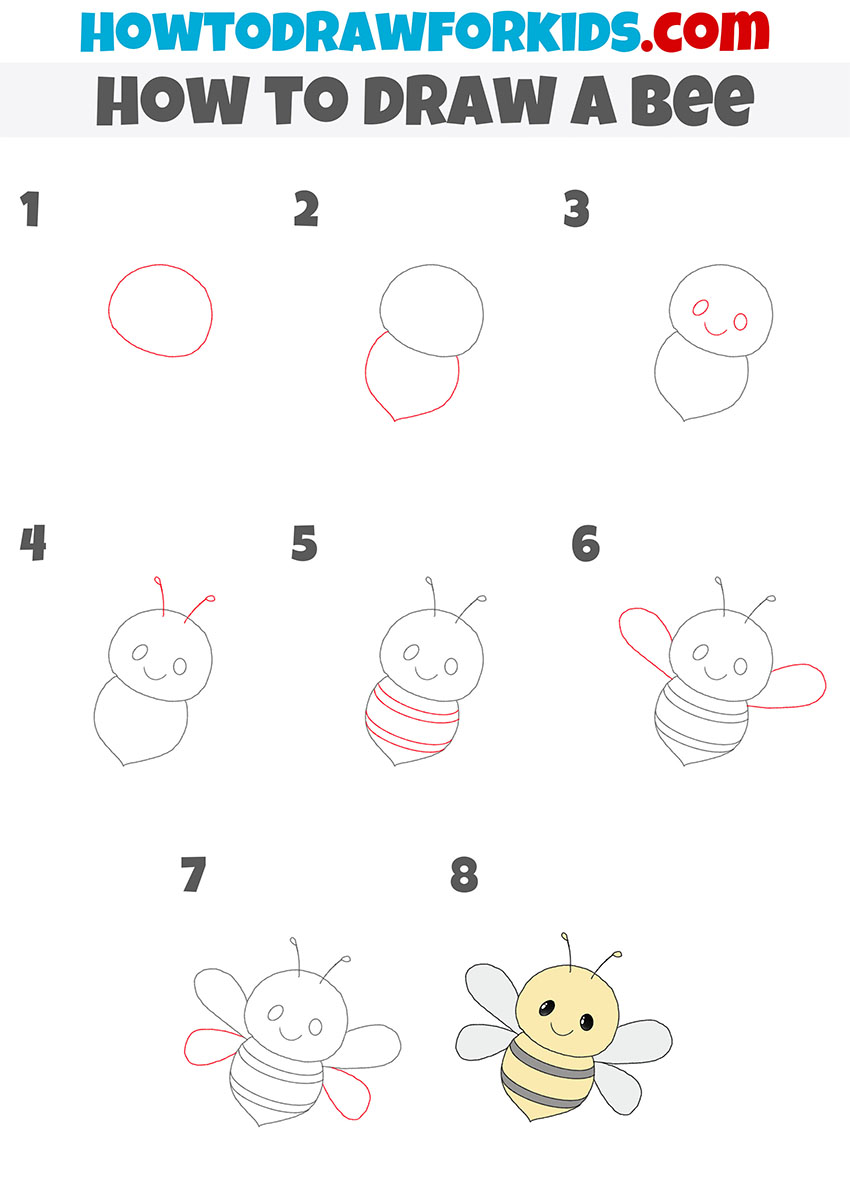
Drawing a Bee for Kindergarten
Compared to the initial tutorial, this version focuses on an even more simplified and approachable method, perfect for young children or beginners. The steps are fewer, and the lines are simpler, resulting in a cute and cartoon-like appearance.
Start by drawing a large oval for the body and a smaller circle on top for the head. Next, add facial features with two small eyes and a smiling mouth, and draw two short antennae with tiny circles at the ends. Then, draw two large oval shapes on each side of the body for the wings. Add a small, pointed triangle at the bottom of the body to represent the sting.
Finally, add horizontal stripes across the body to complete the bee’s distinctive pattern. Color the bee with yellow and black stripes, and add light blue for the wings.

Conclusion
Congratulations on completing this tutorial on how to draw a bee! You have successfully followed the simple steps to create a cute, cartoon-style bee with a rounded head, body, and wings.
The tutorials on this page are about using minimal elements and simple lines. By practicing the main guide and additional instructions, you’ve also honed your ability to draw symmetrical objects.
Don’t forget to download the PDF version of this lesson, which includes additional resources such as a coloring page, a tracing worksheet, and a grid drawing worksheet to further train your drawing skills.
If you enjoyed this tutorial, be sure to subscribe to my social media for more cool and easy drawing guides. Share your artwork with friends and family, and leave a comment below to let me know your opinion about this and other tutorials from my website.