How to Draw a Blazer
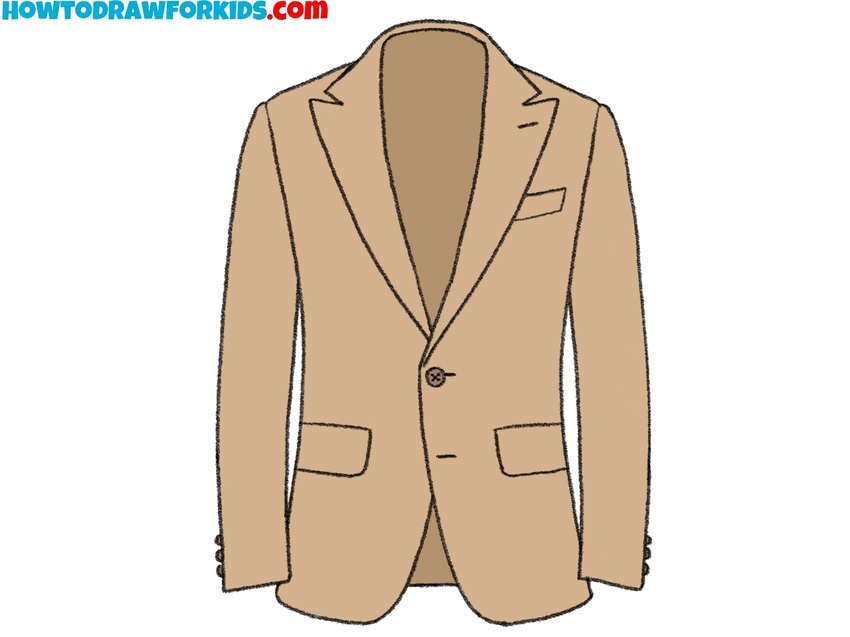
Being able to draw clothes, especially classic ones, is an important skill for any artist, so today I want to show you how to draw a blazer.
How to Draw a Blazer: Introduction
Drawing a blazer is a valuable exercise for developing basic art skills, especially for those interested in fashion illustration, figure drawing, or realistic art. This tutorial on how to draw a blazer focuses on mastering proportions, symmetry, and adding important details to create a professional design.
This blazer drawing tutorial introduces the foundational shapes that make up this item, such as rectangles and curves. These forms are common in clothing design, and understanding how they combine is a fundamental skill for drawing garments.
Drawing a blazer requires attention to symmetry, particularly in elements like lapels, sleeves, and buttons on the sleeves. Proportional placement of these features is critical to achieving a realistic look.
This step-by-step process teaches young artists how to maintain symmetry while working with curved and angular shapes. Learning this skill improves overall accuracy in drawings, especially when working on clothing or character designs.
Blazer Drawing Tutorial
Materials
- Pencil
- Paper
- Eraser
- Coloring supplies
Time needed: 35 minutes
How to Draw a Blazer
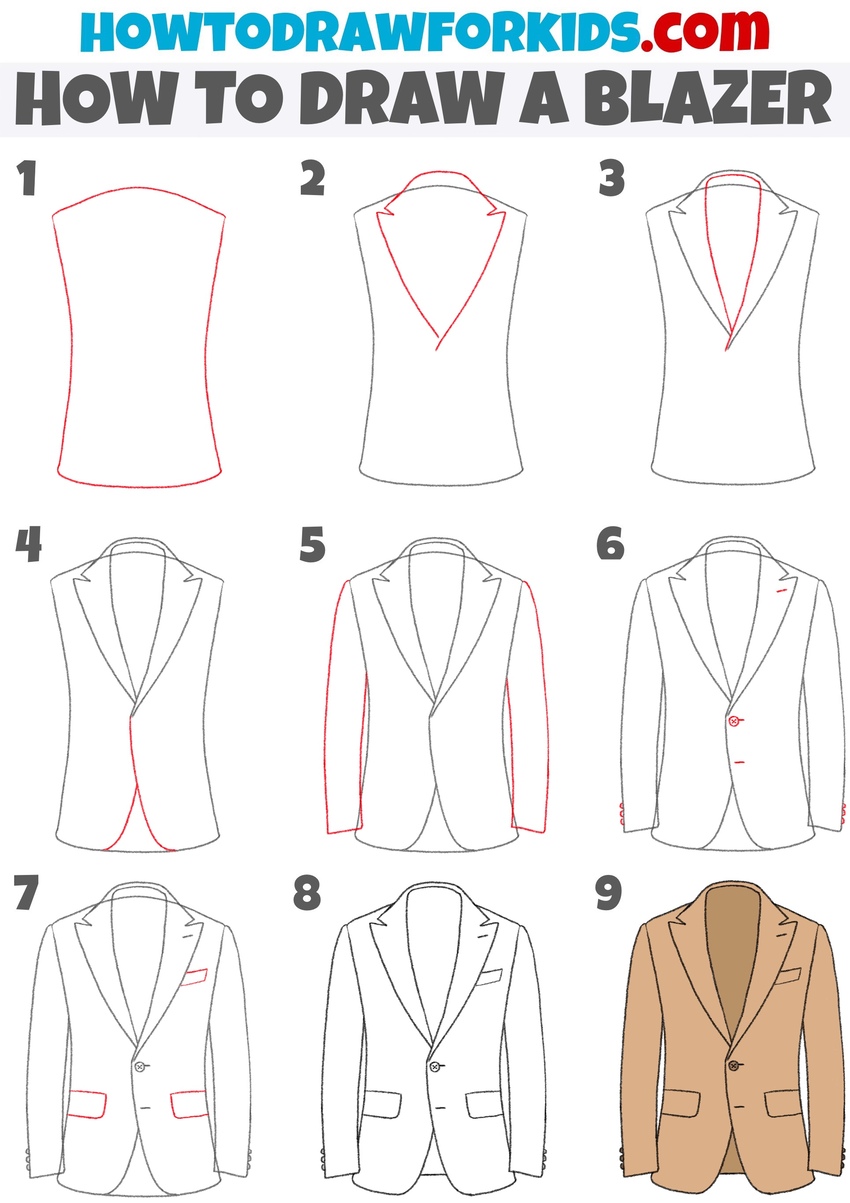
- Draw the basic shape of the blazer.
Start drawing the blazer by sketching the basic shape. This is a simple elongated rectangle with slightly curved sides to mimic the natural look of a blazer. This initial shape will serve as the base for adding details later. You can make the shape strait narrow at the center.

- Start sketching the lapels.
Begin adding these details at the top center of the blazer, adding a line that curves into angular lapels extending downward. The lapels should form a wide “V” shape, narrowing as they reach the chest area. Ensure the angles of the lapels are sharp and symmetric, as uneven lapels can affect the final look.

- Refine the lapels.
To draw this part of the blazer, sketch an elongated line that resembles a loop or an inverted teardrop. At the top, this shape should be fairly close to the outer outline of the lapels, on the sides this distance should be greater, and at the bottom, the outer and inner lines should converge.

- Outline the front panels.
Sketch a vertical line from the bottom of the lapels to the hemline on both sides. This step will divide the blazer into its open sections. Be careful to match the curve on both sides, as uneven panels can throw off the balance of the blazer drawing.

- Draw the sleeves of the blazer.
Now, draw two elongated, slightly curved rectangles extending outward from the shoulders, tapering slightly toward the cuffs to form the sleeves. It is important to ensure the sleeves are symmetrical, as they should essentially be mirror images of each other.

- Add buttons to the front and sleeves.
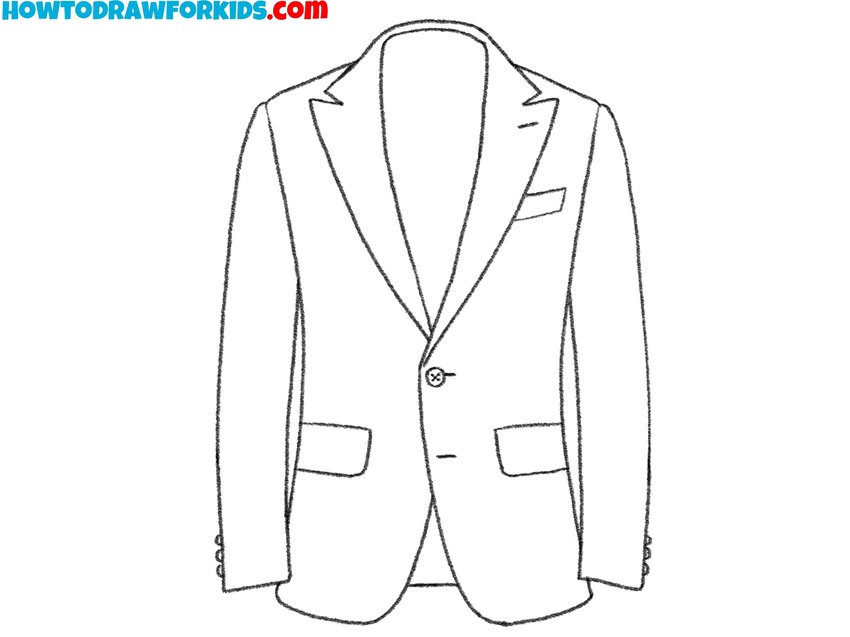
Draw the buttons along one front panel of the blazer, placing them in a straight vertical line. Typically, a blazer has one to three buttons. Next, draw buttons on the sleeves near the cuffs. Typically, each sleeve has a row of two to four small buttons. Finally, draw the buttonhole on the left lapel.

- Draw the pockets on the blazer.
Sketch the pockets, starting with two lower rectangular pockets on each side of the blazer. These should align horizontally with the bottom of the lapels and extend slightly outward from the front panels. Add a small breast pocket on one side, placing it slightly above the lapel.

- Erase the guidelines and finalize the details.
Refine the entire blazer drawing by erasing any unnecessary guidelines and making the lines crisp and clear. Review the lapels, collar, and sleeves to ensure all proportions are accurate and symmetrical. Add stitching lines along the edges of the lapels, collar, and pockets to give your blazer drawing more realism.
- Color the blazer.
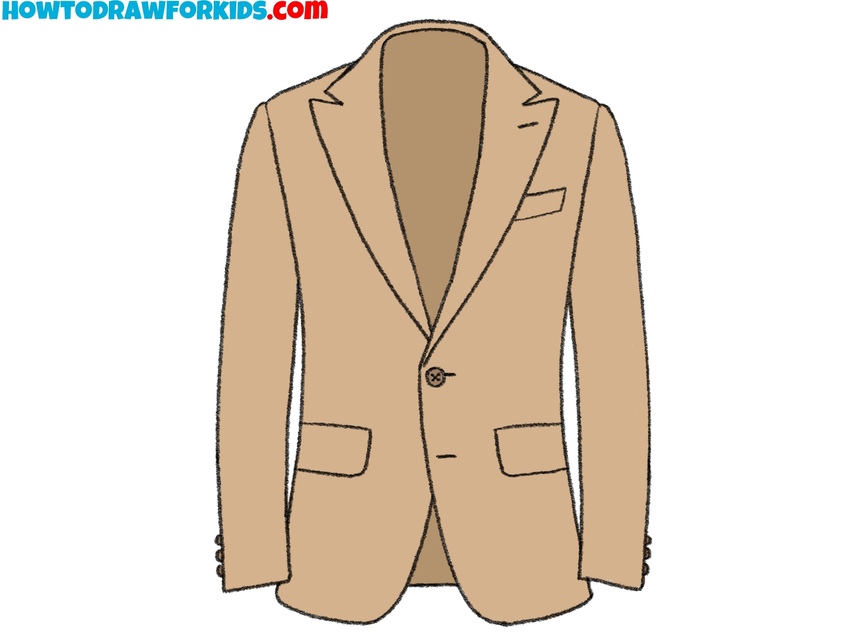
Choose a classic blazer color such as brown, navy blue, or black for the final step. Add lighter or darker tones to the buttons. Color the inner part of the blazer darker color to make it look more realistic. If desired, include subtle textures, such as hatching, to mimic fabric patterns like tweed or wool.
How to Draw a Blazer for Preschoolers
This is an additional tutorial on how to draw a blazer. It is very basic and simplified, created for preschoolers or young beginners learning to draw. Compared to the first blazer tutorial, this version focuses on simple geometric shapes, omitting intricate details like buttons, buttonholes, and advanced shading.
To draw a blazer in this simplified style, start by sketching a tall rectangle with slightly curved top edges to represent the torso of the blazer. Next, add two wide, elongated rectangles on each side of the body to form the sleeves. Draw these rectangles so they attach neatly to the top corners of the body shape. Then, create the lapels by sketching a V-shaped opening at the top center of the body.
To complete the blazer, add a curved line at the bottom center to indicate the open panels and two straight horizontal lines for simplified pocket shapes. Once the outlines are done, refine the edges to make the blazer look neat. Finally, color the blazer with any shade to finish the drawing.
I hasten to remind you that, by tradition, I have prepared a short version of this lesson in PDF format for your convenience. After downloading this file, you can return to this lesson whenever you want, even in the absence of the Internet.

Conclusion
You have completed the step-by-step drawing of the blazer. I am confident that you performed well and did not encounter any significant challenges. If you have any questions during the drawing process, feel free to ask them in the comments. Feedback on this guide and suggestions for future tutorials are welcome. You can share this drawing lesson with your friends and draw together. Remember to follow us on social media.
Also, be sure to check out my other clothing tutorials. There you’ll find a shirt drawing tutorial, and you’ll be able to complement this blazer drawing. You’ll also be able to learn how to draw pants, and put together a full suit on paper.

