How to Draw a Budgie
In this drawing lesson, I will tell you how to draw a budgie step by step. This simple instruction consists of only eight steps.
I suggest you complete a wonderful drawing lesson in which you can learn how to draw a budgie step by step. Completing this lesson will greatly help improve the artistic skills of any aspiring artist, as well as a child. If you learn how to draw a budgerigar with the help of this instruction, then you can draw it against the backdrop of a natural landscape, as well as add images of other birds or animals to your drawing and make your paintings more diverse.
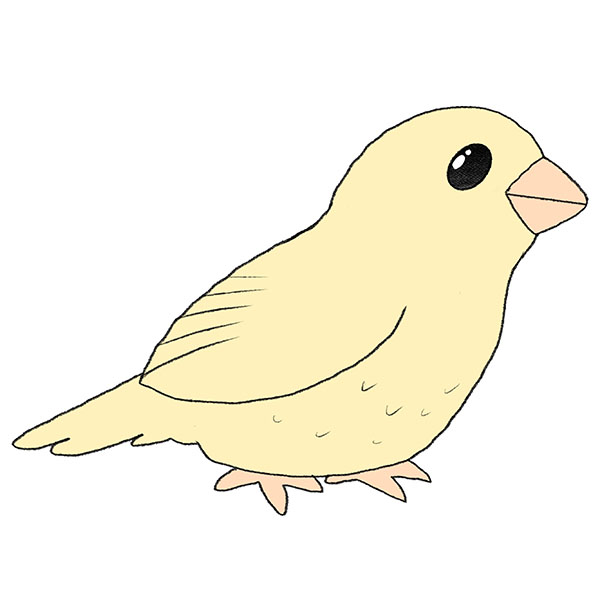
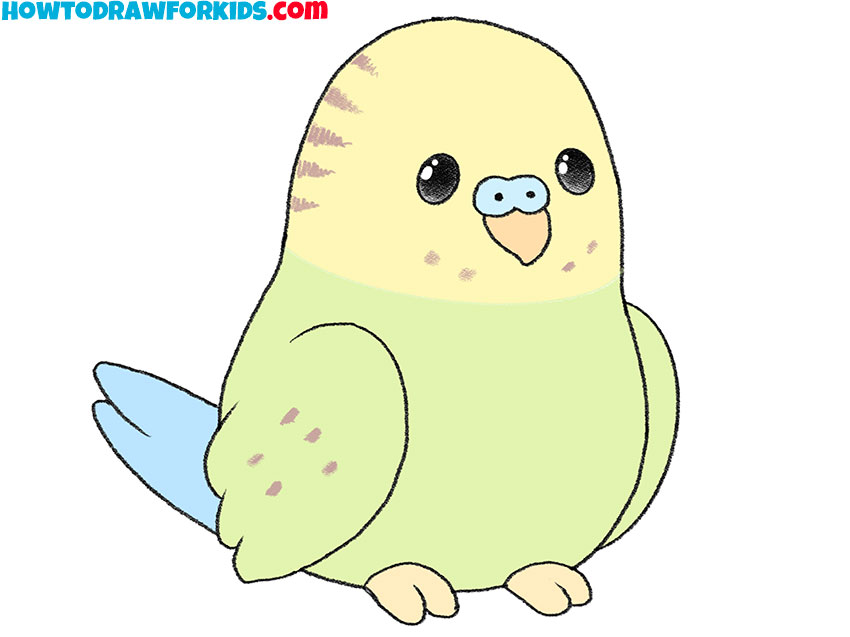
The budgerigar is a budgie that has a greenish-yellow coloration with black wavy markings on the back of its head, back, and wings. The budgerigar has a stepped tail. Due to the long tail, the size of the budgie itself also visually increases. On the back of the head, towards the back of the head and further along the back, on a yellow background, dark lines can be seen, in the form of waves, the thickness of which increases towards the back. In young individuals, this pattern is somewhat blurred.
The bird’s beak is curved and strong, with nostrils at its base. On each paw of a budgie, there are 4 fingers of a grayish-blue or pink hue. In this case, two fingers look forward, and two back. This arrangement of fingers allows the bird to feel great, both on tree branches and on a horizontal surface. In addition, the budgie turns on the functions of its paws when it feeds, since it can hold any objects with its paws at the level of its beak. Individuals are distinguished by noise and talkativeness, quite easily memorize words and expressions that are repeated many times in front of a person.
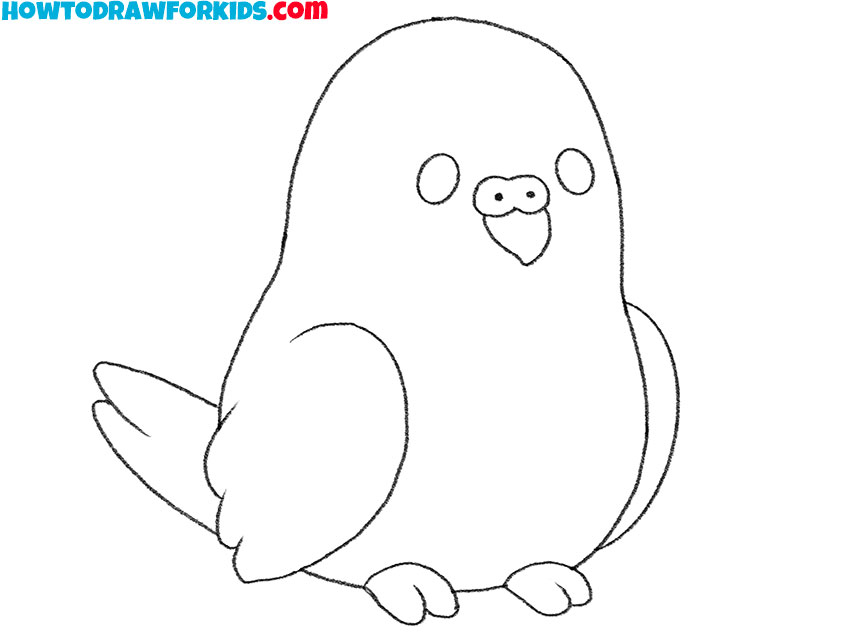
The budgerigar that you will draw with this instruction looks like a small chick. This drawing is made in cartoon style, so it looks very cute. This lesson does not contain any difficult elements to complete, so each of you can easily handle this. Now you can prepare the art supplies you need, and then proceed with this lesson. I hope you enjoy the creativity and have a great time doing this tutorial.
Materials
- Pencil
- Paper
- Eraser
- Coloring supplies
Time needed: 30 minutes
How to Draw a Budgie
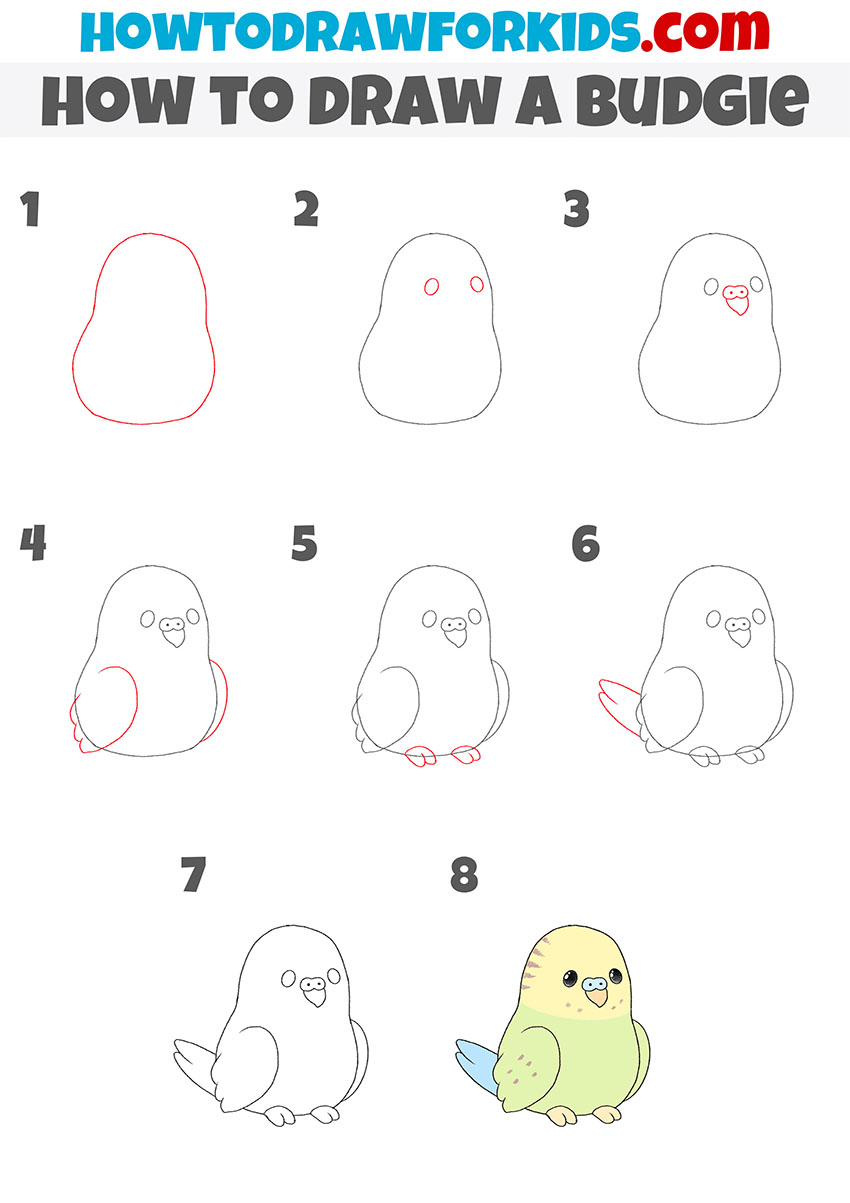
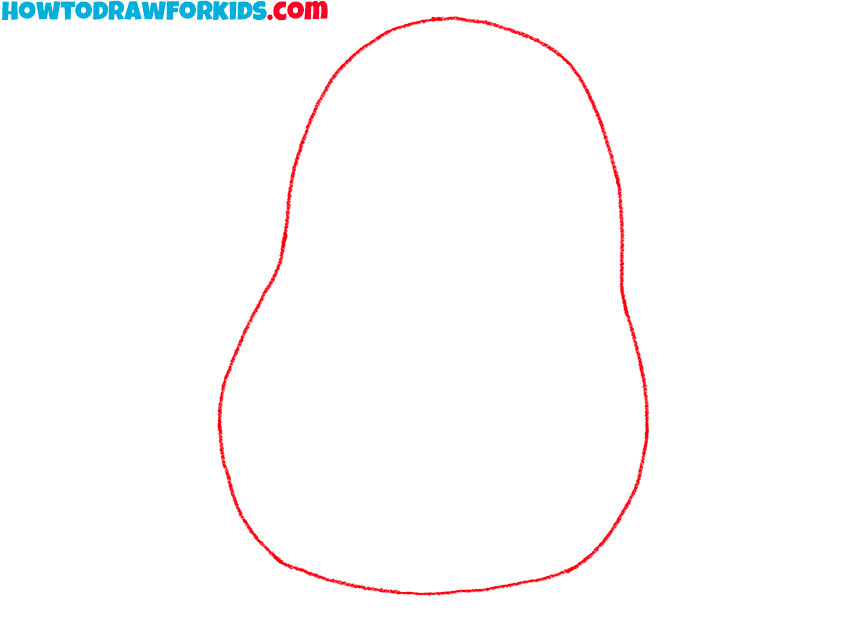
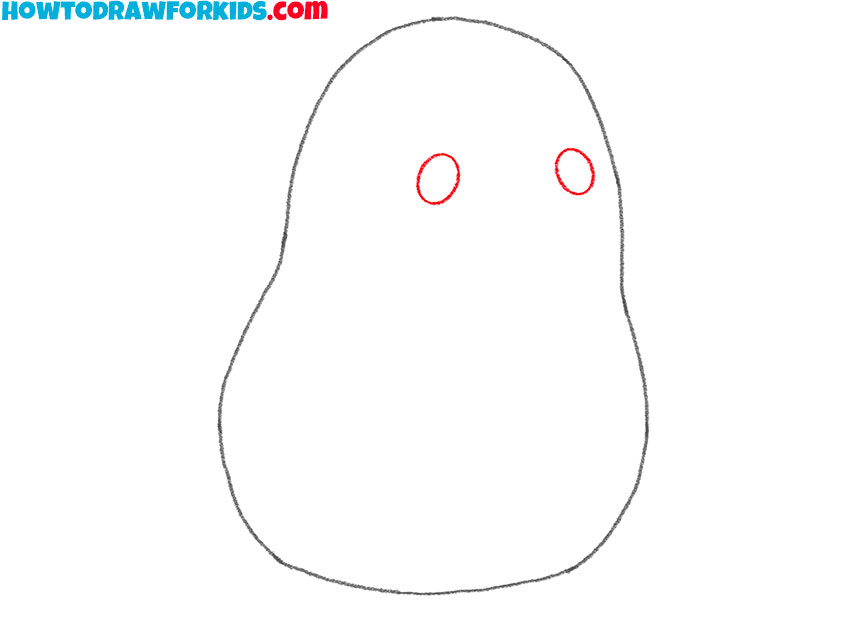
- Draw the outline of the head.
To complete this step, depict a pear-shaped figure using curved lines.
- Add the budgie’s eyes.
Draw two eyes inside the previously drawn shape by adding two ovals, as shown.
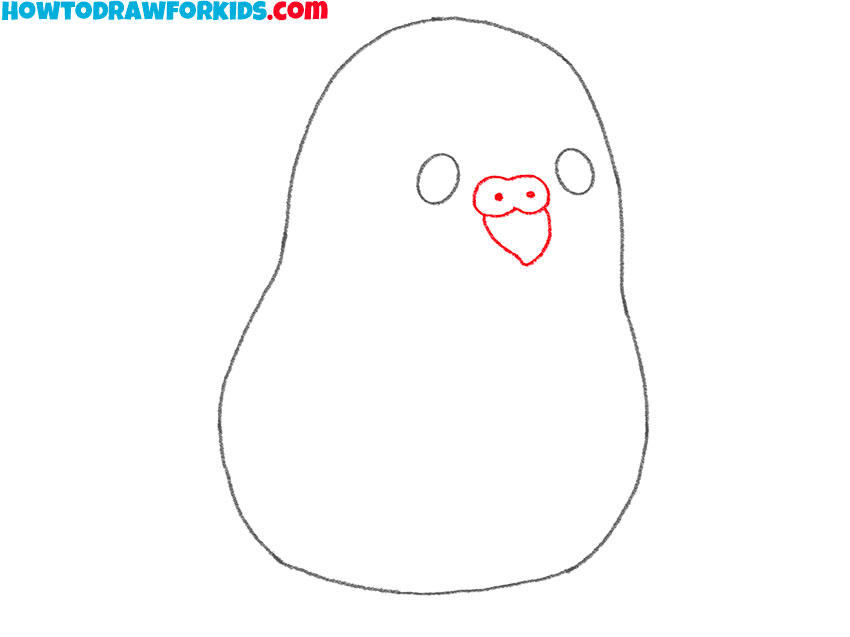
- Sketch out the budgie’s beak.
Below the drawn eyes, depict the pointed beak using arcs, dots, as well as curved lines.
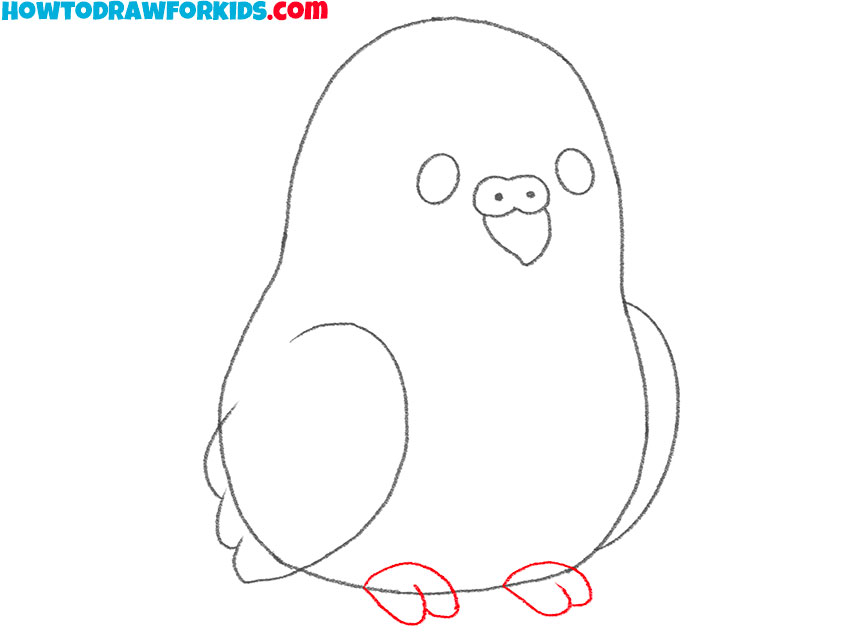
- Add the budgie wings.
On the right and left sides of the parrot’s body, add two wings using arcs as well as curved lines.

- Depict the outlines of the budgerigar’s paws.
At the bottom of the torso, draw two symmetrical paws using curved lines, as shown.
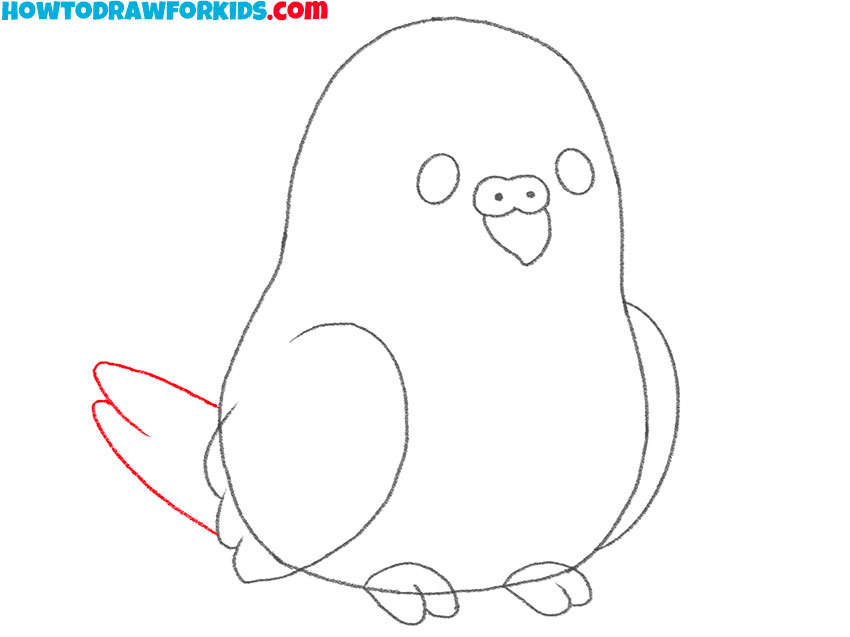
- Sketch out the tail.
On the left side of the torso, draw the long tail using curved lines of varying lengths.
- Correct inaccuracies.
Use an eraser to remove any extra lines from this drawing and prepare it for coloring.
- Color the drawing.
To color the budgie, use blue, green, yellow, brown, and also black.
If you liked this tutorial and found it useful, you can share it with your friends. I remind you that you can download the PDF file that I have prepared especially for your convenience. This file contains a short version of this lesson and has additional useful training materials. Download this file so as not to lose it and return to this lesson at any time convenient for you.