How to Draw a Carrot
This lesson will show you how to draw a carrot in such a simple way that you will be surprised by the ease and speed of the result.
How to Draw a Carrot: Introduction
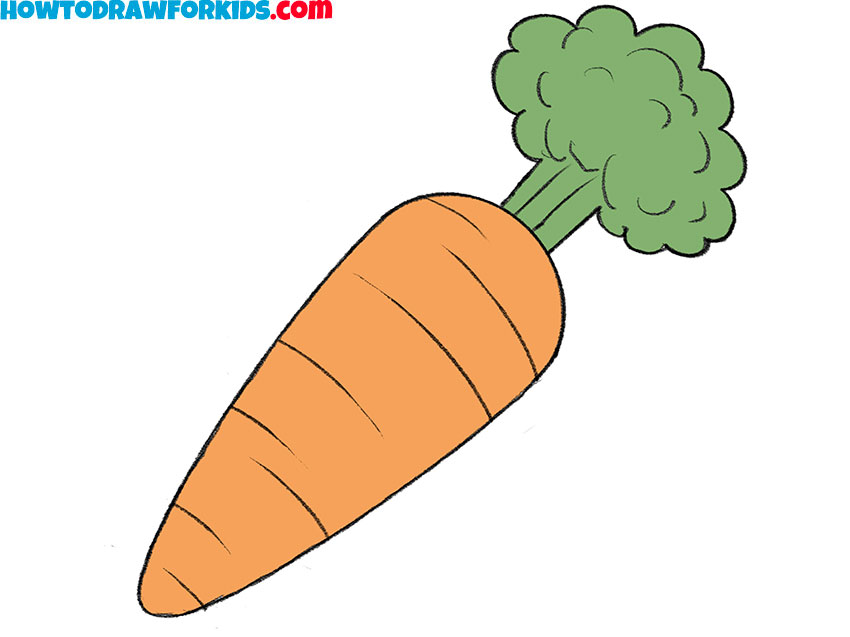
Do you like carrots? Carrots are root vegetables. Orange may be their best-known color, but they also come in other hues, including purple, yellow, red, and white. Carrots are a great source of important vitamins and minerals.
In this drawing tutorial, I want to tell you how to draw a carrot step by step. This lesson is sure to please you! The finished drawing will look very colorful and beautiful.
If you like this vegetable too, I suggest you start drawing it.
Carrot Drawing Tutorial
Materials
- Pencil
- Paper
- Eraser
- Coloring supplies
Time needed: 20 minutes
How to Draw a Carrot
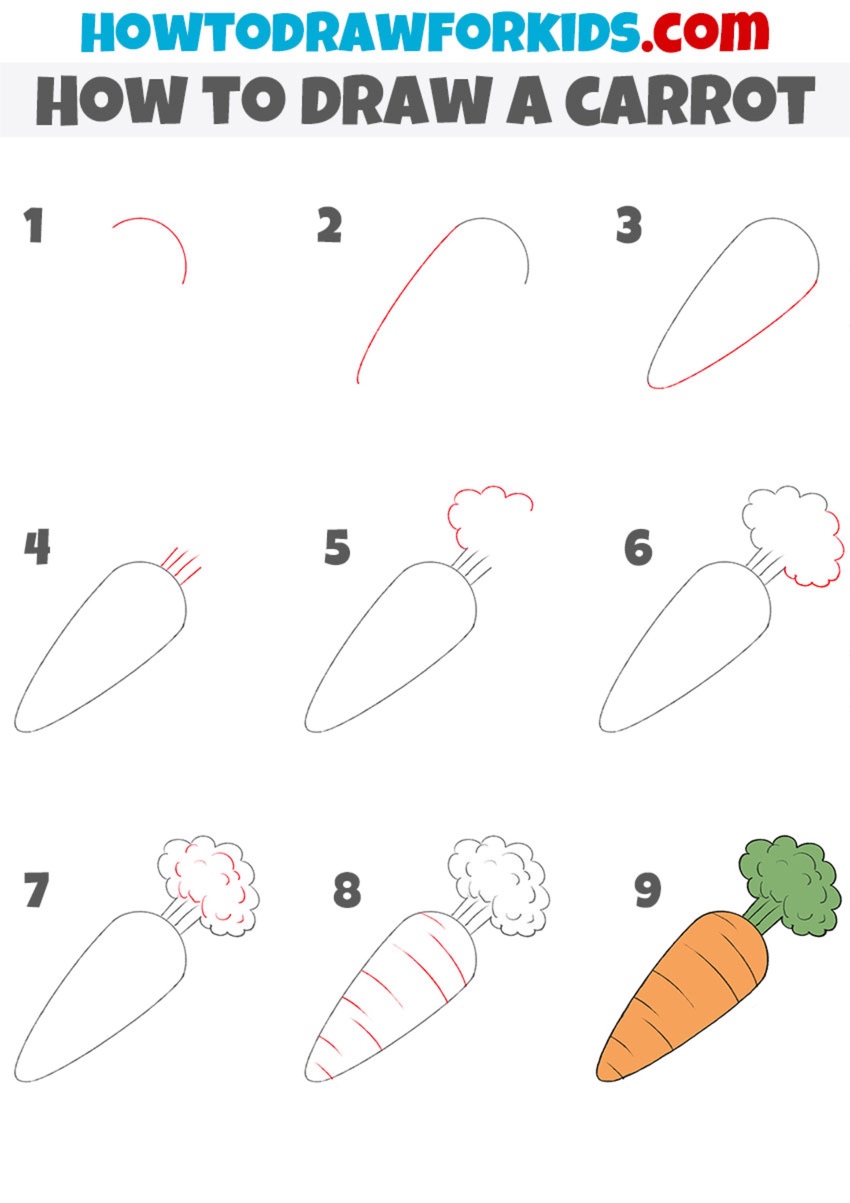
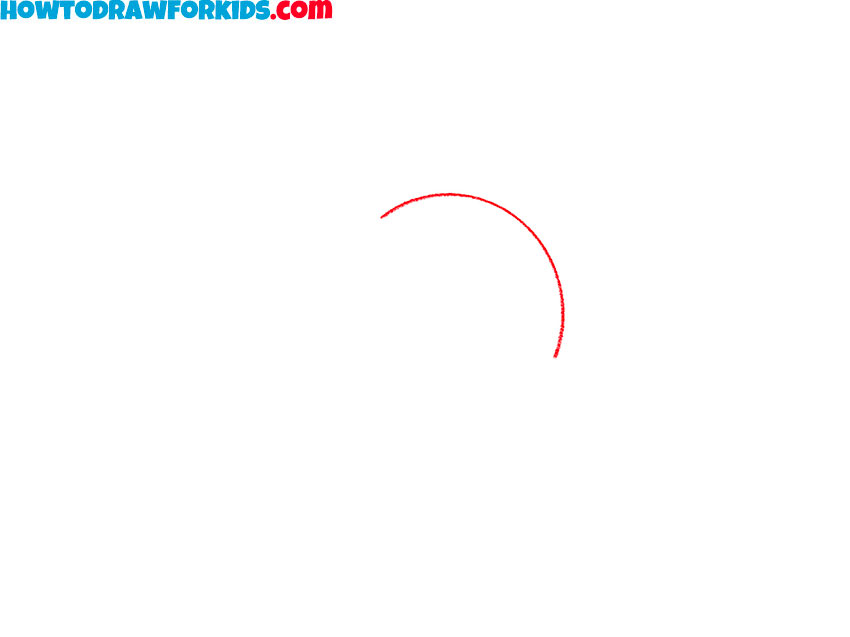
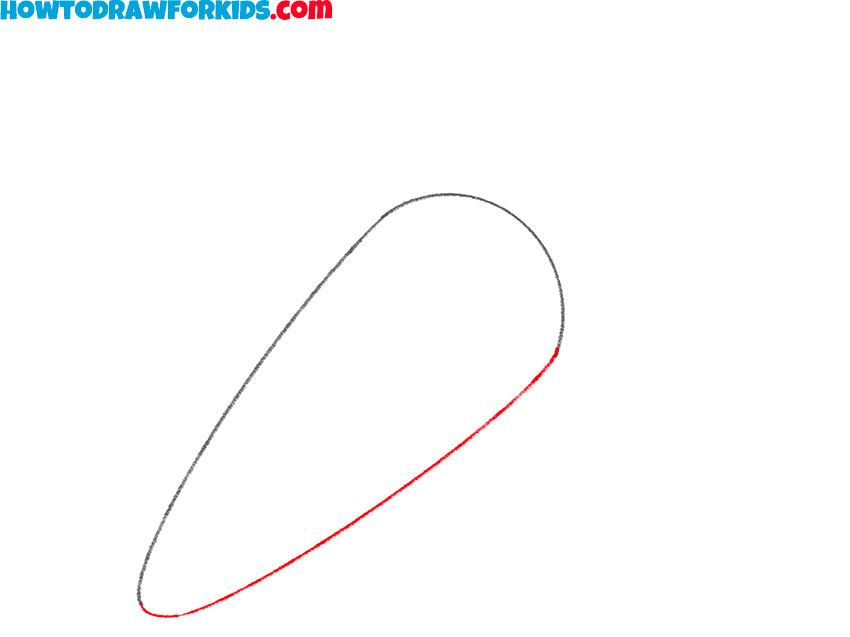
- Outline the upper curve of the carrot.
Any complex and simple drawing starts with simple shapes, so begin your carrot drawing by sketching a simple curved line that will form the upper edge of the vegetable. When you draw a carrot shape, always think of it as an elongated triangle that has been rounded and softened.
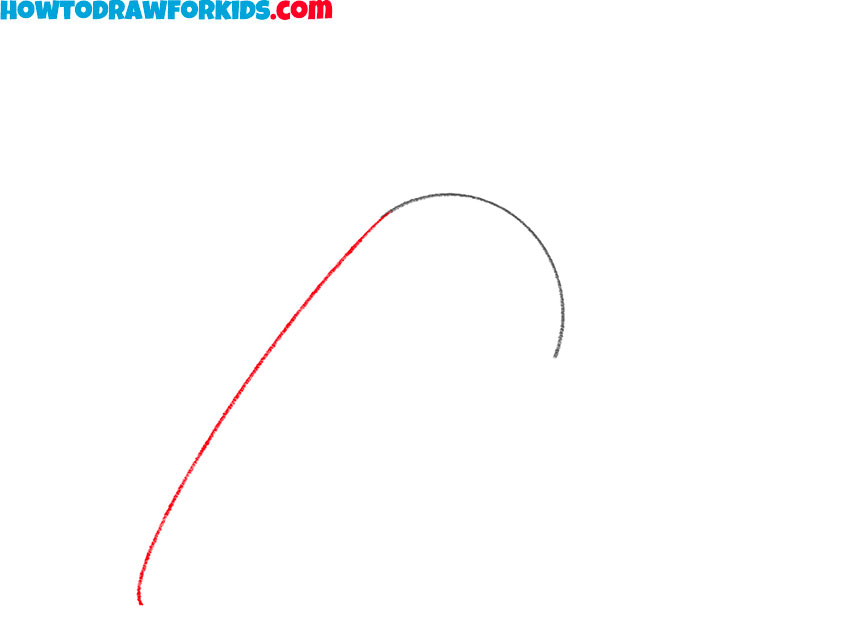
- Draw one side of the carrot body.
Extend the shape by drawing a long, slightly slanted line downwards. This will be one of the carrot’s sides. Notice that the line is not perfectly straight; instead, it should curve just a little, reflecting the natural form of a carrot. Don’t try to make the line perfectly smooth. Little bumps will make the carrot look more realistic.
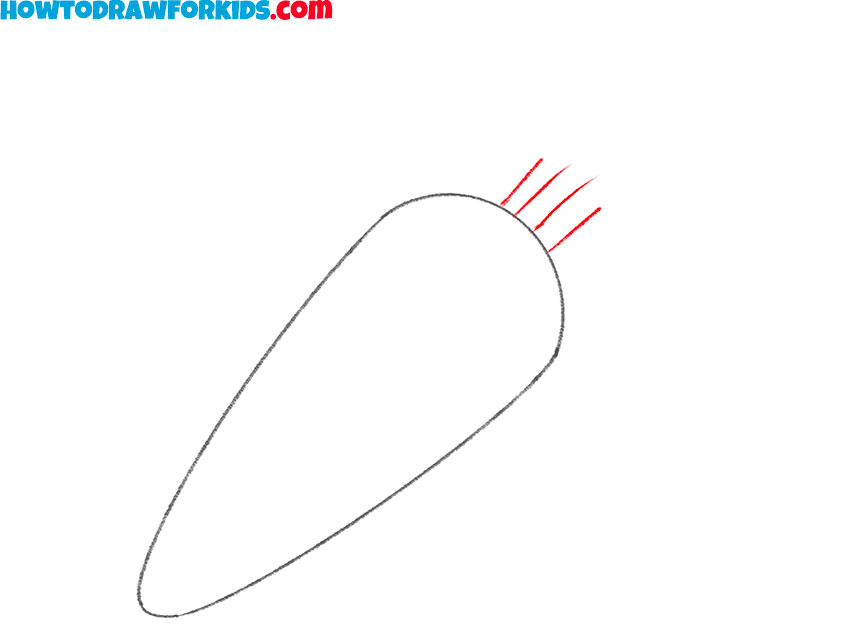
- Draw the opposite side of the carrot.
Now draw the opposite side of the carrot to close the shape. Start from the top and move your line downward to meet at the point with the first side. At this stage, your carrot sketch should look like a long, rounded triangle with a soft tip.
- Sketch short lines for the stem base.
Next, sketch three short lines at the carrot’s top where the leaves will grow. These will serve as the starting point for the leafy greens. These short lines are like little stems holding the carrot tops. Don’t worry if they are not perfectly straight.
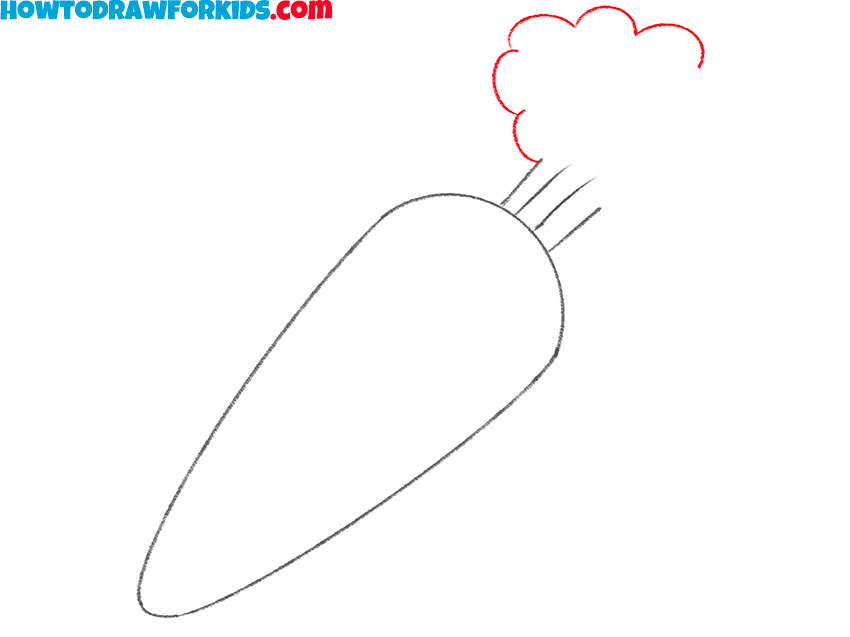
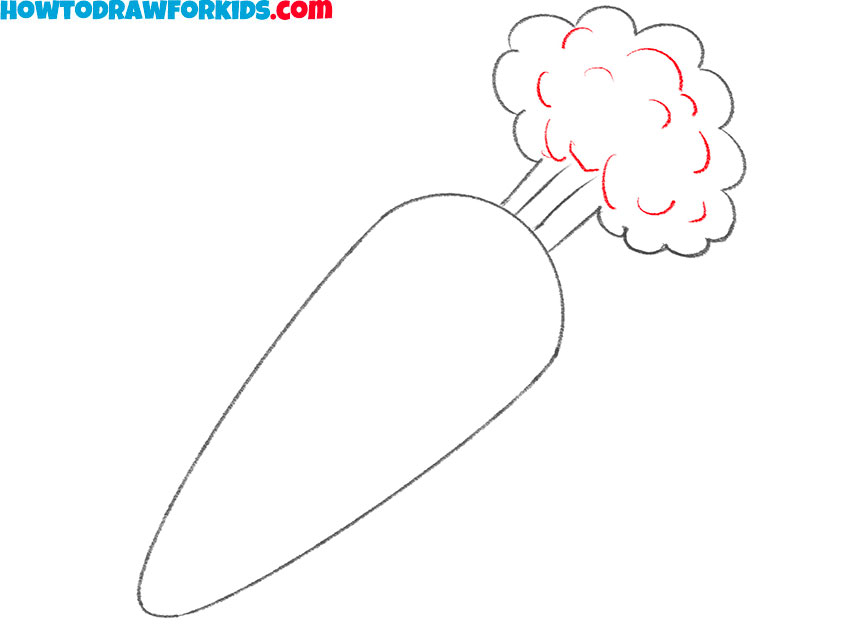
- Illustrate the first outline of the greens.
Now draw the beginning of the carrot’s greenery by sketching a bumpy, cloud-like outline at the top. Think of it as a series of rounded shapes connected together, almost like drawing fluffy clouds. Make the curves varied – some bigger, some smaller.
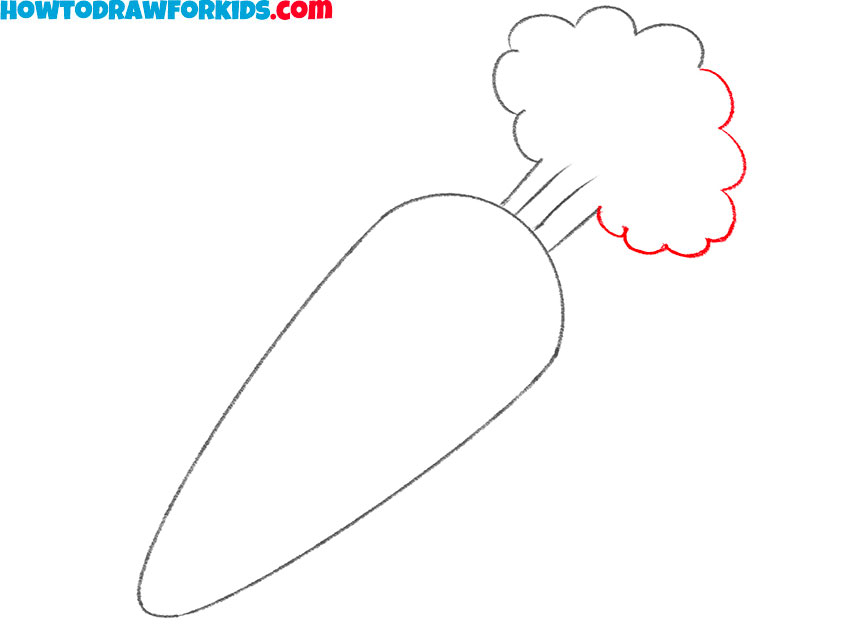
- Sketch the second side of leaves.
Add more rounded curves on the opposite side of the first outline to complete the greenery. The leafy top makes your carrot drawing instantly recognizable. Aga, variation is one of the most important principles here, some leafy bumps can be wider, while others can be tighter.
- Add another layer to the vegetable top.
To give the leafy top more dimension, sketch another overlapping layer of rounded shapes inside the first ones. This will make the carrot’s greenery look like it has volume and dimension. To make your carrot drawing to be slightly more realistic, you can vary the heights and sizes of these shapes.
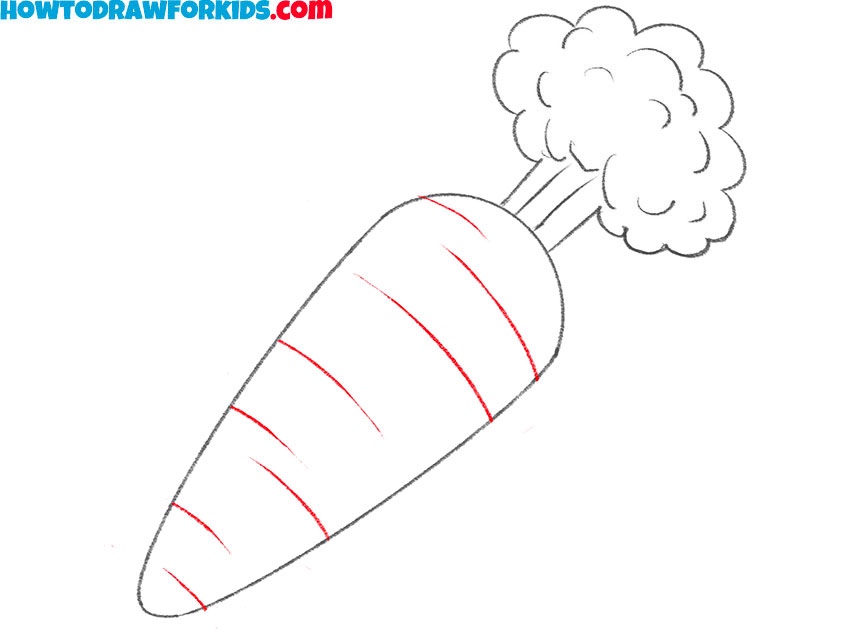
- Draw ridges on the carrot body.
To make the carrot more realistic and recognizable, draw short curved lines across its body. These represent the natural ridges found on real carrots. Place them unevenly and make the lines varied in length. Each line should follow the carrot’s curved shape.
- Paint the carrot orange with green leaves.
Carrots, as well as any other vegetables, have their distinctive colors, to take orange and paint the body of and use green for the tops. You can use a bit of yellow-orange to highlight the carrot or darker green for shadows in the leaves.

Additional Content
So you have completed this lesson on how to draw a carrot step by step. Share your thoughts about the drawing process in the comments, and feel free to pass this tutorial along to your friends. You can also follow us on social media to keep up with new lessons. A short version of this tutorial is available as a PDF file, which you can download and use offline at any time that is convenient for you.


it turned out horible
Don’t worry if your drawing of a carrot is not that good. Just try again and again, and you will get a great result!