How to Draw a Cat Face
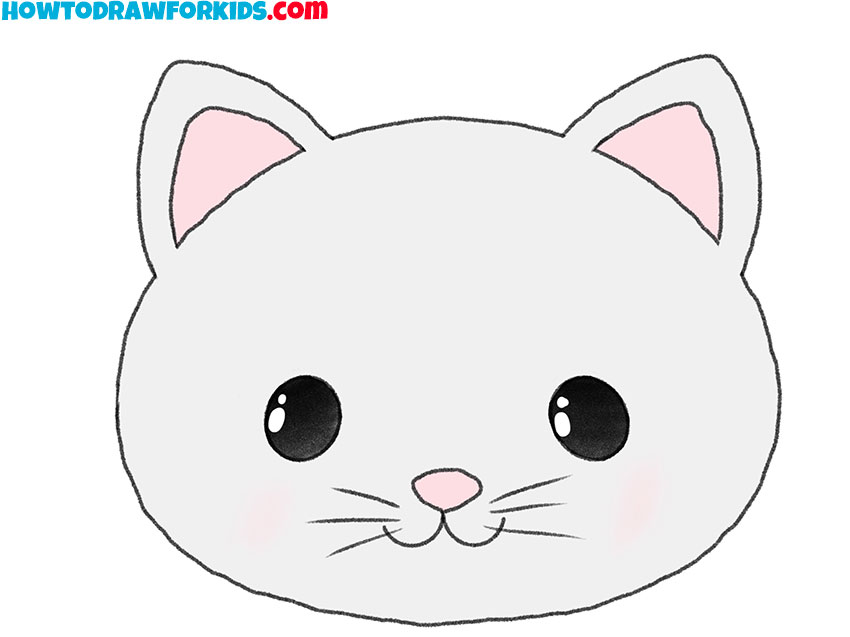
A cat’s expression depends on the placement of just a few small features. This tutorial on how to draw a cat face includes five methods for practicing different shapes and levels of detail.
Prepare to Draw a Cat Face
A cat face is a useful subject for practicing symmetry. The eyes, ears, and whiskers sit on opposite sides of the head.
Pay particular attention to the space between the eyes. If they are placed too far apart or too close together, the face may lose its balanced look.
The head outline does not need to form a perfect oval. A slight difference between the two sides can make the cat look more natural, provided that the main facial features remain centered.
This subject also gives you useful practice with short curved lines. The same skills will help when you draw a complete cat later.
Cat Face Drawing Tutorial
Materials
- Pencil
- Paper
- Eraser
- Coloring supplies (gray, pink, and black)
Time needed: 25 minutes
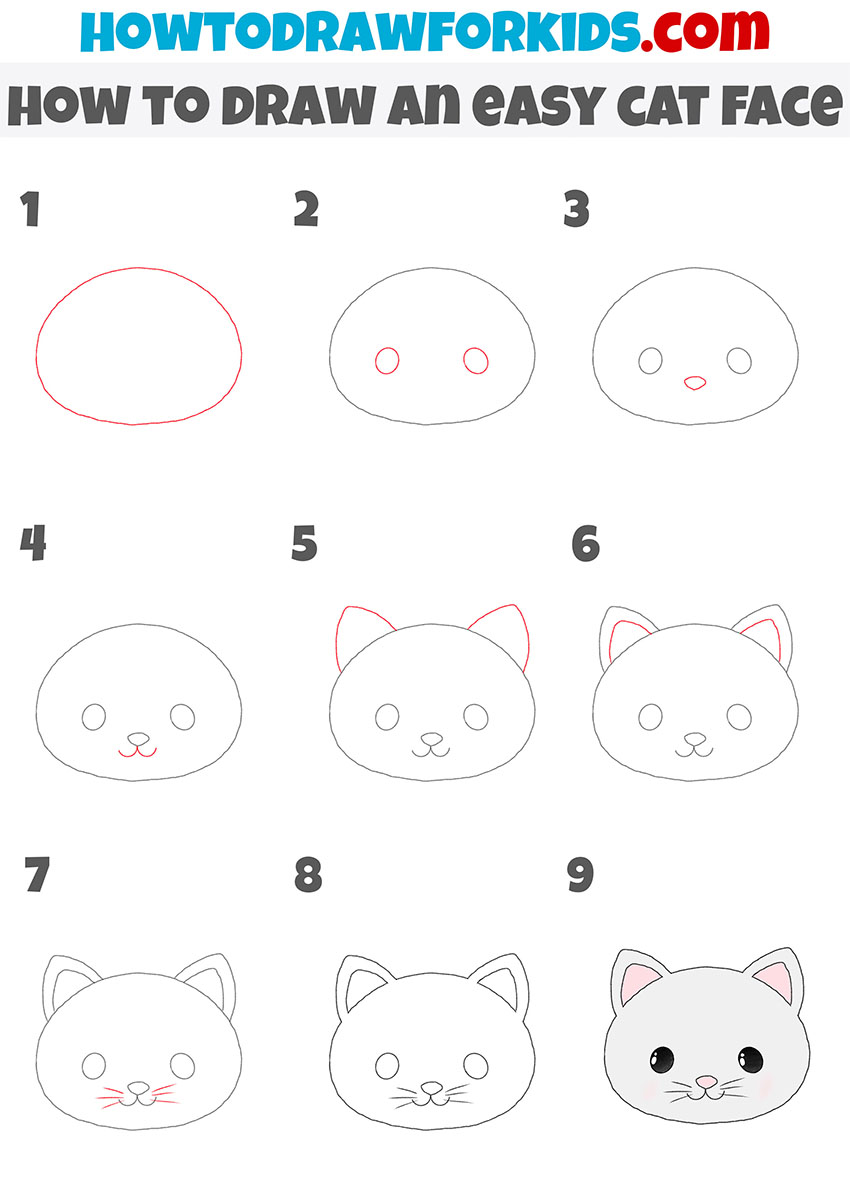
How to draw a cat face step by step
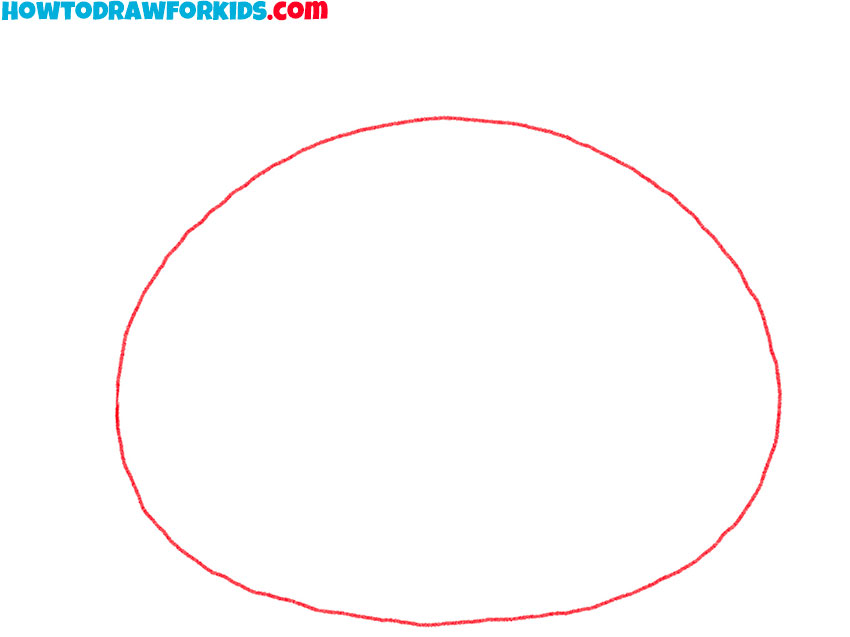
- Outline the cat’s head.
Sketch a large oval for the cat’s head. Leave enough space above it for the ears, and make the lower part slightly wider than the upper part.
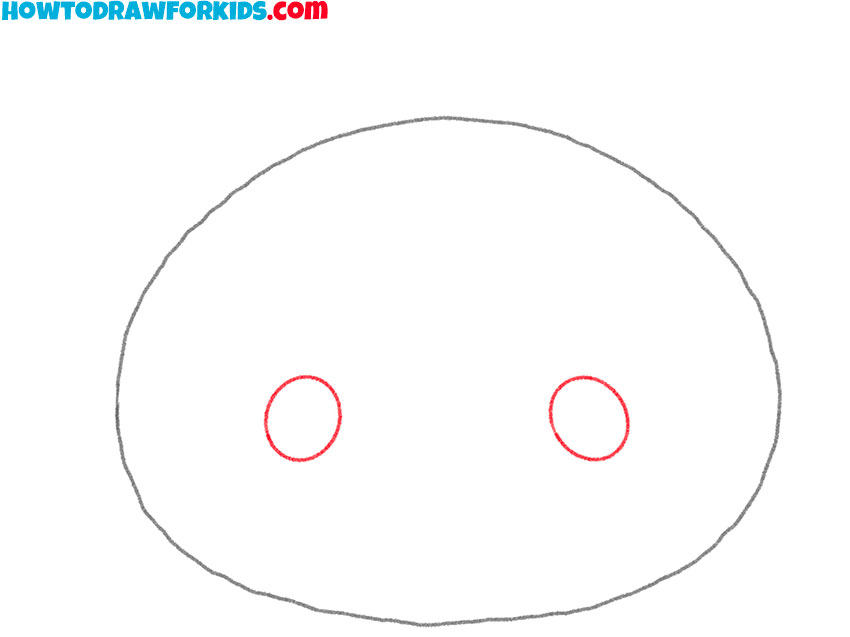
- Add the cat’s eyes.
Place two vertical ovals near the middle of the face. Draw them at the same height and leave a small, even space between the inner edges.
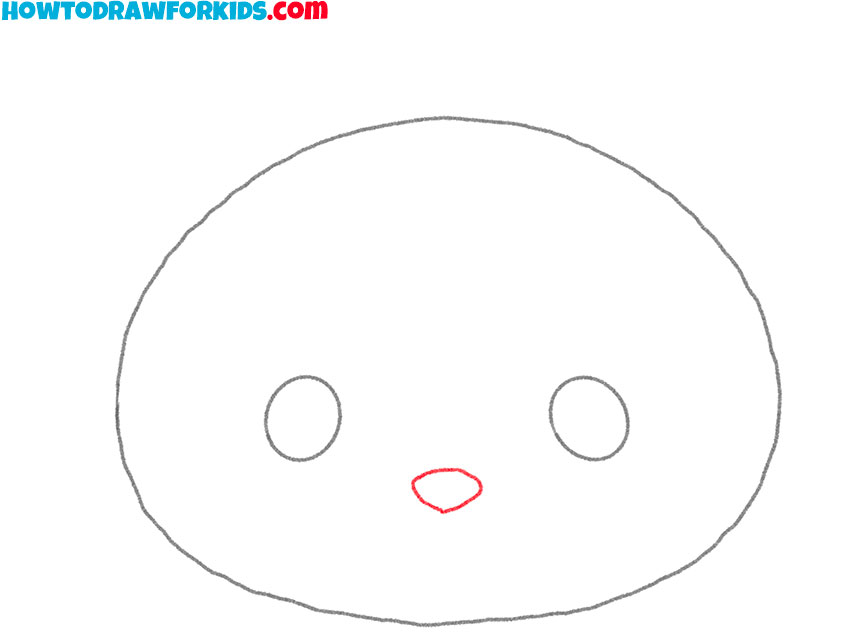
- Sketch the small cat nose.
Below the eyes, add a small upside-down triangle with softened corners. Center the nose between the eyes and place it closer to them than to the chin.
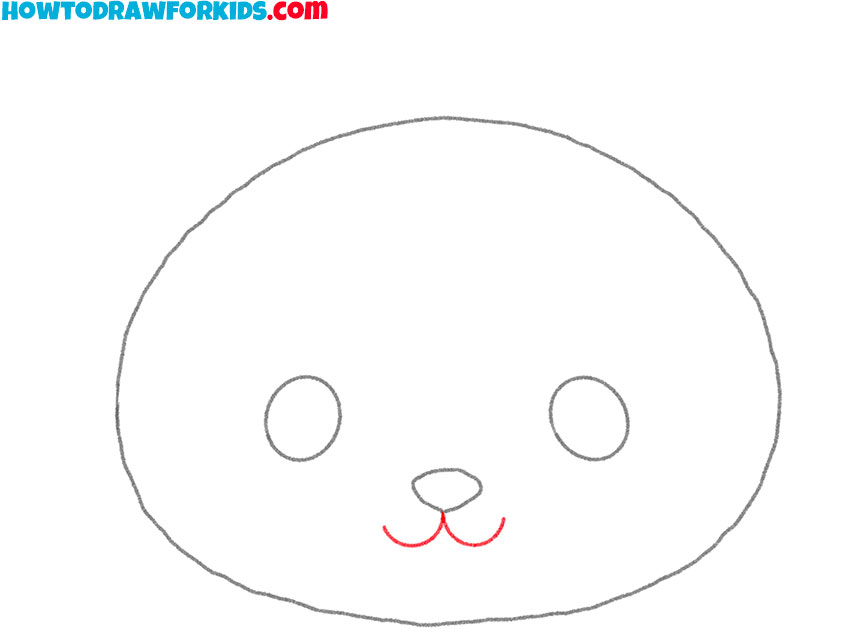
- Form the cat’s mouth.
Extend two short curves downward and outward from the nose. Join them at the center so the mouth forms a soft W-like shape beneath the muzzle.
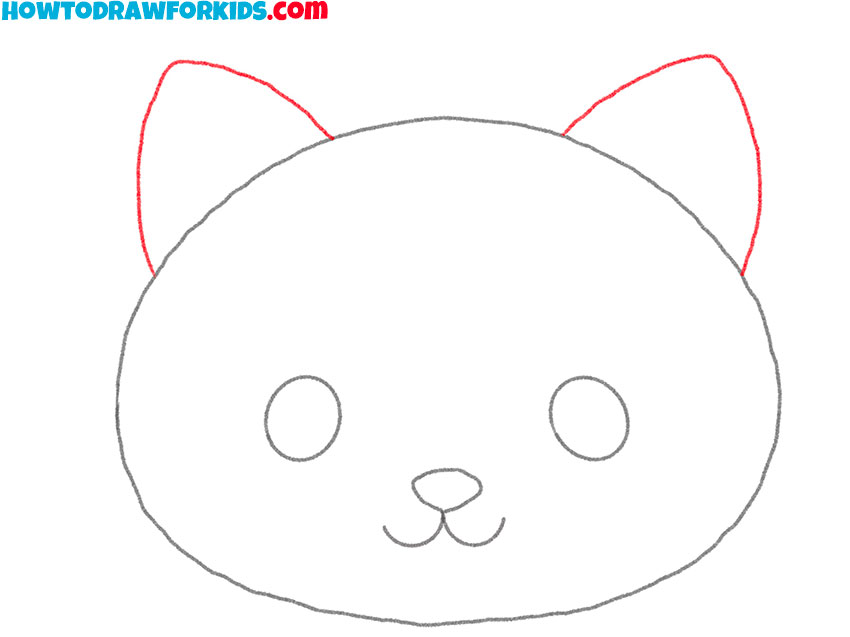
- Draw the pointed cat ears.
Add one triangular ear on each side of the upper head. You can let the lower edges overlap the oval slightly so the ears look attached to the skull.
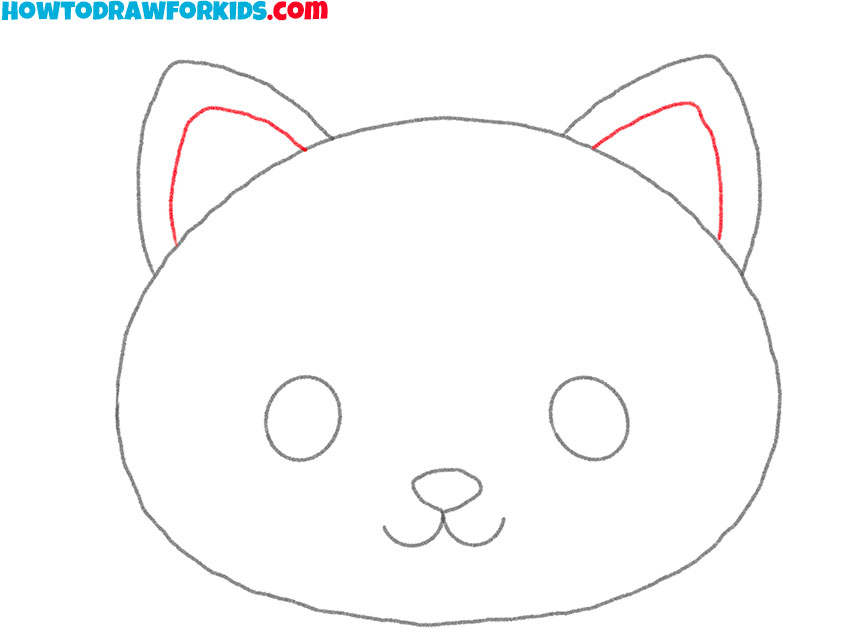
- Outline the inner ear shapes.
Inside each ear, add a smaller line that follows the outer edge. Leave a narrow gap between the two outlines and stop before reaching the ear tip.
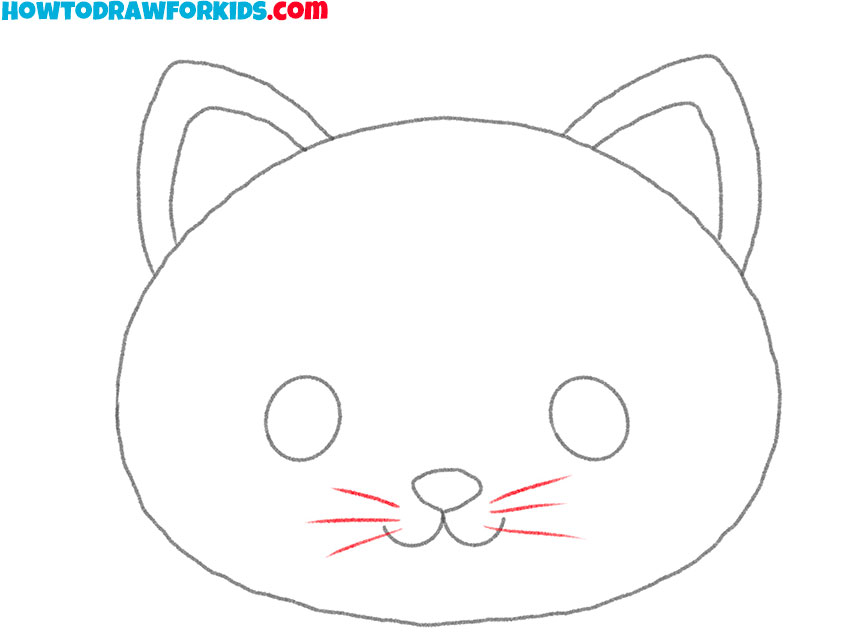
- Add whiskers to the muzzle.
Extend three short lines from each side of the muzzle. Angle the upper whiskers slightly upward and the lower ones slightly downward so they spread apart.
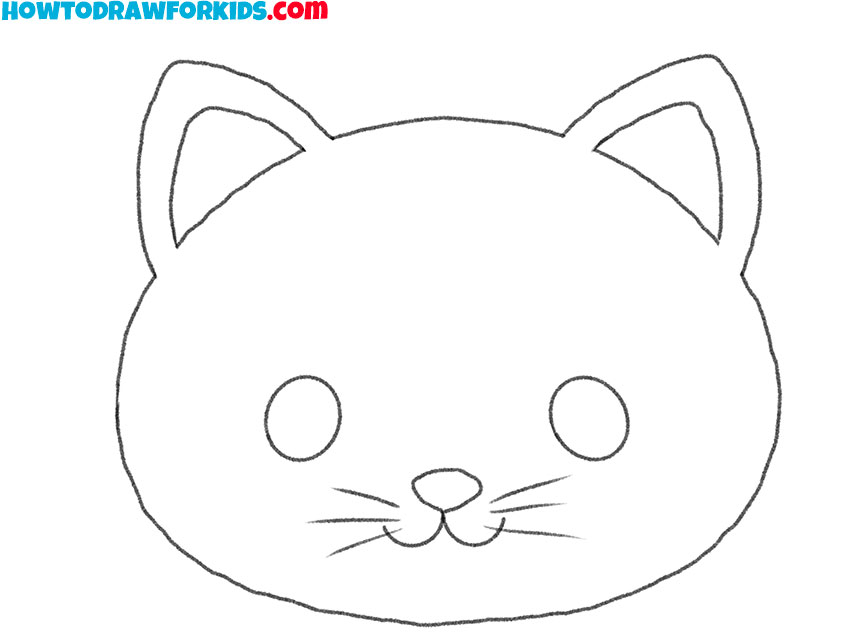
- Clean up the cat face drawing.
Erase the parts of the head outline hidden by the ears. Remove any remaining guidelines, then darken the final lines around the face and features.
- Color the cat face.
Fill the fur with gray and use pink inside the ears and on the nose. Color the pupils black, leaving a small white highlight in each eye.
Cat Face Drawing Printables
The printable PDF includes the main drawing steps, a coloring page, a tracing worksheet, and a grid exercise. Save it to your device or print the pages for offline practice.
More Ways to Draw a Cat Face
The following methods use different head shapes and levels of detail. Start with the version closest to the main tutorial, then move to the simpler or more detailed options.
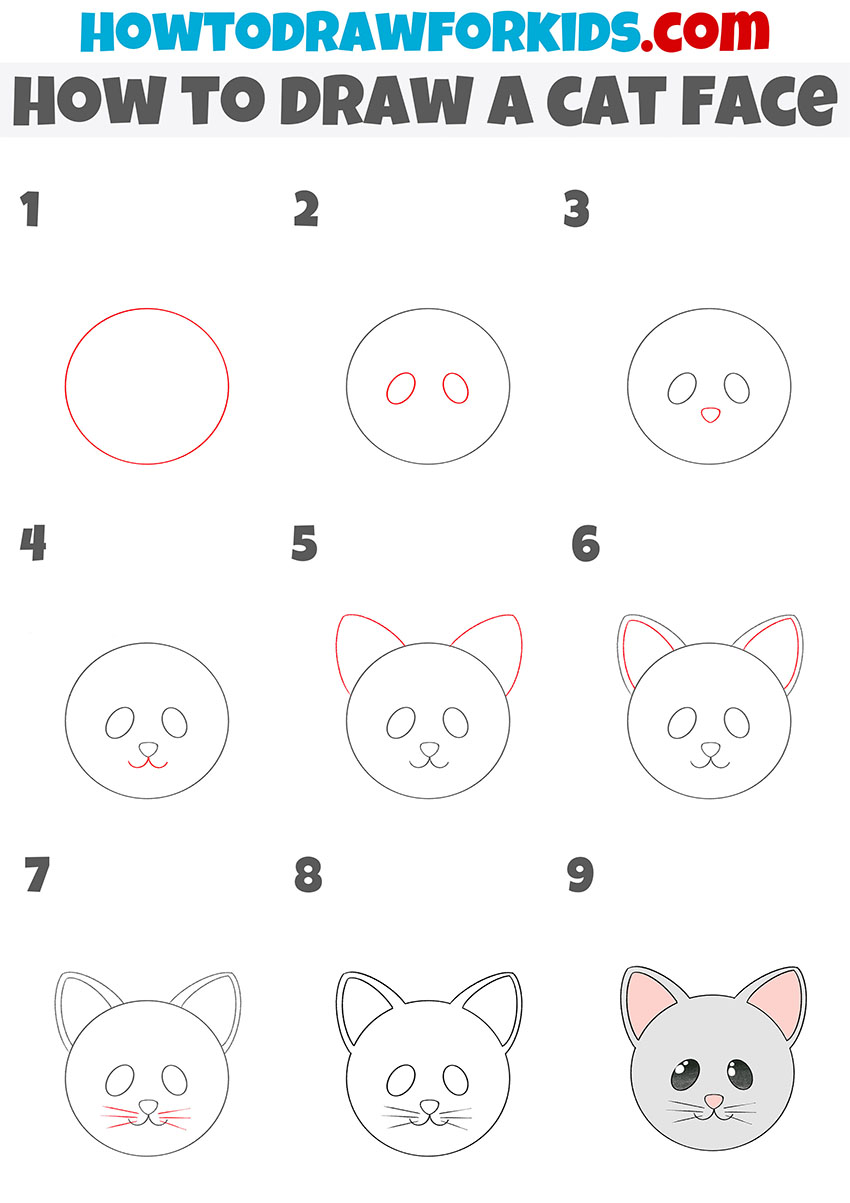
Simple Cat Face Drawing Tutorial
This version uses a more round head and smaller facial features. It is useful for practicing the distance between the eyes, nose, and mouth without adding much detail.
Notice how the ears sit partly behind the head outline. This small overlap helps them look connected rather than placed on top of the face.
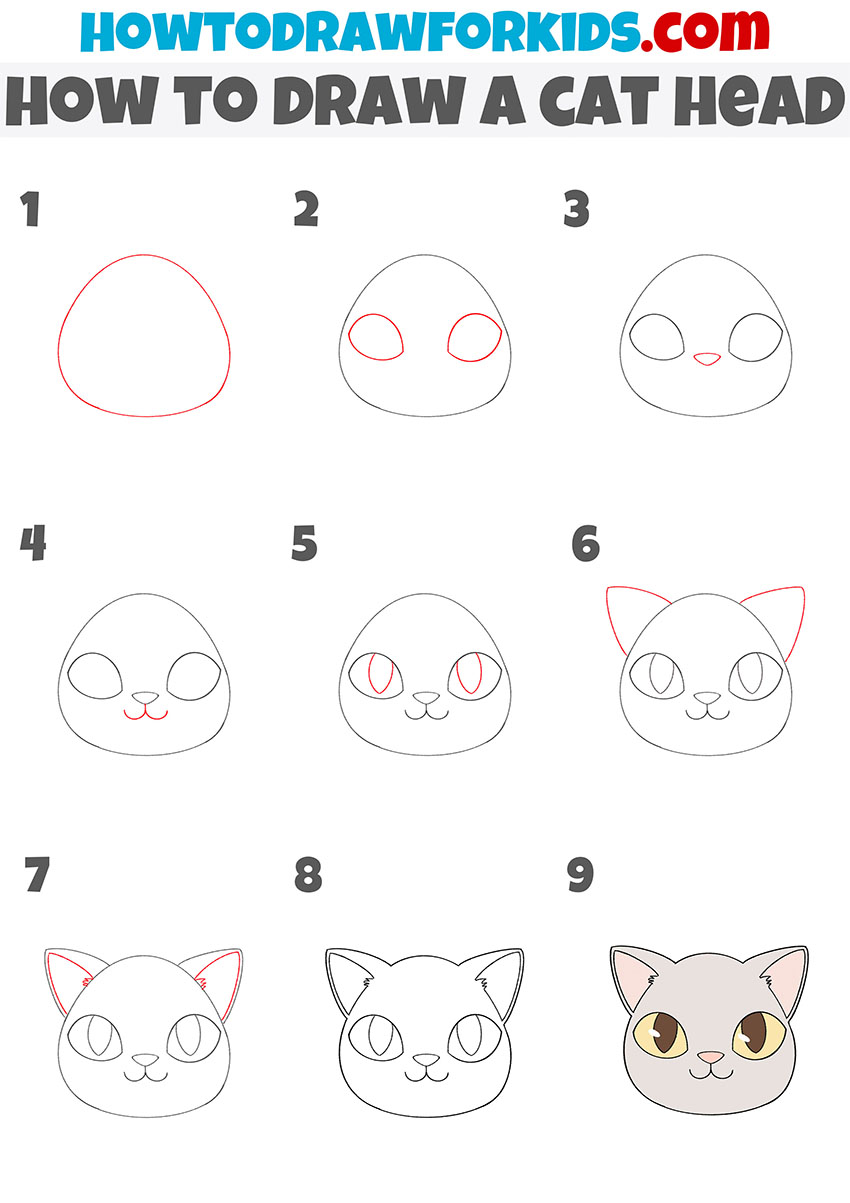
Yellow-Eyed Cat Face Drawing Tutorial
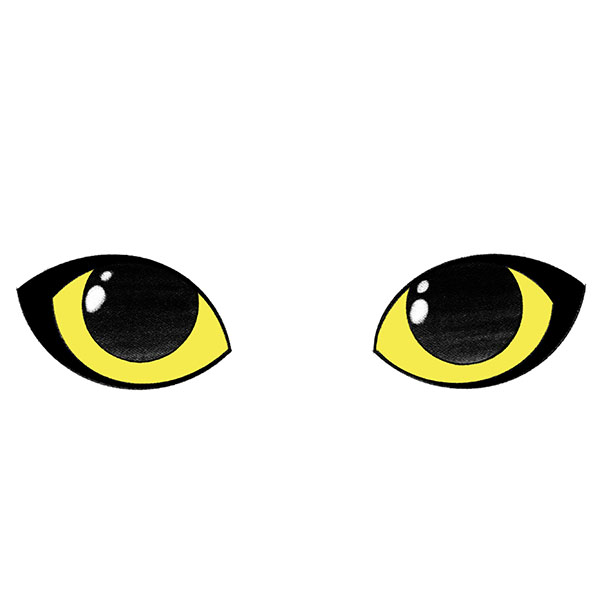
The next version places more attention on the eyes. Their narrow pupils and yellow color give the face a different expression than the previous drawing.
Place the pupils near the center of the irises and leave a small highlight in each one. Even a slight change in their direction can make the cat appear to look elsewhere.
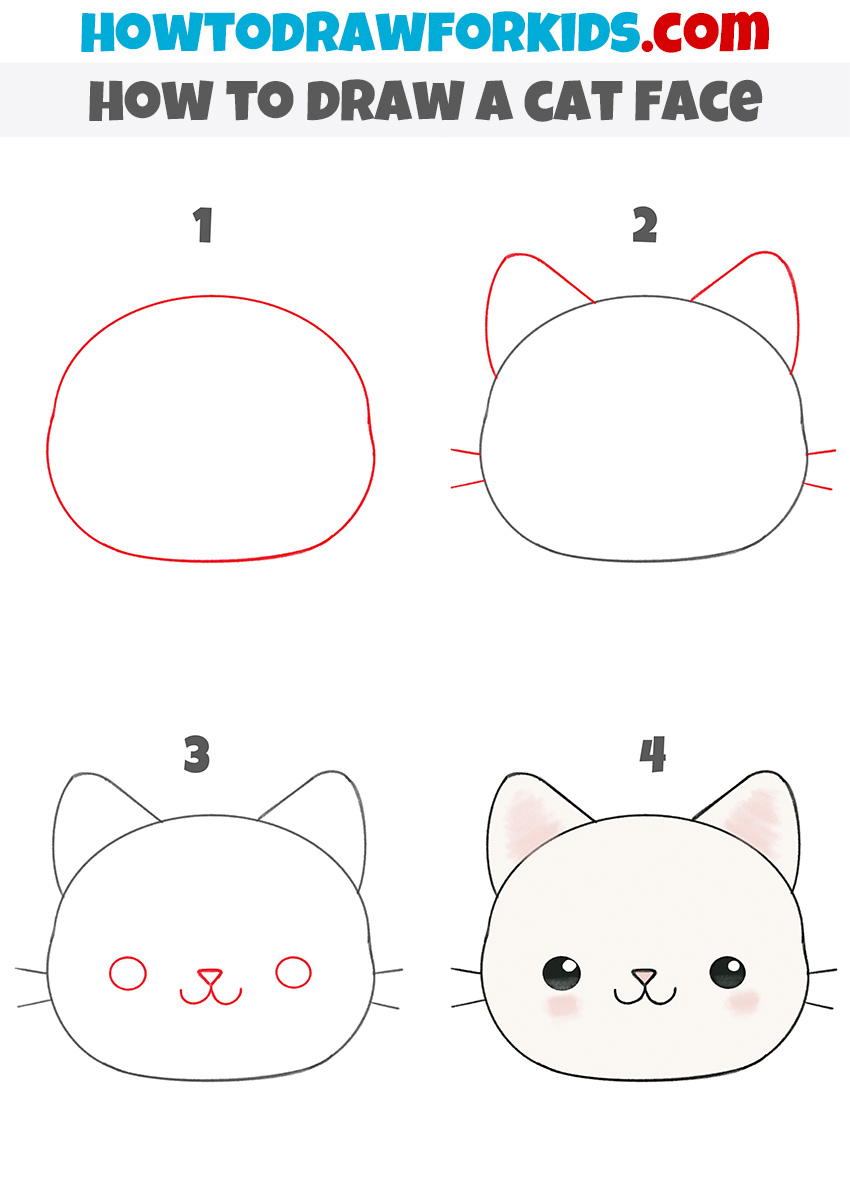
Cat Face Tutorial for Preschoolers
This four-step version is intended for younger children. It uses fewer lines and combines several facial details into one stage.
The shapes do not need to be perfectly even. The main goal is to place the eyes on one level and leave enough room beneath them for the nose and mouth.
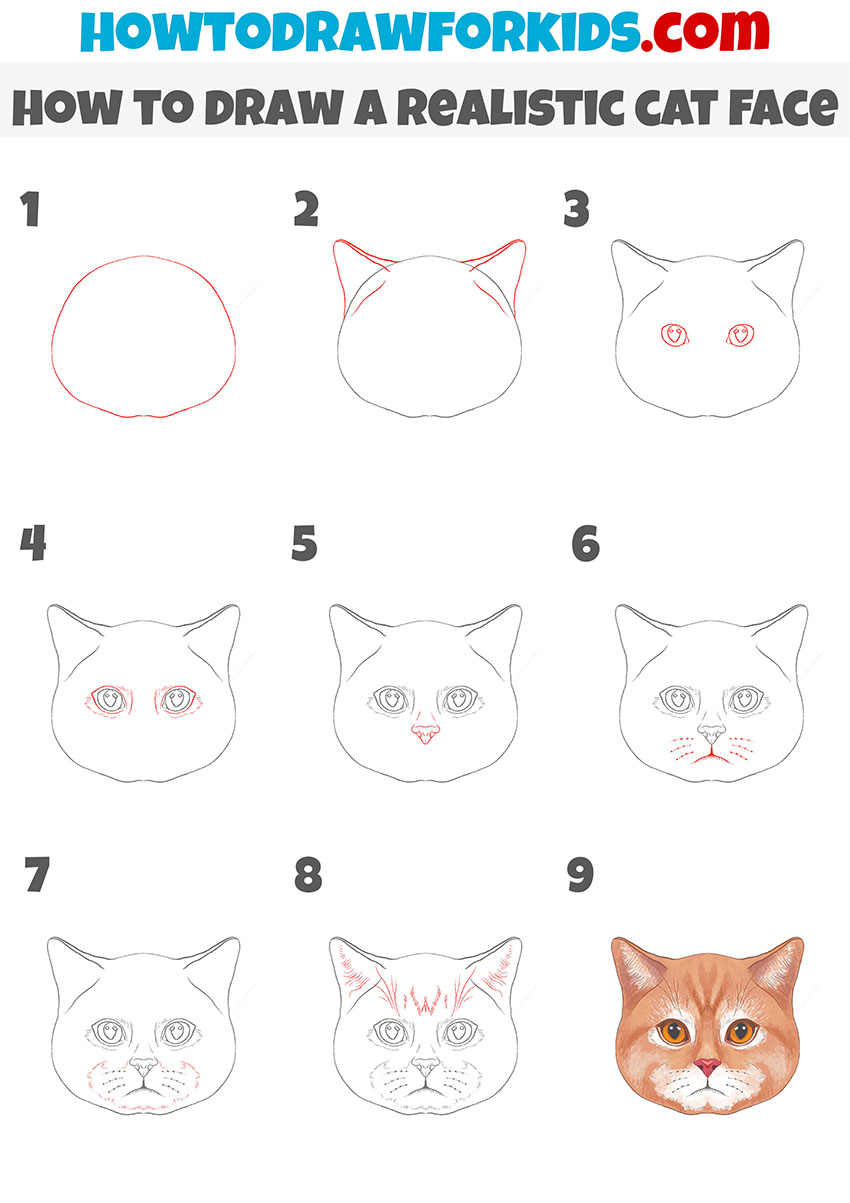
Detailed Cat Face Drawing Tutorial
This method uses a more natural head shape and adds fur around the cheeks. It requires closer attention to the details.
Work with light pencil marks at first because the face depends on small adjustments. The eyes should remain level even though the fur makes the two sides of the head less even.
Conclusion
The main difficulty in this drawing is not the head outline but the placement of the facial features. When the eyes and nose stay centered, the remaining parts are much easier to arrange.
You can change the expression by adjusting only a few lines. Narrower pupils make the cat look more alert, while a lower mouth creates a calmer expression.
For closer practice with these details, try drawing cat eyes or drawing a cat nose and mouth separately.
After that, you can use the same proportions when you draw a cartoon cat with the head attached to a complete body.