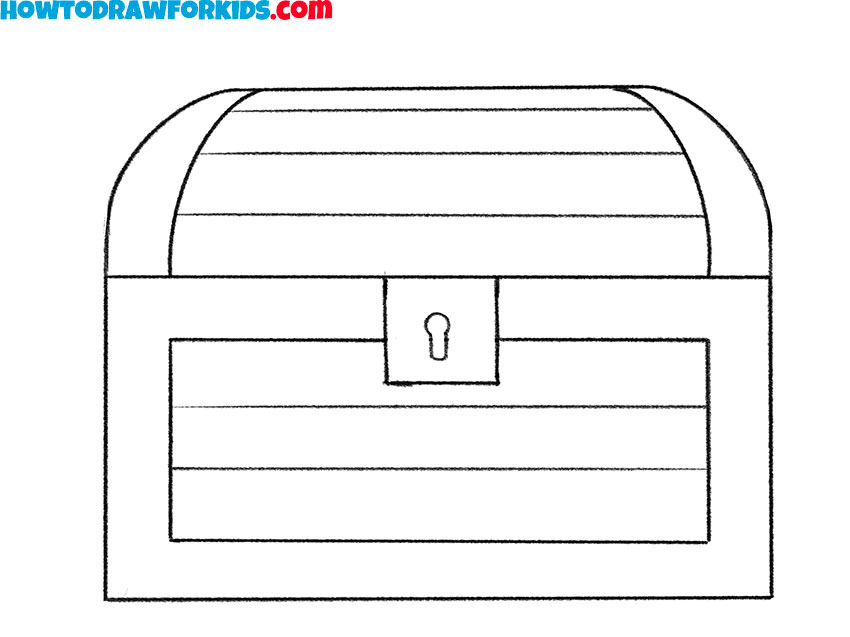
How to Draw a Chest
Embarking on this artistic voyage, I’ll show you how to draw a chest, a timeless symbol of adventure and hidden treasures. Through my straightforward method, you’ll be able to recreate the sturdy elegance of this classic storage piece. The curves and angles come together to create not just a container, but a story.

How to Draw a Chest: Basic Information
Gather your pencils and paper, for today I’ll guide you through how to draw a chest, rich with the allure of pirate legends and ancient lore. My simplified approach will help you capture the robust and timeless appeal of this iconic piece of treasure keep. Each step is carefully planned to build confidence and skill.
Focusing on the chest’s structure, I’ve broken down its complex appearance into simple shapes. The rounded lid, the flat base, and the bold panels come together under your pencil. It’s in these details that the chest begins to take shape, promising secrets and stories locked within its timeworn wood.
When we finish, to draw a chest will mean you’ve also unlocked a new level of your drawing skill. This tutorial is about more than lines and curves; it’s about imbuing your drawing with a sense of history and wonder. With each stroke, you’ll not just depict a chest; you’ll create a vessel for endless imagination and tales untold.
Chest Drawing Tutorial
Materials
- Pencil
- Paper
- Eraser
- Coloring supplies
Time needed: 20 minutes
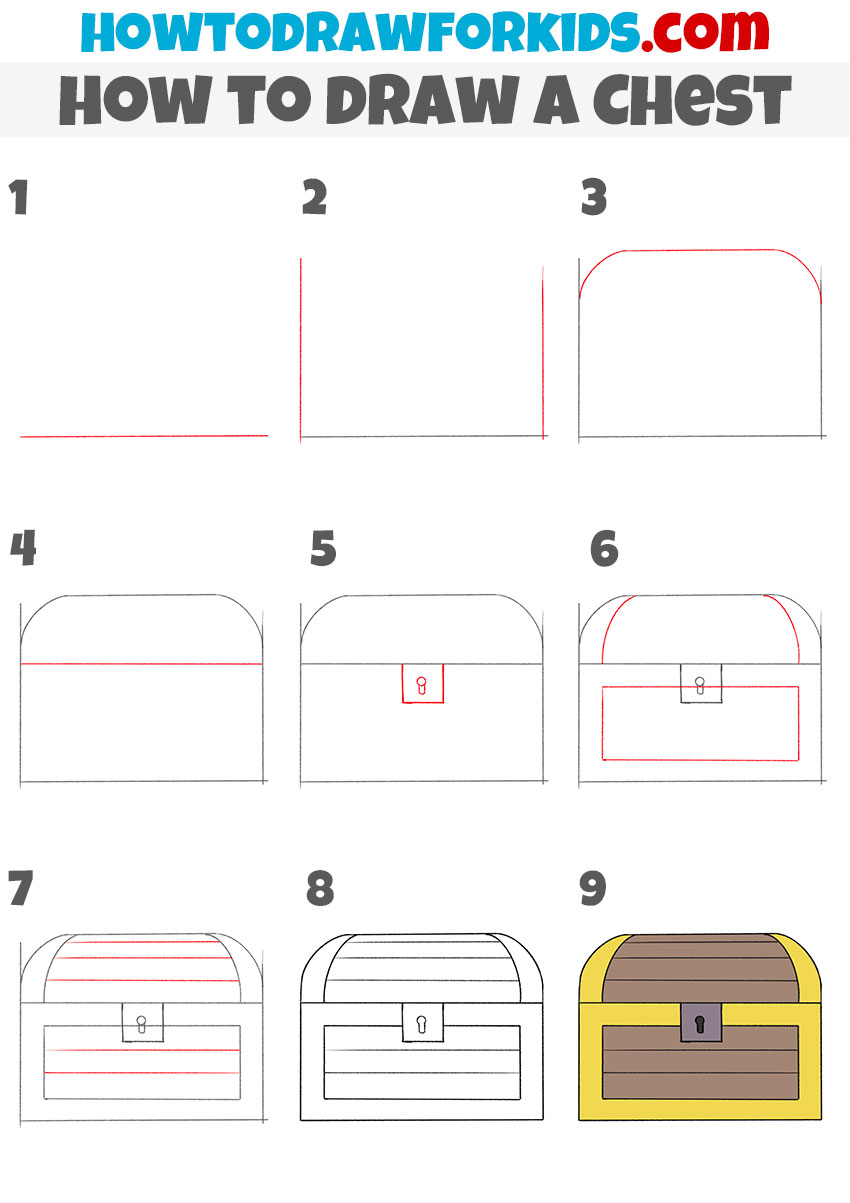
How to Draw a Chest
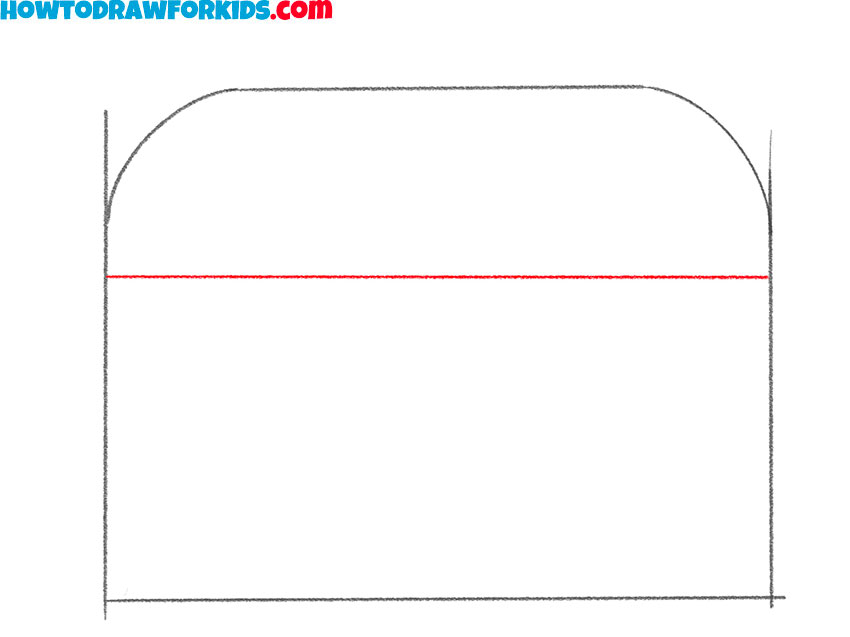
- Draw the bottom of the chest.
Depict a straight horizontal line to draw the bottom of the chest.

- Depict the sides.
Add two same vertical straight lines on the sides of the previously drawn line.

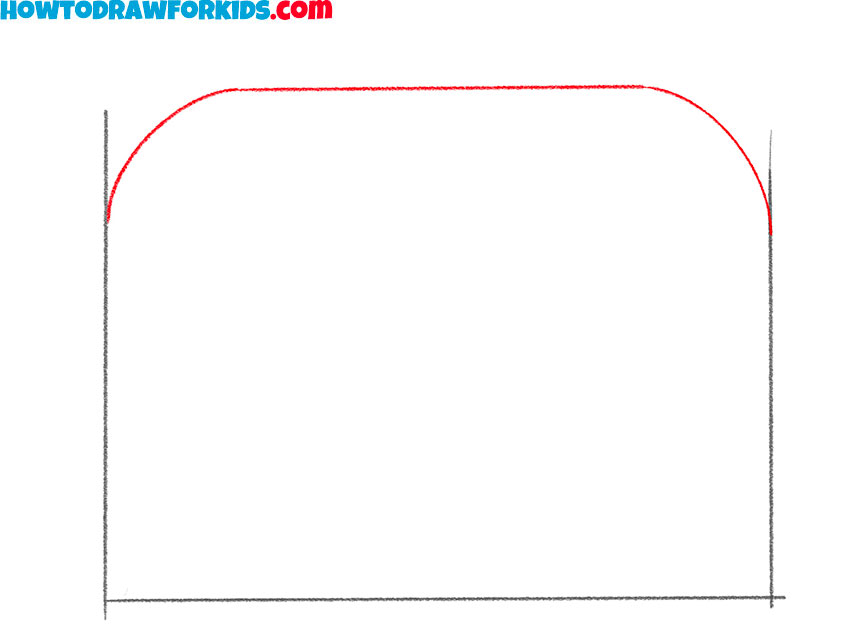
- Draw the top of the chest.
Outline a curved line that connects the two previously drawn lines.
- Add the line of the lid.
Draw a straight horizontal line slightly below the top outline of the chest.
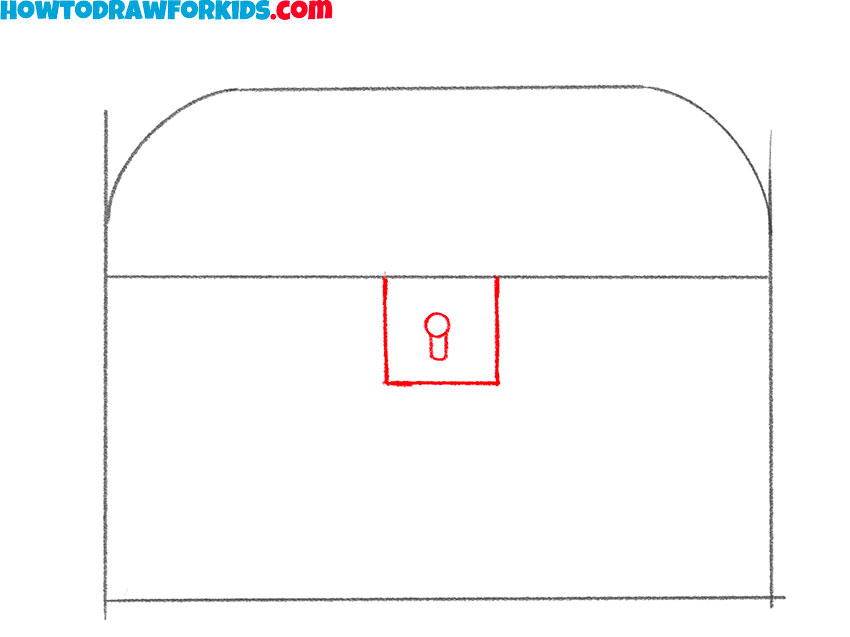
- Depict the lock.
Place it below the line of the chest lid. Use straight and curved lines.
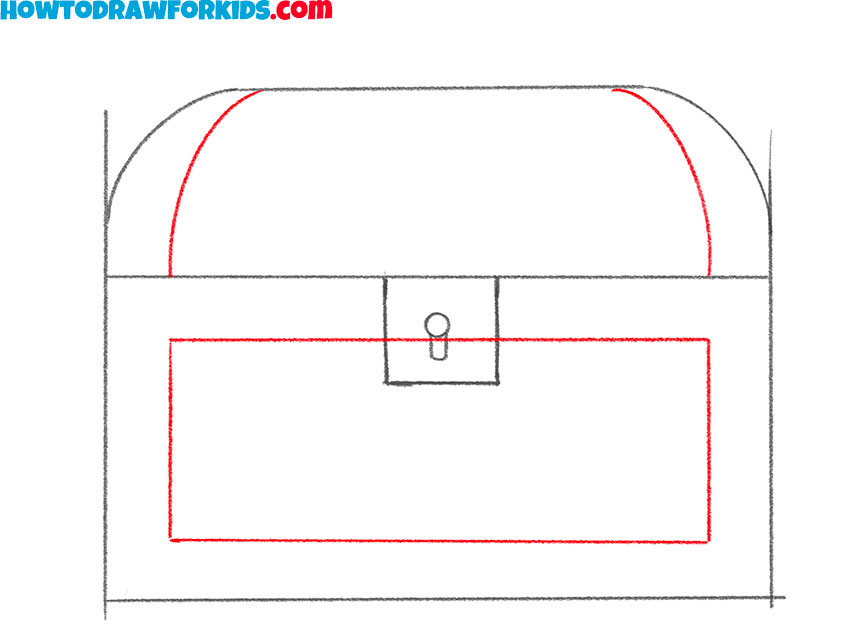
- Add the decorative elements.
Draw a rectangle on the chest and add two curved lines on its lid.
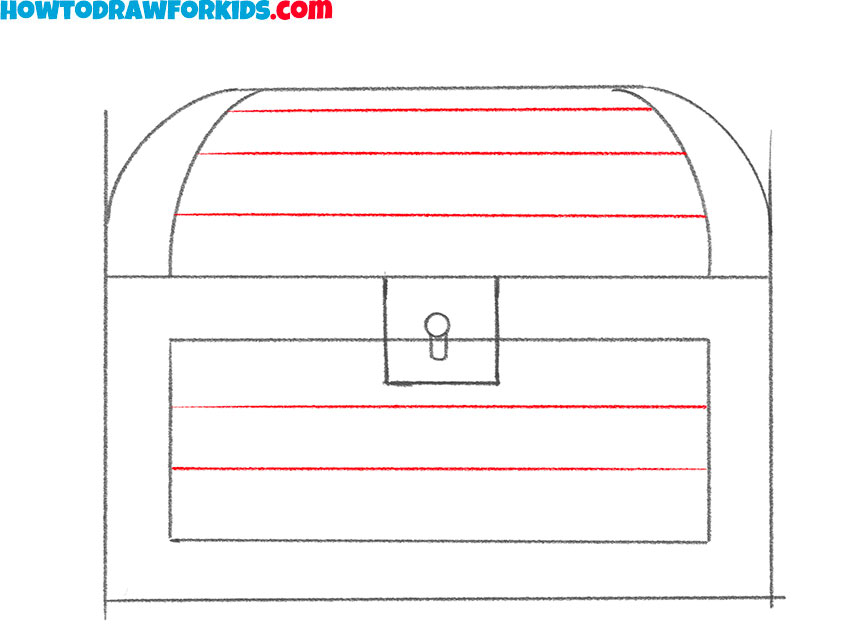
- Draw the outline of the wooden boards.
Depict many straight horizontal lines on the chest and lid of the chest.
- Erase the auxiliary lines.
Use an eraser to remove unnecessary lines from the drawing.
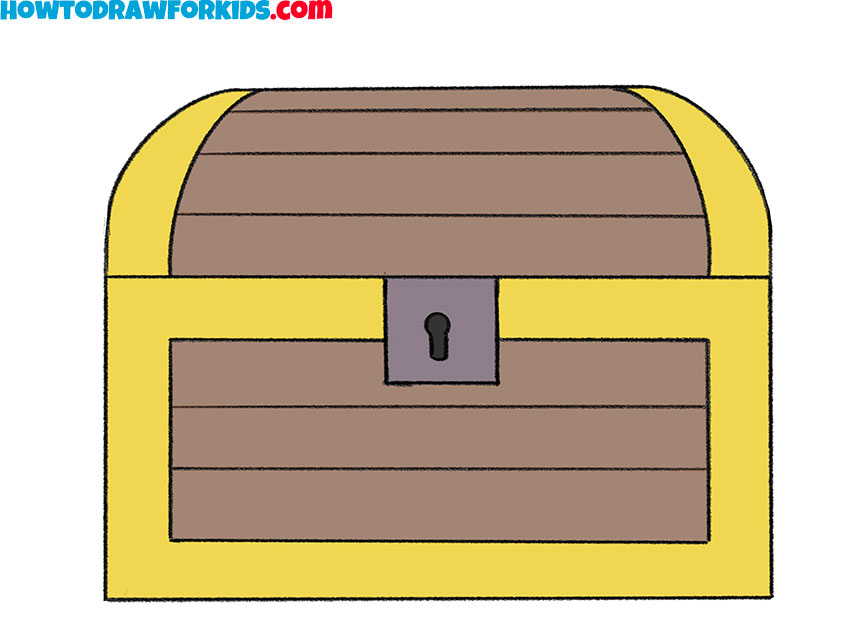
- Color the drawing.
Use brown, grey, yellow, and black to color this drawing.
Additional Content
For those who wish to practice drawing at any time and place, I’ve prepared a free PDF file of this drawing lesson. This compact guide contains all the essential steps, distilled into a handy format that you can easily download and print. It’s designed for convenience, allowing you to take your artistic practice offline, wherever you go.
The PDF is a perfect tool for those moments when you want to disconnect from the digital world and immerse yourself in creativity. With this resource, you can continue to refine your drawing skills, ensuring that your next chest is as enchanting as the one from our lesson, no internet required.
Alternative Drawing Technique
To further enrich your artistic journey, I’ve developed not just one, but several alternative techniques for drawing a chest, each designed to challenge and expand your skills. These varied approaches will allow you to experiment with different styles and perspectives, from rustic, time-worn treasure chests to sleek, modern storage boxes.
These alternative techniques are tailored to encourage creative thinking and adaptability, ensuring that with each new chest you sketch, you’re building a more versatile and robust skill set.
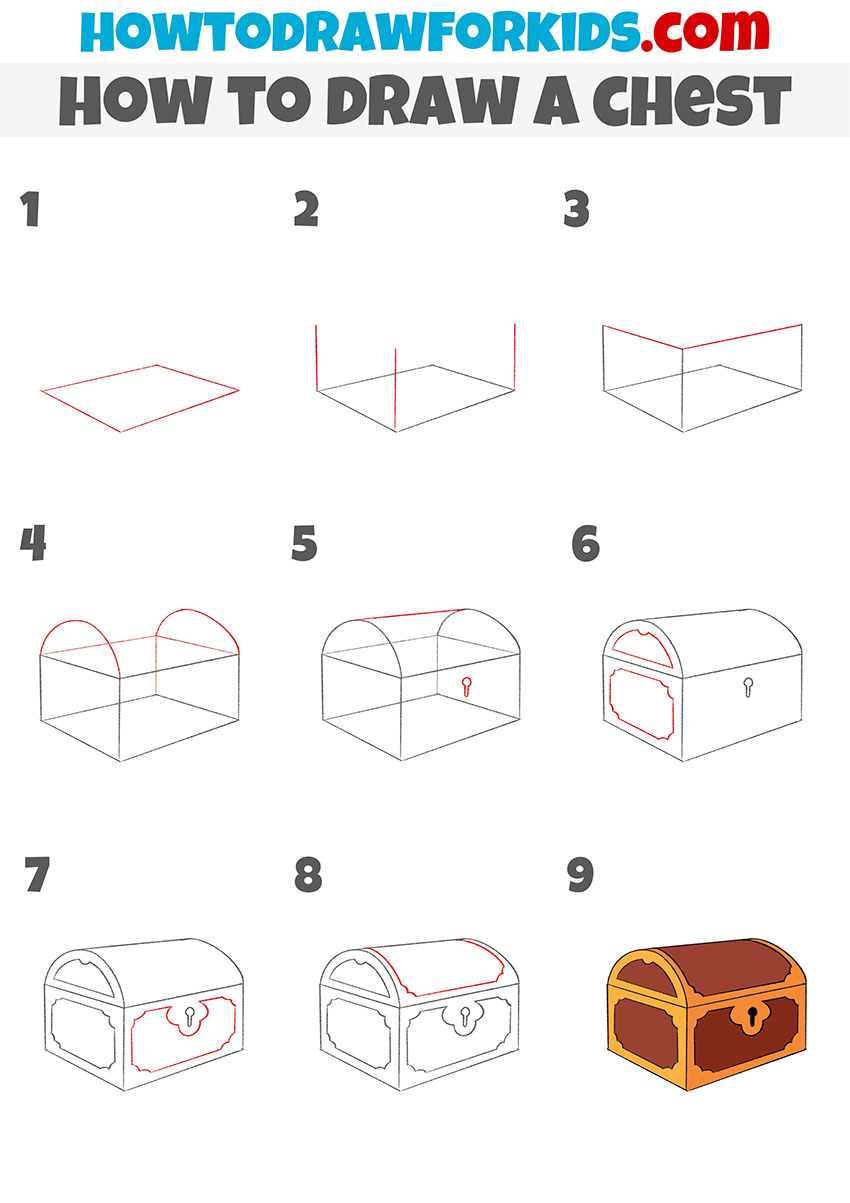
How to Draw a Chest From a Different Angle
In this lesson, we’ll expand our artistic skills by drawing a chest in a 3/4 view, offering a more dynamic perspective that adds depth to our work. This angle not only challenges us to think about the object in three dimensions but also enhances the realism of the chest, making it pop off the page.
I’ll guide you through understanding the shifts in lines and shadows that come with a 3/4 perspective, ensuring that your final drawing has a lifelike presence. Let’s embark on this drawing journey together, bringing the chest into a more vivid view with each line we depict.
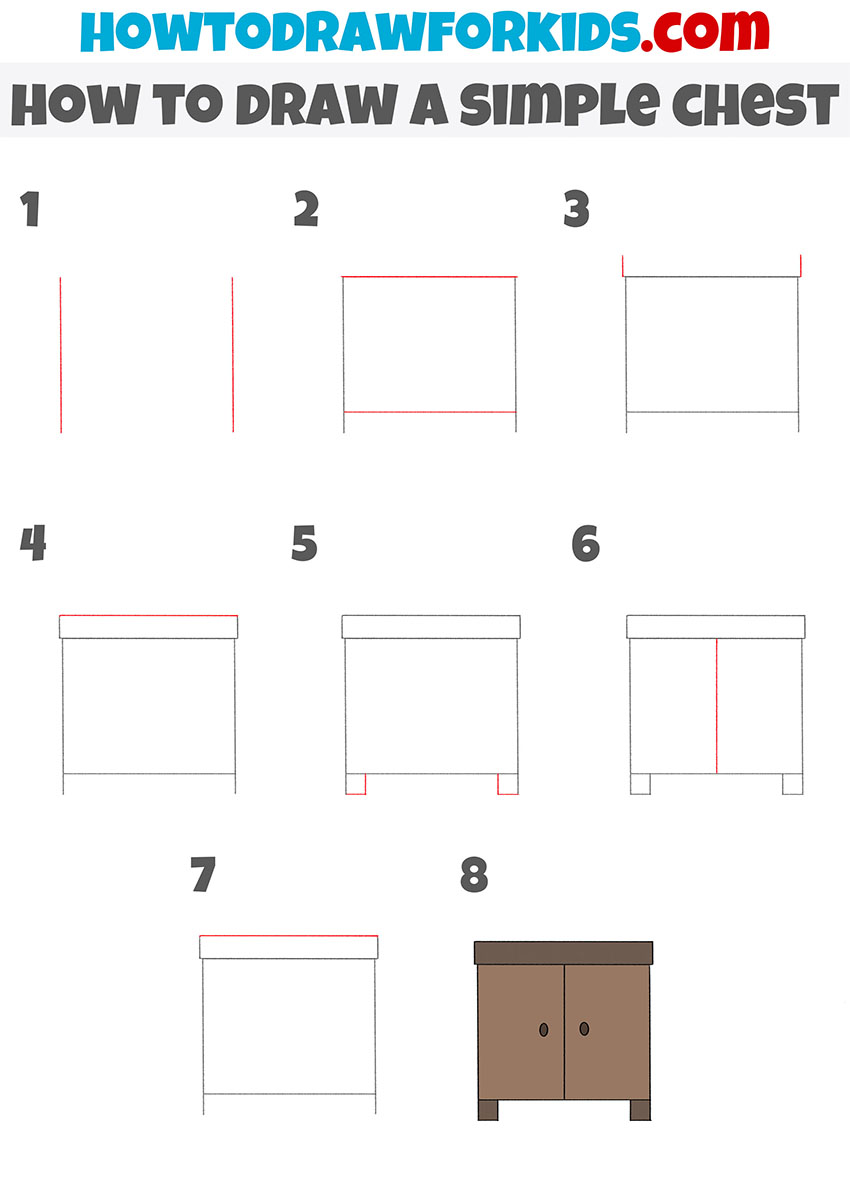
Modern Chest Drawing Instruction
Here, we’ll focus on sketching a modern chest, a versatile and functional piece of furniture often found in homes. This chest, akin to a small cabinet, can be placed beside the bed, near the door, or in various spots around an apartment, offering a convenient storage solution for various items.
The drawing process I’ll demonstrate captures the clean lines and simple form of this contemporary item, ensuring that it not only serves as an exercise in drawing straight edges and symmetrical shapes but also helps you understand how to depict everyday objects in a realistic manner.
Conclusion
You’ve successfully drawn a chest, but this is just the beginning! My website is filled with lessons on all sorts of subjects, like the nuances of a human face or the sleek fur of a warrior cat. Follow me on social media to stay in the loop with all the new lessons I post – there’s always something exciting on the horizon.
And if you have ideas for what you’d like to draw next, drop a comment below. I’m always looking for inspiration from my young artists, and your idea might just be the next drawing challenge we tackle!