How to Draw Chibi
Chibi is a special style of drawing anime characters, and in this article I want to show you how to draw chibi in three different ways.
How to Draw Chibi: Introduction
Drawing chibi characters involves mastering their recognizable features, especially their exaggerated proportions. To learn how to draw chibi effectively, you should create iconic chibi proportions with an oversized head that is nearly as large as the rest of the body.
In your chibi sketch, the eyes should be large and expressive, taking up a significant portion of the face. This style of eyes is very important for conveying the character’s emotions. The eyes in chibi drawings are even more exaggerated then in anime or manga.
In the body drawing phase, keep limbs short and the torso compact. As you draw chibi, choose simple clothing elements to maintain the figure’s overall cuteness and simplicity. These simple actions will help you to create really professional chibi drawings.
So, the basics are clear, so let’s get down to the details and learn how to draw chibi.
Chibi Drawing Tutorial
Materials
- Pencil
- Paper
- Eraser
- Coloring supplies
Time needed: 45 minutes
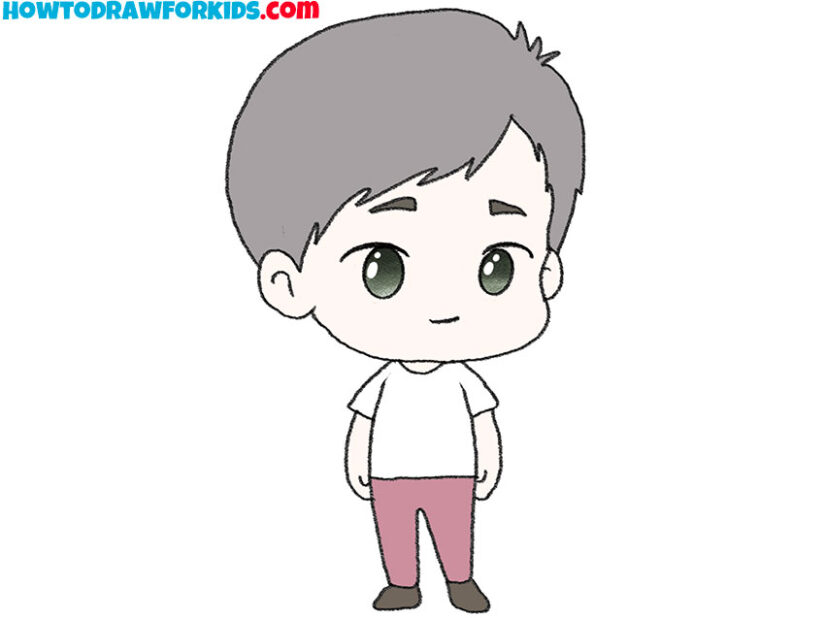
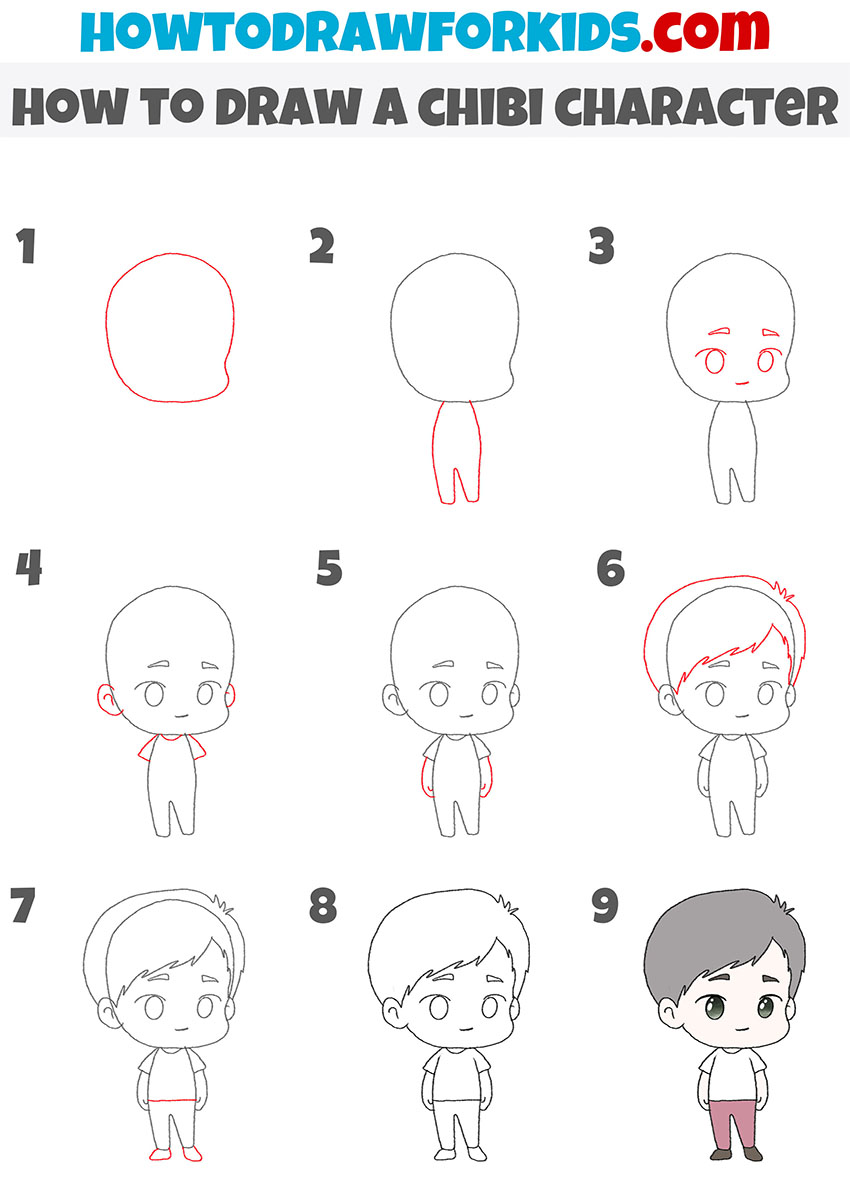
How to Draw Chibi
- Draw the head of the chibi character.
Begin by sketching the basic outline of the chibi character’s head. Draw a large, slightly oval shape with a rounded bottom, resembling a balloon. The head should be quite large in proportion to the body, typical for chibi characters. Ensure the lines are smooth and the shape is symmetrical.

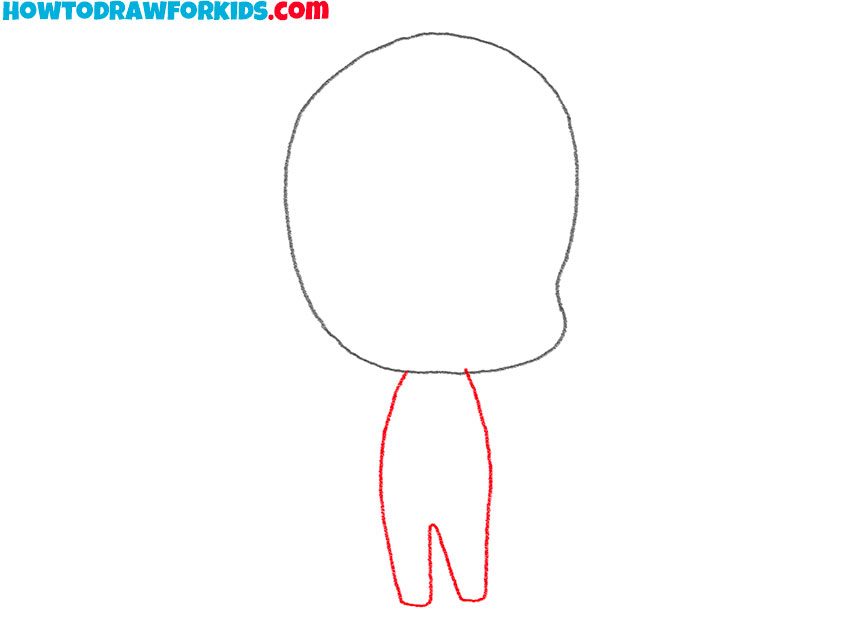
- Add the torso and legs.
Next, draw the outline of the chibi character’s body. The body should be much smaller in proportion to the head, emphasizing the chibi style’s characteristic cuteness. Sketch a simple, elongated shape starting from the bottom of the head and extending downward.
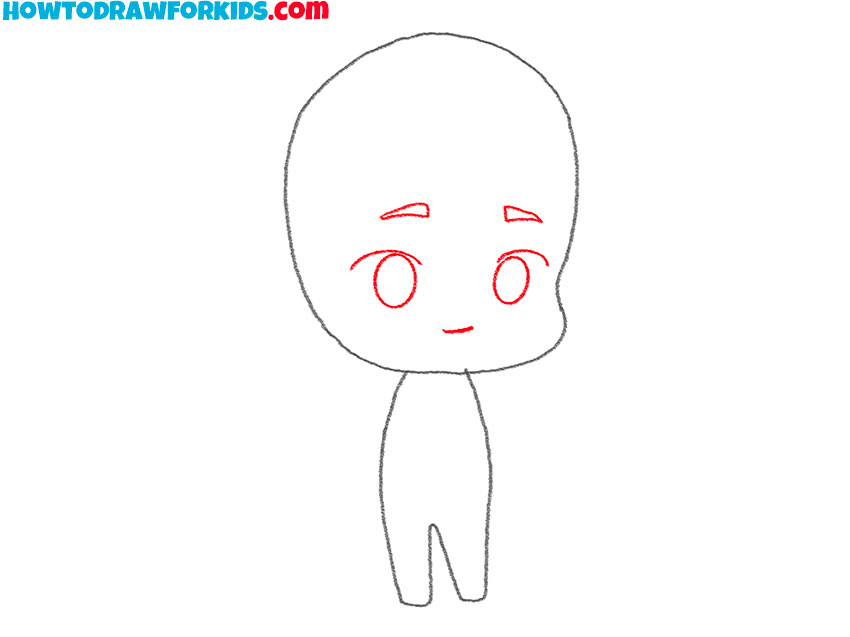
- Draw the chibi facial features.
Start with large, rounded eyes that take up a significant portion of the face. Position the eyes slightly lower on the head for a more youthful appearance. Add small, curved eyebrows above the eyes and a tiny, simple chibi-style mouth below.
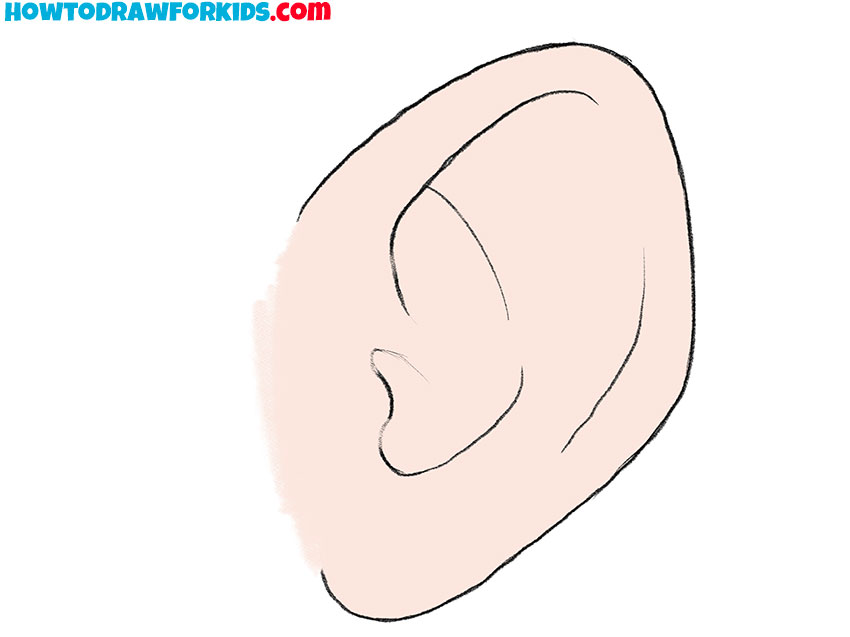
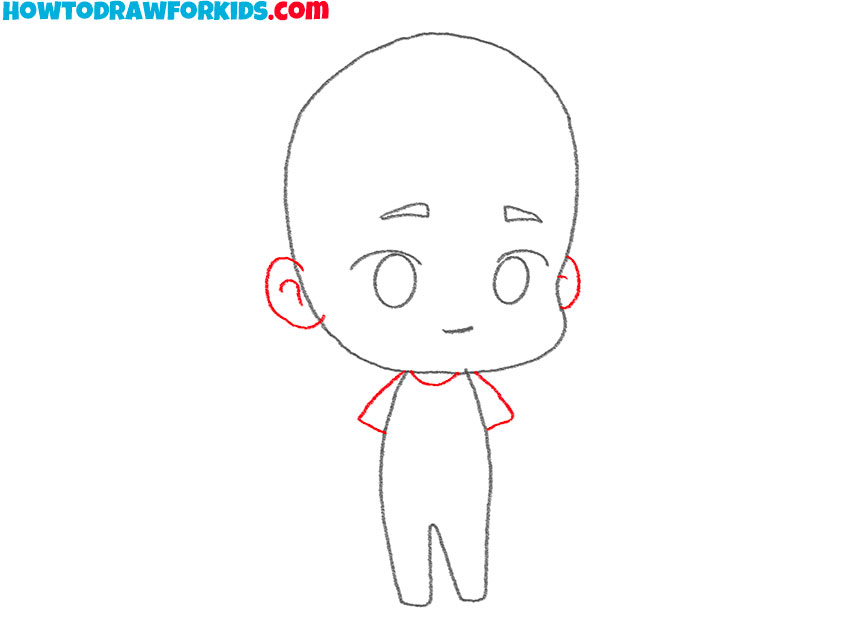
- Illustrate the ears and neck.
In this step, add small, rounded ears on either side of the head. The ears should be positioned slightly below the horizontal midpoint of the head. Draw a short, narrow neck connecting the head to the body. Then add the sleeves of the T-shirt at the sides of the body.
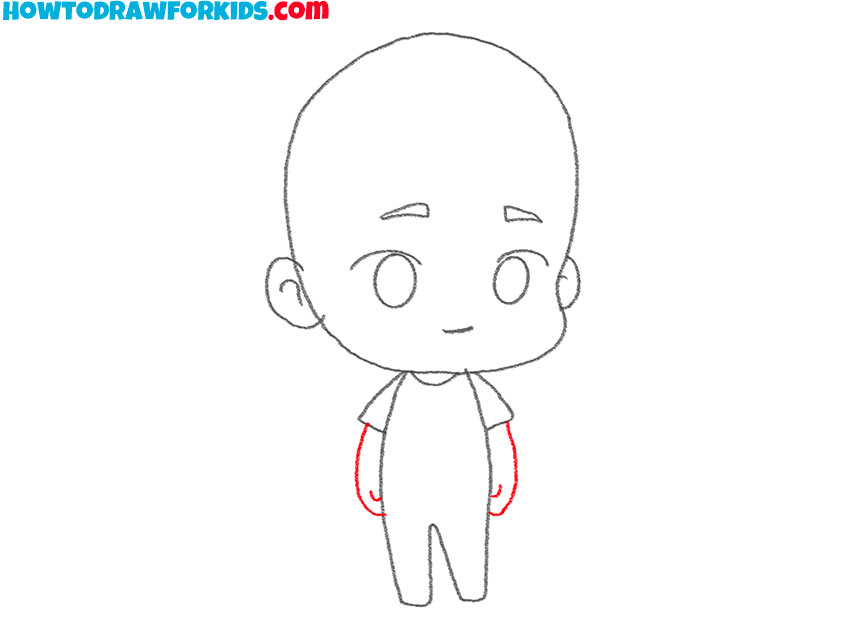
- Draw the arms of the chibi character.
Sketch the arms extending from the sides of the body. Chibi arms are typically short and slightly rounded to match the character’s overall cute and simplistic style. Position the arms to hang naturally by the sides, with hands drawn as simple shapes at the ends.
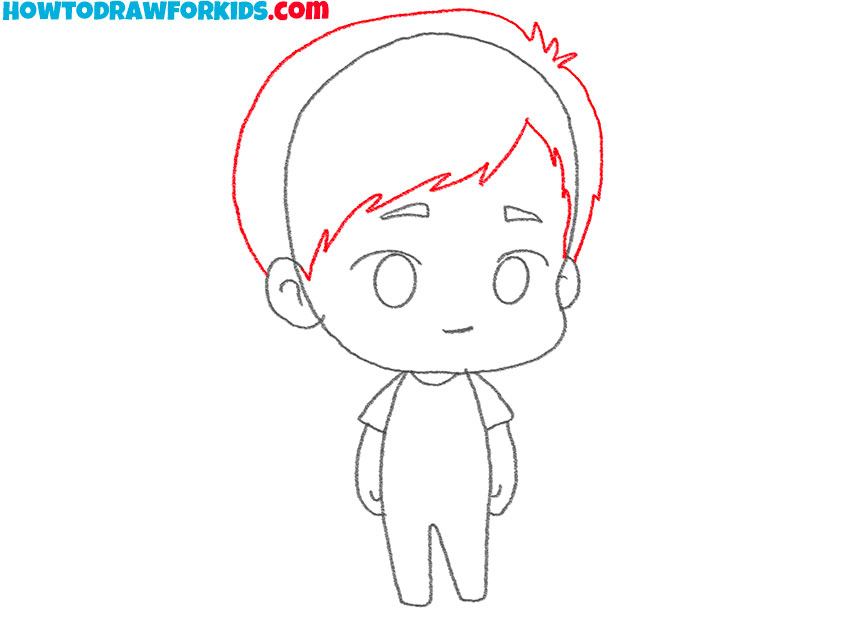
- Illustrate the hair.
Start by sketching the outline of the hairstyle, keeping it simple and rounded. Chibi hairstyles often have large, exaggerated features. Draw the hair extending from the top of the head and down the sides, framing the face. Include some spikes or curves to give the hair volume and style.
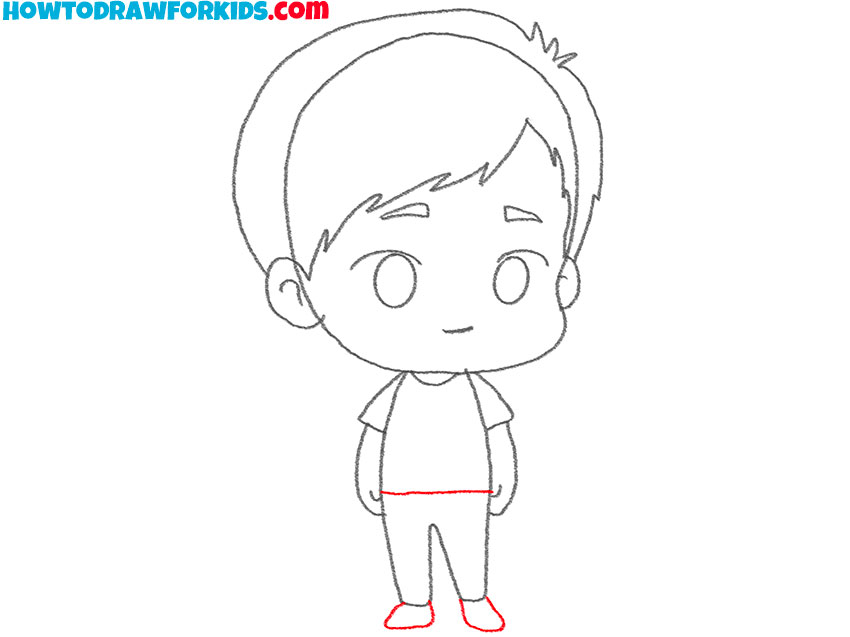
- Illustrate and feet and bottom edge of the T-shirt.
Now, draw the details of the character’s clothing. Start with the upper part, sketching the bottom edge of the T-shirt. Then draw the shoes in the shape of two simple geometric shapes. Keep the clothing details minimal and rounded to match the chibi style.
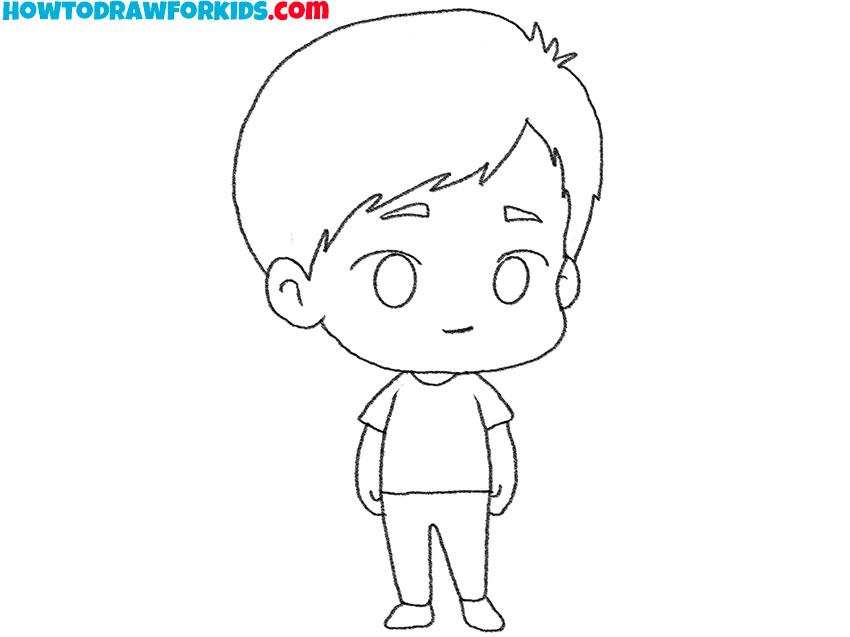
- Refine the head and body.
Smooth out any rough lines and ensure all elements of the chibi character are symmetrical and proportionate. Add small details such as creases in the clothing to give it a bit more realism. Make sure your chibi drawing is clear and ready for coloring.
- Color your cute chibi art.
Choose bright or pastel colors typical of chibi characters to illustrate their cute appearance. Start with the hair and skin, coloring them in any color you prefer. Then color the eyes with vibrant hues, adding small white spots for a shiny effect. You can use shading to create more volume.

Additional Content
To help you to train drawing beyond the screen, I’ve crafted a complimentary PDF file to accompany this chibi drawing tutorial.
Inside this PDF, you’ll find additional materials that are specifically created to train your drawing skills. It’s the perfect next step after you’ve completed the main lesson. Which these worksheets you can deepen your understanding and finesse of the chibi style.
Alternative Drawing Methods
In addition to the primary pathway outlined in our session, I’ve developed a series of alternative chibi drawing techniques to enrich your practice and elevate your artistic capabilities. Each variant technique offers a new perspective on the chibi form and shows how to draw chibi characters of different styles and in different ways.
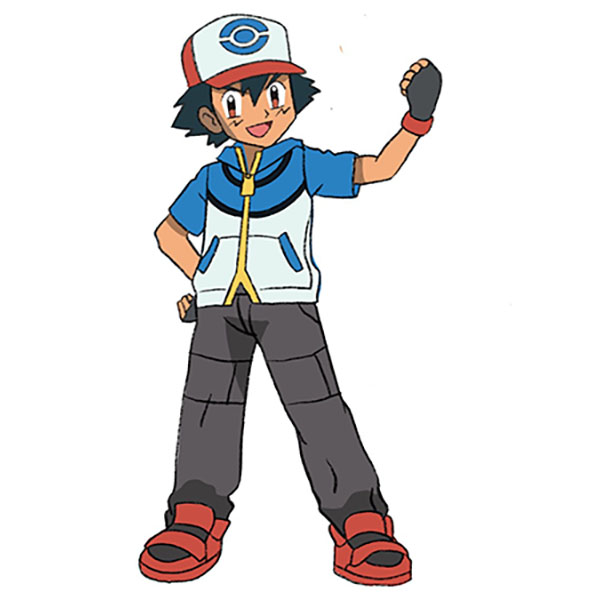
Detailed Chibi Character Drawing Tutorial
This additional tutorial provides an alternative way to draw a chibi character, offering a slightly different style and sequence of steps compared to the first tutorial. While both tutorials focus on creating a cute chibi character, this one is a bit more detailed.
To begin, draw a large, rounded head, slightly oval in shape, followed by a simple, vertically elongated body. The third step adds basic leg outlines. Be sure to maintain chibi proportions with a small body and large head.
Next, sketch the arms extending naturally from the shoulders, followed by refining the arm placement and adding minimal clothing details. Then detail the facial features, starting with large, expressive eyes, followed by a small mouth and simplified ears. Then add the hair and refine the overall shape, adding small details. Finish by coloring the character with pastel hues.

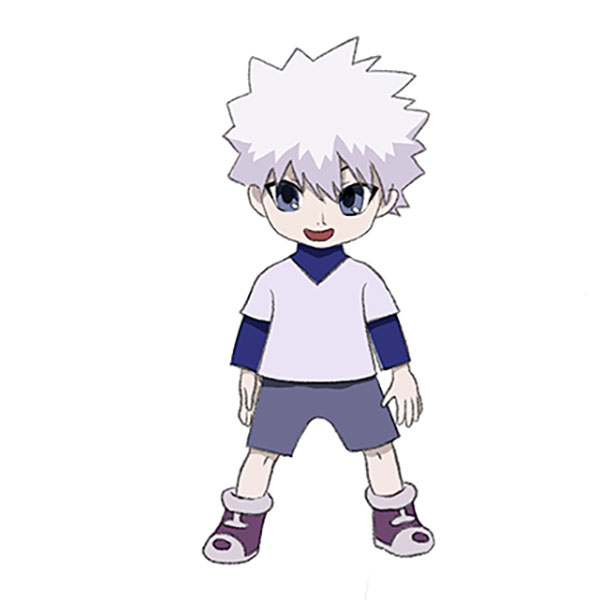
Easy Chibi Character Drawing Tutorial
This additional tutorial provides another approach to drawing a chibi character. The key differences lie in the overall style, which shows an even more simplified chibi character. The sequence of steps is also simplified.
First, draw a curved line for the base of the face, then add spiky hair that extends beyond the head outline. The body is drawn with simple, broad shapes. Sketch the clothing, then add the simplified limbs. Facial features, including large eyes and a simple mouth, can be added with a few simple strokes.
Further, the character’s outfit is detailed with minimal but distinct lines. Finally, color the character with simple shades. Don’t use any shadows or highlights.

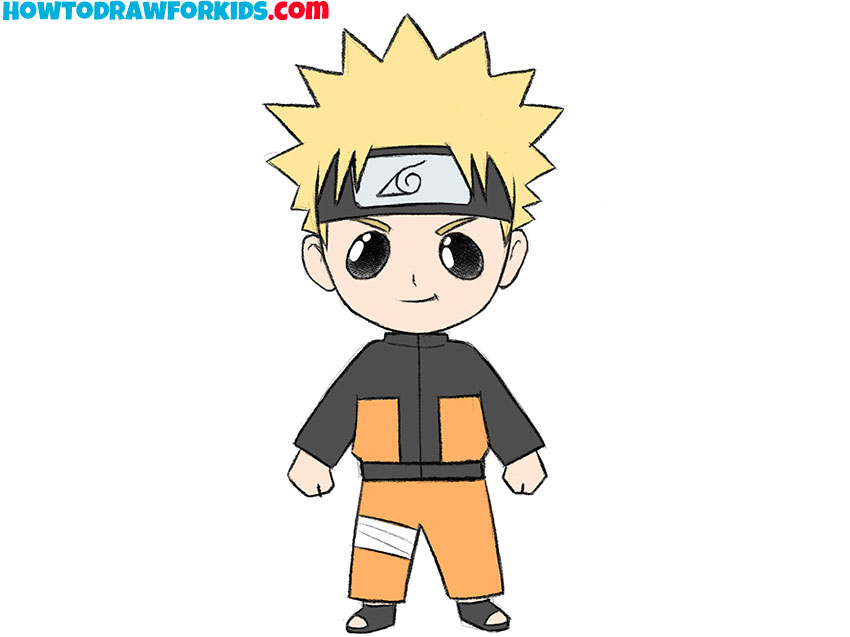
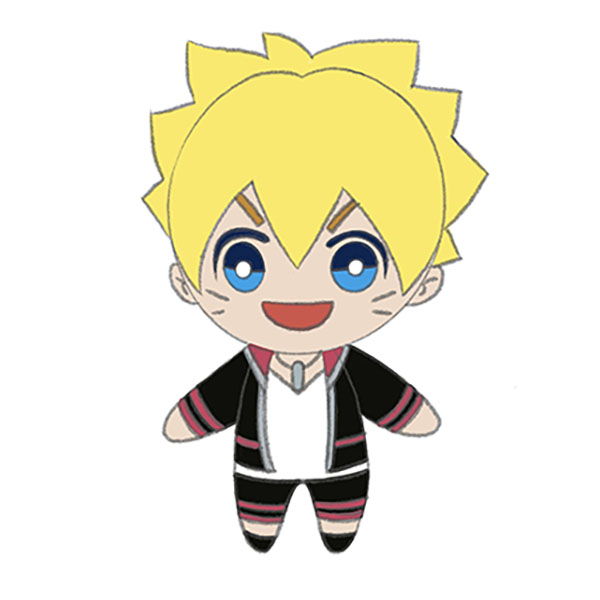
How to Draw a Chibi Anime Character
This last additional tutorial shows a simple way to transform any anime character into a chibi version. The example here is based on a young male anime character with recognizable anime hair, large eyes, and casual clothing, but the same approach can be applied to almost any character design. The main part of this method is on reducing the proportions and features to the chibi format: a large head, smaller body, and simplified details that keep the character recognizable while making the figure look more cartoon-like.
Sketch a small curved line for the mouth, then place the large anime-style eyes above it. Instead of keeping all the sharp details of anime eyes, round them more to match the chibi look. Draw the hairstyle next – keep the spiky anime hair but make the head larger and fuller to demonstrate the chibi proportions. Add the body as a very small, simplified form compared to the head.
When drawing the arms and hands, reduce them to basic rounded shapes rather than detailed anatomy, and do the same for the legs, making them short. Clothing is also simplified. Instead of carefully rendering folds, show only the main outline of the shirt and pants. Finally, add a few accessories like the microphone, but keep them small and clear, avoiding fine detail.

How to Draw Chibi: Advanced Technical Tips
Chibi characters thrive on exaggeration. Oversize the head, make the eyes disproportionately large, and keep the body small and cute. This exaggeration helps convey the character’s cuteness and makes their expressions more impactful. Play with different levels of exaggeration to see what fits best for your style, and remember that the larger the eyes, the more expressive they can be.
When drawing chibi characters, simplicity is one of the most important aspects. Reduce intricate details to their most basic forms, as I’ve said in the last additional method. For instance, draw hands as simple mitten shapes or single lines to represent fingers. This simplicity keeps the focus on the overall image and makes the drawing process faster, especially for kids.
Even though chibi hands and feet are simple, they can still convey a lot of emotion. Use open hands to show excitement or clenched fists to depict determination. Position feet slightly apart to convey a stable stance or point them inward for a shy, reserved look. Small adjustments in these elements can make the sketch more interesting.
Adding cute accessories like bows, hats, or glasses can make your chibi drawing more interesting. These small additions help tell a story about the character. For example, a chibi with a chef’s hat might be depicted as a cook or a character with a katana can be a little cute samurai. Keep these accessories proportionate and simple to maintain the overall chibi aesthetic.
Chibi characters are perfect for learning a wide range of emotions due to their exaggerated features. Practice drawing different expressions such as happiness, sadness, anger, and surprise. Use the eyes and mouth primarily to convey these emotions, as their simplified style makes subtle changes very noticeable. A small change in the eyebrow angle or mouth curve can significantly alter the character’s mood.
Conclusion
This tutorials on chibi drawing may be concluding, but don’f forget that there is a lot of styles and characters that you can master with my website. For example you can draw Spider-Man if are a fan of comic books or continue learning anime style with my tutorial on how to draw an anime character.
I’d love for you to be part of our growing artistic community on social media, where the latest lessons and creations are always at your fingertips. And your voice matters to us – under this lesson, leave a comment with your wishes for future tutorials. Your ideas fuel our creative fires, and together, we’ll keep the art flowing.