How to Draw a Christmas Present
In this tutorial, you will learn how to draw a Christmas present in just nine easy steps. Start the lesson and enjoy the drawing process!

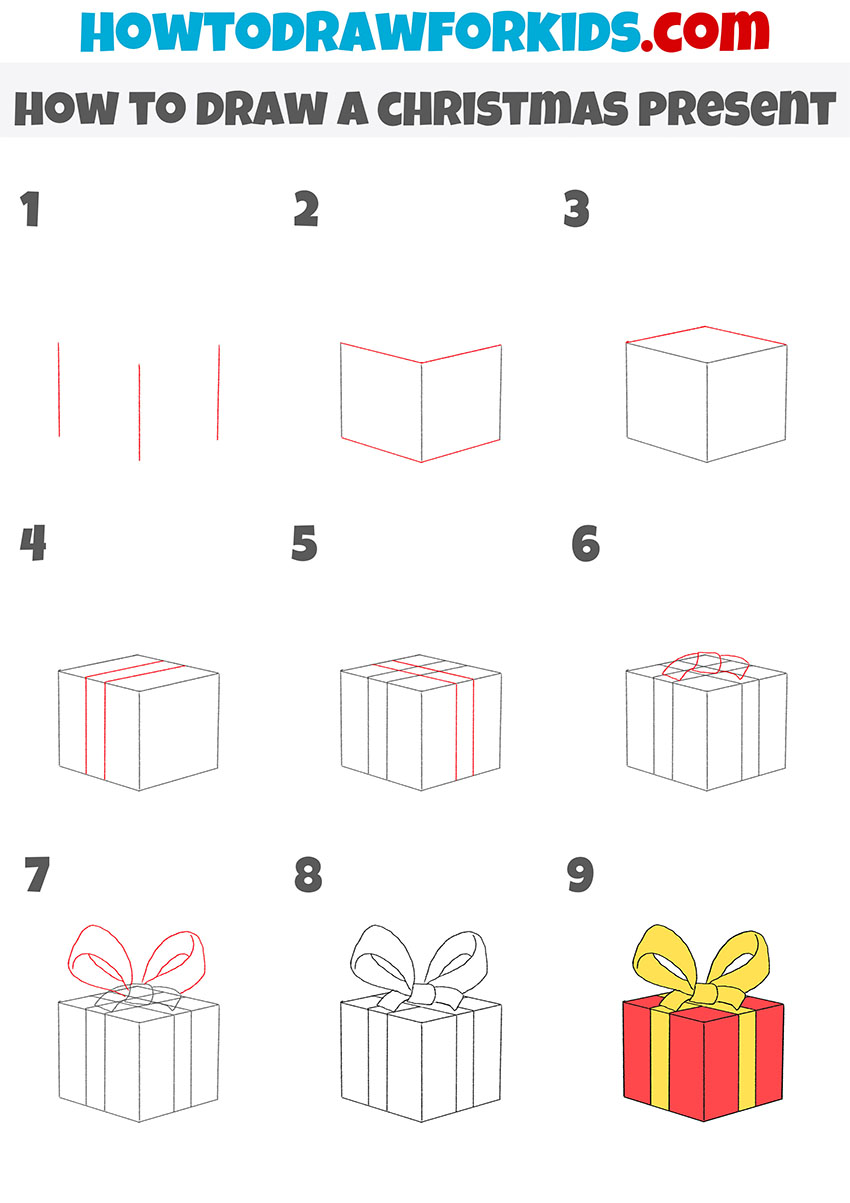
In this lesson, I want to show you how to draw a Christmas present. This lesson will be useful for you, and you will once again train your artistic skills.
I think that you are very fond of giving and receiving gifts and now I will show you how to draw a Christmas present. I think you will enjoy this simple and interesting task.
The picture shows a square box, which is tied with a ribbon and has a beautiful bow at the top. You can put any gift in such a box and present it to your friends and family for Christmas.
This tutorial uses simple lines and a minimum of elements. As a result, you will get a useful skill that you can use in the future when you want to draw other objects in the form of a cube.
Materials
- Pencil
- Paper
- Eraser
- Coloring supplies
Time needed: 20 minutes
How to Draw a Christmas Present
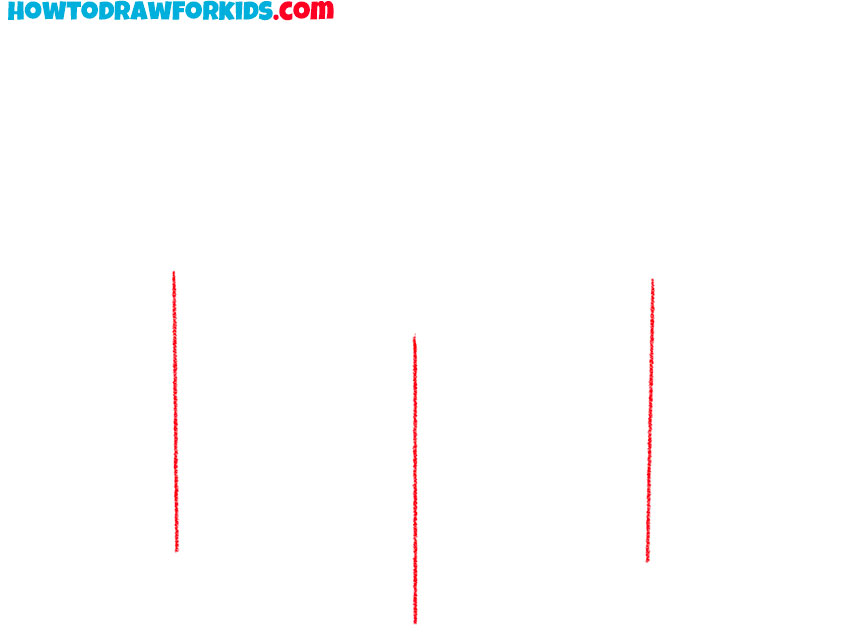
- Draw the sides.
Depict three vertical lines in the same position as in the example.
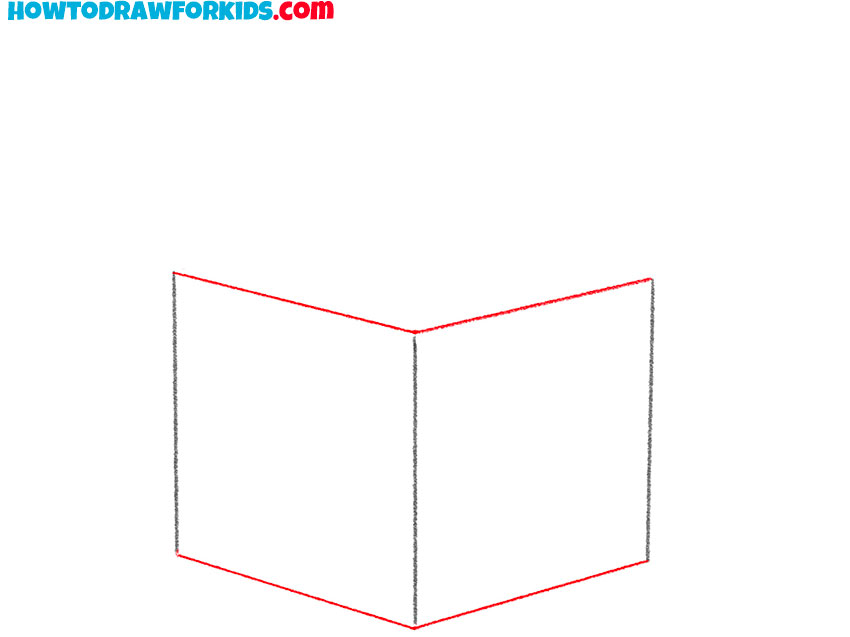
- Add the bottom and top sides.
Draw even connecting lines at the top and bottom.
- Depict the rest of the sides.
At the top, add two straight lines that are angled.

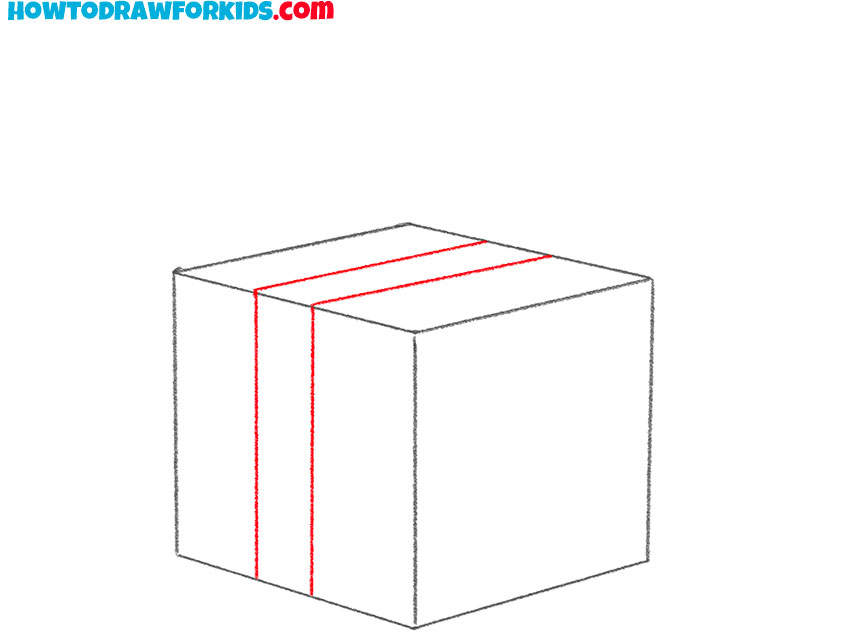
- Sketch out the ribbon on one side.
Draw two straight lines on the side and top of the box.
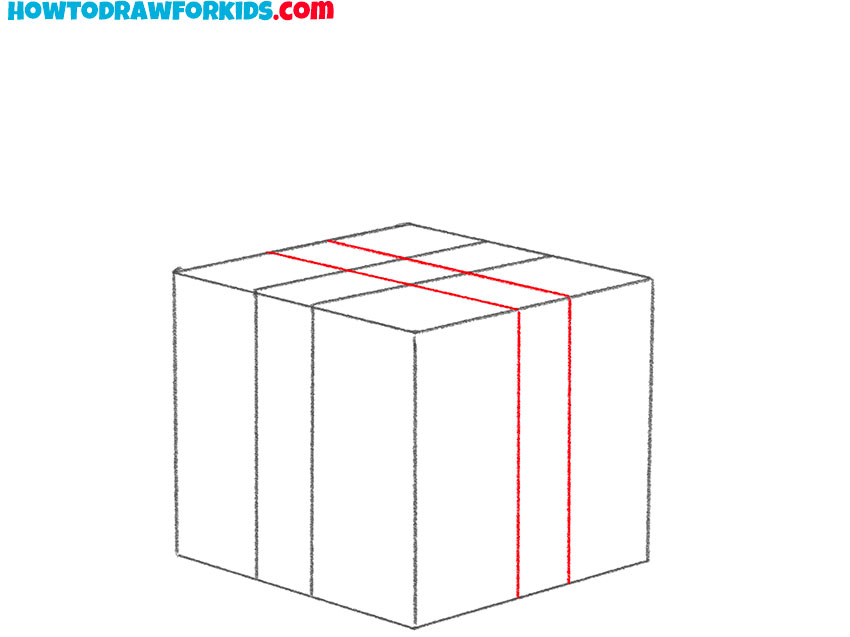
- Depict the ribbon on the other side.
Repeat the previous step and draw even, straight lines that are symmetrical.
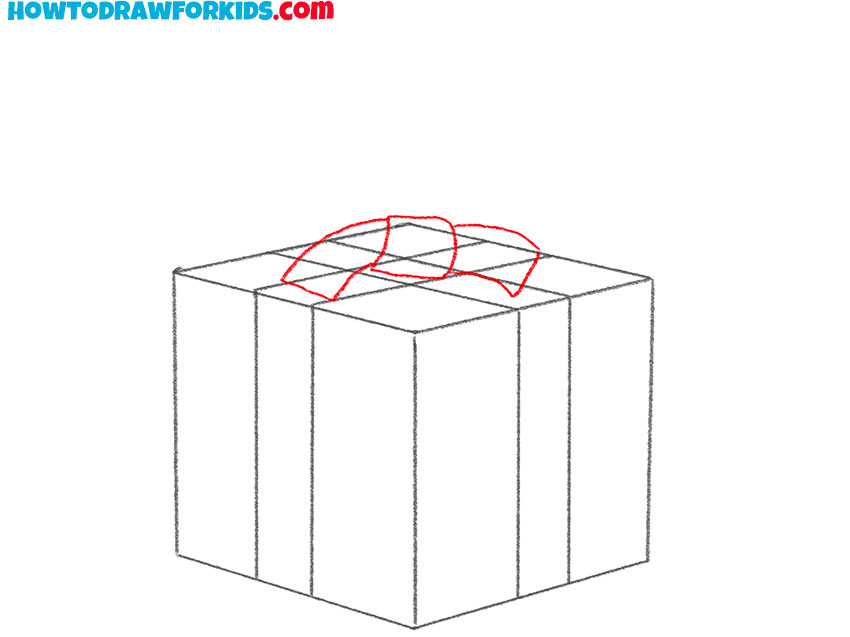
- Add the bottom of the bow.
Use a few small, smooth lines to depict the knot and the two ends of the ribbon.
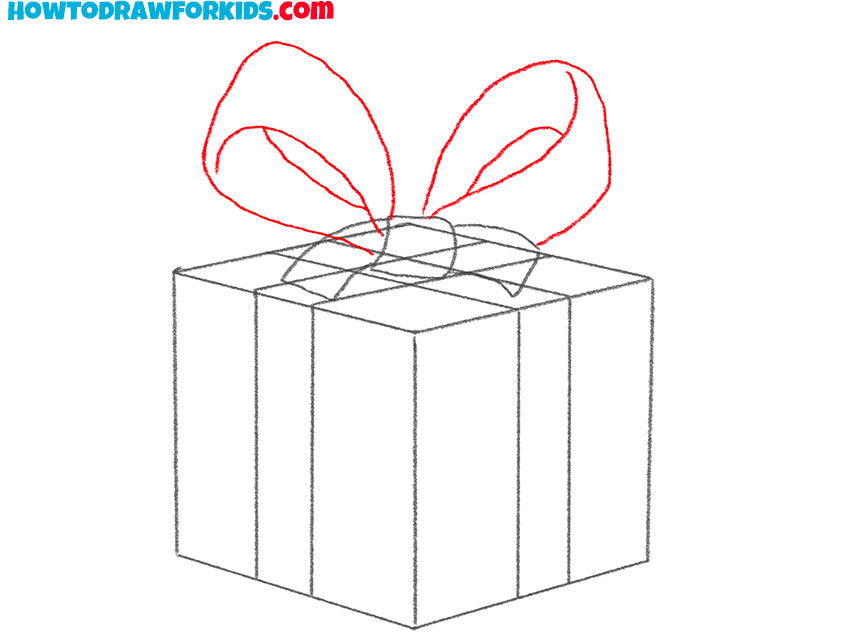
- Sketch out the top of the bow.
With the help of smooth, curved lines, draw two ribbon loops.
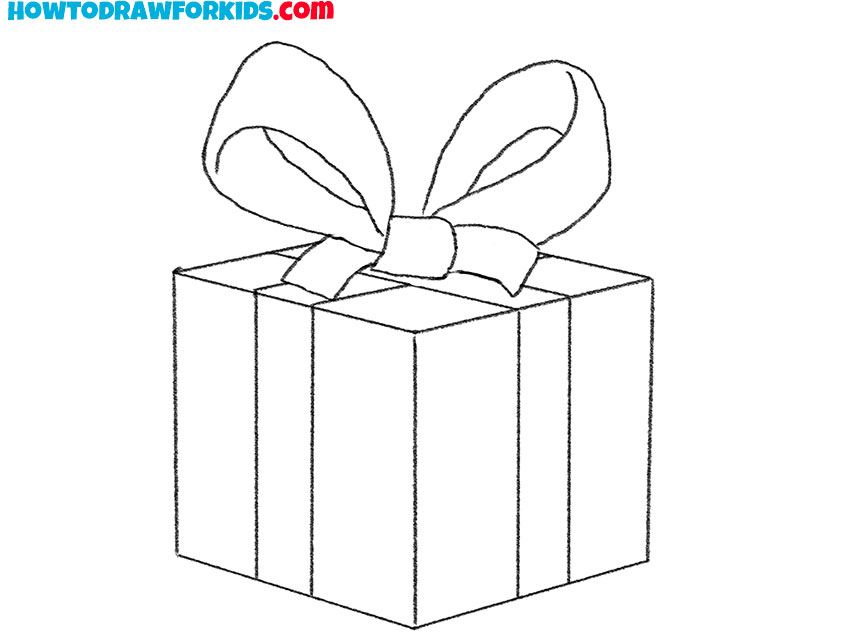
- Correct inaccuracies.
With an eraser, remove all unnecessary lines in your drawing.
- Color the Christmas present.
Color the box red and color the ribbon yellow.

For your convenience, I have prepared a PDF file with a short version of the lesson in advance. Download the file so you can return to this lesson at any time.


niccccc
I would just like to say merry Christmas