How to Draw a Dancer
We continue practicing dynamic human figure sketching, and the next lesson in this series will show you how to draw a dancer.

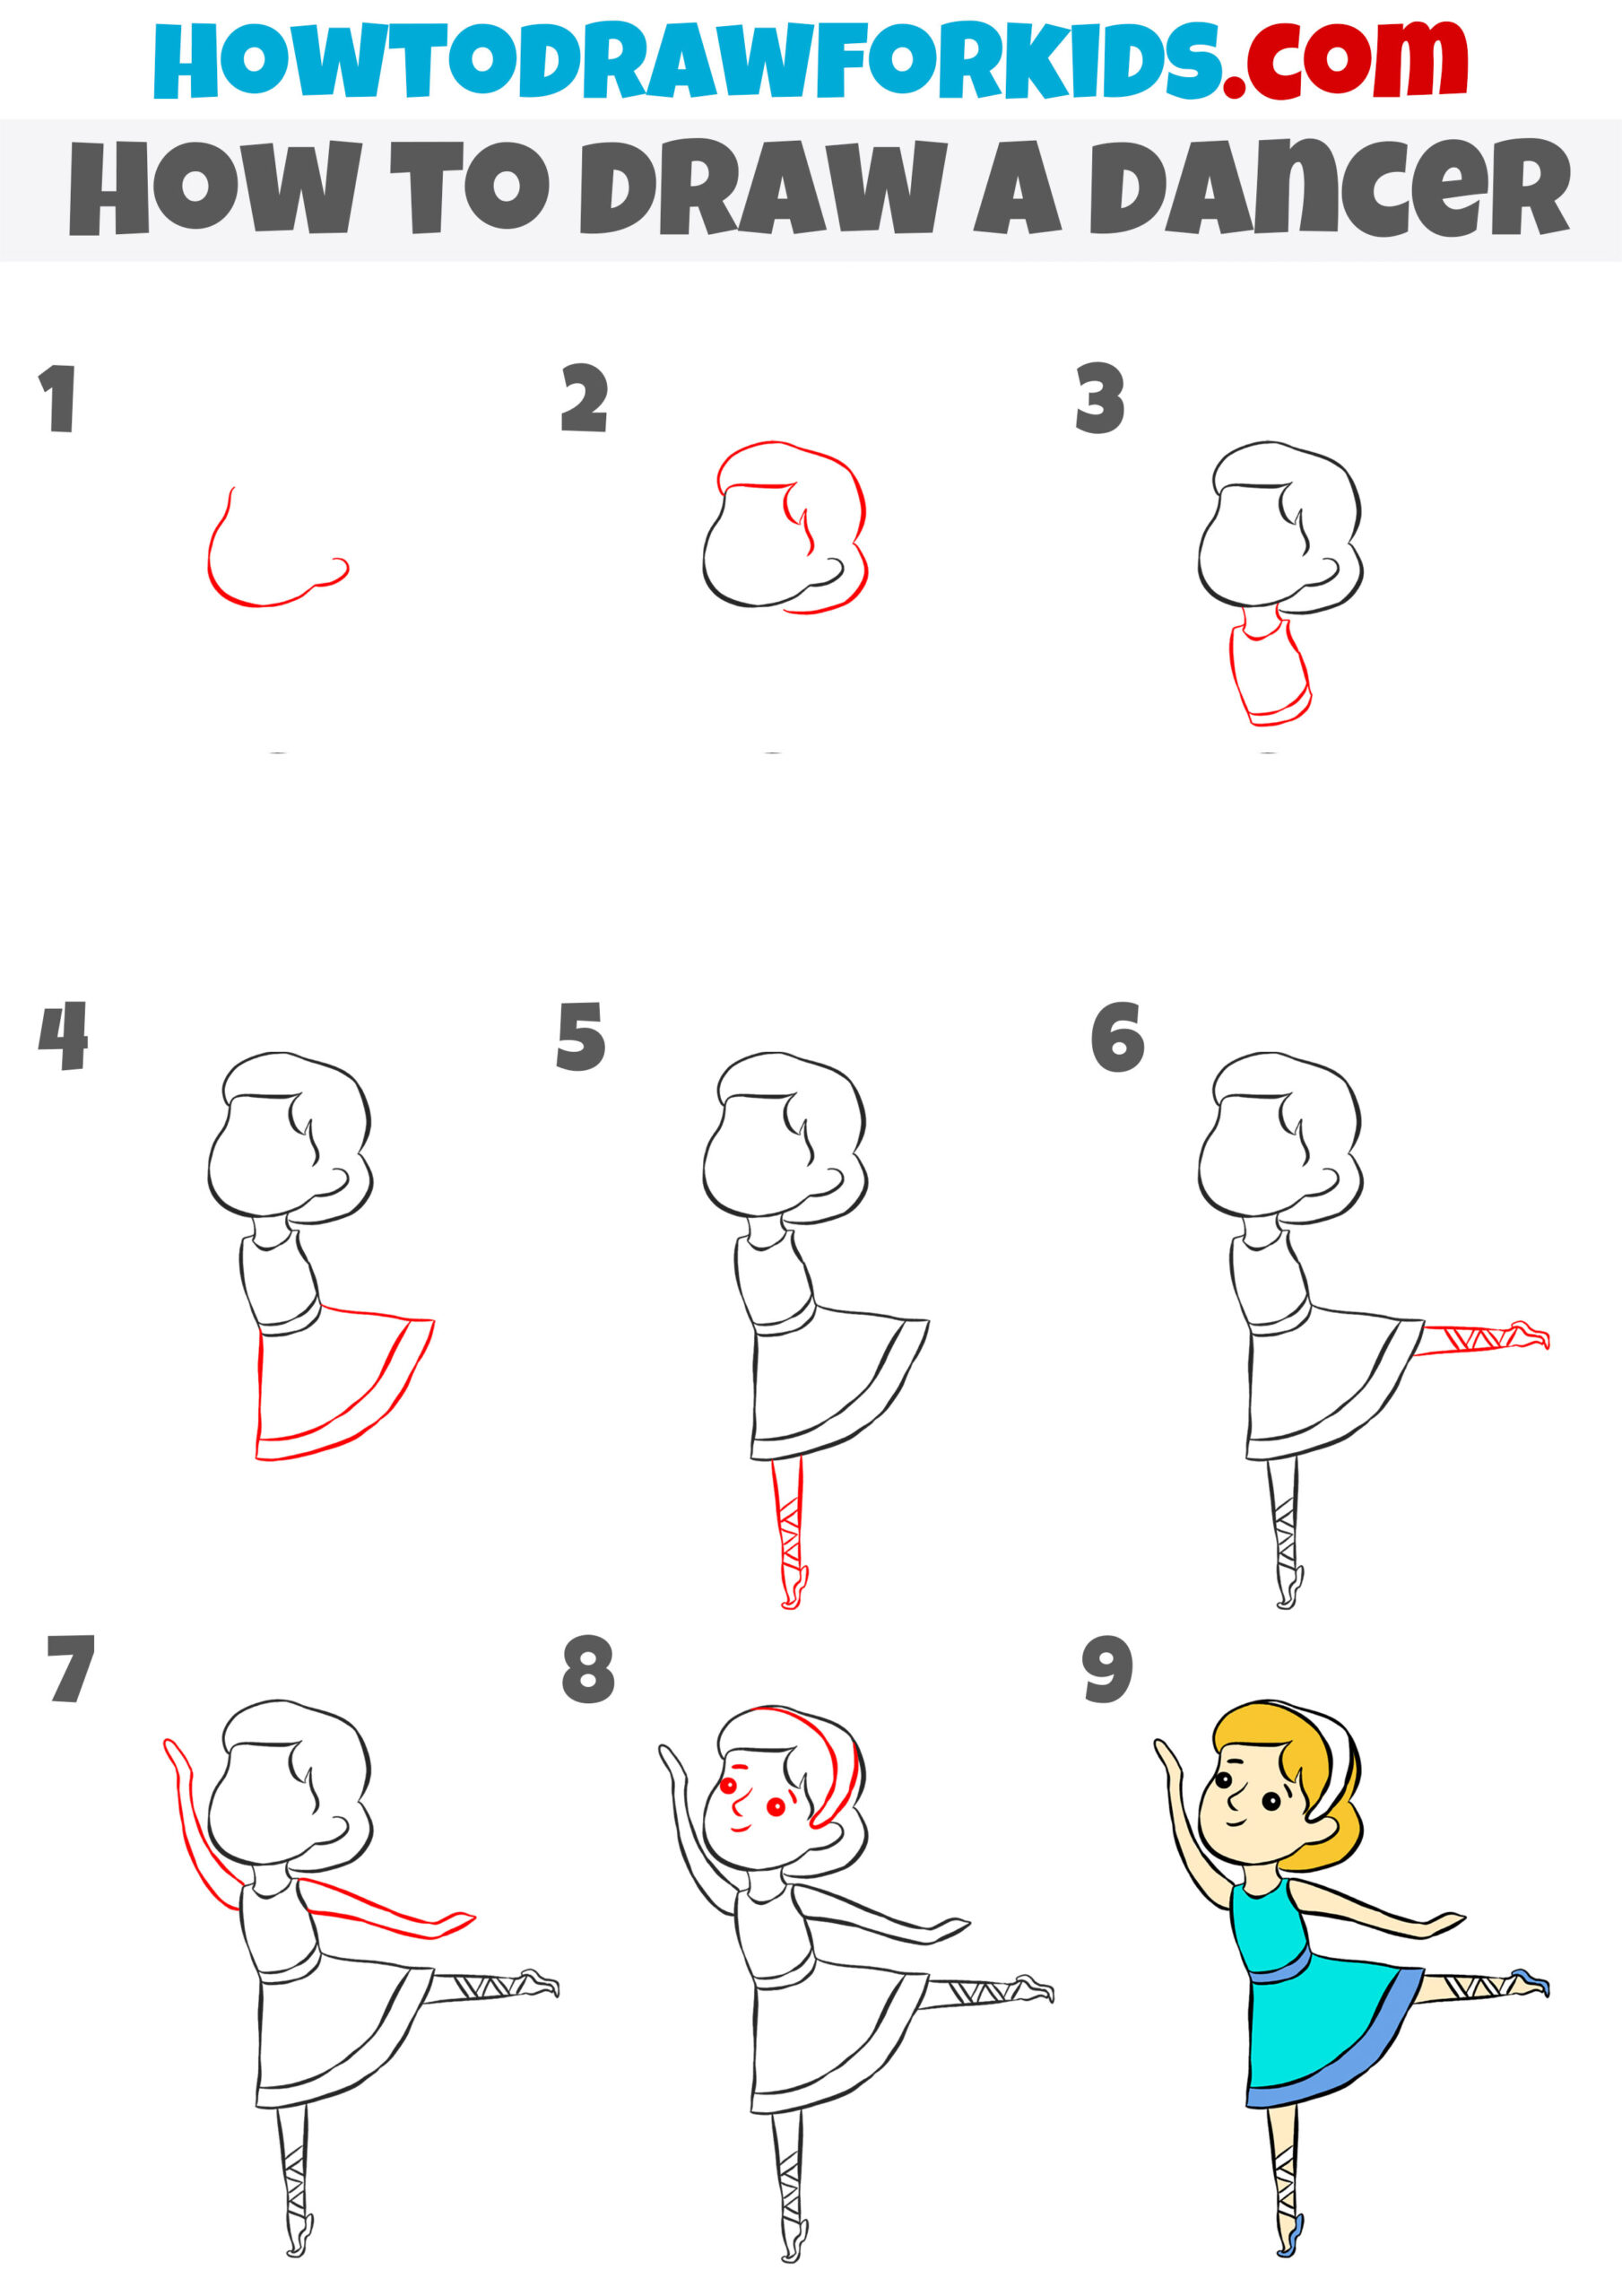
Now you will learn how to draw a dancer. This lesson is very simple and consists of nine steps. You can easily draw a dancer, even if you have not had to do this before.
The guide shows how to draw a girl who is dressed in a stage costume and performs a dance move. The girl very gracefully stands on one leg, the other leg is turned to the side, her hands occupy a certain position in the dance. This is very similar to a dance move in ballet.
The girl very gracefully stands on one leg, the other leg is turned to the side, her hands occupy a certain position in the dance. This is very similar to a dance move in ballet.
I think that this lesson will be very interesting for you and also useful. Remember the sequence of steps in order to apply these skills in your future work.
Materials
- Pencil
- Paper
- Eraser
- Coloring supplies
Time needed: 30 minutes
How to draw a dancer step by step
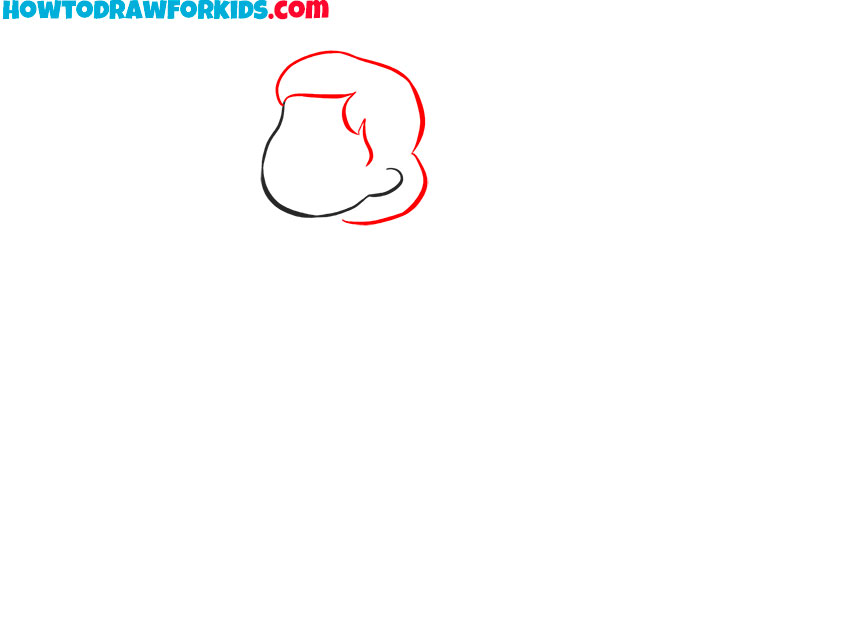
- Mark the chin and cheek.
Sketch the contour of the dancing girl’s head to set the base for the head. Use smooth, rounded lines to shape the cheek and chin. Then, add a small ear just at the side.

- Draw the dancer’s hairstyle and bun.
Complete the dancer’s head, draw the hair following the curve of the head. Use simple wavy lines to indicate the flow of hair and a small bun shape at the back. For a variation, you can adjust the shape of the hairstyle.
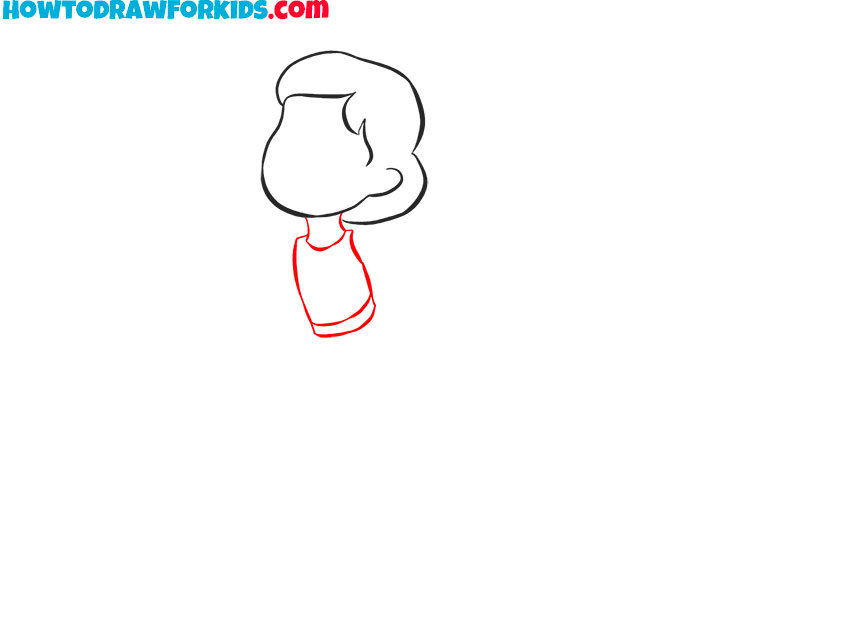
- Sketch the neck, torso, and belt.
Draw two short lines extending from the head to form the neck, trying to give this part a symmetrical look. Below the neck, illustrate the upper torso using a slightly curved rectangle to represent the dress bodice. Make sure the shoulders are narrow and the torso is angled to match the dancer’s posture.
- Sketch the skirt shape.
Extend a wide triangle-like shape from the waist to draw the skirt, slightly angled back to indicate the legs correctly on the next steps. Use curved lines for the hem. Add one more curved line along the bottom edge to indicate the border of the skirt.

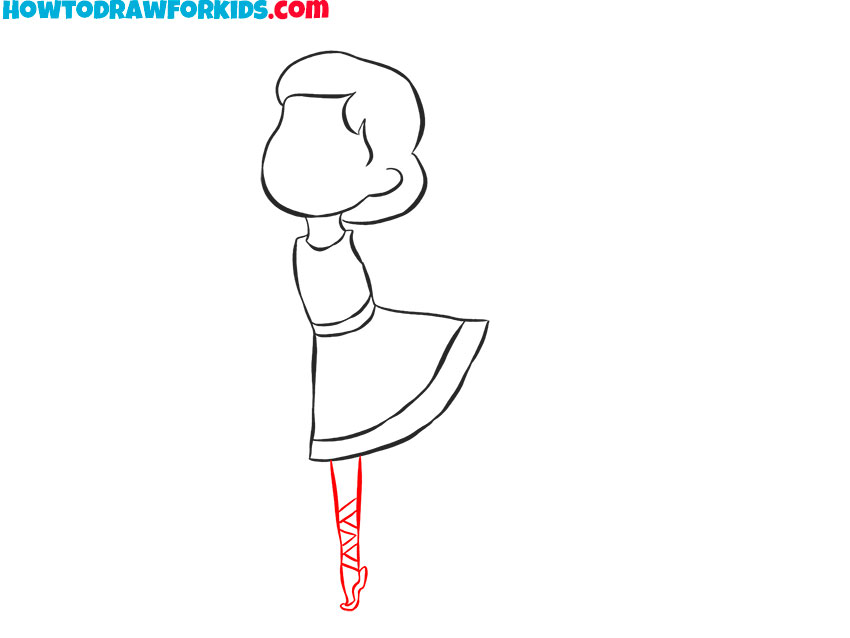
- Sketch the supporting lower limb.
Sketch a long straight leg extending downward from the bottom of the dress. Use smooth and slightly curved liens. Add a small pointed shoe at the end, showing the classic ballet pose on tiptoe. Then, mark the crisscross ribbons wrapping around the lower leg, which are typical for ballet shoes.
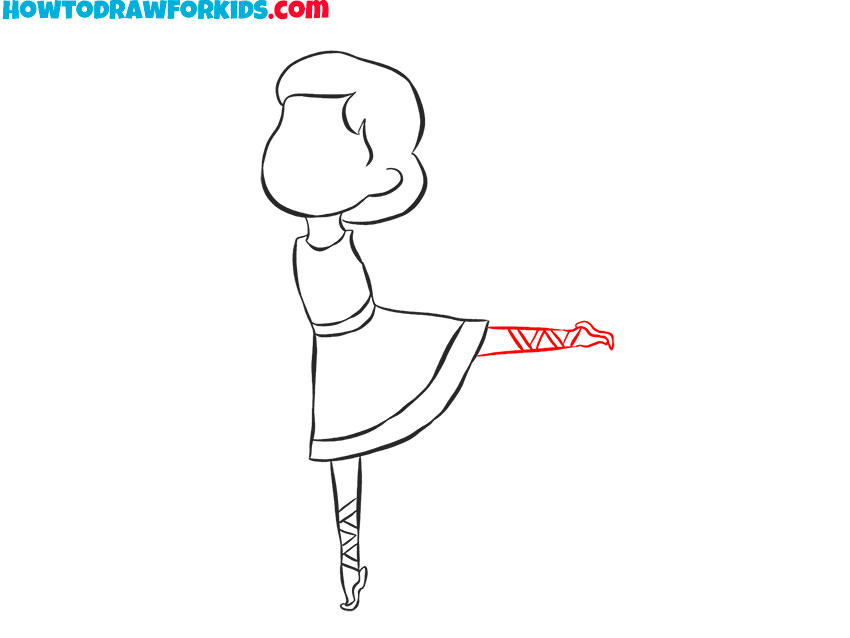
- Draw the dancer’s lifted limb.
Now, sketch the second leg as a smooth curved shape that continues naturally from the skirt’s edge. Draw a ballet shoe at the end to complete the leg. Include the same ballet ribbons crossing over the lower section to match the other leg.
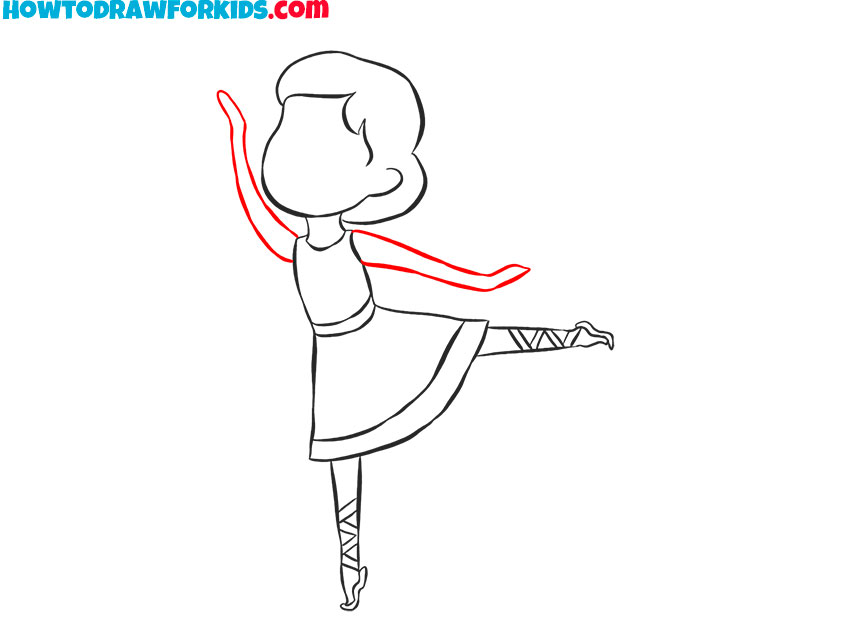
- Sketch the arms of the dancing girl.
Draw one arm of the dancer raised upward, and the other stretched horizontally backward. Make both arms thin and smooth. At the end of each arm, draw a hand using simple lines. You can add fingers or keep the outline as simple as possible.
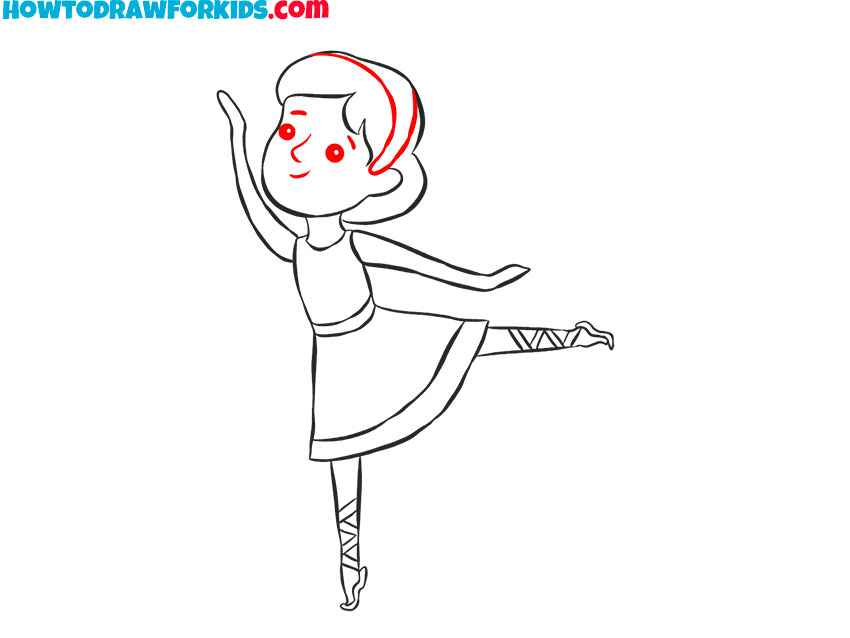
- Sketch the face and headband.
To detail the dancer facial expression, sketch the eyes, a nose, and a simple mouth using soft lines. Add round cheeks for a friendly and animated look. Then, illustrate a narrow headband across the top of the hair. Also, you can draw a bow or other accessories.
- Color the finished dancer.
Use light, harmonious colors to finish the drawing. Fill the hair with a warm yellow or light brown, and color the dress in blue or turquoise shades, if you want to achieve a result similar to my example. Add skin tones and paint the shoes and ribbons in a matching hue. But these colors are just examples, and you can use any other shades and tones for your dancer drawing.

It was a simple lesson in which you learned how to draw a dancer. I hope you had a good time and gained useful skills. I will be glad if you leave your feedback in the comments.
You can save a short version of this walkthrough so you can follow the lesson at any time. To do this, use the link at the end of this tutorial and download the PDF file that I have prepared especially for your convenience.