How to Draw a Desk
Today in this step-by-step tutorial I will show you how to draw a desk in just nine easy steps with helpful tips.
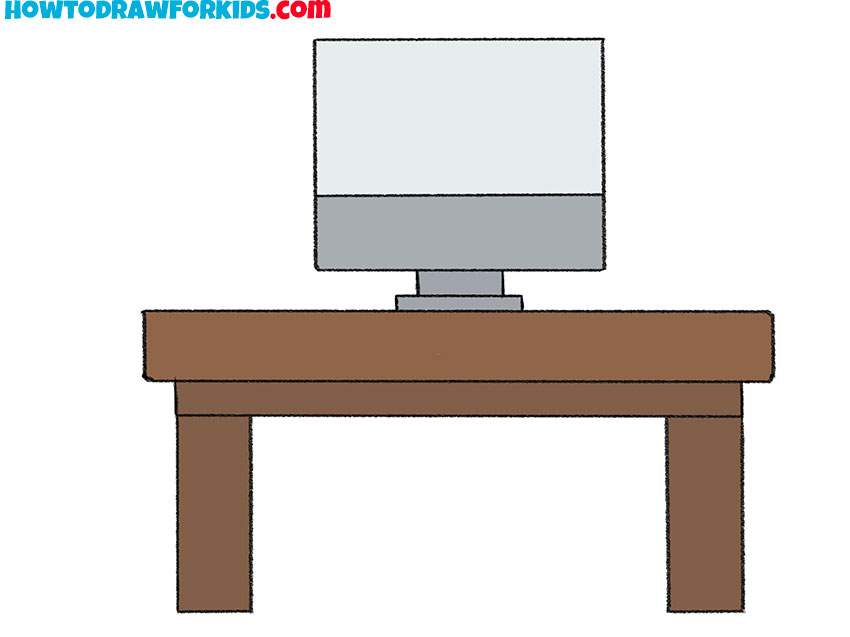
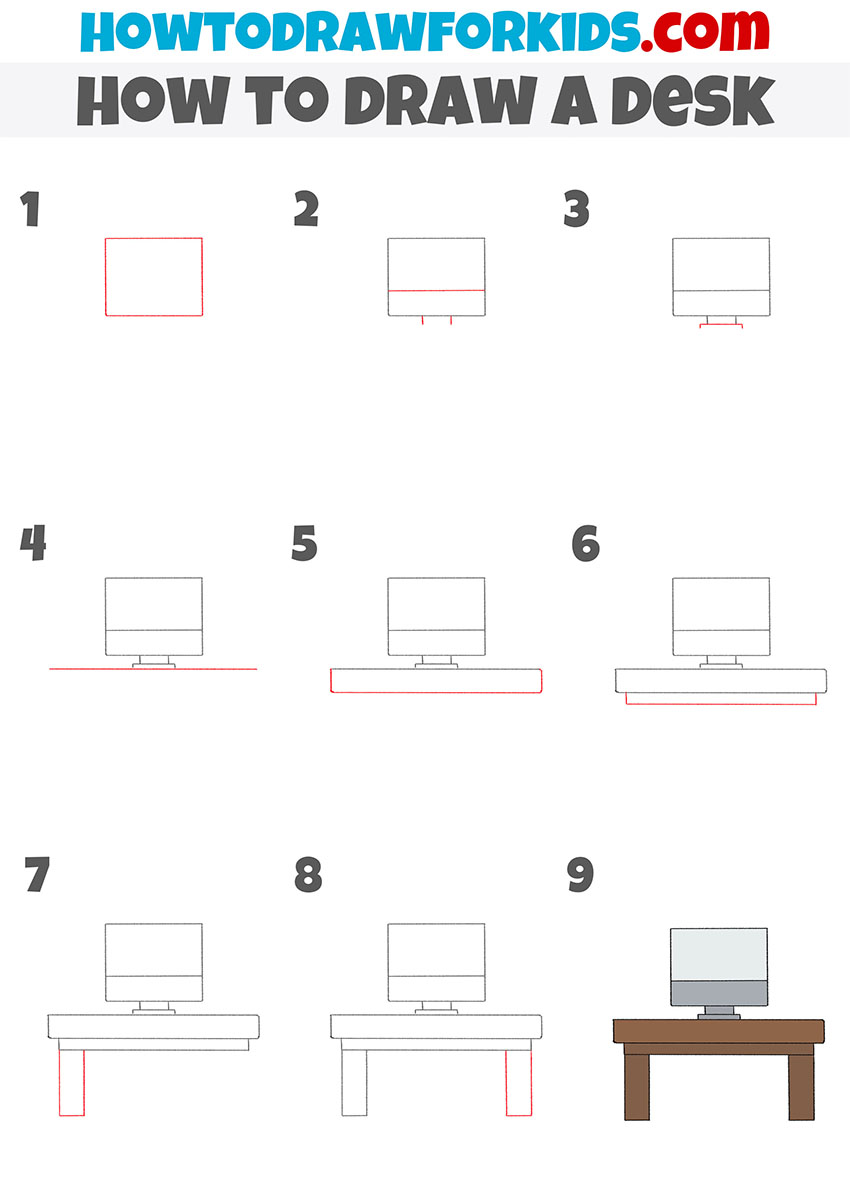
In this tutorial, I want to show you how to draw a desk. You will see that the instruction is very simple and any beginner can easily cope with this task.
Now you have to complete another interesting lesson in which you will learn how to draw a desk. The figure shows an ordinary table on which a computer stands. This is what a workplace for any office worker can look like, and a desk can also be located in a residential building.
Simple lines and a minimum of elements are used here. To complete this lesson, you will need your ability to make even, straight lines. Try to do all the lines yourself, without using improvised tools.
Materials
- Pencil
- Paper
- Eraser
- Coloring supplies
Time needed: 25 minutes
How to Draw a Desk
- Draw the monitor.
With the help of several straight lines, draw an even rectangle.

- Add the bottom panel and the top of the stand.
Depict a horizontal line at the bottom of the monitor and add two short vertical lines.

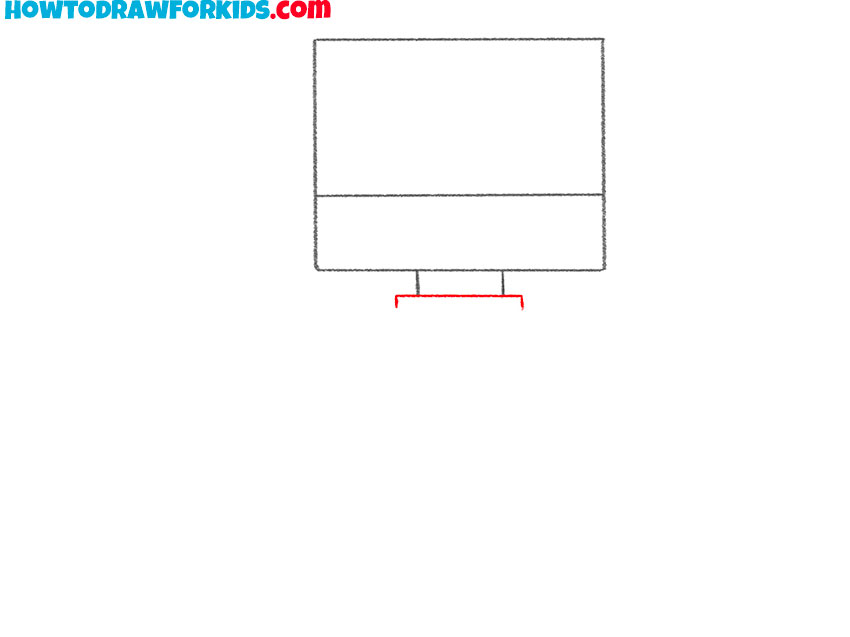
- Sketch out the stand.
Use a few straight lines to depict the small stand.
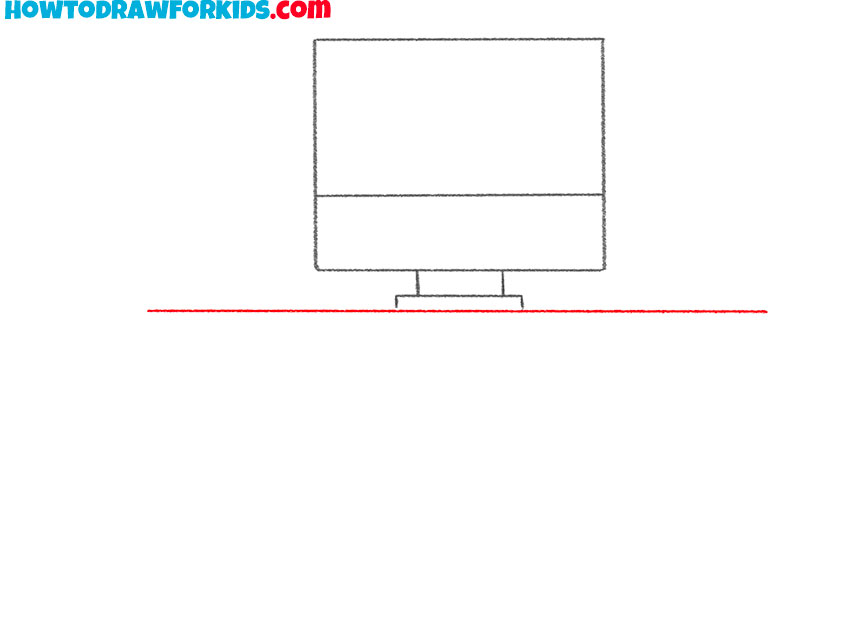
- Draw the surface of the table.
Sketch out a long horizontal line.
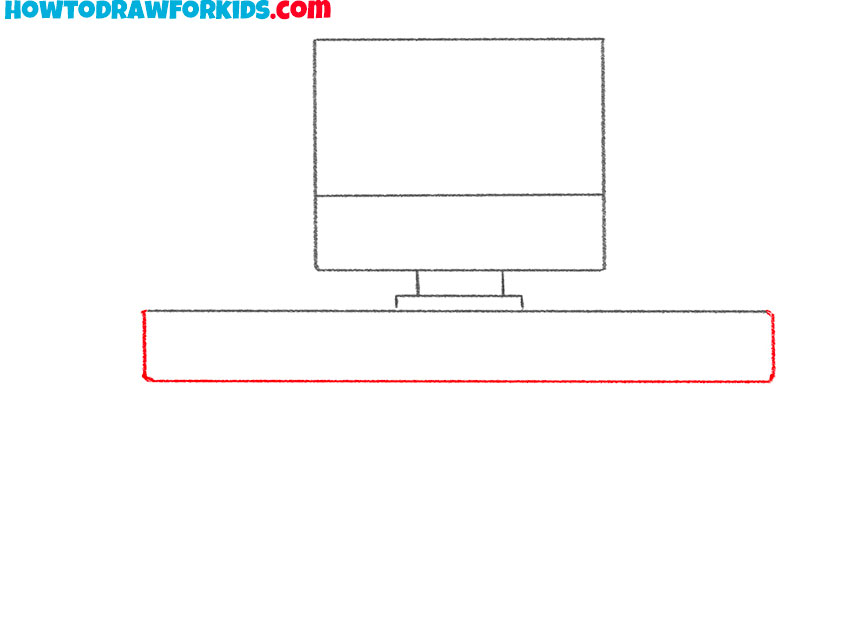
- Add the thickness of the table.
Depict even, straight lines to make a rectangular shape.
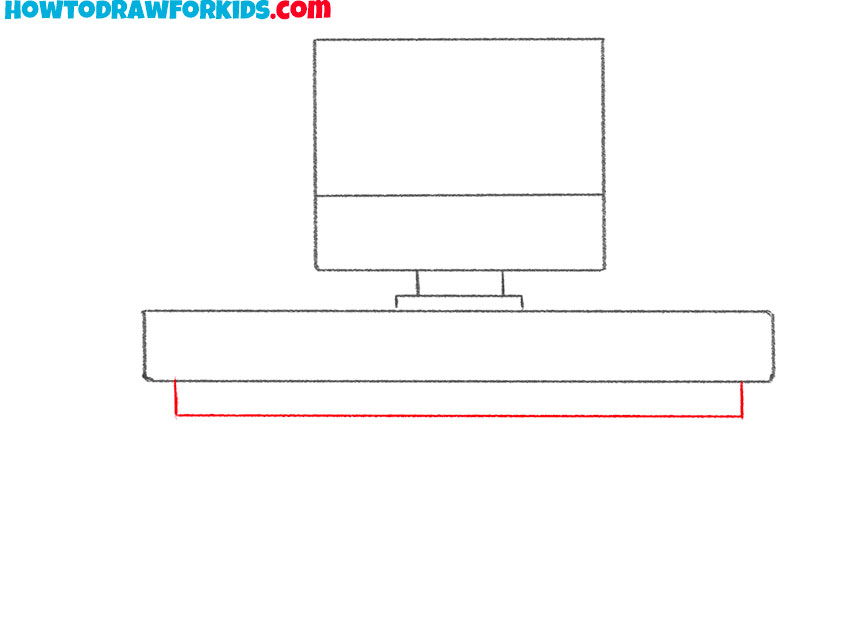
- Draw the bottom of the table.
Sketch out two short vertical lines and one long horizontal line.
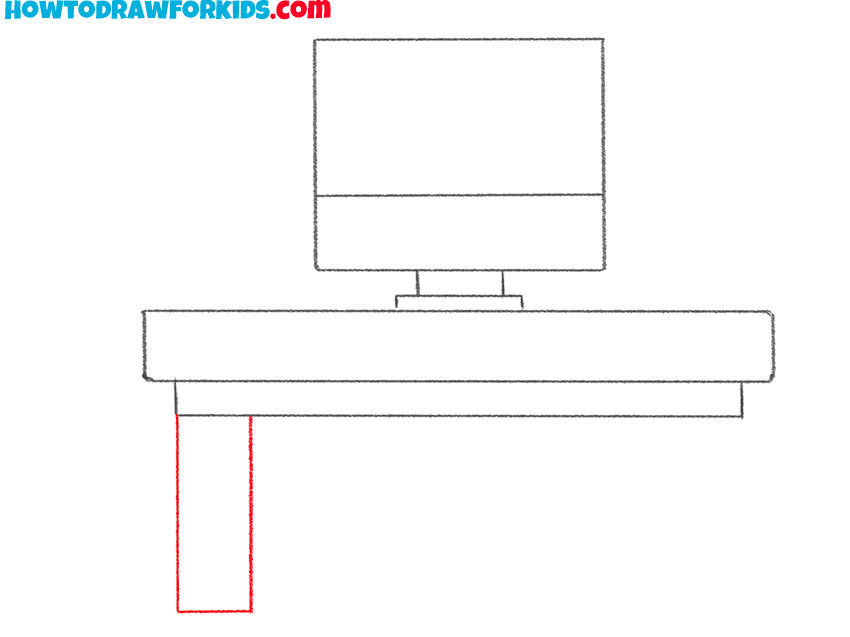
- Add one table leg.
The leg has a rectangular shape.
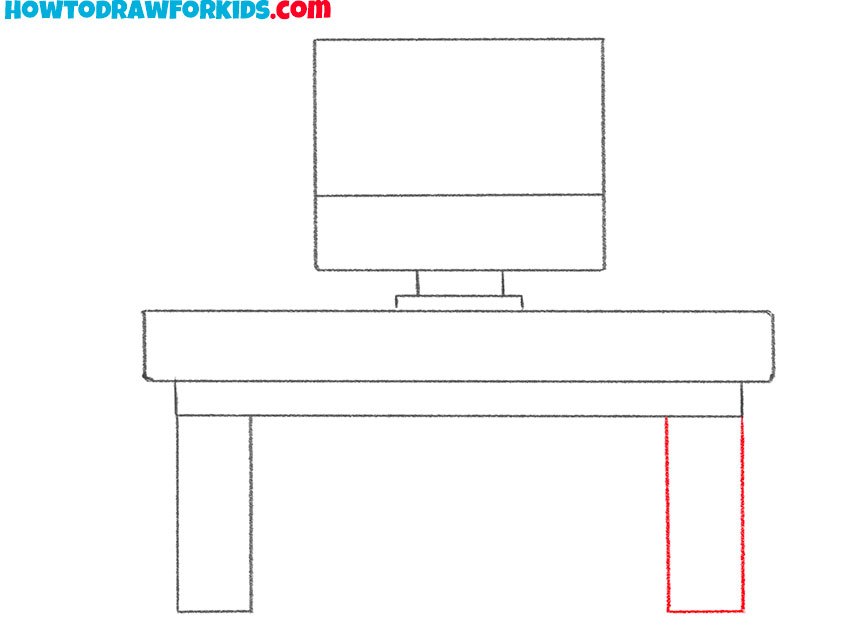
- Depict the second leg.
Repeat the previous step and draw the same leg on the other side.
- Color the desk.
Use different shades of gray to color the computer. Color the table brown.

It was a fascinating lesson in which you learned how to draw a desk. I hope that you easily coped with this task and the desk looks exactly the way you wanted.
I want to remind you that now you can download a PDF file with a short version of the lesson. Thus, you can return to the lesson and repeat it at any convenient time, even if the Internet is not available.


