How to Draw a Falcon
Learn how to draw a falcon in a simplified cartoon style. I’ll show you the right steps to help you create cool and expressive art.
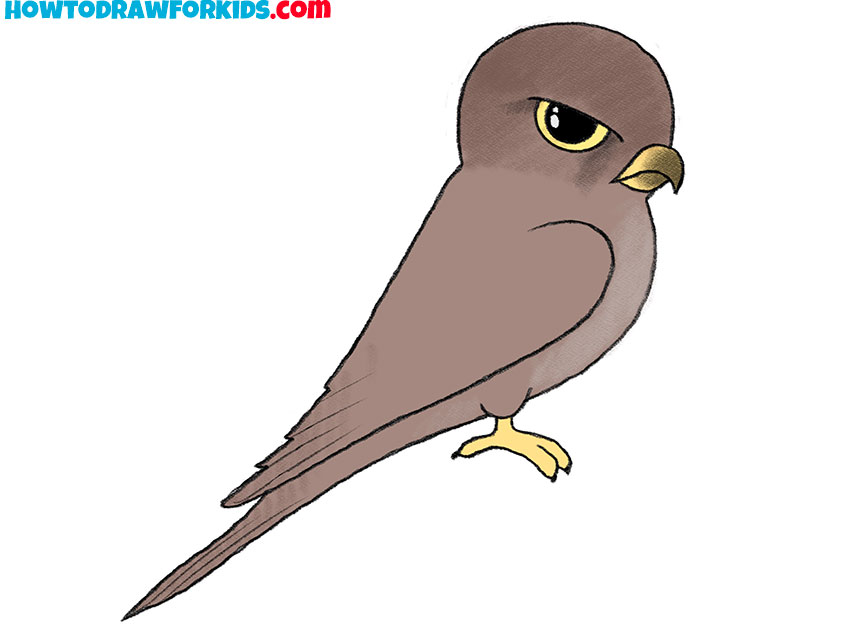
In this lesson, I want to show you how to draw a falcon. I promise that this lesson will be interesting and useful for you.
If you love drawing birds and want to improve your skills, then you will definitely enjoy this tutorial. Here you will learn how to draw a falcon step by step.
The falcon is a large bird of prey. The falcon is able to stay in flight for a long time and can rise very high above the ground. This falcon is helped by long and wide wedge-shaped wings.
The falcon has a long narrow tail, thick legs, a rounded head and a small beak that is bent down.
The falcon preys on other birds or small animals.
In the picture, you see a falcon, which has a formidable appearance. Try to correctly depict the shape of the eye and beak to give the falcon a frightening look.
Materials
- Pencil
- Paper
- Eraser
- Coloring supplies
Time needed: 30 minutes
How to Draw a Falcon
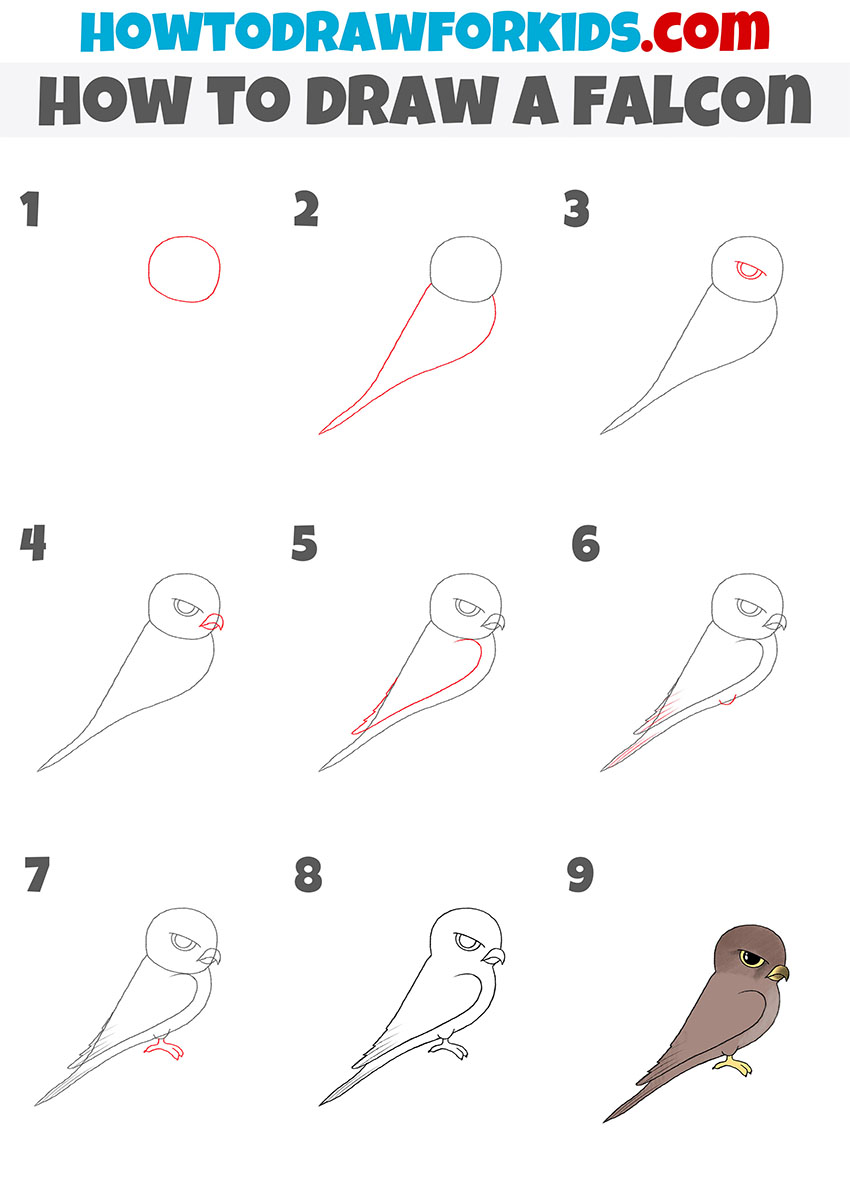
- Draw the head.
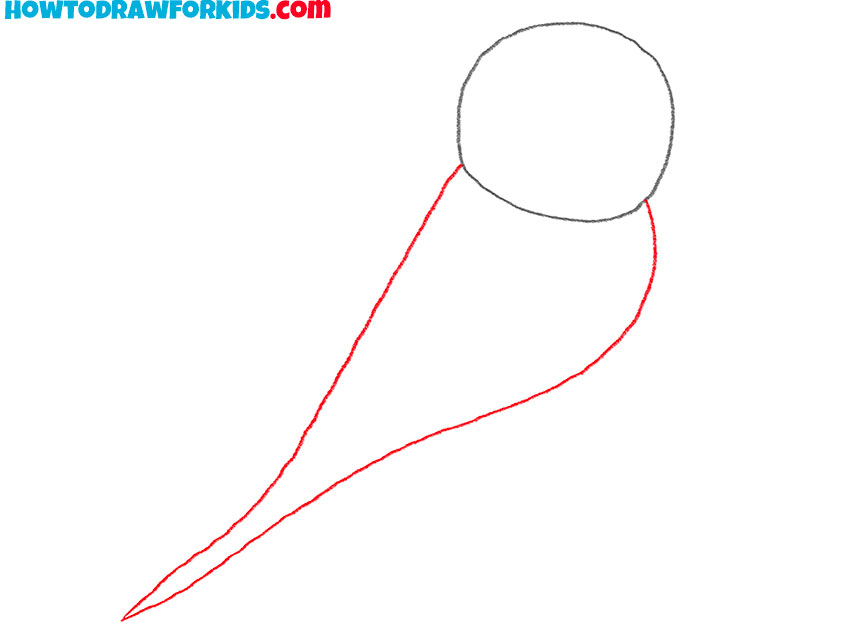
To start, draw a simple circle for the falcon’s head. Keep it light and sketchy so you can adjust it if needed. This circle doesn’t need to be perfect, as it serves as a guideline for the head shape. The key is to ensure it is proportionate to the body you’ll draw later.

- Depict the torso.
Next, draw a long, tapered shape for the falcon’s body. Begin this shape slightly overlapping the head to indicate the connection between the head and body. The body should extend downwards, gradually narrowing towards the tail.
- Sketch out the eye.
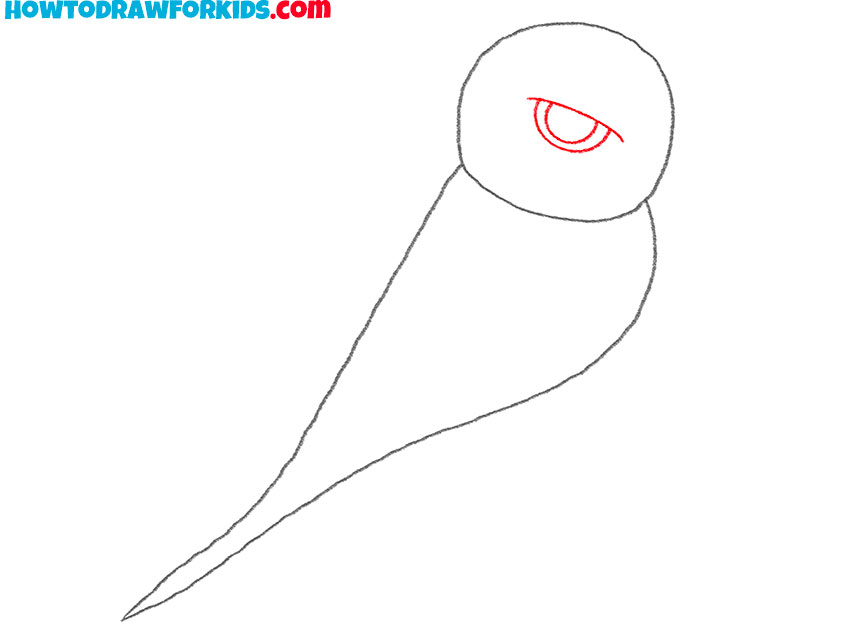
Now, add an oval shape within the head circle to represent the eye. Position the eye slightly towards the front and upper part of the head to give the falcon a vigilant expression. The eye should be relatively large to maintain the simplified, cartoon-like style. Then, add a small circle inside the eye for the pupil.
- Depict the beak.
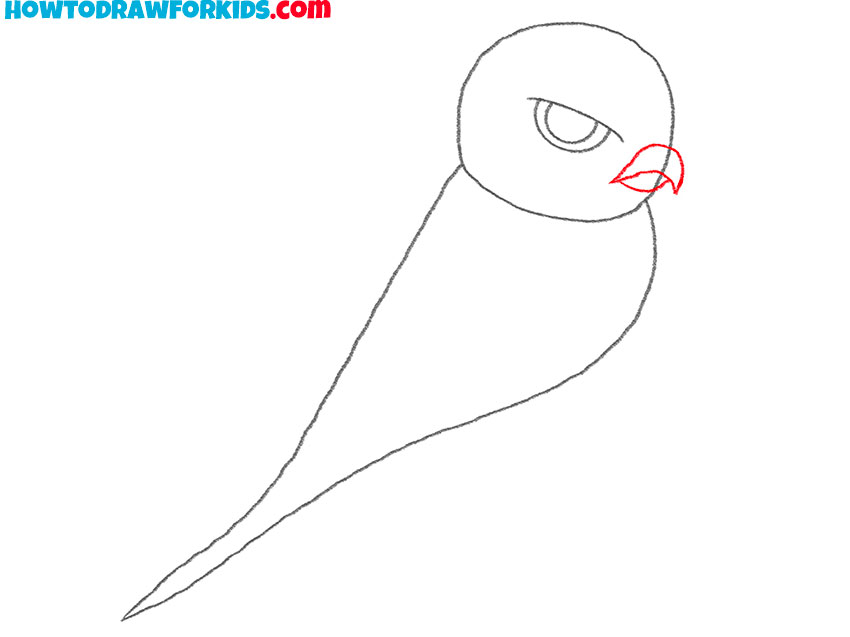
Start with a curved line from the lower part of the head, extending outward and then curving back towards the head to form the beak’s tip. Ensure the beak is proportionate to the head, neither too large nor too small. The simplified style calls for a basic, yet recognizable shape
- Draw the wing.
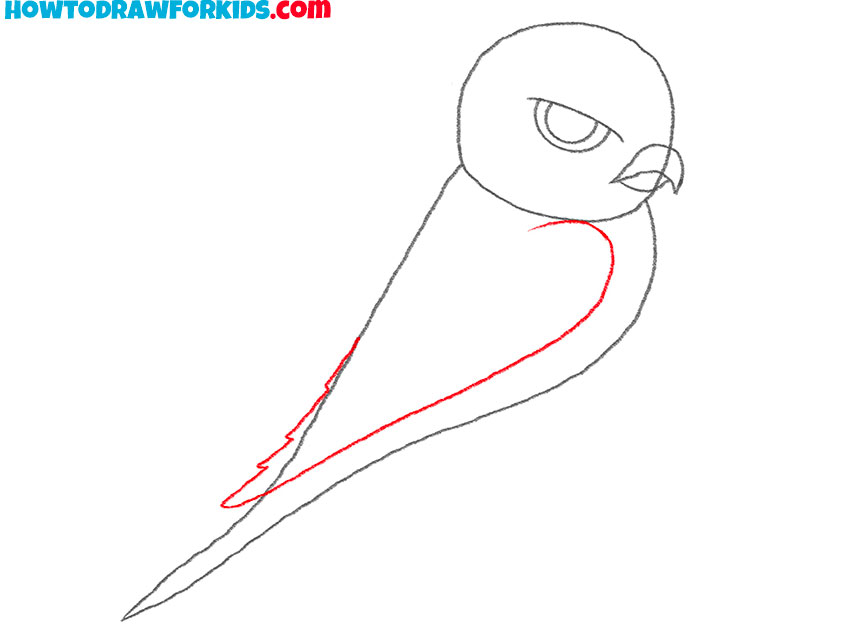
Next, outline the wing by drawing a smooth, curved line starting from the middle of the body, extending down towards the tail. This line should follow the body’s tapering shape, accentuating the falcon’s streamlined form. The wings should appear folded against the body, with the tip reaching near the tail’s end.
- Add details.
Refine the wing outline by adding a few curved lines to indicate feathers. These lines should follow the direction of the wing, starting from the top and moving downwards. Keep these feather lines simple and sparse to retain the streamlined, simplified style.
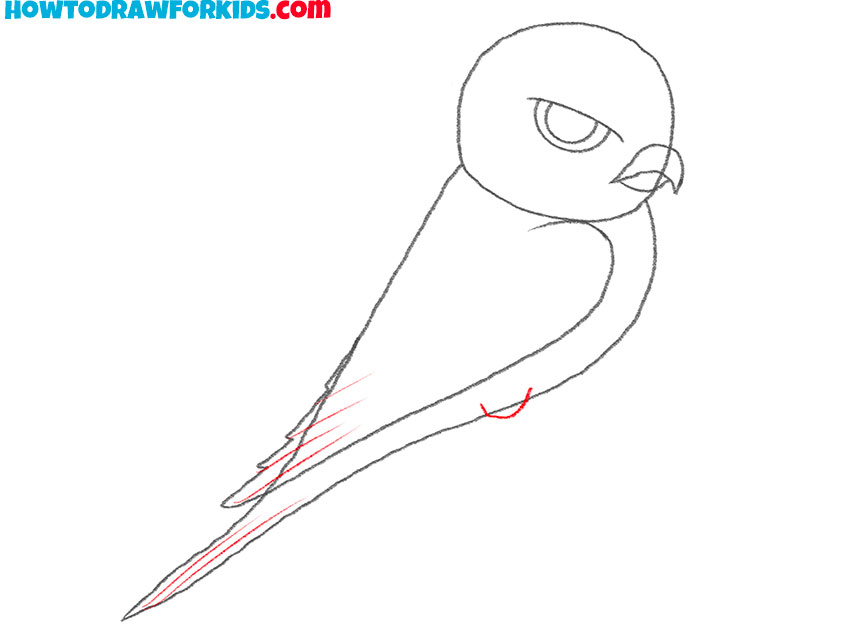
- Depict the paw.
The talons are another key feature that defines the falcon. Ensure they are proportionate to the body and legs. The simplified style requires you to capture the essence of the talons with minimal lines, so focus on the overall shape rather than intricate details.
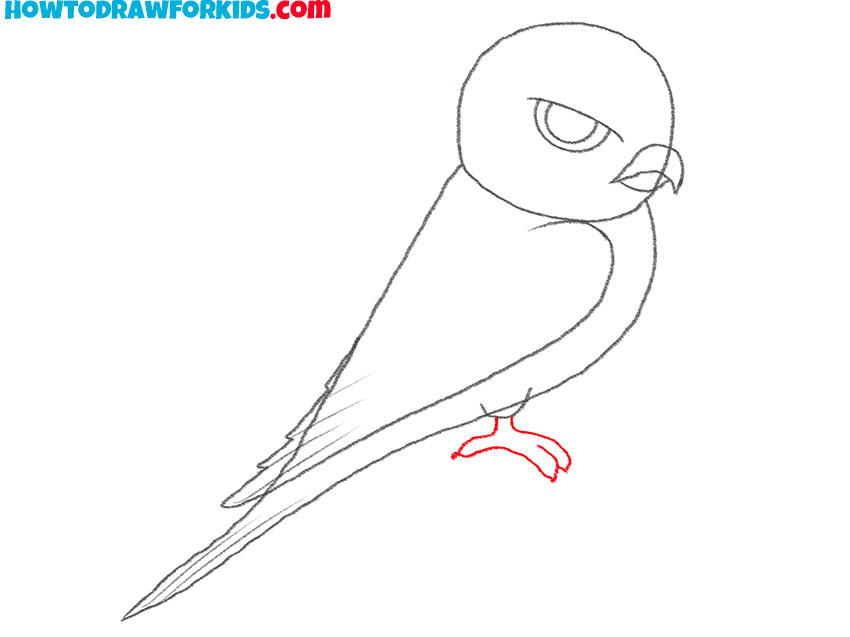
- Correct inaccuracies.
At this stage, go over your drawing to refine the lines and shapes. Erase any unnecessary guidelines and make sure all parts are proportionate and well connected. This is the time to smooth out any rough edges and ensure the falcon looks cohesive.
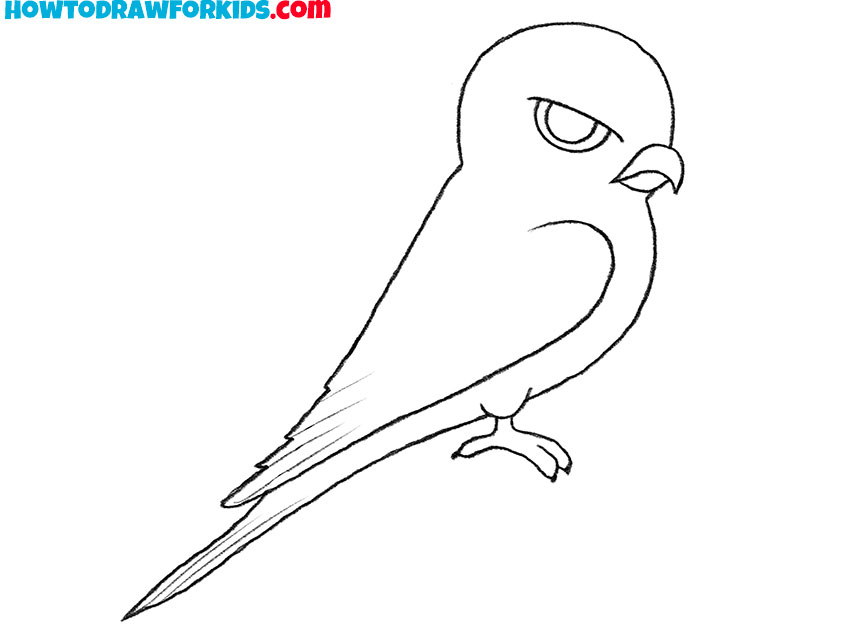
- Color the falcon.
So, now you can color the drawing. Use shades of brown for the body, darker tones for the wings, and yellow for the talons and beak. The eye can be black with a white highlight to add life. Color within the lines carefully to maintain the clean, simplified look.

Finally, I suggest you download a short version of the lesson in PDF format. If you save this file, you will not lose this lesson and can return to it at any time.

