How to Draw a Glove
Especially for beginners, I have prepared an interesting lesson on how to draw a glove. With simple instruction, you will gain useful skills.
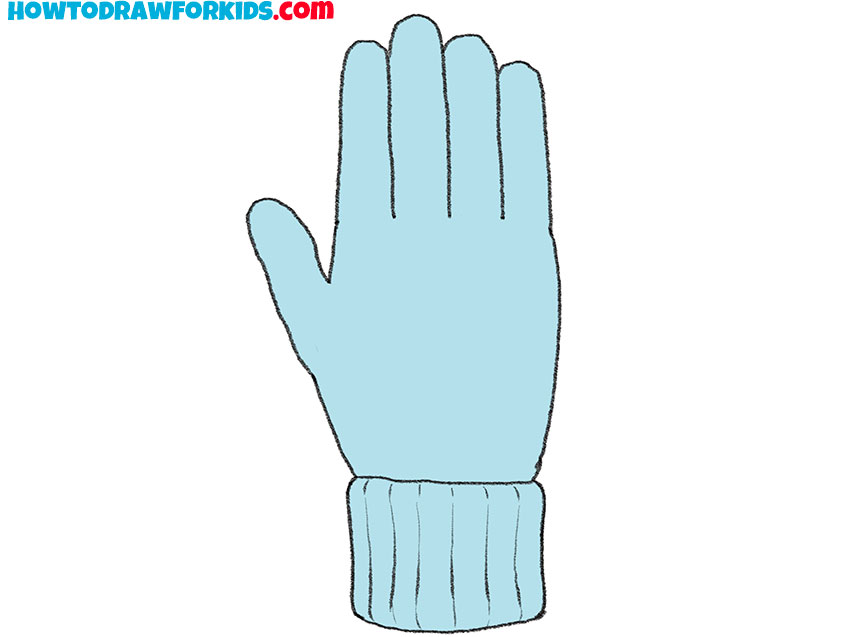
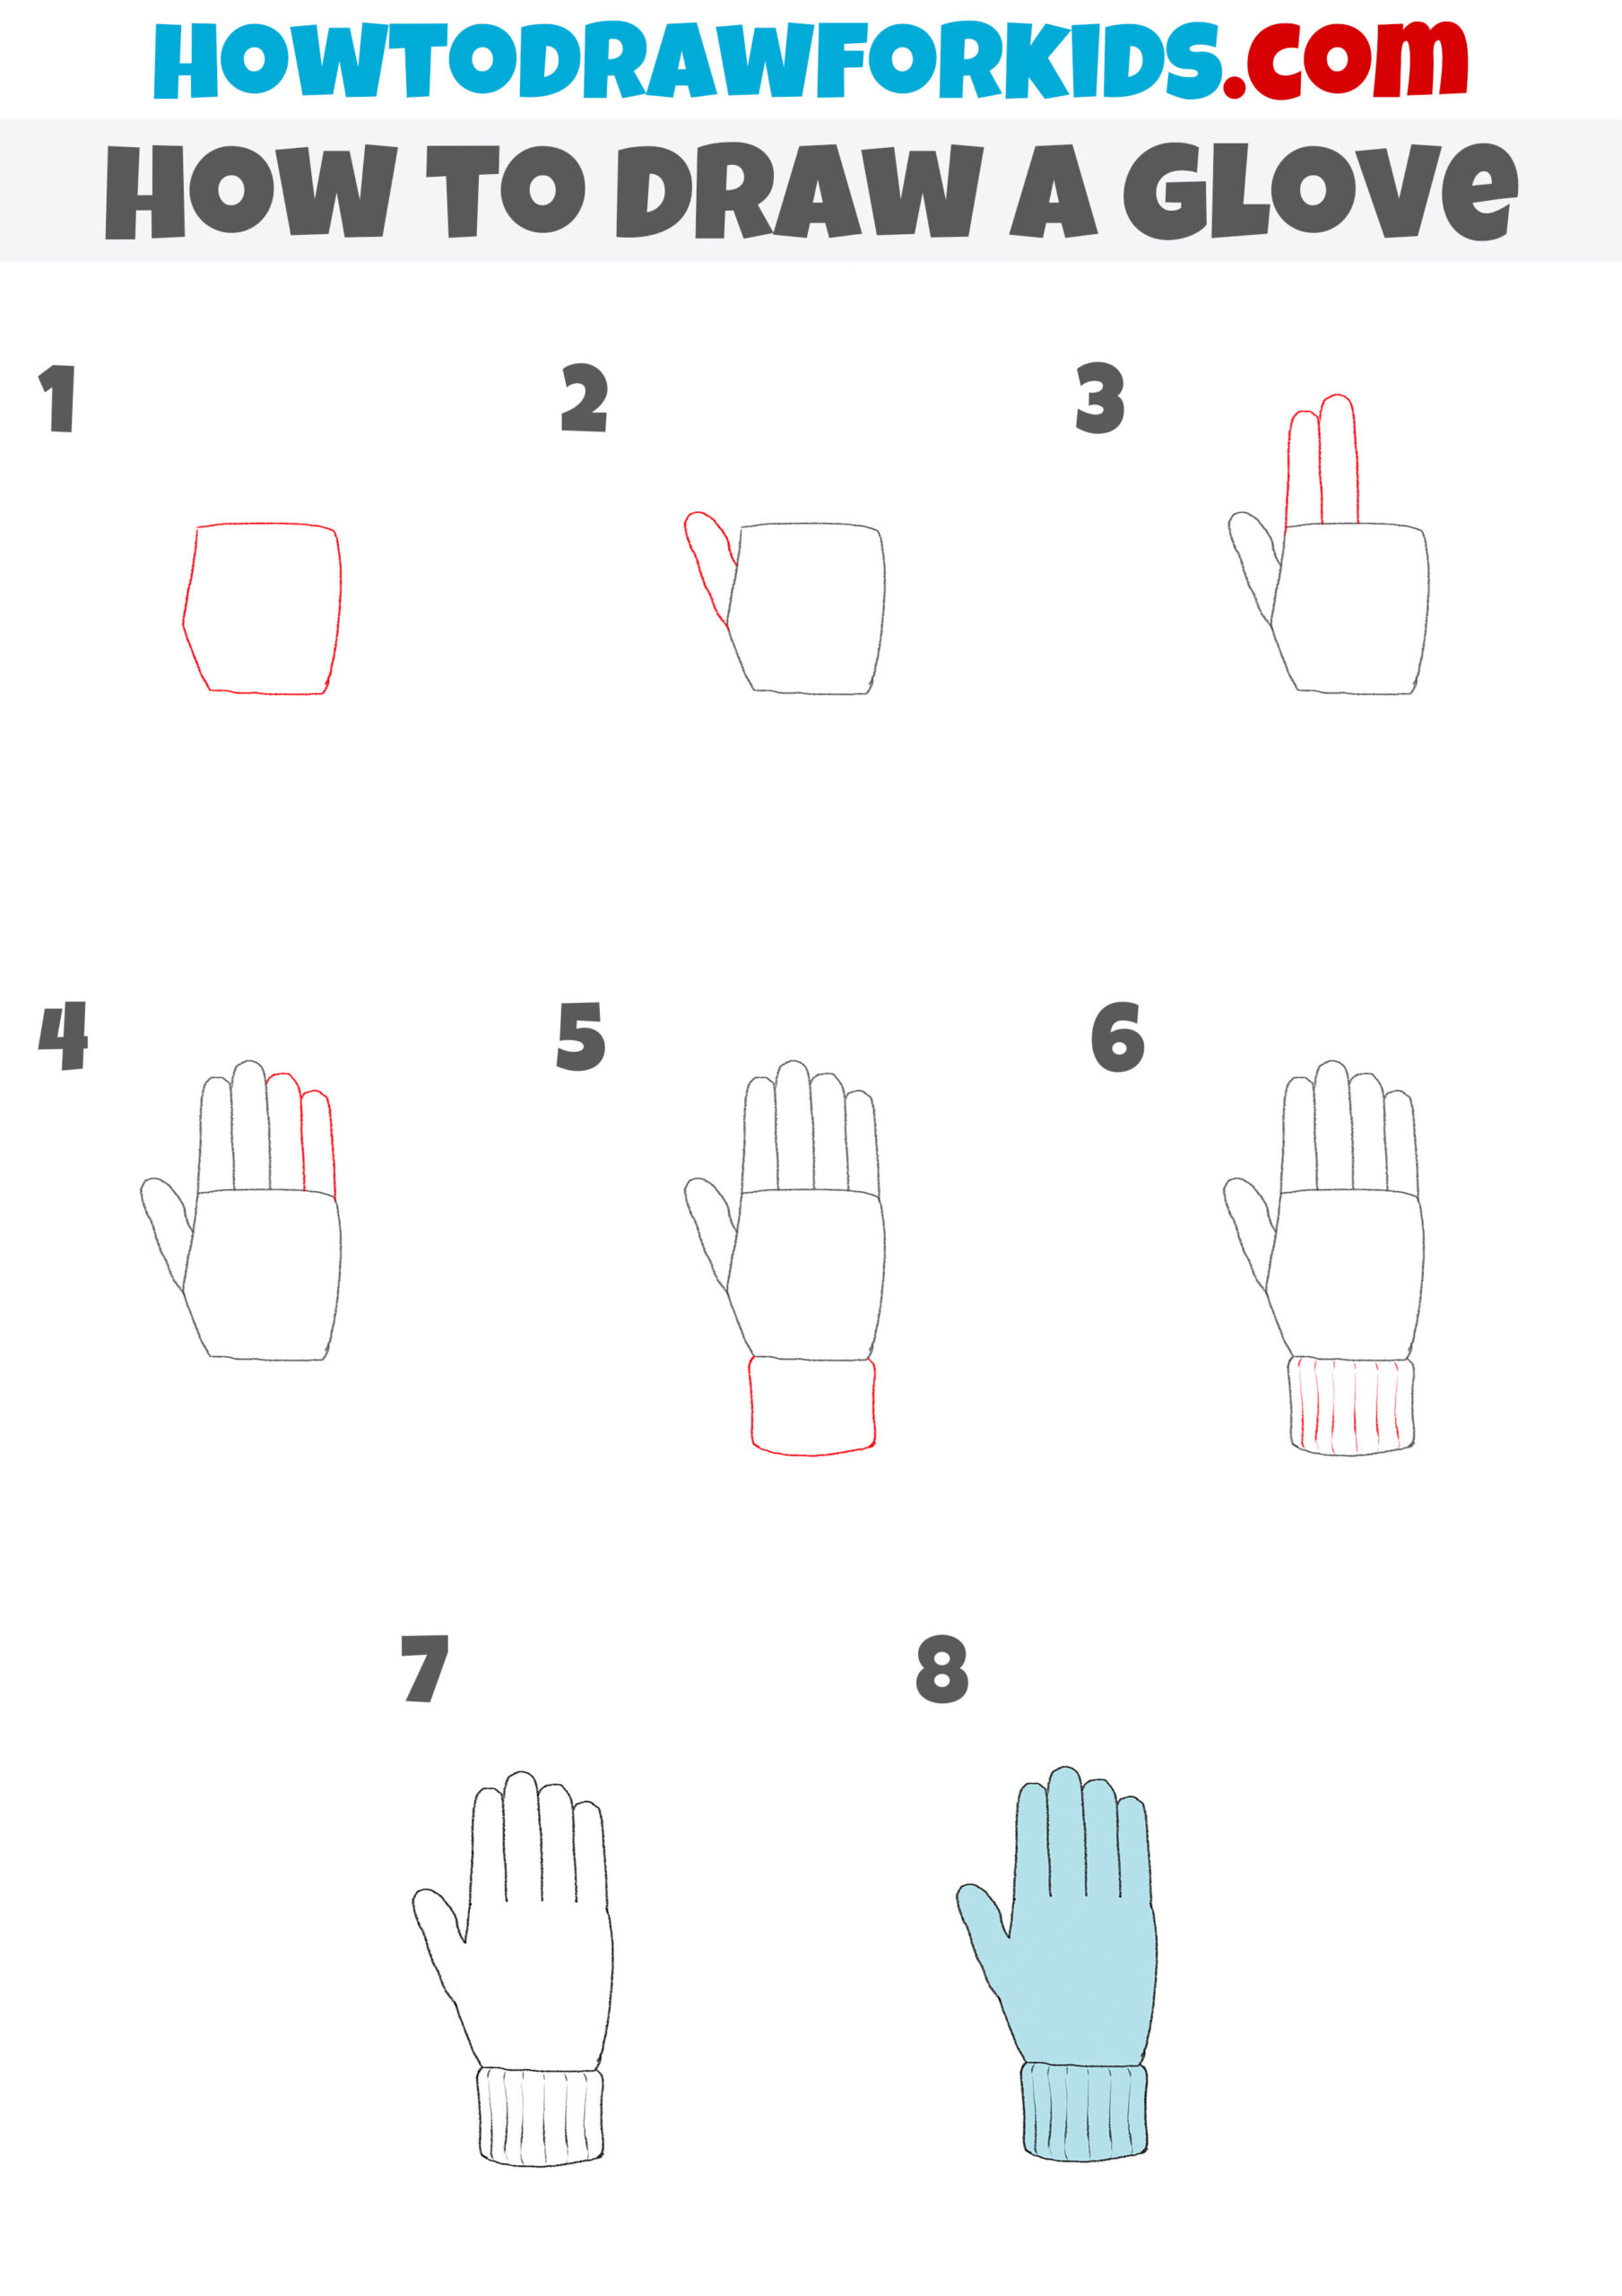
In this tutorial, I will show you how to draw a glove. With a simple step-by-step guide, you can easily draw a glove, even if you have never drawn this element of clothing before.
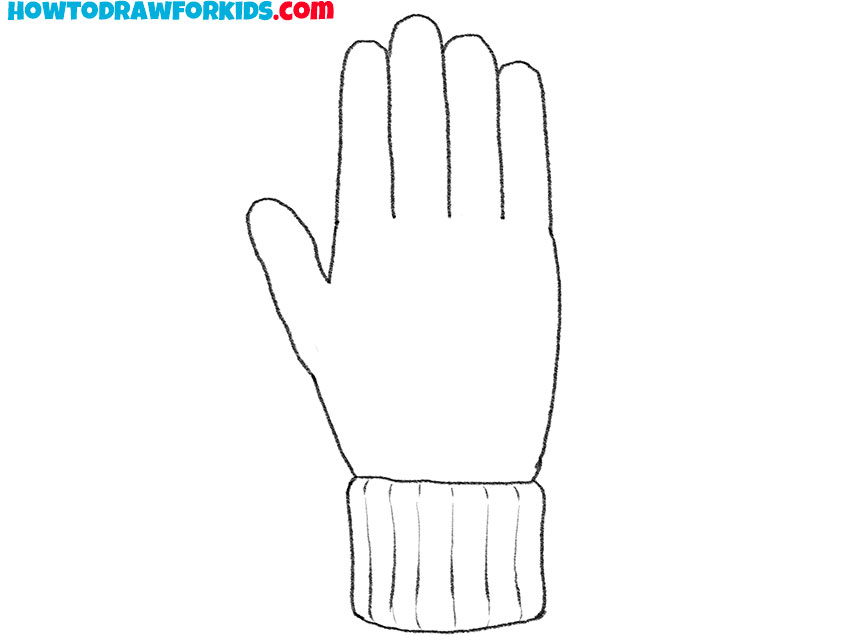
In the picture, you see a warm glove that will reliably protect against wind and cold and warm your hands in inclement weather. Also, gloves are a practical fashion accessory that can complement the look in combination with a scarf or hat. During the lesson, observe the proportions, and try to correctly depict the length of each finger.
For coloring the glove, you can use the same color as in the example, or you can choose any other color that you like. If desired, you can add an ornament to the glove.
Materials
- Pencil
- Paper
- Eraser
- Coloring supplies
Time needed: 25 minutes
How to Draw a Glove
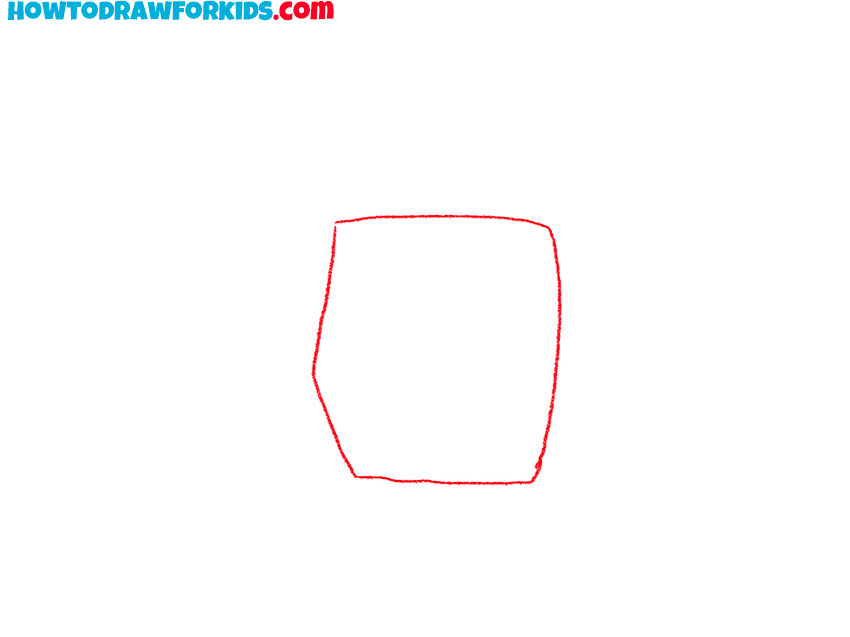
- Draw the main part of the glove.
Using smooth lines, draw the same pentagonal figure as in the example.
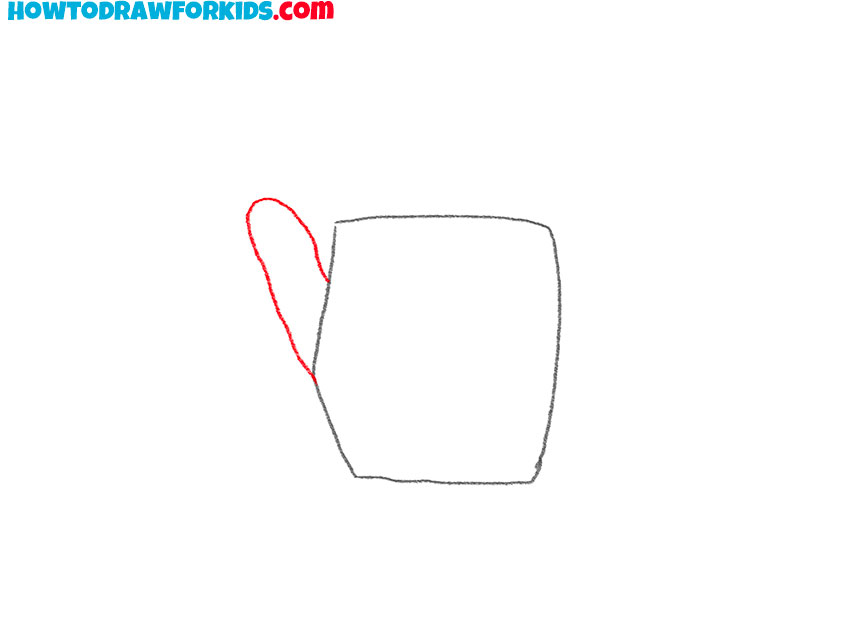
- Sketch out the thumb.
Depict the thumb on the side of the glove.
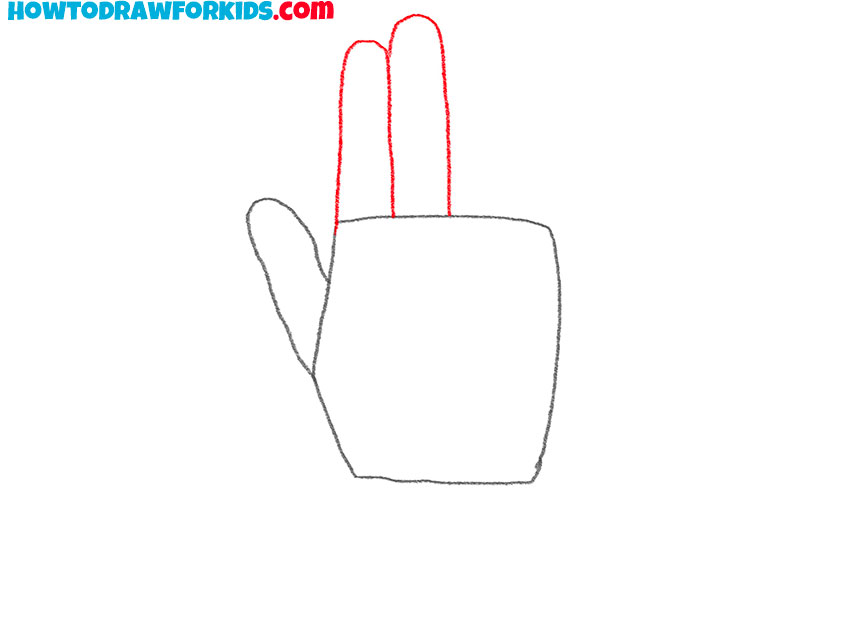
- Add two fingers at the top.
With smooth lines draw the index and middle fingers, which are located next to each other.
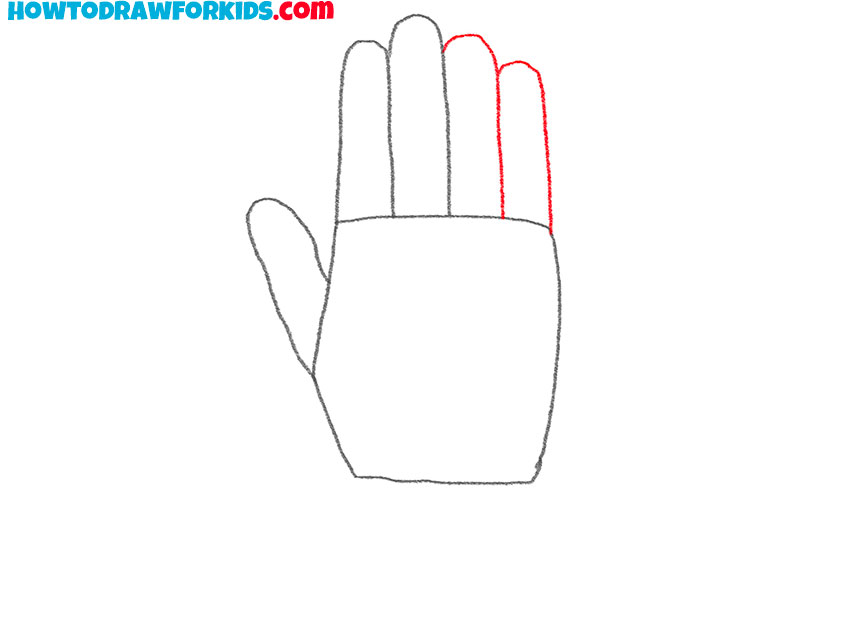
- Draw the rest of the fingers.
Sketch out the ring finger and little finger.
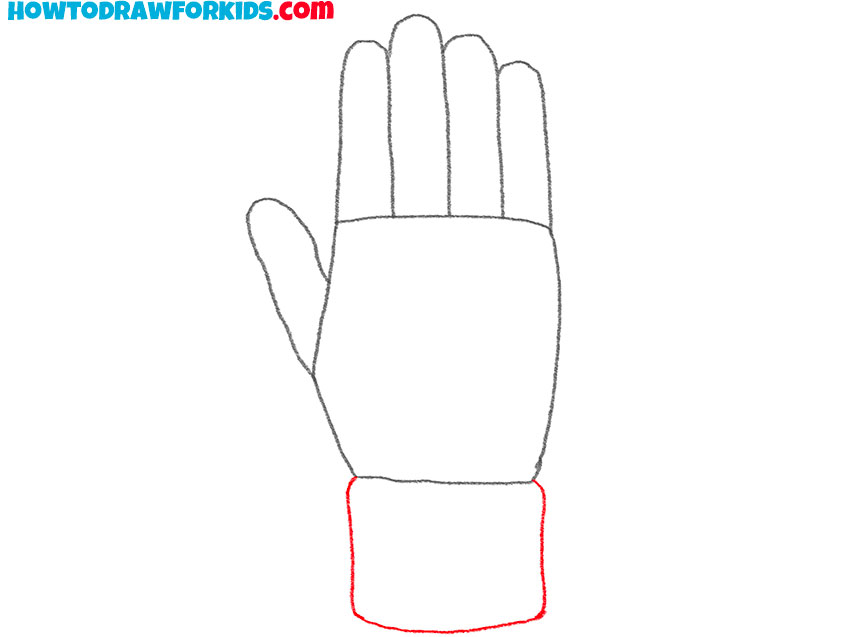
- Depict the cuff.
Add the cuff to the bottom of the glove.
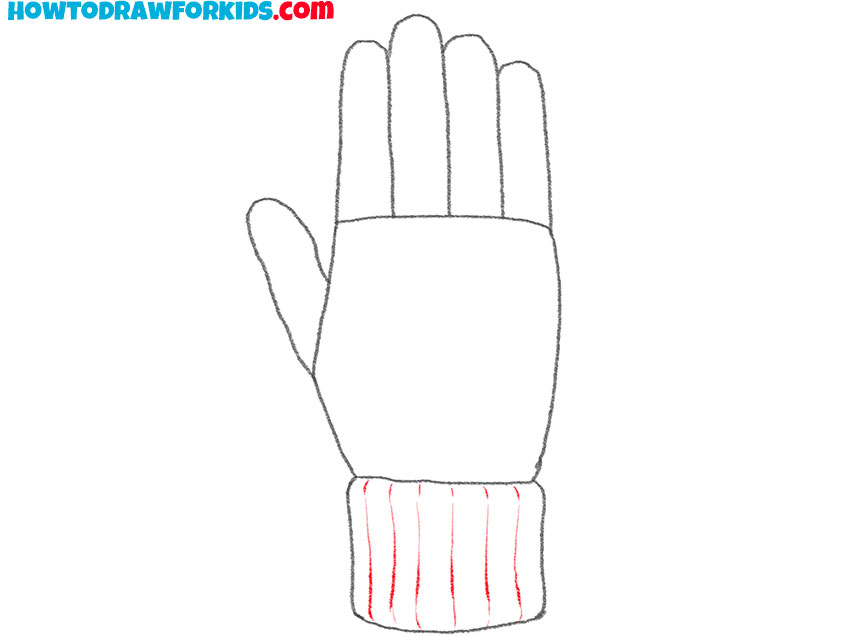
- Detail the cuff.
Draw thin vertical stripes to the cuff.
- Correct inaccuracies.
Remove extra lines in your drawing.
- Color the glove.
Use blue or any other color.

At the end of the lesson, I suggest you download the PDF file that I have prepared specifically for your convenience. In this file, you will find a simplified version of the guide and useful tools. This will come in handy if you want to go back to the lesson again.

